

May
Getting Started With The Actual Pattern
So last spring 2023 I made like three of these giant gnomes because my sister wanted them for her porch and honestly they turned out way bigger than I expected. The pattern I used was free from some blog I can’t even remember now but the basic concept is pretty similar across most large gnome patterns.
You’re gonna need bulky weight yarn or you can double up worsted weight if that’s what you have. I used Lion Brand Wool-Ease Thick & Quick for the first one in like this oatmeal color for the body and then Red Heart Super Saver for the hat because it was cheaper and I had a ton of it already. The beard part I did with some off-white Bernat Blanket yarn which was actually really annoying to work with because it splits constantly but it gave that fuzzy texture.
What Size Hook and How Much Yarn
Most patterns call for a 6mm or 6.5mm hook but honestly I went up to an 8mm because I crochet pretty tight and didn’t want the stuffing showing through. You need maybe 2 skeins of your main body color, 1 skein for the hat, and like half a skein to a full skein for the beard depending on how crazy you wanna go with it.
The nose is usually just a wooden bead or you can crochet a little ball. I bought a pack of 2-inch wooden balls from the craft store for like $4 and just hot glued them on which worked fine.
The Body Construction
OK so the body is basically just a giant cone shape. You start with a magic ring and work in continuous rounds, increasing every few rounds to make it get wider. The pattern I followed had me doing:
- Round 1: 6 single crochet in magic ring
- Round 2: increase in each stitch (12 stitches)
- Round 3: sc, inc around (18 stitches)
- Round 4: sc 2, inc around (24 stitches)
And you just keep going like that until you hit maybe 90-100 stitches around depending on how wide you want the base. Then you work even without increases for like 15-20 rounds to get the height. The thing that really annoyed me was counting the stitches every single round because I kept losing track and having to frog back.
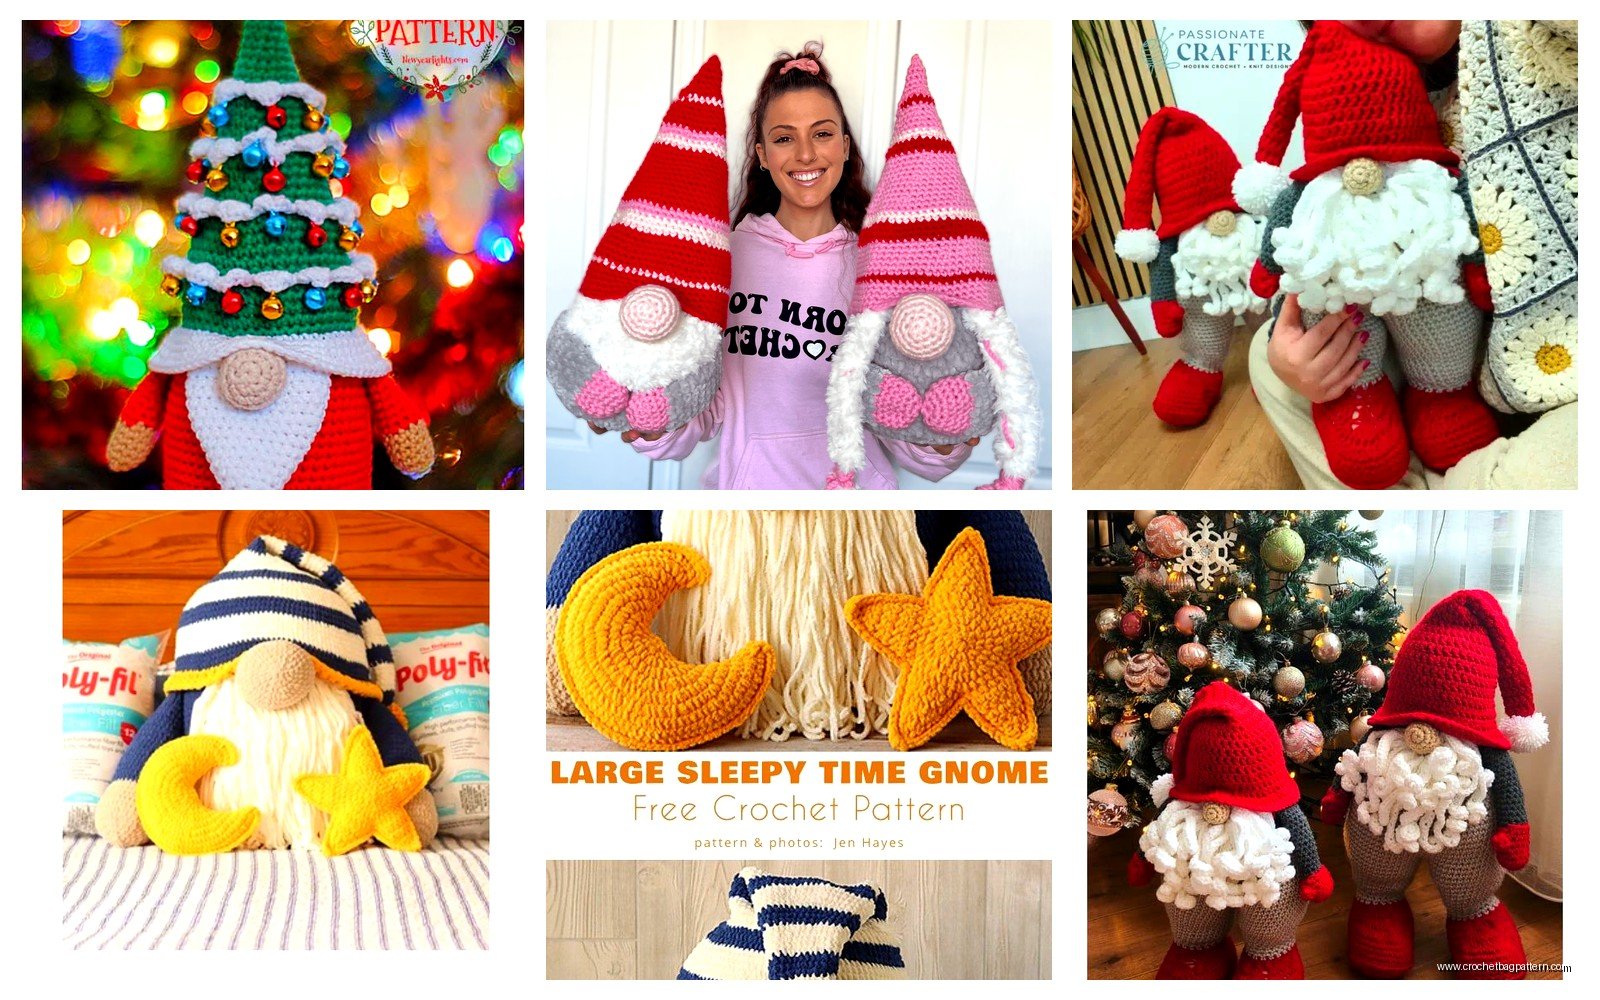
For a large gnome you want the body to be about 12-14 inches tall before you start decreasing for the top. Some patterns don’t decrease at all and just bind off, which gives you more of a cylinder look.
Stuffing The Body
Use polyfill stuffing and pack it in there pretty firm so the gnome can stand up on its own. I made the mistake on my first one of not stuffing it enough and it just kind of flopped over sideways. You want it dense. I was watching that baking show with the british people while I was stuffing these and my cat kept trying to attack the polyfill every time I pulled some out of the bag.
Making The Hat
The hat is where you get that classic Nordic gnome look. It’s basically the same concept as the body but narrower and way taller. Start with your magic ring again and increase until you get to maybe 40-50 stitches around depending on how slouchy you want it.
Then you just work even in continuous rounds for like 30-40 rounds or until it’s as long as you want. I did mine at about 18 inches long so it would have that floppy droopy look when you attach it to the body.
Some people do stripes which looks really cute but I just did solid colors because I didn’t wanna deal with weaving in all those ends. If you do stripes just change colors every 3-4 rounds and carry the yarn up the inside.
Attaching The Hat
This part is kinda tricky. You want to position the hat on top of the body but not centered exactly—more toward the back so the brim sits forward. I pinned it in place with regular sewing pins first to see how it looked, then used the same color yarn and a yarn needle to sew it on.
Go around the base of the hat where it meets the body and do a whip stitch through both layers. Make sure you’re catching the actual stitches and not just the surface or it’ll pull off.
The Beard Situation
OK this is where it gets fuzzy literally. There’s a few different ways to do the beard and honestly none of them are perfect.
The way I did it was crocheting a flat semicircle piece. Start with a chain of like 20-25 stitches, then work back and forth in rows doing increases on each end to make it fan out. You want it to be wide enough to cover the front of the body from side to side basically.
I used that Bernat Blanket yarn in cream and it was SO splitty like I said before. Every other stitch I was having to fix where the yarn had split around my hook. But the texture did end up looking really good and beard-like so maybe worth it?
Another method is doing loop stitches or even just cutting a bunch of yarn pieces and tying them onto a chain, then sewing that onto the body. I haven’t tried that way but I’ve seen people do it and it looks more… I dunno, more wild and textured I guess.
Shaping and Attaching The Beard
Once you have your beard piece you gotta figure out where to put it. I positioned mine so the top curved part sat right under where the nose would go, covering like the upper third of the body. Sew it on with matching yarn going around the curved top edge and down the sides a bit.
You can leave the bottom edge loose and floppy or tack it down in a few spots. I did loose because it looked more natural.
The Nose
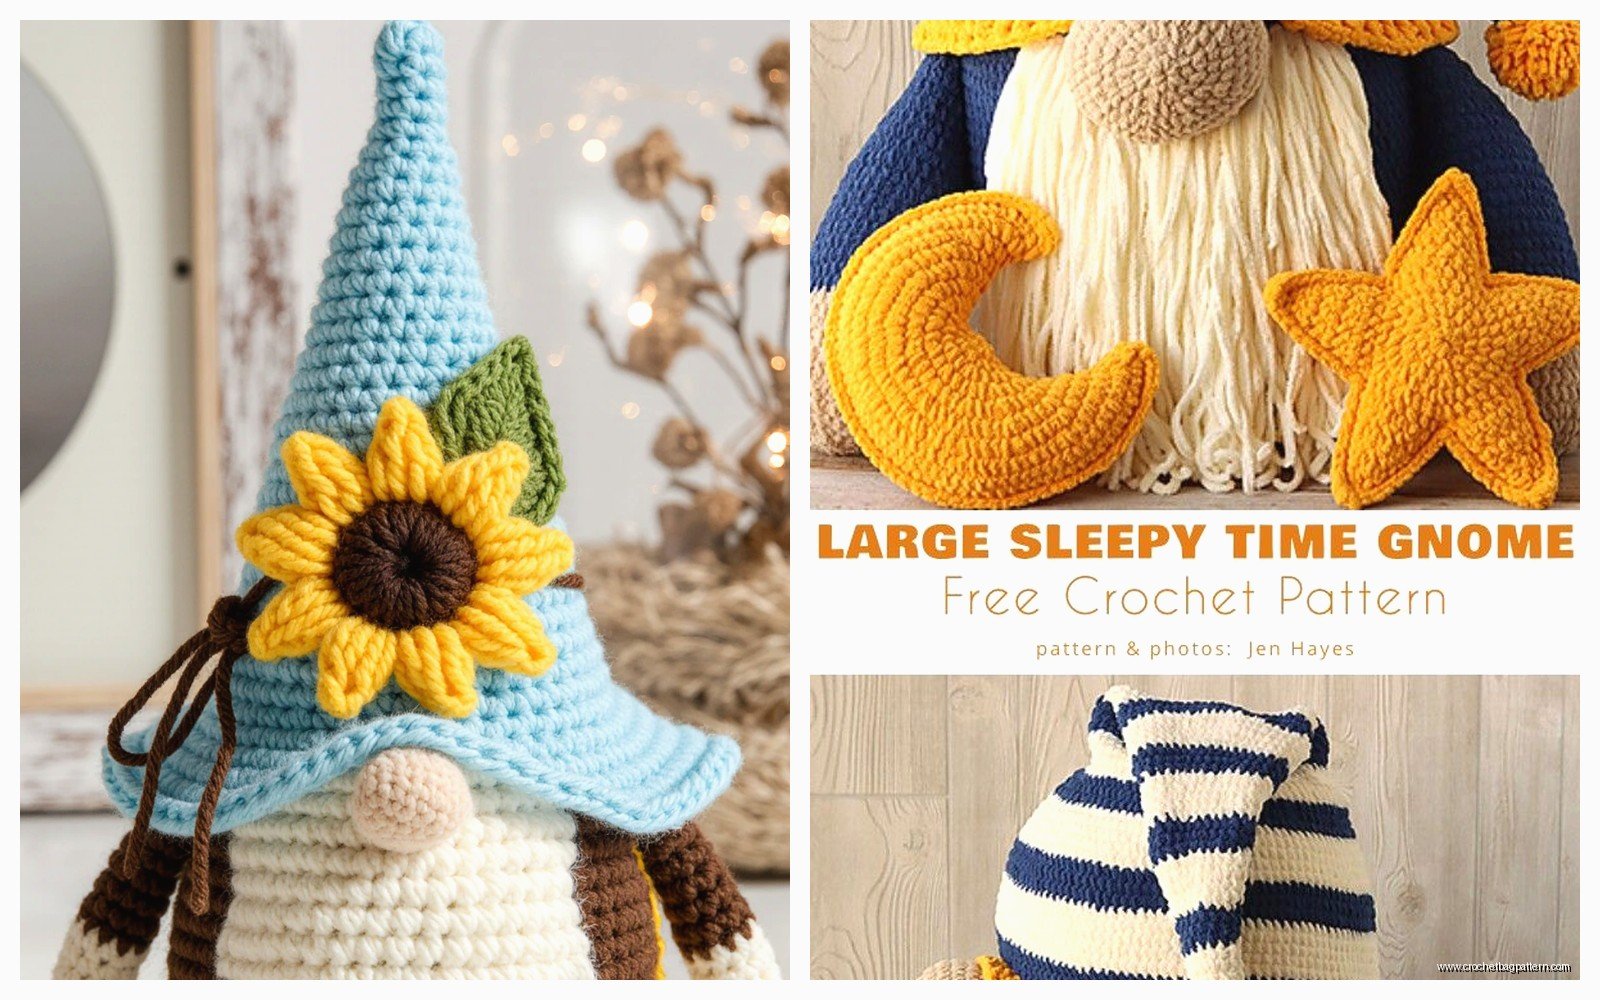
Like I said I used wooden balls but you can also crochet a nose. If you’re crocheting it just make a sphere with increases and decreases—there’s a million basic sphere tutorials out there. Do it in like a peachy pink color or even the same color as the beard.
For the wooden ball I just hot glued it right onto the beard where I wanted it. Some people paint the wooden balls first but I left mine natural wood color which actually looked kinda cool against the cream beard.
Make sure the nose is positioned high enough that you can still see it when the hat brim is flopped forward. I put mine maybe a third of the way down from where the hat attaches.
Extra Details and Variations
You can add arms if you want but honestly I skipped that because these gnomes were already huge and I thought arms would make them look weird. But if you wanna do arms just crochet two tube shapes, stuff them lightly, and sew them onto the sides of the body.
Some patterns include feet or a base but I just left the bottom of the body flat so it sits stable on its own. If you’re putting it outside you might wanna add a weighted base though—like cut a circle of cardboard and put some rocks or pennies in the bottom before you finish stuffing.
Nordic Patterns and Color Ideas
For that Nordic vibe stick with traditional colors like red, white, gray, navy, forest green. The classic look is red hat with white or gray body and white beard.
You could also do fair isle type patterns on the hat if you know how to do tapestry crochet but that’s gonna be way more work. I’ve seen people do snowflakes or geometric designs which looks really authentic but also like… I’m not doing all that.
Honestly even solid colors look good if you pick the right combo. The one I made in navy and cream looked really classy on my sister’s porch.
Common Problems I Had
The biggest issue was getting the proportions right. My first gnome the hat was too short and it looked more like a dunce cap than a proper gnome hat. You want the hat to be at least as tall as the body, preferably taller.
Also the body wanted to tip over until I really packed that stuffing in there. Use more stuffing than you think you need.
The beard kept looking too small or too big depending on—I actually made like four different beard pieces for the first gnome before I got one that looked right. It’s hard to visualize the size until you actually put it on the body so maybe crochet it a bit smaller than you think and you can always make it bigger.
Weaving in ends was annoying with the bulky yarn. I just kinda tied them off and trimmed them short and hoped for the best honestly.
How Long Does It Take
Each gnome took me maybe 6-8 hours total? The body goes pretty fast with bulky yarn and a big hook. The hat takes longer just because it’s so many rounds to get the length. The beard maybe an hour or so depending on your method.
I did one gnome over like three evenings while watching TV. It’s a pretty mindless project once you get into the rhythm of it.
Yarn Alternatives
If you don’t wanna use the yarns I mentioned any bulky weight will work. Cascade 128 Superwash would be nice if you want something higher quality. Hobby Lobby’s I Love This Yarn in the bulky weight is cheap and comes in good colors.
For the beard you could use any fuzzy yarn—Loops & Threads Hugs & Kisses, Lion Brand Homespun, whatever. Just test a small swatch first to make sure it has the texture you want and isn’t too annoying to work with.
You could even use cotton yarn if you’re making these for outdoor use in humid climates. Lily Sugar n Cream makes a cone yarn that would work and it’s super affordable.
Making Them Stand Up
If your gnome won’t stand on its own there’s a few fixes. First try adding more stuffing like I said. Second you can put a cardboard circle in the base for structure. Third option is to sew or glue a felt circle on the bottom to give it more stability.
I’ve also seen people use those weighted pellets like you put in stuffed animals but that seems like overkill unless you’re putting these outside where they might blow over in wind.
Sizing It Down or Up
The pattern I’m describing makes a gnome that’s probably 16-18 inches tall total. If you want smaller use thinner yarn and a smaller hook and fewer rounds. If you want HUGE like a yard decoration size you could use super bulky yarn or even hold multiple strands together.
Just keep the proportions similar—the hat should be about the same height as the body or taller, and the beard should cover maybe a third to half of the body’s front.
Where To Actually Find Free Patterns
I found mine on some random blog but if you search “free large crochet gnome pattern” you’ll get a ton of results. Ravelry has a bunch too. Most of them are pretty similar in construction even if the details vary.
Look for patterns that have good photos so you can see what the finished gnome actually looks like. Some of the free patterns have terrible photos or none at all which makes it hard to know if you’re on the right track.
YouTube also has video tutorials if you’re more of a visual learner. I didn’t use one but I looked at a few to see different beard techniques.
Customizing For Different Seasons
You can totally adapt this for different holidays or seasons. Orange hat for fall, pastels for spring, traditional red and green for Christmas obviously. I made one with a black hat and orange beard for Halloween last year and it was pretty cute.
You could add little accessories too like a scarf or a tiny crochet heart for Valentine’s. Just keep it simple or it starts looking cluttered.
The basic construction stays the same no matter what colors or details you add which is nice because once you make one you can crank out variations pretty quick.
