
May
Making the Lily of the Valley Thing
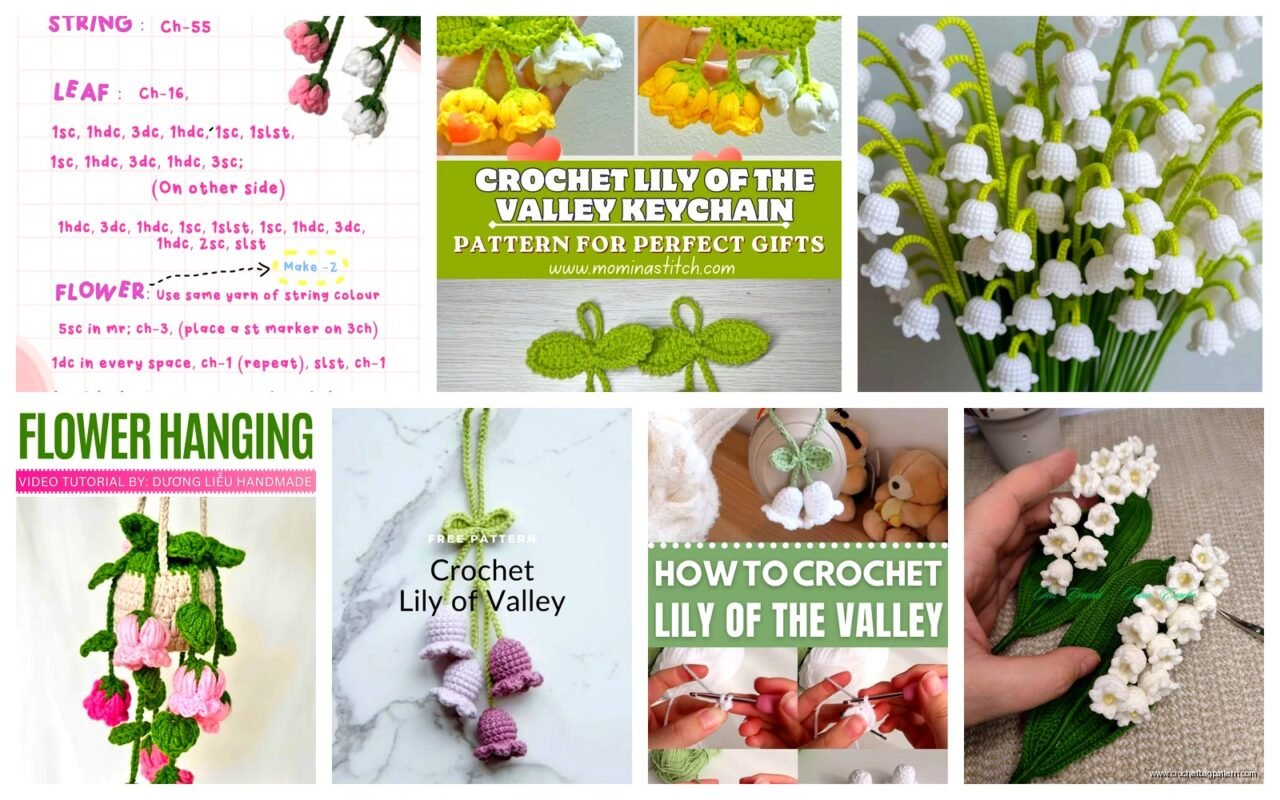
So basically you need really thin yarn for this or it looks chunky and weird. I used Aunt Lydia’s size 10 crochet thread in white back in spring 2022 when I was basically living on my couch watching Succession and needed something to do with my hands. The flowers are supposed to be these tiny delicate bell shapes and if you use regular worsted weight yarn they look like clown flowers or something.
You’re gonna need a small hook too. I think I used a 1.5mm steel hook? Maybe 1.75mm. One of those tiny ones that hurts your hand after like an hour. The annoying part about lily of the valley is that you’re making SO many tiny flowers for one stem and your fingers start cramping but whatever, it looks good when it’s done.
The Actual Flowers
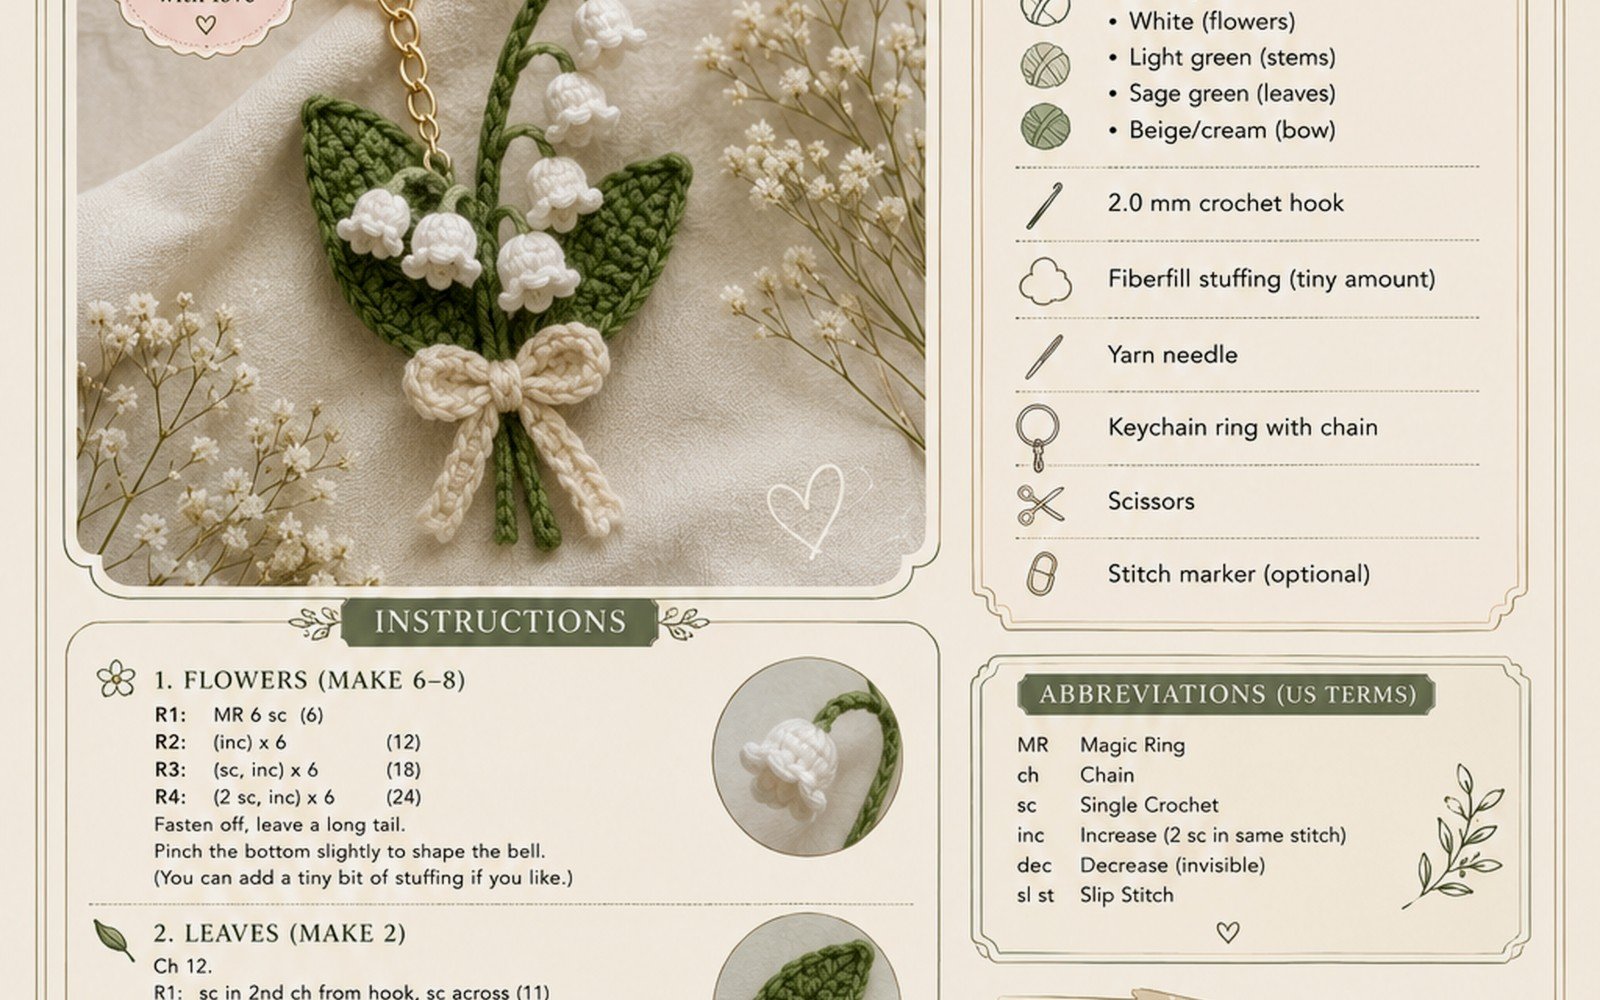
Each little bell flower starts with a magic ring. Make 6 single crochets into the ring and pull it tight. Don’t make it too loose or the top of your flower will have a hole in it and you can see straight through which defeats the whole point.
Round 2 is where it gets the bell shape. You’re going to do 2 single crochets in each stitch around, so you end up with 12 stitches total. This makes it start flaring out.
Round 3 you just single crochet in each stitch around, no increases. This is basically making the sides of the bell straight for a bit.
Round 4 is kinda fiddly because you need to make the little scalloped edge that makes it actually look like lily of the valley instead of just a generic bell. I did chain 2, slip stitch into next stitch around the entire round. So like chain 2, skip the next stitch, slip stitch into the following stitch, chain 2, skip, slip stitch, repeat. You get these tiny little points around the edge.
Some patterns tell you to do chain 3 for bigger scallops but honestly that looked too frilly to me. The real flowers have pretty subtle edges.
Fasten off and leave like a 6 inch tail because you’ll need it to attach the flower to the stem later. And here’s the thing that really annoyed me – you need to make like 15-20 of these tiny flowers for ONE stem to look full enough. I was making one stem as a bookmark or something and I think I made 18 flowers and my cat kept batting the finished ones off the table so I’d lose count of how many I’d actually completed.
The Stem Part
For the stem you need green thread obviously. I used the same Aunt Lydia’s brand in sage green I think? Or maybe it was called fern green. One of those green names.
You’re gonna chain a long starting chain – like 30 or 40 chains depending on how long you want your stem. The thing is you can’t really measure this perfectly because it’s going to curve when you add the flowers so I just kind of guessed. Maybe chain 35 to start.
Then single crochet back down the chain. Just one single crochet in each chain. This gives you a thin cord basically. Some people do slip stitches but I think single crochet makes it sturdier and it doesn’t twist as much.
Now you could stop there and just have a basic stem, but if you want it to look more realistic you can add little bumps where the flowers attach. After you make your initial single crochet row down the chain, you can add tiny leaves or bumps by doing like… chain 3, slip stitch back into the same stitch, then continue with your next single crochet. This makes a little nub sticking out. Space these out every 3-4 stitches or however far apart you want your flowers.
I honestly skipped this step half the time because it felt like extra work and you can barely see them once the flowers are attached anyway.
Putting It Together
This is where you use those tails you left on each flower. Thread the tail onto a yarn needle – you need one of those metal ones with the bent tip, the plastic ones don’t work well with crochet thread because the thread is too thin and slippery.
Start attaching flowers near the top of the stem. The top flowers should be smaller or you should attach them so they’re more closed up, like buds. The ones further down should be more open and face different directions.
To attach each flower, basically just sew through the stem a few times with the tail, going through the base of the flower and through the stem, pull tight, knot it, weave in the end. It’s not complicated but it’s tedious when you’re doing 18 of them. I was watching the Roy and Kendall fight episodes while doing this part and honestly the repetitive motion was kinda good for processing that show because it’s stressful.
Space them out along the stem – don’t put them all on one side or it looks flat. Rotate around the stem so it looks dimensional. The real plant has flowers that kinda spiral around the stem going upward.
The Leaf Situation
Okay so lily of the valley has these big broad leaves that come up from the base. You don’t technically need them if you’re just making a single flower stem for like a bookmark or to stick in a vase or whatever, but if you want the full plant look you gotta make leaves.
For leaves I just winged it honestly. I’d chain like 20, then work back down doing single crochet increases on one side to make it curve into a leaf shape. Start with single crochet in the second chain from hook, then single crochet across until you get to the tip, do 3 single crochets in the last chain to turn the corner, then work back down the other side of the chain.
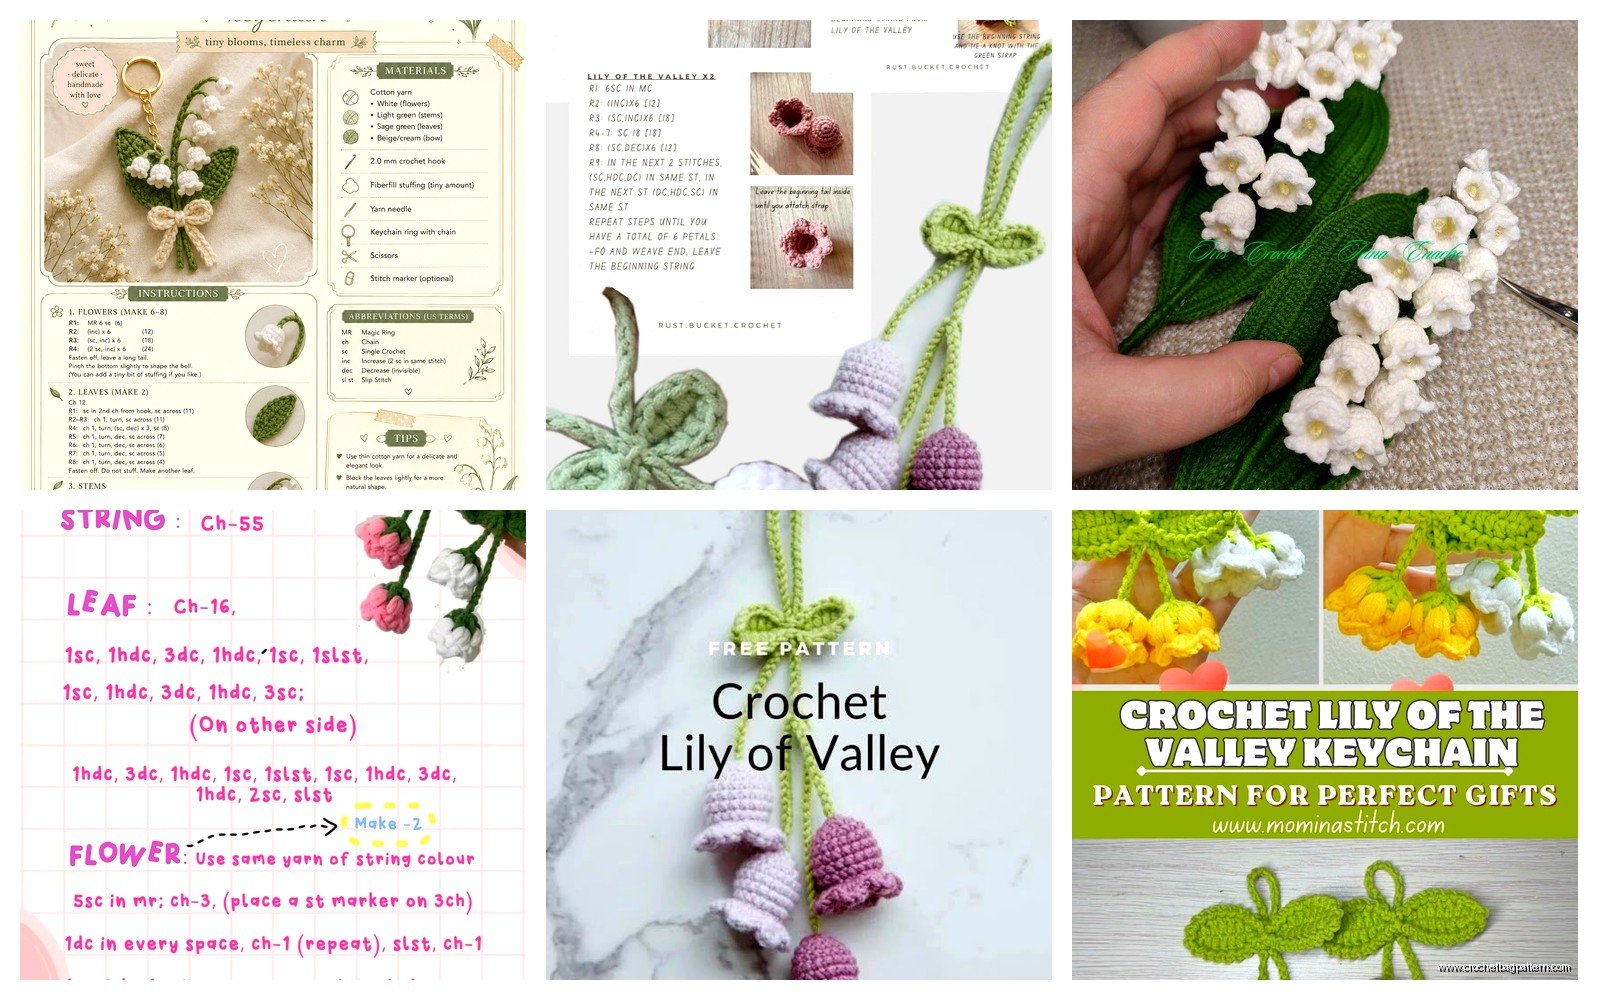
You can add increases along the edges if you want it wider. I usually did 2 single crochets in the same stitch every 5-6 stitches or so on each side. This makes it gradually get wider toward the middle then taper back down.
Some people do actual leaf patterns with veins and everything but like… it’s already small and fiddly, I wasn’t about to do texture stitches on leaves that are gonna be in the background anyway.
Make 2-3 leaves and attach them at the base of your stem. You can sew them on or if you’re making this as part of a bigger project you can just crochet them directly onto whatever base you’re using.
Yarn and Thread Stuff
I mentioned Aunt Lydia’s but honestly any size 10 crochet thread works. DMC makes good stuff too, I used their white for a different flower project and it worked fine for this. The Omega brand is cheaper if you can find it but I think it’s harder to find in stores now.
Don’t use embroidery floss even though it seems like it would work – it splits too much and doesn’t have the right structure. Crochet thread is twisted differently and it actually matters.
If you absolutely cannot deal with thread crochet because your eyes are bad or whatever, you could use sport weight yarn and a bigger hook, like maybe a 3.5mm or 4mm hook. It won’t look as delicate but it’ll still read as lily of the valley shaped flowers. I haven’t actually tried this myself but I saw someone on Instagram do it and it looked okay, just more like a stylized version.
What To Actually Do With These
I made mine as a bookmark initially. Just made one stem with flowers, stiffened it with some fabric stiffener spray (the Aleene’s brand in the blue bottle), let it dry flat, and used it in my planner. It lasted like three months before it started getting gross and flattened.
You could also:
- Make a bunch and sew them onto a headband
- Attach them to a crochet shawl or cardigan as decoration
- Frame them in a shadow box – this actually looks really good if you arrange like 3-5 stems with leaves
- Make them into earrings if you use wire instead of a crocheted stem
- Sew them onto a bag or pouch
- Use them as cake toppers for a wedding or something fancy
The stiffener is key if you want them to hold their shape. Without it they’re just floppy thread blobs. I’ve used Stiffy brand and Aleene’s and they both work fine. Just lay your finished piece on wax paper, spray it till it’s damp but not soaking, shape it how you want it, and let it dry completely. Takes like 24 hours usually.
Common Problems
The flowers twisting weird – this happens if your tension is too tight on one side. Try to keep your stitches consistent or the bell shape gets wonky.
The magic ring coming undone – pull that tail TIGHT and maybe even knot it before you weave it in. If the center opens up later you can’t really fix it without redoing the whole flower.
Running out of thread halfway through – just buy two balls of white to start with. One ball of size 10 thread isn’t that much and if you’re making multiple stems or a big project you’ll run out. I learned this the hard way and had to wait for shipping to finish my project.
The stem being too stiff or too floppy – this is a tension thing and also depends on your stiffener. If you want a more flexible stem don’t use as much stiffener or dilute it with water. If you want it really stiff you can do multiple coats.
Variations I’ve Seen
Some people make the flowers with beads in the center which looks pretty but seems like even more work. You’d have to thread the beads onto your thread before starting each flower and honestly I can’t be bothered.
I saw a pattern once that made the flowers more closed like actual buds by doing fewer rounds and not making the scalloped edge, just slip stitching to close them up. That could be good for the top flowers on your stem to make it look more realistic since not all the flowers are fully open at once.
There’s also people who wire each individual flower so they can pose them exactly how they want. You’d need really thin floral wire for this, like 28 gauge or smaller. Thread it through the center of the flower before you close it up completely. I haven’t tried this because it seems annoying but the results do look more… I don’t know, professional? Structured?
Color Options
Traditional lily of the valley is white with green stems but you could do pink flowers which is apparently a rare variety that exists in real life. Or go completely fantasy with it and do purple or blue flowers. I saw someone do navy blue ones with silver stems for a winter themed thing and it actually looked really cool even though it’s not botanically accurate or whatever.
The important thing is keeping the flowers lighter than the stem or it looks off visually. Like don’t do dark flowers with a light stem, it doesn’t read right.
If you’re doing this for a wedding or something you probably want to stick with white or cream colored flowers. I used an ecru color once instead of pure white and it had a nice vintage look to it. More antique-y.
Time Investment
Real talk, each flower takes maybe 5-10 minutes once you get the hang of it. The first few will take longer because you’re figuring out the rhythm. The stem is quick, like 5 minutes. Attaching everything is another 20-30 minutes depending on how many flowers you’re using and how picky you are about placement.
So for one complete stem with like 15 flowers, you’re looking at maybe 3 hours total? More if you’re watching TV and not paying attention or if you keep messing up and redoing flowers. Less if you’re really focused and experienced with thread crochet.
It’s a good project for doing in chunks – make a few flowers one night, a few more the next night, assemble when you have enough. You don’t have to do it all in one sitting which is nice.
Anyway that’s basically it. Start with the flowers, make a bunch of them, make a stem, attach flowers to stem, add leaves if you want, stiffen the whole thing, done. It’s not rocket science but it does require patience because everything is small and your hands will probably hurt after a while but that’s just thread crochet in general.
