
May
okay so c2c crochet is actually way easier than it looks
I learned this technique back in spring 2022 when I was making a baby blanket for my cousin and honestly I just got bored with regular granny squares. The corner to corner thing seemed complicated but it’s literally just making little squares diagonally and you build them up one at a time. Once you get the rhythm it’s actually kinda mindless which is perfect for watching TV or whatever.
So the basic idea is you start in one corner and work your way out diagonally until your blanket or whatever is as wide as you want it, then you start decreasing on the other side. Each row adds one more little block until you hit your max width.
what you actually need
You need yarn obviously. I’ve used Caron Simply Soft for a bunch of these projects because it’s cheap and comes in like a million colors. Red Heart Super Saver works too but it’s scratchier. For the baby blanket I used Bernat Baby Blanket yarn which is super chunky and soft but it goes SO fast you’ll finish in like two days if you’re actually focused.
Hook size depends on your yarn weight but for worsted weight you’re looking at a 5mm or 5.5mm usually. The chunkier baby blanket yarn I used an 8mm I think? Maybe 9mm. You want it loose enough that the blocks look square and not all tight and weird.
Scissors and a yarn needle for weaving in ends but honestly with c2c you can just crochet over your ends as you go most of the time which is way better than weaving in 47 ends later.
the actual starting part
Chain 6. This is your first block. It seems like nothing but trust me this is it.
Slip stitch into the 4th chain from your hook. You’ve just made a little space. Now chain 3 more – this counts as your first double crochet if you wanna get technical about it but I never really think of it that way.
Work 3 double crochet stitches into that same space you just slip stitched into. So you’ve got your chain-3 plus 3 more dc stitches. That’s your first block done. It should look like a little square-ish thing.
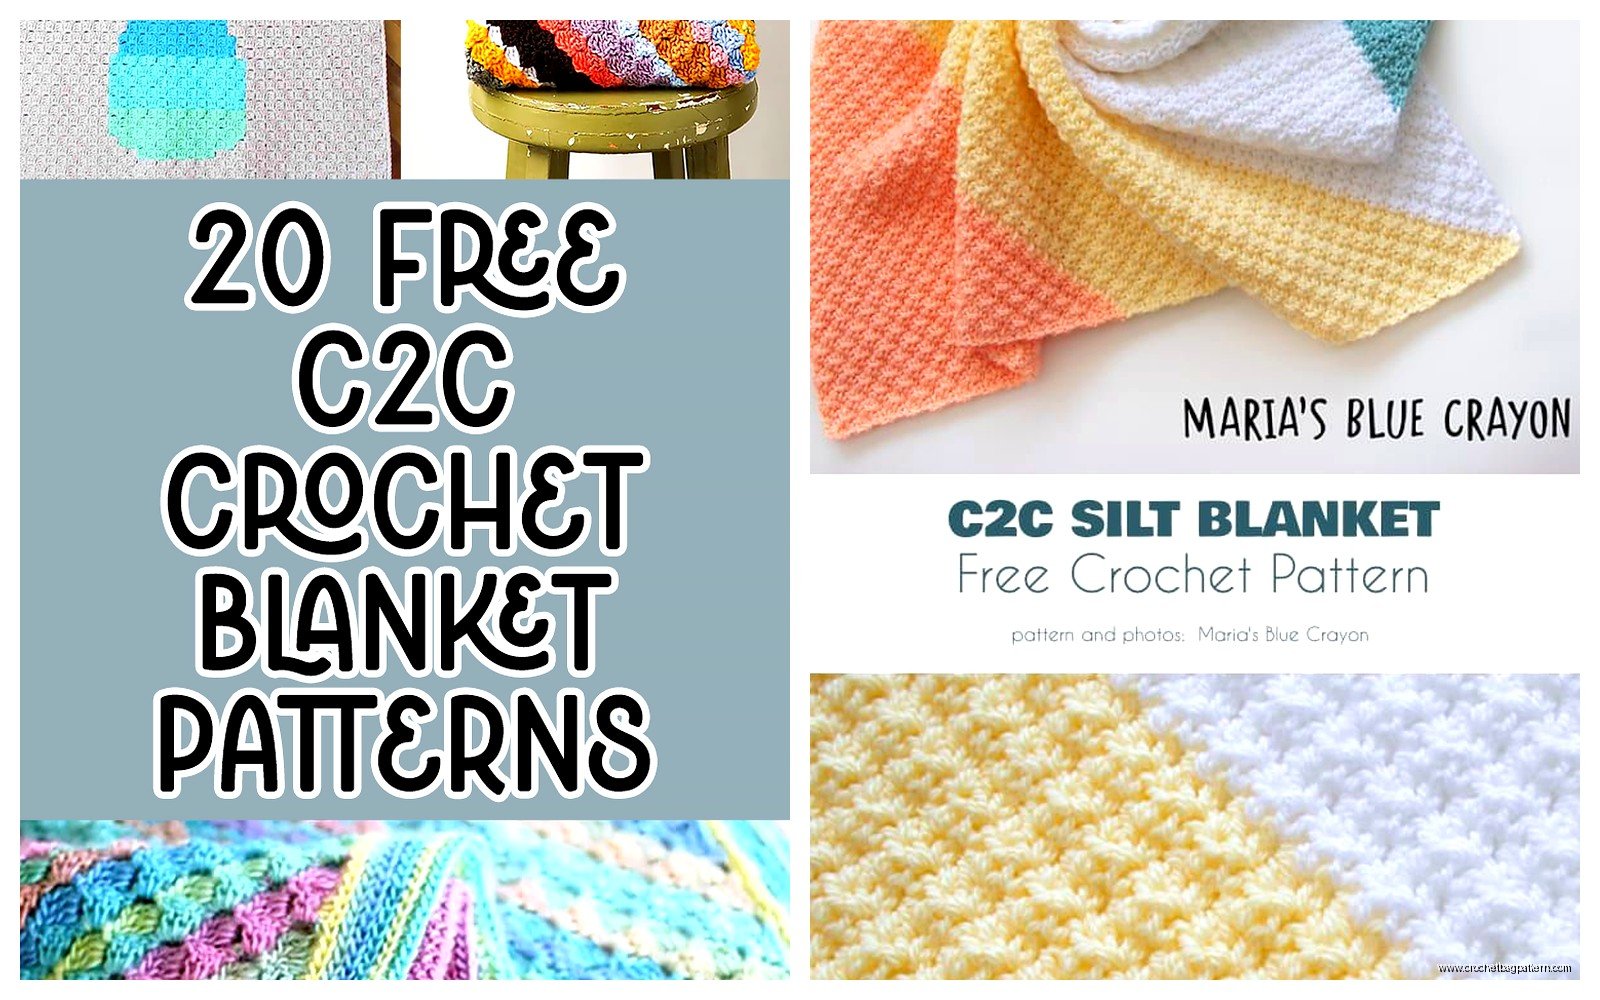
For row 2 you’re gonna chain 6 again and repeat the same thing – slip stitch into 4th chain from hook, chain 3, work 3 dc into that space. That’s your new block. Then you connect it to your first block by slip stitching into the chain-3 space from the previous block, chain 3, and do 3 dc into that same space.
This is where people get confused but honestly just think of it like you’re making a new block, connecting to the old block, making the stitches into the old block. New block, connect, stitches. That’s the pattern.
increasing rows aka making it bigger
Every row you add one more block than the previous row. So row 1 has 1 block, row 2 has 2 blocks, row 3 has 3 blocks and so on. You keep doing this until your project is as wide as you want it.
The way you move from block to block in the same row is always the same – slip stitch into the chain-3 space of the previous block, chain 3, work 3 dc into that same space. It becomes super automatic after like row 5.
One thing that really annoyed me when I was learning this was that my edges kept getting wonky and I couldn’t figure out why. Turns out I was pulling my chain-6 at the start of each row too tight. You want it loose enough that it doesn’t pucker the whole edge. Also my cat kept trying to attack the working yarn which didn’t help anything but that’s not really a technique issue.
when to stop increasing
You just measure it. Like literally hold it up and see if it’s as wide as you want. For a baby blanket I stopped at like 30 or 35 rows I think? For a full size blanket you’re looking at way more, probably 80-100 depending on your yarn weight. There’s probably a mathematical way to figure this out but I’ve never bothered with that.
Some people make it square by doing the same number of rows increasing as decreasing but you can also make rectangles by doing more decrease rows or whatever shape you want really.
decreasing rows which is actually easier
Okay so once you hit your max width you start decreasing. This part is honestly easier than increasing because you don’t have to do that chain-6 start anymore.
Instead of chaining 6 to start the row, you slip stitch into the first chain-3 space, then chain 3 and do your 3 dc right there. You’re basically skipping that first block and starting with the second block of the previous row.
Then you just continue across the row like normal, slip stitching into each chain-3 space and doing your chain-3 plus 3 dc. Each decrease row will have one less block than the previous row.
You keep going until you’re back down to 1 block and then you’re done. Fasten off and weave in your ends or crochet over them or whatever.
the actual stitch breakdown because I realized I was being vague
The “block” is made of: 1 chain-3 (which counts as a dc) plus 3 more dc stitches, all worked into the chain-3 space from the previous row. That’s 4 dc total but one of them is secretly a chain-3.
To connect blocks you slip stitch into the chain-3 space. The chain-3 space is that gap between your chain-3 and your 3 dc stitches. It should be pretty obvious once you make your first block.
Double crochet is yarn over, insert hook, pull up a loop, yarn over and pull through 2 loops, yarn over and pull through last 2 loops. But you probably already know that if you’re attempting c2c.
color changes and graphgans
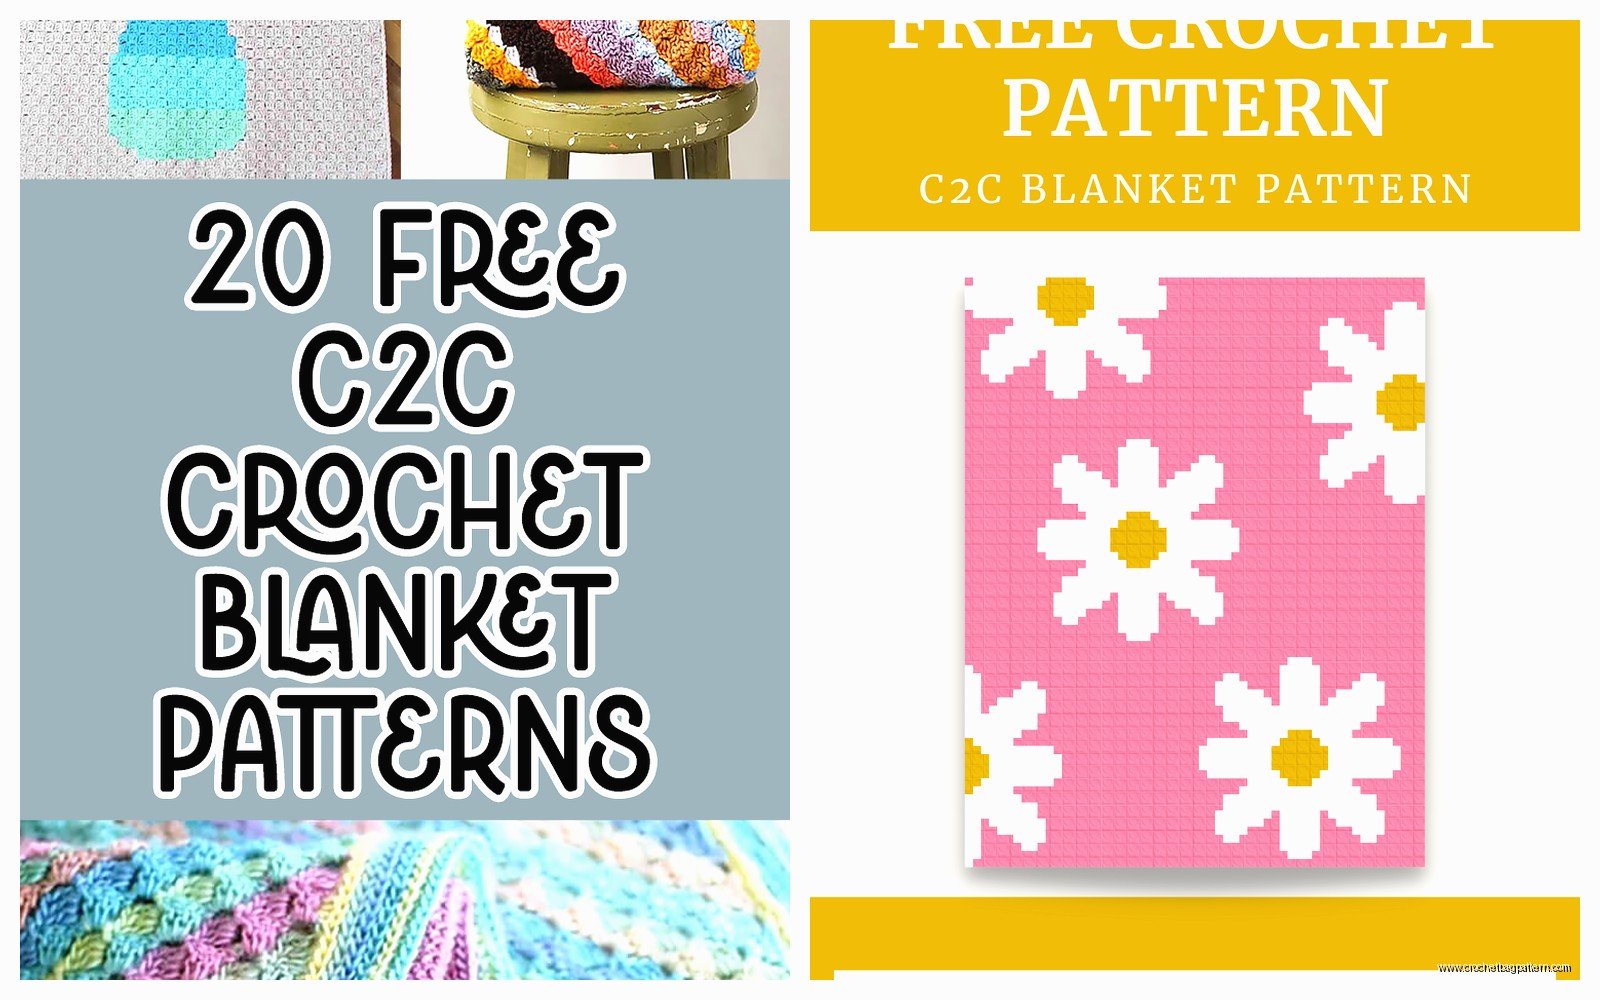
This is where c2c gets really popular because you can make pixel art basically. Each block is one pixel so you can follow a graph or chart and change colors to make pictures.
I made a pokemon blanket in summer 2024 with a Charizard on it and used probably 8 different colors. The color changes are pretty easy – you just work until the last yarn over of your last dc in a block, then use the new color for that final pull-through. Drop the old color and keep going with the new one.
For graphgans you read the chart diagonally obviously since that’s how c2c works. Bottom right corner is usually where you start. There’s converters online that’ll turn regular images into c2c graphs which is super helpful.
The annoying thing about graphgans is you end up with a million yarn ends if you’re not careful. I try to carry yarn along the back when colors are close together but if they’re more than like 3 blocks apart I just cut it and deal with the ends later. Some people are really precious about carrying yarn but honestly it doesn’t matter that much unless you’re making something that needs to look perfect on both sides.
yarn management tips I learned the hard way
Use bobbins or clothespins for different colors. I just wrap yarn around clothespins and clip them to my work so they don’t tangle. Those fancy yarn bobbins work too but clothespins are free if you already have them.
Work from the inside of the skein not the outside. This keeps it from rolling around everywhere.
If you’re doing a big project keep it in a bag or basket so your dog doesn’t— well my dog doesn’t really care about yarn but I was watching this show about dogs while I was working on that baby blanket and it made me paranoid about leaving yarn out.
common problems I ran into
My blocks weren’t square at first. This usually means your tension is off or you’re using the wrong hook size. Go up or down a hook size and see if that fixes it. The blocks should be roughly square not rectangular.
The edges can get wonky if you’re not consistent with your chain-6 tension at the start of increase rows. Keep it loose and consistent.
Sometimes I’d lose track of where I was in a row especially with color changes. I started using stitch markers to mark the last block of each row which helped a lot. Just clip it onto the chain-3 space of your last block.
Counting blocks is annoying but necessary if you’re following a pattern. I usually count after each row to make sure I didn’t accidentally skip or add a block. It’s way easier to fix mistakes immediately than to realize 10 rows later that something’s off.
what works well for c2c
Blankets obviously. Baby blankets are perfect for this because they work up fast and you can make cute designs.
Scarves if you want a really wide scarf. Just stop increasing when it’s as wide as you want and then keep going with the same number of blocks per row instead of decreasing. Or do decrease for a triangle scarf.
Bags and totes work well too. You can make two rectangle pieces and seam them together.
Pillow covers are good for using up scrap yarn or practicing graphgan designs.
I haven’t tried it but people make sweaters with c2c panels. Seems like it would work fine but you’d have to do a lot of seaming.
stuff about yarn amounts
I’m terrible at estimating yarn amounts honestly. For that baby blanket in 2022 I bought 6 skeins of Bernat Baby Blanket and used like 4 and a half. For worsted weight blankets you’re gonna need way more, probably 10-15 skeins depending on size.
If you’re doing a graphgan with multiple colors just buy extra of your main/background color. You’ll use way more of that than the accent colors. I ran out of the light blue I was using for sky in my pokemon blanket and had to order more which delayed the whole thing by a week because shipping.
There’s calculators online for this but they never seem accurate to me because everyone’s tension is different. Just buy extra and keep your receipts so you can return unopened skeins.
why c2c is actually good for beginners kinda
Even though it looks complicated it’s really just one stitch repeated over and over. If you can do double crochet and chain stitches you can do c2c. The diagonal thing makes it seem fancy but it’s mechanically very simple.
You can see progress fast which is motivating. Like even after a few rows you can see the shape forming.
Mistakes are pretty obvious because the blocks should all look the same size and shape. If one looks weird you probably messed up the stitch count.
It’s also really portable once you get the hang of it because you don’t need to look at your hands much. I took my pokemon blanket to like three different coffee shops while I was working on it.
variations on basic c2c
There’s mini c2c which uses single crochet instead of double crochet. Makes smaller blocks so more detail in graphgans but takes forever.
Some people do half double crochet c2c for a middle ground between regular and mini.
You can also do textured c2c by adding bobbles or popcorn stitches into your blocks but that seems like a lot of extra work to me.
There’s also solid c2c where you work the stitches differently so there’s no gaps between blocks but I’ve never tried that because I actually like the texture of regular c2c with the little holes.
Border options are pretty much anything you’d use on a regular blanket. I usually do a round of single crochet around the whole thing to clean up the edges, then maybe a shell stitch or picot edge if I’m feeling ambitious. The diagonal edges can be a little weird to border but you just work into the ends of the stitches and it’s fine.
Honestly once you make one c2c project you’ll probably wanna make like five more because it’s addictive seeing the diagonal pattern build up. That baby blanket got me hooked on the technique and now I default to c2c for most blanket projects unless I specifically want a different texture or stitch pattern.
