
May
So You Want to Learn Bead Stitch
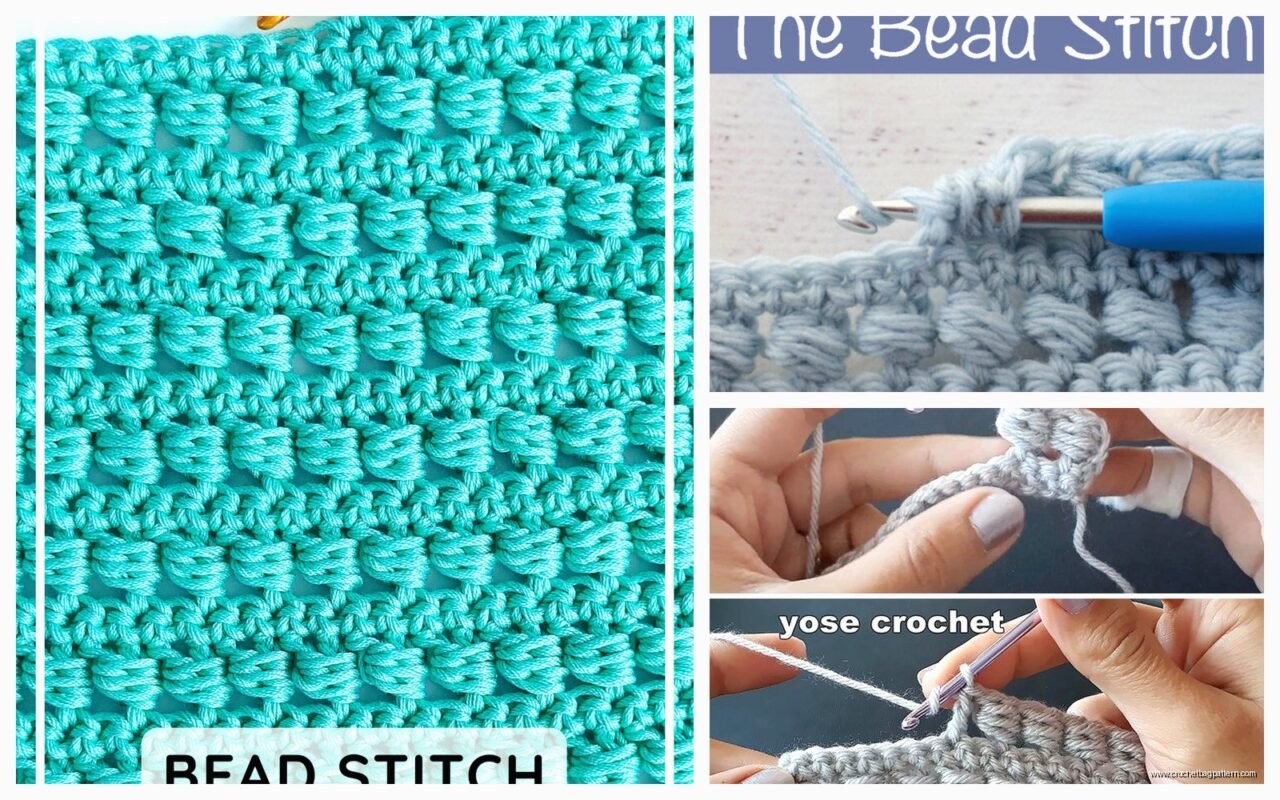
Okay so bead stitch crochet is basically when you create these little raised bumps that look like beads all over your fabric and honestly it’s one of those things that looks way more complicated than it actually is. I made a whole blanket with this stitch back in spring 2022 when I was basically living on my couch watching true crime documentaries and needed something to keep my hands busy.
The basic idea is you’re gonna pull up loops in a specific way that creates texture. It’s not like regular single crochet where everything sits flat. These little bumps pop out and catch the light differently which makes even cheap yarn look kinda fancy.
What You Actually Need
You need yarn obviously. I’ve used Red Heart Super Saver for this because I’m not made of money and honestly it works fine for practicing. The texture hides some of the scratchiness that people complain about with acrylic. I also tried it with Caron Simply Soft once and that was really nice actually, way softer but the bumps weren’t quite as defined? Like the yarn was almost too drapey for the stitch pattern.
Hook size matters here. I usually go one size smaller than what the yarn label says because you want tight stitches or the beads look sloppy. So if your yarn says use a J hook, try an I. For worsted weight I’m usually using an H or I hook.
You’re gonna want decent lighting because you’re working into specific parts of stitches and if you can’t see what you’re doing it gets frustrating real fast.
The Foundation Chain
Start with your foundation chain, whatever length you want. Make it an even number if you’re doing this in rows because the pattern works better that way. I always add like 2 extra chains because I pull tight and sometimes the edge gets wonky otherwise.
First row is just single crochet across. Nothing fancy. This gives you a base to work into. Chain 1 and turn like normal.
Actually Making the Bead Stitch
Okay here’s where it gets interesting. The bead stitch itself is basically a single crochet but you’re inserting your hook in a weird place. Instead of going under both loops of the stitch like normal, or even just the front or back loop, you’re going to insert your hook under the loop that’s sitting horizontally right below the top two loops.
Wait let me explain that better because it sounds confusing. When you look at a single crochet stitch from the front, you see the V on top right? Those are your two loops. But if you look closer there’s another loop that sits perpendicular to those, kind of wrapping around the post of the stitch. THAT’S where you insert your hook.
So the actual steps are:
- Insert hook under that horizontal loop (the third loop basically)
- Yarn over and pull up a loop – you should have 2 loops on your hook
- Yarn over and pull through both loops like a normal single crochet
When you do this, a little bump forms on the front of your work. That’s your bead.
The Pattern Row by Row
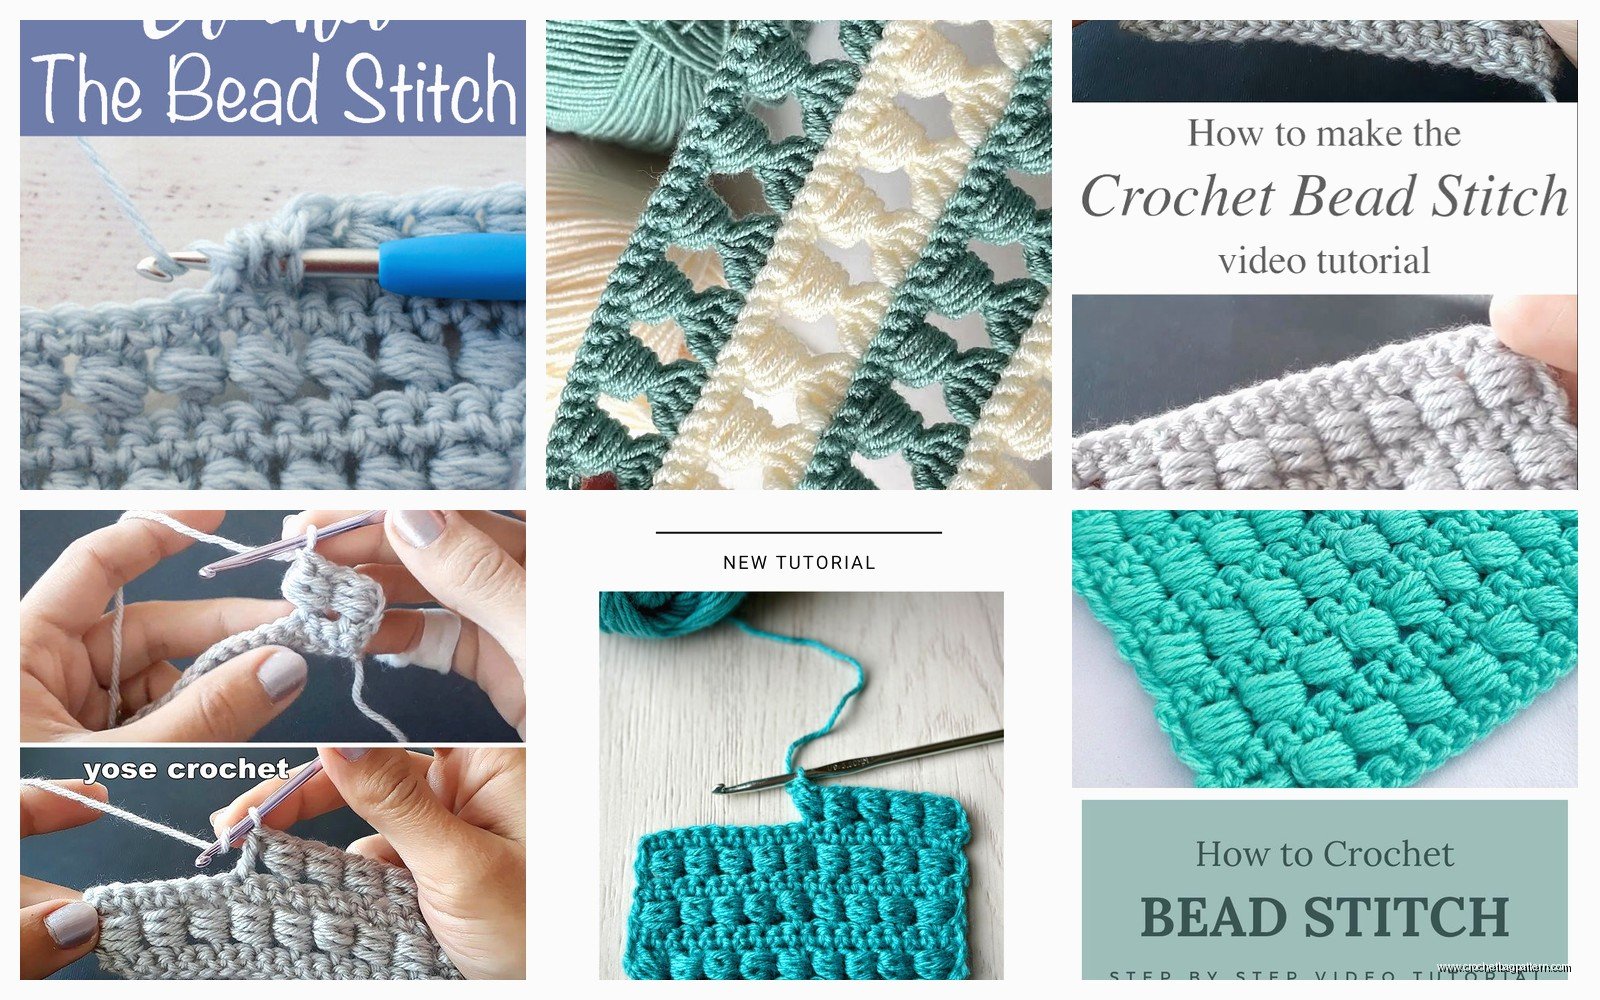
Row 1: Single crochet across (your foundation row)
Row 2: Chain 1, turn. Single crochet in first stitch (regular sc, not bead stitch). Then bead stitch in next stitch. Alternate regular sc and bead stitch across the row. End with regular sc.
Row 3: Chain 1, turn. Single crochet in every stitch (regular sc all the way across)
Row 4: Chain 1, turn. Bead stitch in first stitch, regular sc in next. This offsets the beads from row 2. Alternate across, ending with bead stitch.
Row 5: Regular sc across again
Then you just repeat rows 2-5. The beads stack in a brick pattern which looks really cool.
What Annoyed Me About This
The thing that drove me absolutely crazy when I was making that blanket in 2022 was that my tension had to stay consistent or the beads looked different sizes. Like if I crocheted tighter on one row, those beads would be smaller and tighter, and then if I relaxed my tension later the beads got looser and floppier. It looked messy.
I was working on this while my cat kept trying to attack the yarn ball so I’d get distracted and my tension would change without me noticing. Had to frog like six rows one time because the beads just looked wrong.
Also your hands get tired faster than regular crochet because you’re working tighter stitches and really focusing on where you’re putting your hook. I had to take breaks more often.
Tips That Actually Help
Mark your right side with a safety pin or stitch marker. The beads pop out on one side and that’s your right side. The wrong side looks like regular sc with some weird bumps. You don’t want to get confused about which side you’re on or your pattern gets messed up.
Count your stitches at the end of each row, at least until you get the rhythm down. It’s really easy to accidentally skip a stitch or add one when you’re alternating between regular sc and bead stitch.
If you’re having trouble finding that third loop, try tilting your work toward you a bit. The loop you want is basically the one that forms the back of the stitch post. Some people call it the horizontal bar or the bump or whatever but it’s that loop that runs perpendicular to the top.
Start with a small swatch like maybe 20 stitches wide and work until you’ve done the 4-row pattern repeat a couple times. You gotta practice finding that loop consistently before you start a big project.
Variations You Can Try
Once you get the basic pattern down you can mess with it. I’ve done all bead stitches in every stitch which creates this really dense bumpy fabric that’s almost like bubble wrap texture. It eats yarn like crazy though and takes forever.
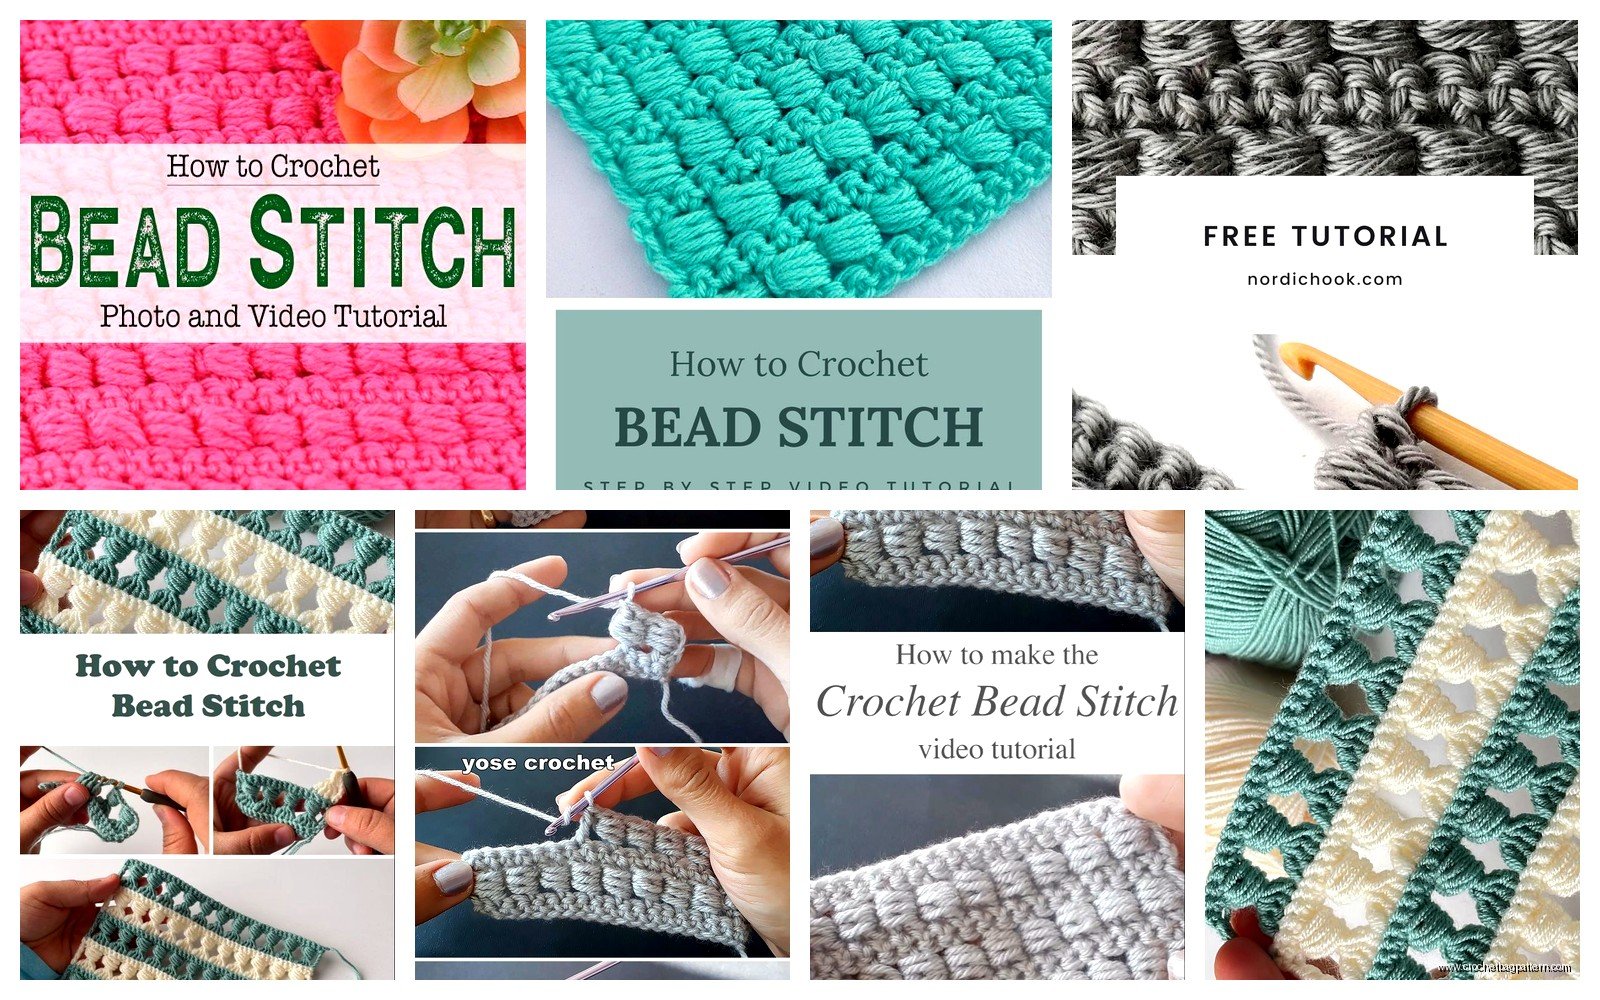
You can also do stripes where you do 3 or 4 rows of regular sc then 3 or 4 rows with the bead pattern. This gives you textured stripes which looks cool with color changes.
Or you can outline shapes with bead stitches on a background of regular sc. Like if you’re making a baby blanket you could do a heart shape in bead stitch. I’ve never actually done this but I saw someone’s picture of it once and it looked neat.
Yarn Colors and Bead Stitch
Solid colors show off the texture way better than variegated yarn. I learned this the hard way when I tried using some Red Heart Unforgettable (that’s the one with the long color changes) and you could barely see the beads because the color was doing so much.
Light colors also show the texture better than dark colors. A cream or light gray will really show off those shadows between the beads. I made a dark navy blue one though and even though you couldn’t see the texture as clearly it had this nice subtle depth to it.
Matte yarns work better than shiny ones in my opinion. The shine can kind of… I don’t know it competes with the texture? Like your eye doesn’t know whether to focus on the shininess or the bumps.
Project Ideas
This stitch works great for blankets obviously but it’s also good for washcloths and dishcloths because the texture is good for scrubbing. Just use cotton yarn like Lily Sugar’n Cream.
I’ve made a couple scarves with this stitch. They come out pretty thick and warm because the fabric is denser than regular sc. The texture looks fancy enough that people think you spent way more time on it than you did.
Pillow covers are another good option. The bumpy texture is actually nice to lean against, not uncomfortable like you might think.
Baby blankets work well too because the texture gives babies something interesting to look at and feel. Just make sure your tension is tight enough that little fingers can’t get caught in the loops.
Common Problems
If your beads aren’t popping out enough, you’re probably not pulling your loop up high enough when you insert the hook. Pull it up so it’s nice and tall before you yarn over to complete the stitch.
If your beads are popping out on the wrong side, you’re inserting your hook from the wrong direction or you’re working on the wrong side of your fabric. The beads should form on the side facing you as you work.
If you can’t find that third loop consistently, your foundation row might be too loose. Try going down a hook size for your foundation row then switching back to your regular hook for the pattern rows.
When your edges are getting wavy or ruffled, you’re probably adding stitches without realizing it. This happens when you accidentally work into the chain-1 turning chain or when you work 2 stitches into one stitch by mistake.
How Long Does This Take
It’s slower than regular single crochet for sure. Maybe like 1.5 times as long? The blanket I made in 2022 was about 40×50 inches and it took me like three weeks of working on it most evenings. I wasn’t rushing though and I was watching The Staircase documentary so I kept getting distracted.
A dishcloth might take you 2-3 hours once you know what you’re doing. A scarf depends on how long you want it but probably 5-8 hours for something decent.
Blocking and Finishing
This stitch pattern doesn’t really need blocking honestly. The texture kind of holds its shape naturally. I’ve blocked some pieces just to even out the edges but the bead texture stays the same whether you block or not.
When you weave in ends, try to weave them through the back of several beads because that hides them really well. The bumpy texture camouflages the yarn tail better than flat fabric would.
Combining with Other Stitches
You can mix bead stitch with other textures. I’ve done panels of bead stitch alternating with panels of regular sc or even some simple shells. Just remember that bead stitch pulls in tighter than most other stitches so you might need to adjust your stitch counts to keep everything the same width.
I tried combining it with granny squares once and that was actually kinda cool. I made solid squares using bead stitch and connected them with regular granny square borders. It gave this modern look to a traditional pattern.
Teaching Someone Else
If you’re trying to teach someone else this stitch, the hardest part is getting them to see that third loop. I usually have them make a few rows of regular sc first, then I point out the loop with the tip of my hook or even a stitch marker. Once they find it the first time it clicks pretty fast.
Some people find it easier to learn by inserting the hook from back to front instead of front to back. It hits the same loop but the approach is different. Whatever works.
Using Different Yarn Weights
I’ve mostly used worsted weight but I tried it with bulky yarn once using like a K hook and the beads were HUGE. It worked up fast but looked kind of cartoonish? Might be good for a kids project though.
Haven’t tried it with fingering weight or lace weight because honestly that sounds tedious and my eyes aren’t that great. But I bet it would look delicate and fancy if you had the patience.
The stitch-to-stitch ratio stays the same regardless of yarn weight. You’re still alternating and offsetting the beads the same way. Just everything scales up or down with the yarn thickness.
Anyway that’s pretty much everything I know about bead stitch. It’s one of those techniques that seems complicated when you read about it but once you actually do it a few times your hands remember and you don’t have to think about it as much. Just takes practice like anything else.
