
May
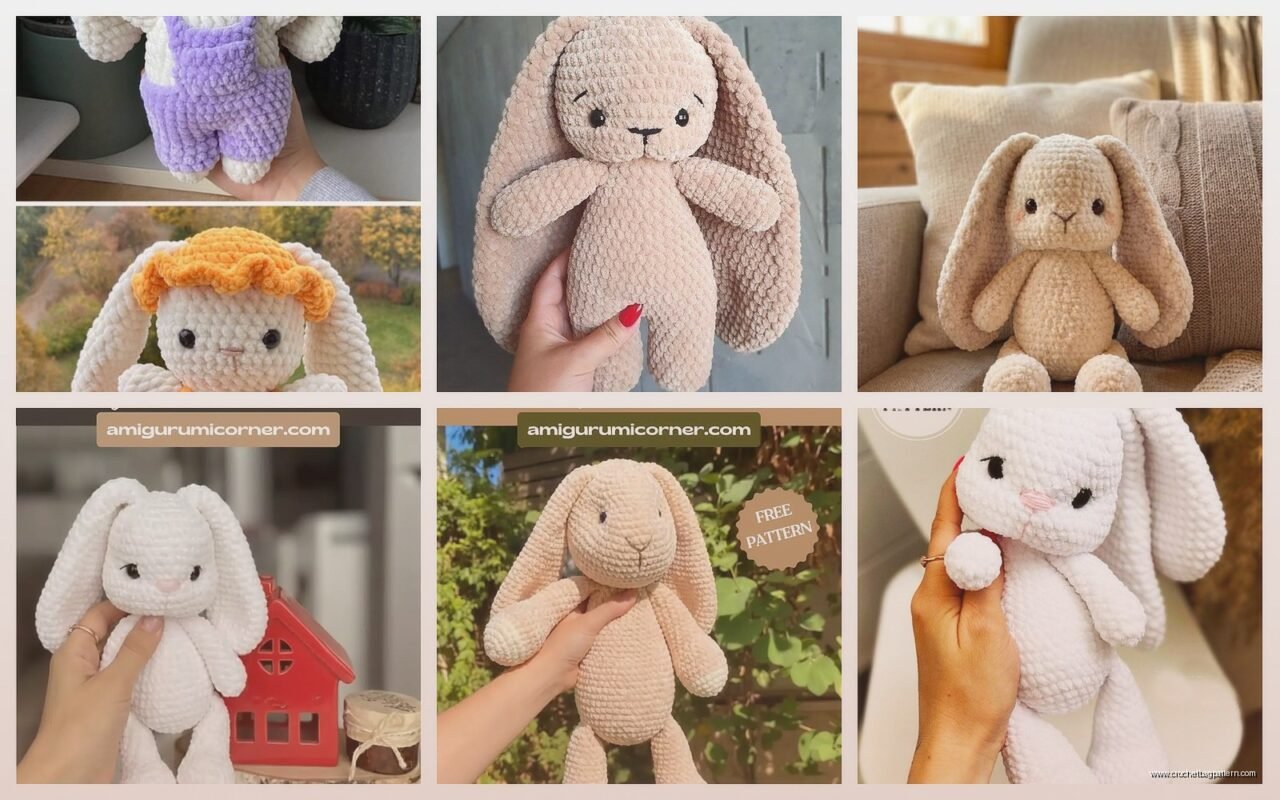
okay so bunnies are actually one of the easier amigurumi projects even though they look kinda fancy when you’re done, which is weird because I remember making my first one in spring 2022 thinking it would be super hard and then it just…wasn’t? Like the shape is pretty forgiving.
So basically you’re gonna start with the head which is just a sphere. Magic ring with 6 single crochets, then you increase every stitch in round 2 so you get 12, then you do the whole increase pattern where round 3 is sc, inc repeated around for 18 stitches. Round 4 is sc, sc, inc for 24. Round 5 is sc in 3, inc for 30. You keep going like that until you hit whatever size you want but usually 42 or 48 stitches is good for a medium bunny head.
The thing that really annoyed me about bunny patterns is the ears because they never tell you how floppy they’re gonna be? Like I used Red Heart Super Saver the first time which is acrylic and super common, you can get it anywhere, and the ears just would NOT stand up at all. They were like sad deflated things hanging down. Which actually looked cute in a different way but it wasn’t what I expected from the pattern photo.
After you get your sphere shape going for like 8-10 rounds of just straight single crochet with no increases or decreases, you start decreasing the same way you increased. So if your last increase round got you to 48, you’d do sc in 6, dec around, then sc in 5, dec, and so on. But here’s the thing nobody tells you – stuff the head BEFORE you close it completely. Like when you still have maybe 12-15 stitches left in the opening. Because trying to stuff through a tiny hole is absolutely miserable and your stuffing gets all lumpy.
Body Construction
The body is basically the same concept as the head just more oval shaped. Start the same way with a magic ring, increase up to whatever width you want (I usually go to 36 for the body if the head is 48). Then you work straight for longer, maybe 15-18 rounds depending on how chubby you want your bunny. My cat kept trying to steal my yarn while I was working on this part during that spring 2022 project, had to lock myself in the bedroom.
Some patterns have you make the body and head separate then sew them together, some have you make them as one continuous piece. The continuous way is less sewing which sounds good but honestly it can make the neck area look weird if you’re not careful about your decreases. I usually make them separate because then you can position the head at a slight angle which looks more natural and less like a snowman situation.
Those Annoying Ears
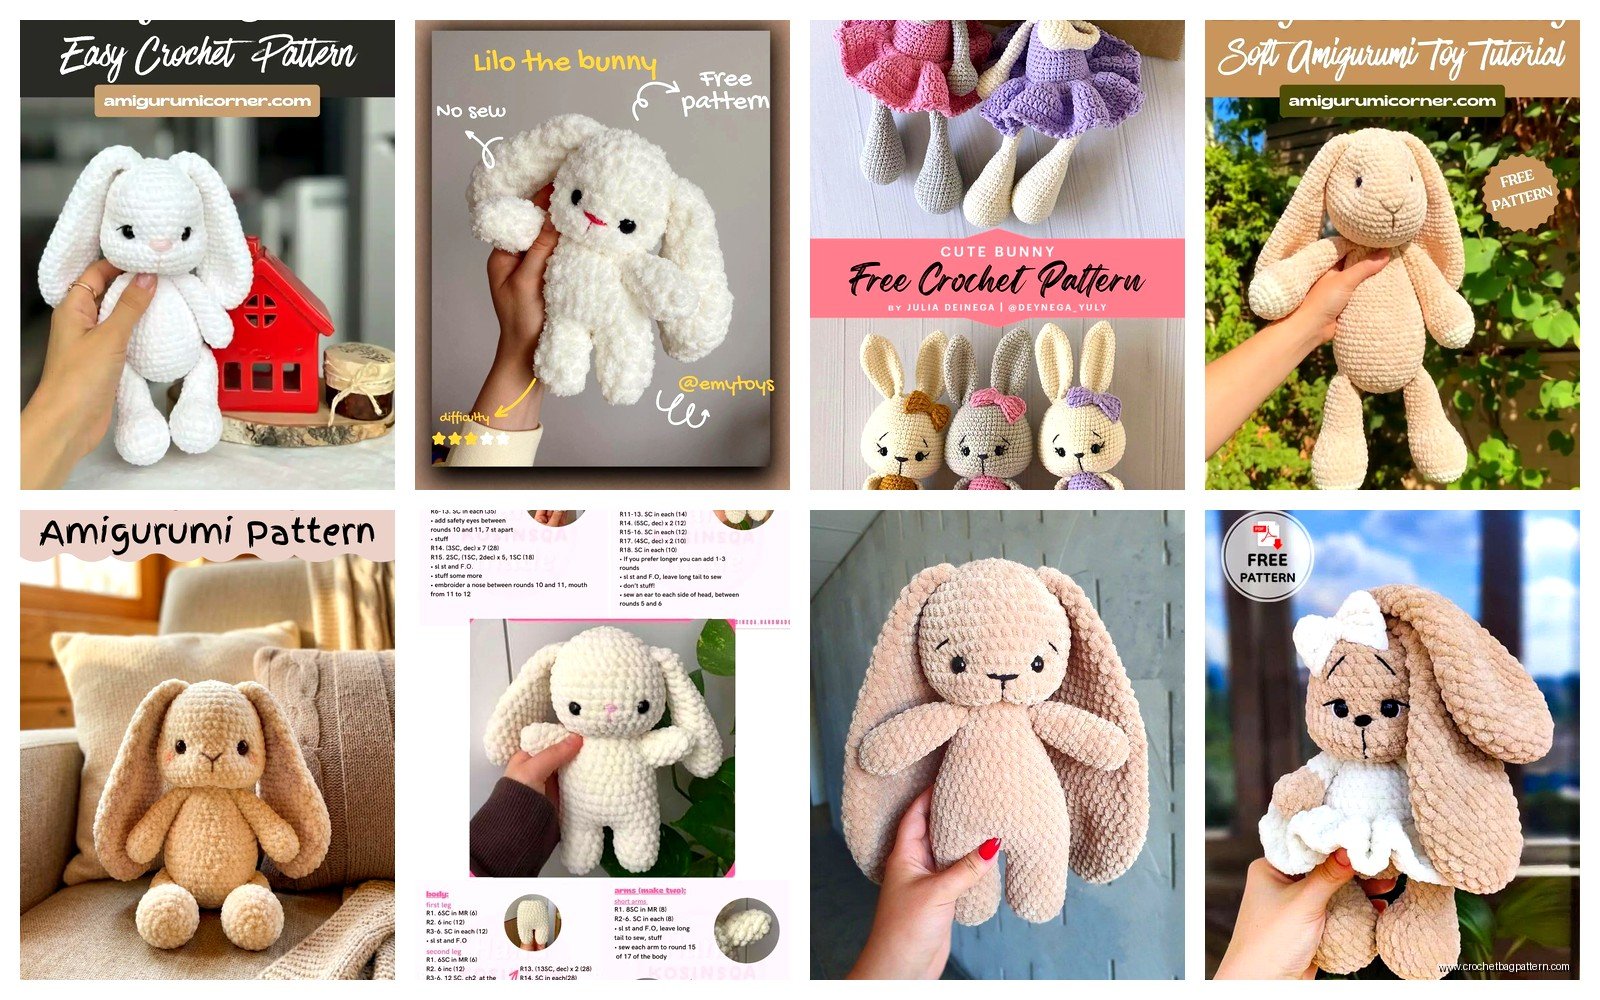
Okay so ears. You need two obviously. The basic ear is just a long oval. Chain like 6 or 8, then sc down one side, do 3 sc in the last chain to curve around the bottom, sc back up the other side, 2 sc in the top chain. Then you spiral around doing increases on the sides to make it wider as you go up. Work straight for the length of the ear, then decrease back down or just leave it flat at the top.
If you want floppy ears use regular yarn and don’t stuff them. If you want upright ears you either need to use a stiffer yarn (I tried Lily Sugar n Cream cotton once and it worked better) or put wire inside which is a whole thing. I’ve done the wire thing exactly once and it was fine but also like…do you really need poseable bunny ears? Probably not.
The other ear option is to make them more 3D by working in rounds instead of back and forth. Start with a magic ring, increase up to maybe 12 or 15 stitches, work straight for however long you want the ear, then flatten it and sc across the opening to close. These stand up a bit better naturally but they’re thicker.
Arms and Legs
Arms are basically tiny tubes. Magic ring with 6, increase to 12 for the paw part, work straight for 2-3 rounds, then decrease back to 8 or 9 stitches and work straight for the arm length. You can stuff the paw part lightly and leave the arm unstuffed so it’s more poseable, or stuff the whole thing for a stiffer look.
Legs are the same concept but thicker and you definitely want to stuff them if you want the bunny to sit up on its own. I usually go up to 15 or 18 stitches for the foot part. Some people make the feet really big and exaggerated which looks cartoony and cute, some keep them proportional.
The positioning of the legs matters a lot for whether your bunny can sit. If you attach them too far forward it tips backward, too far back and it tips forward. I usually pin them in place with regular pins first and test it before I actually sew them on because having to redo sewn-on limbs is the worst.
Face Details That Actually Matter
Eyes are either safety eyes or embroidered or buttons if it’s not for a baby. Safety eyes are easier and faster – you just poke them through between stitches and snap the backing on from inside before you stuff the head. The placement is weirdly important? Like you’d think eyes are eyes but if you put them too close together your bunny looks worried, too far apart and it looks surprised. I aim for like 6-8 stitches apart and position them around round 12 or 13 if the head is 48 stitches at the widest.
For the nose you can embroider a tiny triangle with pink or black embroidery floss. I use three strands usually. Some people do a Y-shape with the triangle on top and two lines coming down for the mouth but honestly just the triangle reads as “bunny nose” pretty clearly.
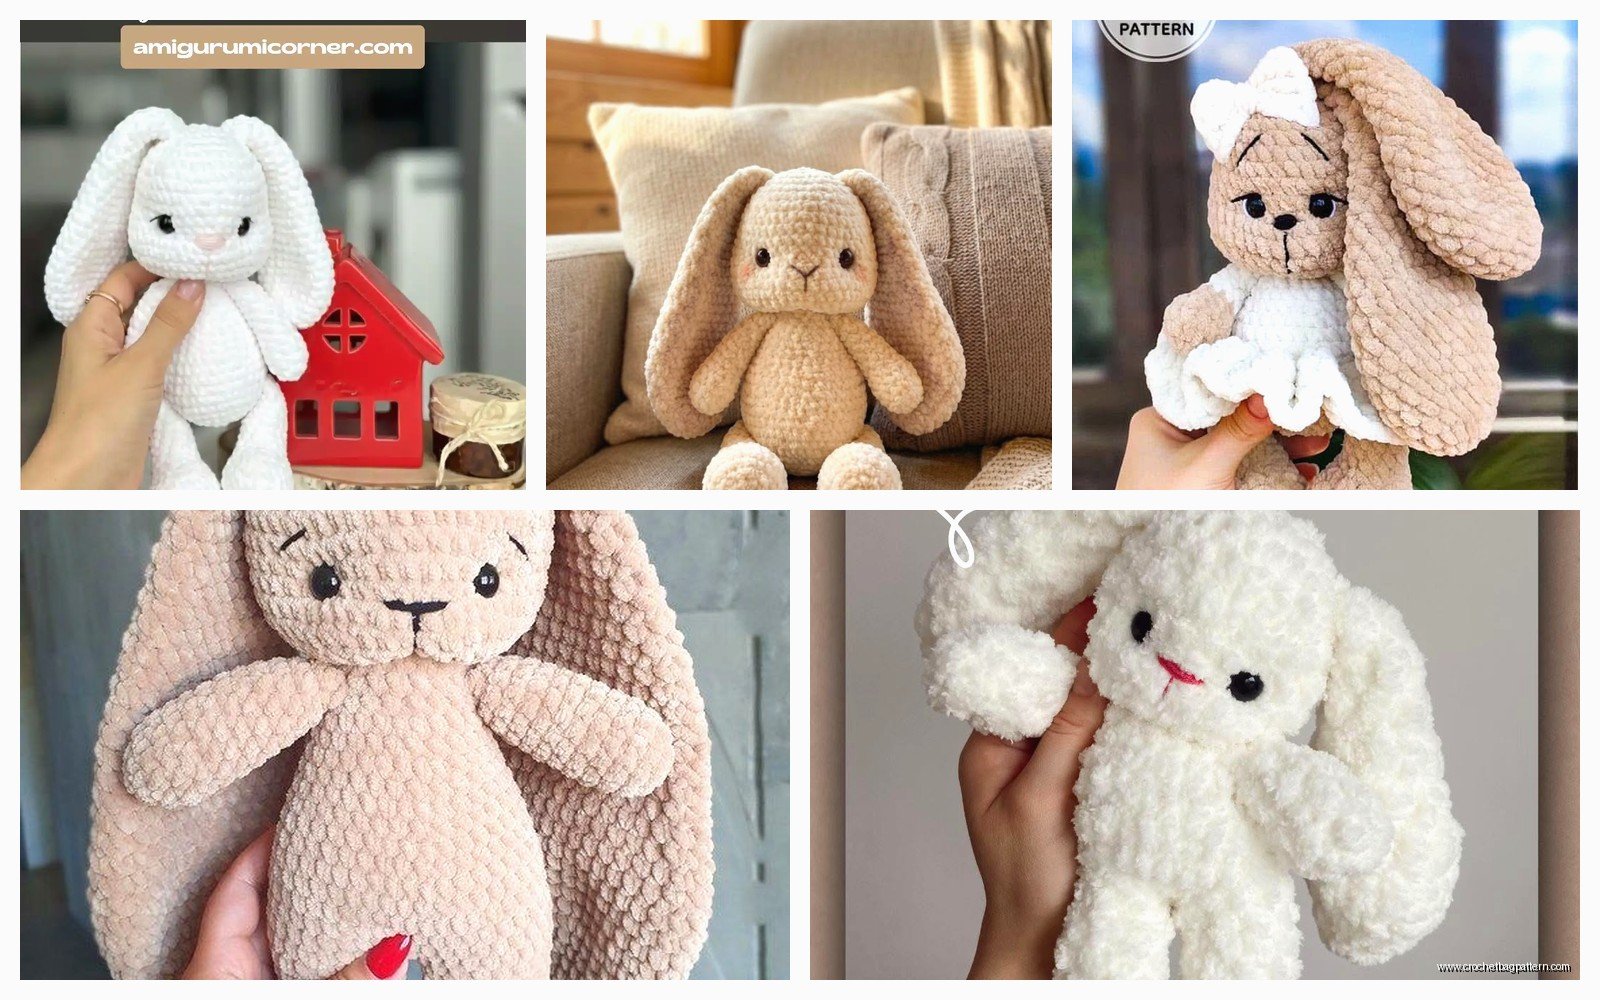
If you wanna get fancy you can add cheek blushes with actual makeup blush and a cotton swab which sounds weird but works. Just don’t use too much or it looks like your bunny has a fever.
Tail Situation
The tail is literally the easiest part. Make a small pom pom or just crochet a tiny ball – magic ring with 6, increase to 12, maybe one round of 18 if you want it bigger, then decrease back down and stuff it lightly. Sew it on the butt area. Done. Some people get really extra with fluffy yarn for the tail and honestly it does look good, like that Red Heart Pomp-a-doodle stuff or whatever it’s called makes really pouffy tails.
Yarn Weight and Hook Size Real Talk
Most bunny patterns use worsted weight yarn (the #4 medium stuff) with like a 3.5mm or 4mm hook. But you’re gonna want to go down a hook size from whatever the yarn label recommends because amigurumi needs to be tight so the stuffing doesn’t show through. If your stitches are loose enough that you can see white stuffing poking through, your hook is too big or your tension is too loose.
I’ve made bunnies with Caron Simply Soft which is really nice and soft but splits easily so you gotta be careful not to stab through the yarn with your hook. Red Heart Super Saver is cheaper and more durable but not as soft – fine for decorative bunnies, maybe not the best for a baby toy. Bernat Blanket yarn makes HUGE chunky bunnies if you use like an 8mm hook which is fun for a fast project but they’re less detailed.
The summer 2024 one I made used some random cream colored yarn I found at a thrift store, no idea what brand, but it worked fine. That one was supposed to be a gift for my niece but I messed up one of the arms so it’s slightly longer than the other and it bothered me so much I kept it and made her a different one.
Assembly Order That Makes Sense
Do the head and body first, stuff them, close them up. Then make all the other parts – two ears, two arms, two legs, tail. I like to make all the parts in one session if possible because then your tension is consistent across everything. If you make one ear on Tuesday and one ear on Friday they might end up slightly different sizes which is annoying.
Sew the head to the body first. Use the same color yarn as your project and a yarn needle, go around like twice for security. Then add the ears – pin them where you want them first and make sure they’re even. Nothing worse than finishing a bunny and realizing one ear is half an inch higher than the other.
Legs go on next if you want the bunny to sit, or leave them off until after arms if it’s gonna be more of a laying down bunny. Arms can be sewn flat against the body or positioned doing different things. The tail goes on last because it’s small and easy and if you do it earlier you’ll probably smoosh it while working on other parts.
Pattern Following vs Winging It
Here’s the thing about free patterns online – they’re usually fine but sometimes they have mistakes or unclear instructions because they’re free and not professionally edited. If a pattern tells you to do something that seems weird, like increasing three times in one round for no reason, double check the stitch count. Math errors happen.
You can also totally wing it once you understand the basic sphere and tube shapes. Like if a pattern says to increase to 42 stitches but your yarn is thicker and it’s already looking big enough at 36, just stop there. The bunny police aren’t gonna arrest you for modifying a pattern.
Honestly after making like three or four bunnies you probably won’t need a pattern anymore except maybe for the increase/decrease numbers if you forget them. The shape is pretty intuitive once you get it.
Common Problems I’ve Had
Lumpy stuffing is the big one. Use polyester fiberfill and pull it apart into small pieces before stuffing instead of shoving big chunks in. Work it into the nose area and edges first, then fill the middle.
Wobbly head happens if you don’t sew it on securely enough or if the body opening is too big. I sometimes put a little cardboard circle inside the body neck area for stability on bigger bunnies.
Legs that won’t let the bunny sit usually means they’re positioned wrong or not stuffed firm enough. The bunny needs a flat bottom basically so the legs and butt all contact the surface.
One limb being different than the other is usually a tension thing or you miscounted stitches. I use stitch markers every 10 stitches on longer pieces so I know if I’m off.
If your magic ring has a hole in the middle you either didn’t cinch it tight enough at the start or you need to use the invisible finish method where you thread the yarn through the front loops of the last round before pulling tight.
Stuff Nobody Mentions But Should
Your bunny might look kind of rough until you add the face. Like I’ve had ones where I finished assembly and thought it looked terrible and weird, then I put the eyes and nose on and suddenly it looked cute. The face really does like 80% of the work.
Blocking doesn’t really work on amigurumi since it’s stuffed and three dimensional, so don’t worry about that. Your stitches don’t need to be perfect.
If you’re making a bunny for a baby you gotta use embroidered eyes instead of safety eyes because babies can apparently pop those backs off and choke on them? Also make sure all your ends are woven in really well and maybe go over the seams twice.
The color matters more than you’d think for how the bunny looks. White or cream is classic, gray is cute, but weird colors like green or blue make it look more like a toy than a realistic bunny. Not bad just different vibes.
You can add accessories like little vests or bows or whatever but do that after the bunny is completely done because trying to crochet a tiny vest that actually fits is harder than making the bunny itself.
Oh and if you’re gonna make like a dozen bunnies for craft fair or whatever, make an assembly line system where you do all the heads, then all the bodies, then all the ears, etc. Way faster than making one complete bunny at a time. I learned that the hard way when I tried to make six for Easter gifts and it took forever because I kept switching between parts.
