
May
Finding Free Doll Patterns Online
So basically you just start by searching “free amigurumi doll pattern” or whatever and you’ll get like thousands of results but most of them are garbage honestly. I made this really cute bunny doll back in spring 2022 when I was binge-watching that show Severance and I must’ve looked through maybe 30 patterns before finding one that actually made sense. The thing that really annoyed me was how many patterns assume you already know what they’re talking about with the abbreviations and they don’t even include a key at the top.
The best free patterns I’ve found are usually on individual blogs rather than those big pattern aggregator sites. Ravelry has tons but you gotta filter through the paid ones. Pinterest links are honestly hit or miss because half the time they link to pages that don’t exist anymore or want your email before showing you anything.
What You Actually Need to Start
Don’t overthink the supplies at first. You need:
- Yarn in whatever colors your doll needs
- A crochet hook that matches the yarn weight
- Stuffing (polyester fiberfill)
- Safety eyes if you want them or just embroider eyes
- Yarn needle for sewing pieces together
- Stitch markers because you will lose count I promise
For yarn I usually grab Red Heart Super Saver because it’s cheap and everywhere, or sometimes Hobby Lobby’s I Love This Yarn brand when they have good colors. I used Lion Brand Vanna’s Choice for a doll I made last summer in July 2024 and it was actually really nice to work with, softer than the Red Heart but still sturdy enough that the doll held its shape.
Reading the Pattern Without Losing Your Mind
Okay so most doll patterns are written in rounds not rows. They’ll say something like “Rnd 1: 6 sc in magic ring” and that means you’re making a magic circle with 6 single crochet stitches. If you don’t know how to do a magic ring just YouTube it, there’s no way to explain it in text that makes sense.
The parentheses and brackets are gonna tell you what to repeat. Like “(sc, inc) x 6” means you do one single crochet then one increase, and you repeat that whole thing 6 times around. The stitch count at the end of each round is super important – that’s how you know if you messed up. I never counted stitches when I first started and wondered why my dolls looked wonky.
Common abbreviations you’ll see:
- sc = single crochet
- inc = increase (2 sc in same stitch)
- dec = decrease (sc 2 together)
- ch = chain
- sl st = slip stitch
- hdc = half double crochet
- dc = double crochet
Most basic doll bodies use just sc, inc, and dec though.
Starting With the Head Usually
Like 90% of doll patterns start with the head because it’s the biggest part and if you hate making it you can quit before wasting yarn on the whole body. You’ll typically start with that magic ring, then increase every round for a few rounds until you get to the widest part of the head. Then you work even (no increases or decreases) for several rounds to make the sides of the head. Then you decrease back down to close it up.
The pattern will look something like:
Rnd 1: 6 sc in magic ring [6] Rnd 2: inc in each st around [12] Rnd 3: (sc, inc) x 6 [18] Rnd 4: (2 sc, inc) x 6 [24]
And so on. The numbers in brackets are your stitch counts. Always count. My cat knocked over my coffee during round 15 of a head once and I lost track and had to unravel like 3 rounds to figure out where I went wrong.
Stuffing and Assembly Is Where It Gets Real
Nobody tells you this but stuffing is like 40% of whether your doll looks good or terrible. You want it firm but not rock hard. I usually stuff as I go, especially with the head – don’t wait until it’s completely closed up or you can’t get enough stuffing in there and can’t shape it properly.
For safety eyes, you gotta put those in before you close up the head completely. The pattern should tell you what round to place them on and how many stitches apart. I usually place them with pins first to see if I like the positioning because once you snap the backs on they’re not coming out without destroying your work. That’s the thing that annoyed me most when I made that bunny in 2022 – I put the eyes on too far apart and she looked derpy but I was too far along to start over so now I have a derpy bunny.
Making the Body and Limbs
Bodies are usually pretty straightforward, kind of like a cylinder or oval shape. You make them the same way as the head – start small, increase to full width, work even, then decrease at the bottom or leave it open depending on if you’re attaching legs or not.
Arms and legs are the tedious part because you have to make multiples and they need to match. I usually make both arms in one sitting so I remember exactly what I did. Some patterns have you make legs and attach them, others have you start the body from the legs up which means you make both legs then join them together and continue up into the body. Those ones are actually easier because fewer pieces to sew.
For a basic arm pattern you might see:
- Start with magic ring
- Increase for the hand
- Maybe some even rounds for the palm
- Decrease slightly for the wrist
- Work even up the arm
- Stuff lightly and sew closed
Different Doll Styles You’ll Run Into
There’s like different types of crochet dolls and they all have slightly different construction methods.
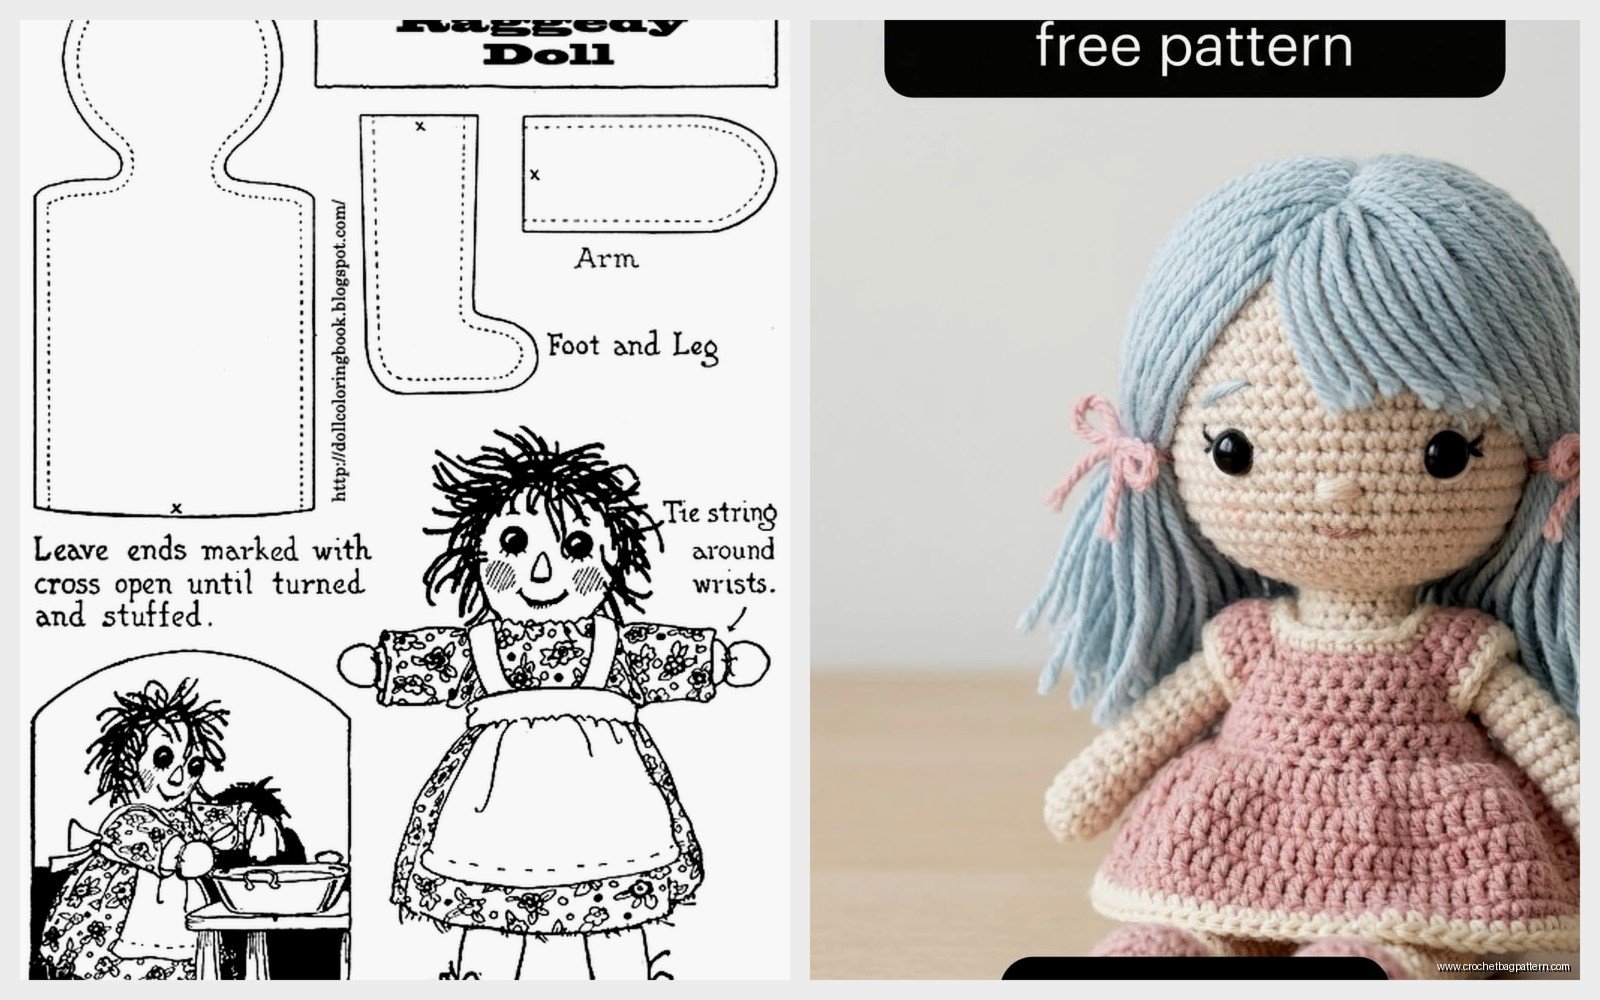
Amigurumi dolls are the Japanese-style ones with big heads and small bodies. Usually super cute and chibi-looking. These are worked in continuous spiral rounds almost always.
Realistic proportioned dolls try to look more like actual human proportions. Harder to make stand up on their own. Need more attention to shaping.
Flat dolls are worked in rows instead of rounds and are basically 2D. Good for beginners actually because you just make a front and back and sew them together.
I mostly make the amigurumi style because they’re cuter and more forgiving if your stitches aren’t perfect.
Clothes and Accessories
Some patterns include clothes and some don’t. Making tiny doll clothes is honestly more annoying than making the actual doll sometimes because everything is so small and fiddly. I made a doll last summer during that heat wave in July and tried to make her a little dress and almost gave up halfway through because my hands were sweating and the yarn kept slipping.
Simple doll clothes patterns:
- Dresses are usually just worked in rounds around the body, start at waist and work down
- Pants you make two leg tubes then join them
- Hats are like tiny beanies
- Scarves are just long rectangles
You can honestly just crochet directly onto the doll for some clothes which is way easier than making separate pieces. Like if you want a shirt you can just attach yarn at the neck and crochet down over the body.
Hair Is Its Own Whole Thing
There’s so many ways to do doll hair and I hate all of them equally. Just kidding but seriously it’s tedious.
Yarn hair methods:
- Cutting strands and tying them onto the head one by one
- Crocheting a wig cap then attaching strands
- Using loop stitch to create curly texture
- Embroidering hair directly onto the head
- Making braids or pigtails from yarn bundles
I usually just cut a bunch of strands the same length, fold them in half, and use a crochet hook to pull the loop through a stitch on the head then pull the ends through the loop. Do this like 50 times and you have hair. It takes forever and your fingers will hurt but it looks good when it’s done.
For yarn hair I really like Caron Simply Soft because it has a nice sheen and doesn’t frizz as much as Red Heart. I used some Bernat Satin once and it was too slippery and kept coming undone.
Facial Features
Besides the eyes you gotta add a face. Most patterns don’t give specific instructions for this so you just kinda wing it.
For embroidered eyes instead of safety eyes, you can do French knots or satin stitch. YouTube is your friend here because… I don’t even know how to explain embroidery in words honestly.
Noses are usually just a small triangle or a few stitches in a V shape. Or skip it entirely, lots of cute dolls don’t have noses.
Mouths can be a simple line, a smile, or nothing. I usually just do a few straight stitches in a smile shape with embroidery floss.
Blush is optional but cute – you can use actual makeup blush and a q-tip to add pink to the cheeks. Just use a tiny amount or it looks clownish.
Common Problems You’ll Hit
Your doll leans to one side or won’t sit up – this is usually because the stuffing isn’t distributed evenly or the body is too heavy for the base. Add more stuffing to the bottom or make the base wider.
Lumpy stuffing that shows through the stitches – you’re either using cheap stuffing that clumps or your stitches are too loose. Pull small pieces of stuffing apart before putting them in. Or use a smaller hook so your stitches are tighter.
Arms or legs are different sizes – yeah this happens. I just embrace it now. You can frog the weird one and remake it or just tell people it’s character.
The head is floppy – not enough stuffing or you need to add a neck. Some patterns include a neck piece between the head and body that helps with stability.
Lost your place in the pattern – this is why stitch markers exist. Put one at the beginning of each round so you know where you are.
Modifying Patterns
Once you make a few dolls from patterns you can start changing things. Want bigger eyes? Place them further apart and use a larger size. Want a fatter body? Add more increase rounds before working even. Want longer legs? Just work more even rounds in the leg section.
Color changes are easy – just switch yarns when the pattern says to or whenever you want. I made a doll with rainbow striped legs once just because I felt like it.
You can mix and match parts from different patterns too. Like use the head from one pattern and the body from another. As long as the stitch counts work out okay you’re good.
Where to Actually Find Good Free Patterns
Specific sites and blogs I actually use:
Ravelry – filter by free and read the comments to see if the pattern is written clearly
Amigurumi Today – they have a ton of free patterns and they’re usually well-written
Super Cute Design – lots of free amigurumi including dolls
All About Ami – really clear patterns with lots of photos
Individual YouTube channels – lots of people do video tutorials which can be easier to follow than written patterns. Clubcrochet and Hooked by Robin have good ones.
Just search the specific thing you want like “free crochet mermaid doll pattern” and look for results that are actual blog posts not Pinterest spam or pattern sites trying to get you to sign up for something.
Video Tutorials vs Written Patterns
Video tutorials are great when you’re starting out because you can see exactly what to do. The annoying part is you have to keep pausing and rewinding. I usually watch a video tutorial once to understand the construction then find a written pattern to actually follow because I can work at my own pace.
Some video creators put the written pattern in the video description which is perfect. Others make you go to their blog or Patreon which is whatever, they gotta make money somehow.
The nice thing about written patterns is you can print them out or pull them up on your phone and just glance at them as you work. Videos you need your device right there and you get yarn fuzz all over your screen.
Yarn Weights and Hook Sizes
Most doll patterns use sport weight or DK weight yarn with a 3mm-4mm hook. This gives you a tight fabric that holds stuffing well and doesn’t show gaps.
You can use worsted weight yarn (Red Heart Super Saver is worsted) with a 4mm or 5mm hook for bigger dolls. Just know that if the pattern calls for sport weight and you use worsted, your doll will be bigger than the pattern says.
I don’t really recommend using thinner yarn than sport weight for dolls because it takes forever and the dolls end up tiny and fiddly. Unless you want a tiny doll I guess.
The hook size matters more than you think – using a smaller hook than recommended gives you tighter stitches which is good for dolls so the stuffing doesn’t show through. I usually go down half a size from what the yarn label suggests.
Gauge Doesn’t Really Matter
Unlike garments where gauge is super important, with dolls it doesn’t matter as much. If your doll ends up a different size than the pattern says who cares? As long as all the pieces are proportional to each other it’s fine.
The only time gauge matters is if you’re making clothes separately and need them to fit the doll. Then you might need to adjust.
How Long It Actually Takes
A basic doll with no clothes or accessories takes me maybe 4-6 hours spread over a few days. That’s if I’m watching TV and not focusing super hard. If I really concentrate I could probably do it in 3 hours but what’s the point of rushing.
Adding clothes, hair, and details can add another 2-4 hours depending on how complicated you get.
I made a really detailed doll with an elaborate dress and long yarn hair back in spring 2022 and it took me like 12 hours total over a week. That was when I was avoiding dealing with my breakup so I just crocheted constantly instead of thinking about it. Worked great as distraction therapy honestly.
Your first doll will take longer because you’re figuring things out. That’s normal. Don’t compare your speed to people on Instagram who claim they made a doll in an hour – they’re either lying or they’ve made that exact doll 500 times before.
