
May
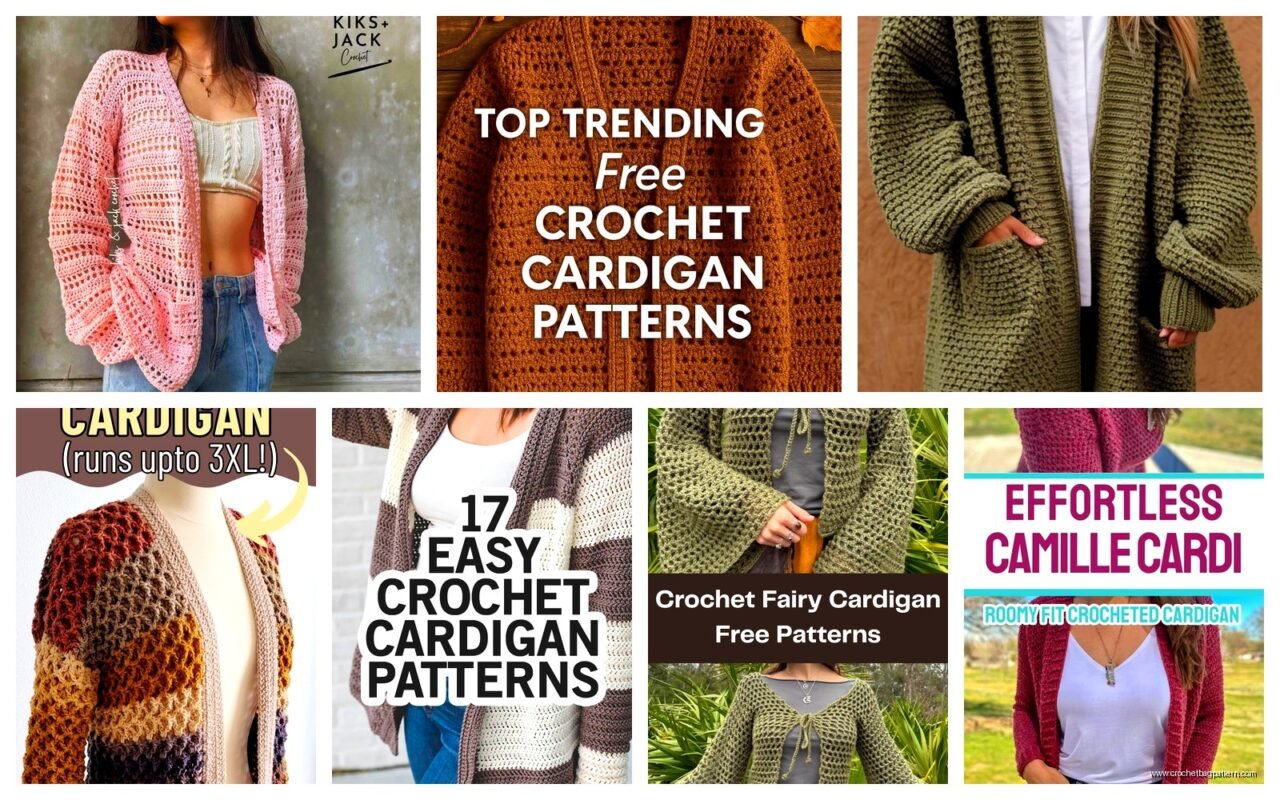
So You Want to Make a Crochet Cardigan
Okay so the first time I actually finished a cardigan was spring 2022 and honestly I was watching way too much Succession while making it which probably explains why I kept losing count of my stitches. The thing about cardigans is they look super complicated but they’re really just rectangles and sleeves sewn together if you think about it in the most basic way possible.
You’re gonna need to figure out your gauge first which is annoying but necessary. I used to skip this and then wonder why my cardigans looked like they’d fit either a giant or a toddler. Cast on like 20 stitches in whatever stitch pattern you’re planning to use and measure it. If the pattern says you need 4 inches to equal 16 stitches and yours is way off, change your hook size. Go up if it’s too tight, down if it’s too loose.
Picking Your Yarn and Stuff
I’ve used Lion Brand Wool-Ease for a couple cardigans and it’s decent for the price. Not scratchy which matters if you’re actually gonna wear the thing. Caron Simply Soft is another one that works but it can split like crazy when you’re working with it which was the most annoying part when I made a cardigan last summer. Just constantly having to check that I hadn’t split the yarn with my hook.
For a basic cardigan you probably want somewhere between 1000-2000 yards depending on the size. I always buy extra because running out of yarn when you’re almost done is the worst feeling and trying to match dye lots later is basically impossible. Get an extra skein or two, you can always use it for something else.
The Basic Construction Methods
There’s like three main ways people make cardigans and each one has pros and cons I guess.
Top-down raglan: You start at the neck and work down which means you can try it on as you go. This is nice because you can adjust the length without ripping out a ton of work. The raglan increases happen at four points and create those diagonal lines from neck to underarm. It’s pretty straightforward once you get the rhythm of it.
Bottom-up in pieces: Make the back panel, two front panels, and two sleeves separately then seam them together. This is how I learned to do it originally and honestly it feels more manageable because you’re working on smaller pieces. The seaming part is tedious though, not gonna lie.
Side-to-side: You work from one side seam across the back and fronts to the other side seam. The sleeves get added separately. I’ve only done this once and it was… fine I guess? Felt weird not working bottom to top.
Actually Starting the Thing
Let’s say you’re doing bottom-up in pieces because that’s easiest to explain without a specific pattern in front of us.
The Back Panel
Chain enough stitches to equal the width you need across the back. For a medium size that’s usually around 20 inches or so but check your measurements. I measure one of my existing cardigans that fits well and use that as reference.
Work in your chosen stitch until it’s long enough to reach from your hip to your underarm. That’s usually like 14-16 inches but everyone’s different. Then you’re gonna shape the armholes which just means you decrease on both sides. I usually chain 1, turn, skip the first couple stitches, then work across until there’s a couple stitches left, turn. Do that for a few rows until the armhole is deep enough.
Keep working straight up for the rest of the back until it reaches your shoulder. The total length from bottom to shoulder is usually around 24-26 inches for a medium.
The Front Panels
Each front is basically half the back width plus a little extra for overlap if you want buttons. So if your back is 20 inches, each front should be about 11-12 inches wide.
Work the same way as the back until you get to the armhole, then shape that side the same way. But here’s where it gets different – you also need to shape the neckline. When you’re getting close to shoulder height, you’ll start decreasing on the neck edge too. This creates that V or scoop shape in front.
I always mess up and make the necklines not match exactly which is why I usually do a border around the whole thing later to hide any weirdness.
Sleeves Are Their Own Thing
Sleeves can be worked flat and seamed or in the round, your choice. I prefer flat because then everything gets seamed together at once and it feels more consistent.
Start at the cuff with fewer stitches – maybe like 8-9 inches around. Work up and increase on both sides every few rows. The rate of increase depends on how fitted you want them but generally every 4-6 rows is normal. My cat kept trying to lay on the sleeve I was working on during that summer 2024 cardigan which made counting increases super difficult.
When you get to the armhole depth, you’ll do the same shaping as the body pieces. Then bind off.
Seaming Everything Together
This is where it starts looking like actual clothing instead of random rectangles. Use a yarn needle and the same yarn you crocheted with, or something similar if your yarn is too thick or splitty.
Mattress stitch is your friend here. It creates an invisible seam if you do it right. Basically you’re picking up the bars between stitches on each piece and pulling them together. There’s videos online that show it better than I can explain in text but once you get the hang of it, it goes pretty quick.
Seam the shoulders first, then attach the sleeves to the armholes (this part is always fiddly and takes forever), then seam up the sides and under the arms in one continuous line.
The Bands and Edges
Now you probably want to add borders because the edges look kinda rough. Single crochet around the entire front opening and neck is standard. I usually do 2-3 rows of single crochet.

If you’re adding buttons, space them out evenly on one front band and make buttonholes on the other. Buttonholes are just chain spaces – chain 2 or 3, skip the same number of stitches, continue with single crochet. On the next row you’ll work stitches into those chain spaces.
The one thing that really annoyed me during that spring 2022 cardigan was getting the button bands to lay flat. They kept curling or puckering and I ended up ripping them out twice before I figured out I was working too tightly. You want the border to have the same tension as the body or it’ll pull weird.
Yarn Weight Matters More Than You Think
I’ve made cardigans in everything from sport weight to bulky and they all work differently. Sport weight (like Knit Picks Swish Sport which I used once) takes forever but drapes really nicely and looks more professional. Worsted weight is the sweet spot for time versus drape. Bulky works up fast but can look kinda chunky depending on the stitch pattern.
If you’re using a pattern written for one weight and want to substitute another, you’ll need to do math which is… well it’s not fun but it’s necessary. The gauge becomes even more important here.
Stitch Patterns That Work Well
Not all stitches are good for cardigans. You want something with decent drape that won’t be too stiff or too loose.
Half double crochet: My go-to for simple cardigans. Works up faster than single crochet, not as holey as double crochet. Creates a nice fabric that’s not too thick.
Granny stitch: Those cluster stitches with chain spaces between. Very drapey, kind of boho looking. Uses more yarn than you’d think though.
Moss stitch: Alternating single crochet and chain 1. Creates a nice texture without being too complicated. I made a moss stitch cardigan in like summer 2024 and it’s actually the one I wear most because the texture hides any tension irregularities.
V-stitch: Double crochet, chain, double crochet all in one stitch. Pretty and lacey but you’ll need a tank top under it.
Avoid anything too lacy or with long stitches for your first one because it’s harder to keep track of where you are and the fabric might be too unstable.
Sizing is Honestly the Hardest Part
Even with a pattern, getting the fit right is tricky. Crochet doesn’t have as much stretch as knitting so you need to be more precise with measurements. I measure my bust, the length I want from shoulder to hip, my arm length, and the circumference of my upper arm.
Most patterns give you a finished bust measurement which includes ease – that’s extra room so it’s not skin-tight. For a cardigan you usually want 2-4 inches of positive ease. So if your bust is 36 inches, you’d make a size that finishes at 38-40 inches.
The thing is everyone’s proportions are different so sometimes you need to make one size for the body and a different size for the sleeves or adjust the length or whatever. This is why making a gauge swatch matters even though it’s boring.
Common Problems and How to Fix Them
The cardigan is too wide: Rip it out and start over with a smaller hook or fewer stitches. Or embrace the oversized look I guess, that’s trendy sometimes.
The sleeves are too tight: You can add gussets under the arms which is basically a triangle of fabric that gives more room. Or make new sleeves, that’s what I usually do because I’m not patient enough for gussets.
It’s longer in back than front: This happens when the back panel stretched out more than the fronts, usually from being worked at different tensions. You can block it to try to even things out or just accept that cardigans sometimes do that.
The neckline is too tight: Add more rows of border or rip out the neck shaping and redo it with more decreases spread over more rows.
Blocking Makes a Huge Difference
I resisted blocking for the longest time because it seemed fussy but it really does help. Wet the finished cardigan (or steam it if the yarn can’t handle water), pin it out to the right measurements on blocking mats or towels, let it dry completely.
This evens out your stitches, helps the fabric relax into its final shape, and can fix minor sizing issues. I use regular straight pins stuck into those foam puzzle mats.
Red Heart Super Saver doesn’t block well in my experience – it’s acrylic so it kind of is what it is. But wool blends and cotton respond really well to blocking.
How Long Does This Actually Take
Depends on the size, yarn weight, and how much time you have but like… a worsted weight cardigan in a simple stitch takes me maybe 30-40 hours? That’s spread over a few weeks of working on it while watching TV or whatever. Sport weight takes longer, bulky is faster.
The seaming and finishing probably adds another 3-4 hours. I always underestimate how long the finishing takes and then get annoyed because I just want to wear the thing already.
Patterns vs. Winging It
Using a pattern is obviously easier especially for your first cardigan but I’ve made a few just by measuring and calculating stitches myself. The advantage of a pattern is someone already figured out the shaping and sizing. The advantage of winging it is you can customize everything.
If you’re modifying a pattern or making your own, write down what you’re doing as you go. I can’t tell you how many times I’ve finished one front panel and then couldn’t remember exactly what I did when starting the second one.
Free patterns on Ravelry are hit or miss – some are great, some have errors, some are poorly written. I usually read through the project notes from people who’ve made it before starting to see if there are common issues.
Buttons and Closures
You don’t have to use buttons. I’ve done cardigans with toggles, frogs, ties, or just left them open. But if you do want buttons, get them before you make the buttonholes so you can size the holes right.
Sewing buttons onto crochet fabric is straightforward – just make sure you go through both sides of the band and pull tight so they don’t wobble around. I use regular sewing thread doubled up.
The button band needs to be sturdy enough that the buttons don’t pull and distort it. That’s another reason why I do multiple rows of single crochet for bands – single rows tend to stretch out too much.
Anyway that’s basically the whole process of making a cardigan. The first one will probably take longer and might not fit perfectly but that’s fine, you’ll figure out what works for you. Just start with simple shapes and a basic stitch pattern and don’t overthink it too much or you’ll never actually start.