
Apr
Thread Crochet Actually Isn’t That Bad Once You Get Past the Annoying Parts
So thread crochet is basically regular crochet but tiny and you need reading glasses even if you’re only 35. I made my first real doily in spring 2022 when my sister got engaged and I had this weird idea that I’d make her something vintage-looking. Used Aunt Lydia’s Classic Crochet Thread in size 10 because that’s what they had at Joann’s and honestly it’s fine, people act like you need fancy imported thread but you don’t.
The hook sizes are gonna confuse you right away. Thread crochet uses steel hooks with weird numbering that goes backwards – the higher the number, the smaller the hook. A size 7 steel hook is about 1.65mm. I started with a 1.5mm because I had one already and it worked okay. Don’t overthink the hook thing, just get something between 1.3mm and 1.75mm and you’ll figure it out.
Reading Thread Patterns Is Different
Thread patterns are written in this old-timey abbreviation style that makes them look like code. You’ll see things like “ch 5, dc in 3rd ch from hook, *ch 2, skip 2 ch, dc in next ch* repeat around” and it seems impossible but it’s just chains and double crochets mostly. The asterisks mean repeat that section. Parentheses mean work all those stitches in the same space.
What really annoyed me was how the patterns assume you know where to put your hook. Like they’ll say “dc in ch-space” but there’s three different chain spaces visible and the diagram is blurry because it was scanned from a 1950s booklet. You kinda have to guess sometimes and see if it looks right after a few stitches.
Here’s the basic stitches you’ll use:
- Chain (ch) – you know this one
- Slip stitch (sl st) – for joining rounds mostly
- Single crochet (sc) – same as regular but tinier
- Half double crochet (hdc) – barely use this in doilies honestly
- Double crochet (dc) – this is your main stitch
- Treble crochet (tr) – double crochet but with one more yarn over, makes things taller
- Double treble (dtr) – even taller, used for dramatic points
- Picots – little bumps made by chaining 3-4 and slip stitching back into the base
Starting a Doily
Most doilies start with a center ring. You can chain 6 and join it into a circle, or do a magic ring if you know how. I always chain because magic rings in thread are weirdly hard to tighten properly. Then you work rounds that build outward. Each round usually starts with chain stitches that count as your first stitch – like ch 3 counts as a dc.
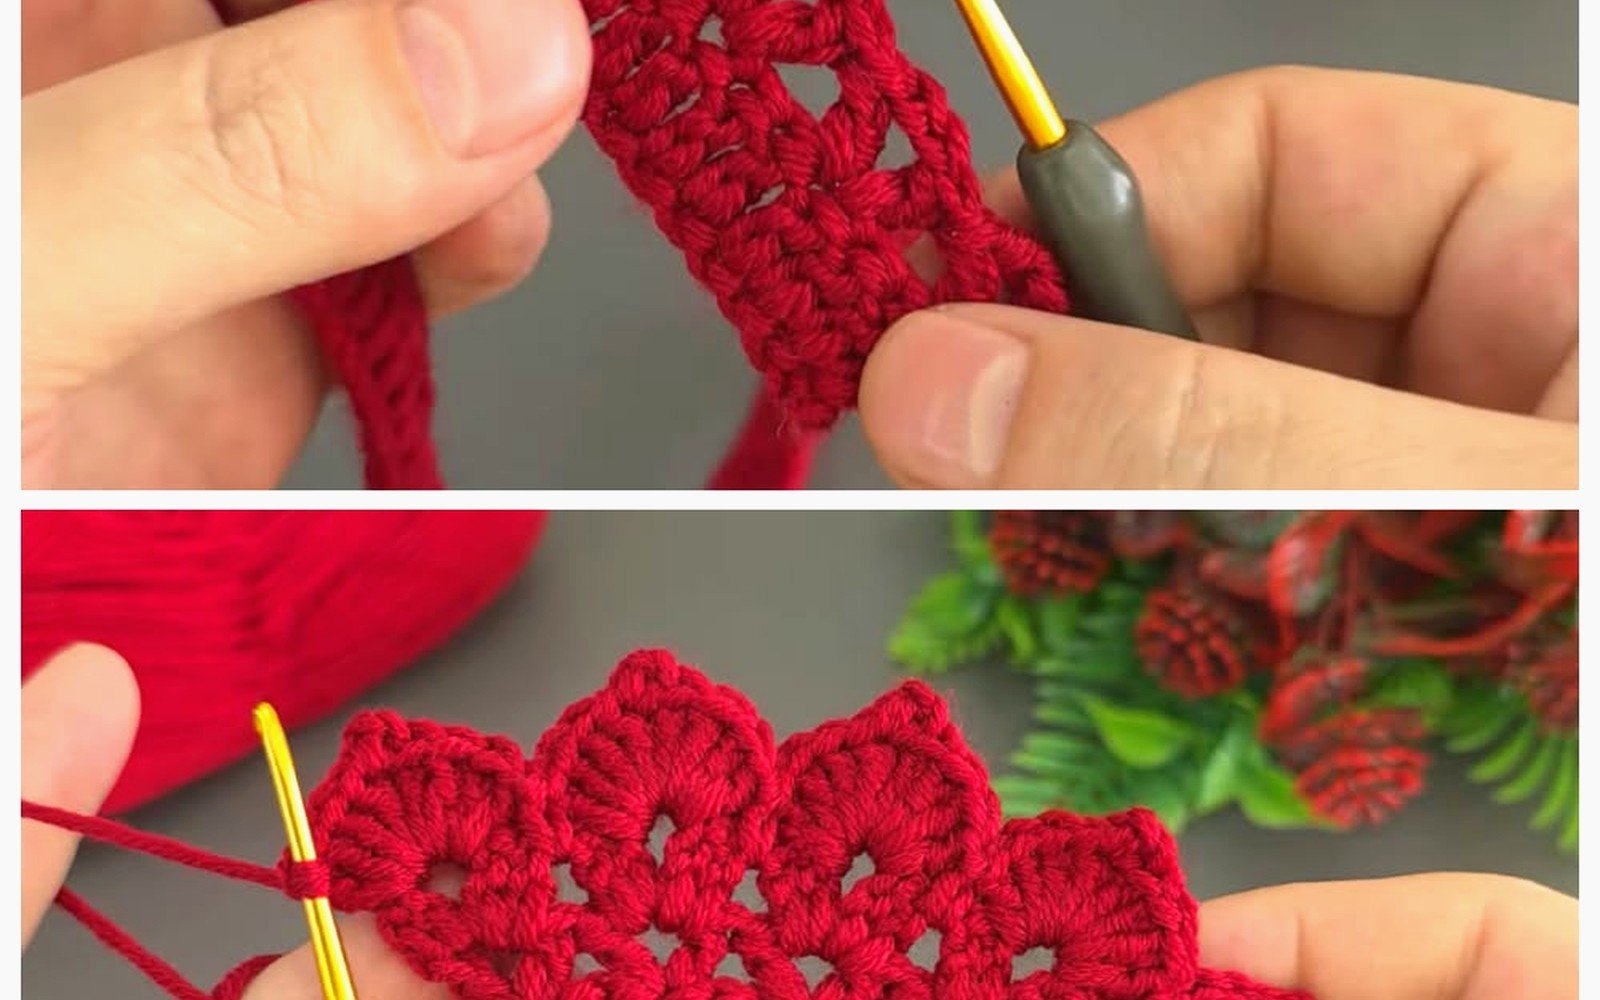
The annoying thing that nobody tells you is that your beginning chains twist sometimes and you don’t notice until you’ve done half the round and then everything looks crooked. You gotta make sure that foundation ring lays flat before you start round 2.
Tension Is Weird With Thread
Your tension needs to be consistent but not tight. If you crochet tight normally, you’re gonna have a bad time because thread doesn’t have the give that regular yarn does. My first attempt looked like a bowl instead of flat because I was strangling every stitch. DMC Cebelia is supposed to be really nice thread but I’ve never used it because it’s expensive and I’m not made of money.
I made a pineapple doily in summer 2024 while watching Love Island UK and the tension thing finally clicked. You want the stitches snug enough that you can see the pattern but loose enough that the lace effect shows through. The holes between stitches are literally the design in thread crochet, which is opposite of regular crochet where holes mean you messed up.
Blocking Is Not Optional
This was the thing that annoyed me most about thread crochet – you HAVE to block it or it looks like crumpled garbage. Blocking means pinning it out to the right shape while wet and letting it dry. Some people use starch or sugar water to make it stiff, which sounds insane but actually works.
Here’s how you block a doily:
- Wash the finished piece in lukewarm water with a tiny bit of soap
- Roll it in a towel to squeeze out water, don’t wring it
- Pin it to a blocking board or foam mat or even a mattress covered with a towel
- Use rustproof pins every inch or so around the edges
- Pull it into shape, make sure points are pointy and circles are circular
- Let it dry completely, takes like 24 hours usually
- If you want it stiff, spray with starch before it dries or soak it in sugar water first
I’ve used Red Heart Aunt Lydia’s, J&P Coats, and some random brand from Amazon that was actually fine. The cheap stuff works for practice. Size 10 thread is easiest to start with because you can actually see what you’re doing. Size 20 is thinner and makes more delicate stuff but my eyes hurt after like 20 minutes. Size 30 is for people who hate themselves.
Common Pattern Elements
Pineapple patterns show up everywhere in vintage doilies. It’s a fan shape made with clusters of stitches separated by chain spaces. You work decreasing rows to make the pineapple taper at the top. They’re actually easier than they look because it’s just repetitive.
Shell stitches are when you put like 5 dc in the same stitch or space. Makes a fan shape. You’ll see these in borders a lot.
Clusters are multiple stitches worked together at the top so they become one stitch. Usually written like “dc3tog” which means make 3 incomplete double crochets then yarn over and pull through all the loops at once.
V-stitches are just two stitches with a chain between them, made in the same space. Creates a V shape obviously.
Reading Vintage Patterns
A lot of the best thread patterns are from the 1940s-1960s and they’re written weird. They use terms like “space” to mean a chain space and “shell” but they don’t always explain what they mean by that. Sometimes they say things like “work as for Round 3” and you have to flip back and remember what Round 3 was.
The diagrams help but they’re usually black and white and printed badly. I take a photo of the diagram on my phone and zoom in while I work because squinting at the paper book gives me a headache. My cat knocked over my phone twice while I was making that pineapple doily and I lost my place both times.
Thread Colors and Types
White and ecru are traditional but you can use any color. I made a doily in dark purple once and you literally couldn’t see the pattern because the shadows disappeared. Light colors show the detail better. Variegated thread can look cool or completely chaotic depending on the pattern – you gotta pick simple patterns for variegated thread or it just looks messy.
Mercerized cotton thread is the standard. It’s been treated to make it shiny and strong. Some thread is unmercerized and looks more matte, gives a different vibe. Lizbeth thread is supposed to be really good but again, I’m usually just grabbing whatever’s on sale at Michaels.
What Makes a Good Beginner Pattern
Start with something small, like 6-8 inches across. Big doilies are impressive but you’ll quit halfway through when you realize you’ve been working on Round 23 for two hours. Look for patterns that have:
- Clear written instructions AND a diagram
- Mostly basic stitches (ch, dc, tr)
- Not too many rounds, maybe 10-15 max
- Repetitive elements so you’re not learning new things every round
Snowflake patterns are good starters. They’re usually small and fast. Coaster-sized doilies are also good because you can actually finish one in an evening and feel accomplished.
The Actual Process
You’re gonna sit there hunched over this tiny thing for hours. Get a good light, seriously. I use one of those LED desk lamps that has different brightness settings. Natural daylight is best but who has time to only crochet during the day.
Your hands will cramp if you’re not used to holding tiny hooks. Take breaks every 20 minutes or your fingers will feel like claws. I learned this the hard way when I tried to marathon a doily and couldn’t hold a pen the next day.
Count your stitches at the end of each round. The pattern will usually tell you how many you should have. If you’re off by a few, you probably missed a stitch or added one somewhere. Sometimes you can fudge it but usually it’ll get worse as you go and the whole thing will warp.
Joining New Thread
When you run out of thread mid-project, which you will because these things eat up thread like crazy, you gotta join new thread. Don’t knot it. Leave a 6-inch tail, start working with the new thread, and crochet over both tails for a few stitches. Then weave in the ends later. Knots make bumps and bumps ruin the delicate look.
Some people spit-join thread which is exactly what it sounds like – you wet the ends and twist them together. It works but it’s kinda gross and doesn’t hold super well with slippery mercerized thread.
Fixing Mistakes
When you mess up in thread crochet, and you will, you have two options. Rip it out and redo it, or just keep going and see if anyone notices. For structural mistakes like wrong stitch count, you gotta rip it. For aesthetic things like a slightly wonky picot, honestly who’s gonna look that close.
Ripping out thread is more annoying than regular yarn because it catches on itself. Go slow and use a smaller hook or even a tapestry needle to pick out stubborn stitches. I’ve definitely just cut the thread and started that section over rather than trying to unwork like 30 stitches.
What To Do With Finished Doilies
Okay so you made a doily, now what? You can:
- Put it under a vase or plant
- Frame it in an embroidery hoop
- Give it to your grandma who will actually appreciate it
- Stiffen it heavily and use it as a bowl shape
- Sew it onto a pillow
- Let it live in a drawer because you’re not actually sure what people do with doilies in 2024
I’ve made maybe seven doilies at this point and three of them are in a box somewhere. The pineapple one is on my coffee table under a plant. The purple one I mentioned earlier I gave to my friend’s mom who collects vintage stuff.
Pattern Resources
Free vintage patterns are all over the internet. Check out:
- Ravelry has thousands of thread patterns, filter by free
- Archive.org has scanned vintage crochet books
- Pinterest links to blogs that have patterns
- YouTube has video tutorials but honestly following a video for a 20-round doily is tedious
If you buy pattern books, look for ones that have both written and charted patterns. Some people prefer charts, some prefer written. I use both because when I get confused with one format I check the other.
Thread vs Yarn for Lace
You can make lace with thin yarn too, like fingering weight. It’s easier on your eyes and works up faster. But it doesn’t have that crisp, delicate look that thread has. Thread holds its shape better after blocking and has sharper stitch definition. If you’re making something that needs to look vintage and proper, use thread. If you just want the lacy effect and don’t care about authenticity, thin yarn is totally fine.
I tried making a doily with sock yarn once and it looked okay but kinda… fluffy? Not as elegant. The drape was different too, more fabric-like than lace-like.
Gauge Doesn’t Really Matter
Unlike garments where gauge is crucial, doilies don’t have to be exact. If your doily comes out 11 inches instead of 12, who cares. It’s decorative. As long as it lays flat and looks proportional, you’re good. This is actually freeing compared to regular crochet where being off gauge means your sweater won’t fit.
Some patterns will give you a finished size but it’s more of a suggestion. Your tension and thread choice will change the size anyway.
The Learning Curve
Your first thread project will take forever and look wonky. That’s normal. The second one will go faster and look better. By the third or fourth you’ll have the rhythm down and can do it while watching TV without looking constantly, though I still have to look more than with regular crochet because the stitches are so small.
Don’t start with a rectangular lace tablecloth or something ambitious. Start with a 6-inch round doily with like 8 rounds. Get the feel for the thread and how the patterns work. Then you can try bigger or more complex stuff.
Thread crochet isn’t actually harder than regular crochet, it’s just more finicky. Same techniques, smaller scale, requires more patience. If you can chain and do basic stitches, you can do thread crochet. You just gotta accept that it’ll be slower and you’ll need good lighting and maybe reading glasses even if you don’t normally wear them.
