
Apr
okay so beach cover ups
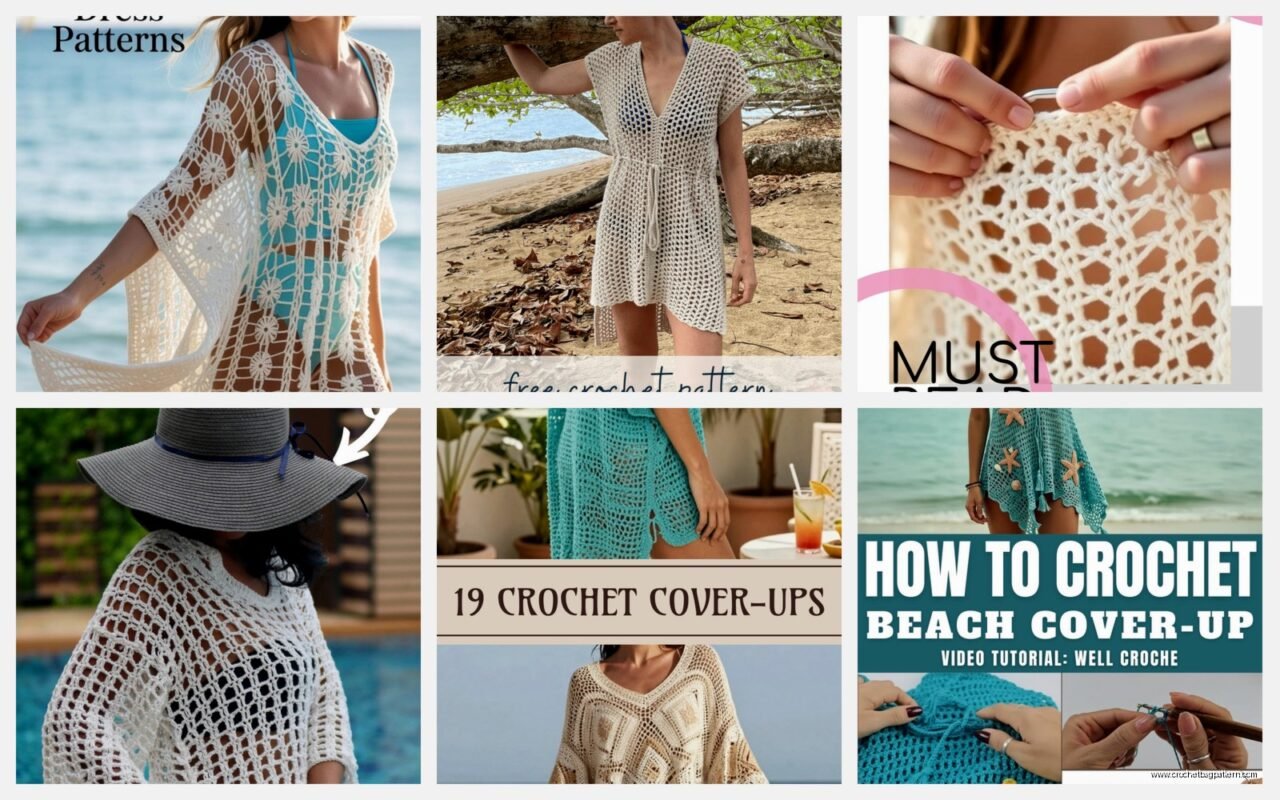
So you wanna make a crochet beach cover up and honestly it’s way easier than you’d think? I made my first one back in spring 2022 when I was basically living at my friend Sarah’s beach house for like three weeks and kept borrowing her cover ups which got awkward. Started with just a basic rectangle pattern I found on Pinterest and it actually turned out decent.
The thing about beach cover ups is they’re super forgiving because they’re supposed to be loose and flowy anyway. Like if your tension is a bit off or whatever nobody’s gonna notice because it’s literally just supposed to hang on your body while you walk from the water to your towel.
yarn choices that actually matter
You gotta use cotton or a cotton blend. I learned this the hard way because my first attempt I used Red Heart Super Saver in that seafoam color because I had a ton of it leftover from another project, and oh my god it was SO hot and sticky. Acrylic yarn when it’s like 95 degrees and humid is basically torture.
I’ve had good luck with Lily Sugar’n Cream which is cheap and comes in a million colors. It’s what a lot of people use for dishcloths but it works great for summer stuff. Bernat Handicrafter Cotton is another solid choice, maybe a tiny bit softer? I used their “Hot Green” color for one cover up last summer and it was really bright and fun.
Some people swear by Knit Picks Dishie but I’ve never ordered from them because I’m impatient and need to like touch the yarn before I buy it usually. The cotton yarn from Joann’s store brand (I think it’s called Handicrafter or something similar) is totally fine too and they always have those 40% off coupons.
basic patterns to start with
The absolute easiest beach cover up is literally just a big rectangle with holes for your arms. You can make it happen with just chain stitches and double crochet. Chain like 120 stitches or however wide you want it (measure around your body but loose), then just double crochet back and forth until it’s long enough to wrap around you.
For the arm holes you just skip like 20-30 stitches on each side when you get to about where your armpits would be, chain across that gap, then keep going. It sounds too simple to work but I promise it does.
Another easy one is the granny square vest style situation. Make a bunch of granny squares (everyone knows how to make those right?) and then sew them together in a vest shape. Leave it open in the front or add ties or buttons. I made one of these in summer 2024 while binge watching Love Island and my cat kept attacking the yarn which was annoying but whatever.
the kimono style ones
These are really popular and they look more complicated than they are. Basically you make two rectangles for the front panels and one bigger rectangle for the back. The sleeves are either part of the same piece or you add them separately.
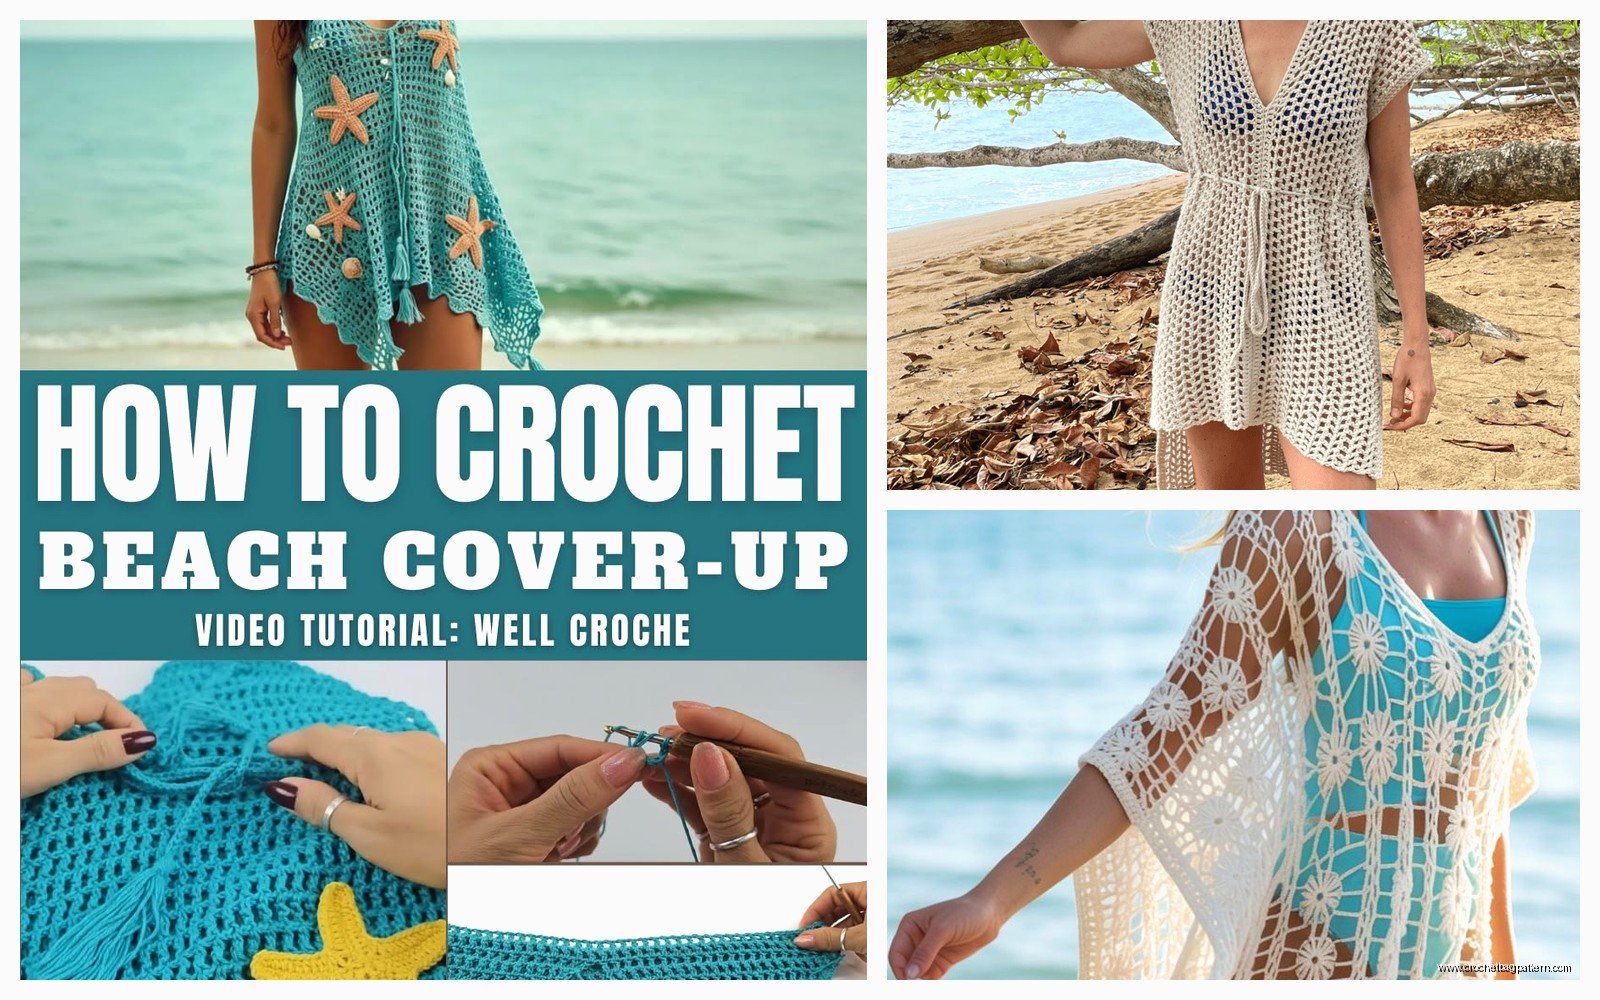
I found a free pattern on Ravelry (there’s like a thousand beach cover up patterns on there) that used a shell stitch pattern and it worked up pretty fast. The shell stitch is just like… you do multiple stitches in the same stitch to make a fan shape? Then skip a couple stitches and do it again. It makes this really pretty lacy effect that’s perfect for summer.
The thing that annoyed me SO MUCH about making kimono style cover ups is figuring out how to attach the sleeves. The pattern I used had really confusing instructions about seaming and I ended up just kind of winging it with a whip stitch. It looks fine but I spent like an hour being frustrated and googling “how to attach kimono sleeves crochet” and getting no helpful results.
actually measuring yourself
You need to measure around the widest part of your body (usually hips) and add like 6-8 inches of ease because again, this is supposed to be loose and breezy. For length I usually measure from shoulder to wherever I want it to hit, like mid-thigh or knee.
Most patterns will give you a gauge (like “16 stitches = 4 inches” or whatever) but honestly for beach cover ups I never really stress about gauge too much? If it ends up a little bigger or smaller it’s not a big deal. You’re not making a fitted sweater.
The armholes though you gotta be a little careful with. Too small and you can’t get your arms through or it’ll be uncomfortable. Too big and it looks weird and saggy. I usually try it on as I go which means lots of stopping to hold it up to my body.
stitch patterns that work well
Literally anything with holes in it is good because it lets air through and dries fast. V-stitch is super easy and looks nice – you just do a double crochet, chain 1, double crochet all in the same stitch. Skip a stitch, repeat.
Mesh stitch is another good one that’s basically chains and single crochets arranged to make a net-like fabric. It’s really lightweight and perfect for hot weather.
I tried doing one with a pineapple stitch once because I thought it would look tropical or whatever but it was way more work than it was worth. Like yes it looked pretty but also I could’ve made three simple cover ups in the time it took me to make that one.
Solomon’s knot (also called lover’s knot) makes this really cool elongated chain pattern but be warned it uses up SO much yarn because of all the long chains. I ran out of yarn when I was like 75% done with a cover up using this stitch and had to go buy more which was frustrating because of course they didn’t have the same dye lot.
sizing stuff
Most free patterns come in like 2-3 sizes maybe? Small/medium/large kind of thing. The way you adjust sizing is usually by adding or removing pattern repeats. Like if the pattern repeat is 6 stitches and you need it wider, add multiples of 6 to your starting chain.
For length you just work more or fewer rows. Pretty straightforward.
The tricky part is if you have like broader shoulders or longer arms than the pattern assumes. I have weirdly long arms (thanks genetics) so I always add a few extra rows to sleeves. You kind of have to learn to adjust patterns to fit your body which sounds scary but it’s really just common sense once you do it a few times.
finishing and details
Okay so you’ve crocheted your pieces and now you gotta put them together. I use a yarn needle and usually do a whip stitch or slip stitch to seam things. Some people get really fancy with invisible seaming techniques but like… it’s a beach cover up. Nobody’s examining your seams that closely.
For edges I usually do a round of single crochet around all the openings (neckline, armholes, bottom hem) just to clean things up and make it look more finished. You can also do a picot edge if you want it fancier – that’s where you do like single crochet, chain 3, slip stitch back into the same stitch to make a little bump.
Ties are easy to add if you want the cover up to close in front. Just chain however long you want them (I usually do like 12-15 inches) and attach them at the sides. You can also use ribbon or cord instead of crocheted ties.
fringe situation
Some people love adding fringe to the bottom or sleeves of beach cover ups. I’m personally not a huge fan because it gets tangled but it does look beachy and fun. To make fringe you cut a bunch of yarn pieces twice as long as you want the fringe to be, fold them in half, pull the loop through the edge of your work, then pull the ends through the loop. Do that a million times along the edge.
There’s also this thing where you can add shells or beads to the fringe which looks cute in theory but seems like it would be annoying when you’re trying to fold up your cover up to put in your beach bag.
actual free patterns worth looking at
Ravelry has tons obviously. Search for “beach cover up” or “kimono” and filter by free patterns. Some are definitely better written than others though so read the project notes from people who’ve made them before you commit.
I made one called the “Easy Breezy Cover Up” or something like that and it was actually easy and breezy like the name said. Just a simple rectangle with strategic seaming.
There’s also patterns on YouTube where people do video tutorials which can be helpful if you’re more of a visual learner. I usually watch on like 1.5x speed because some people talk really slow or spend forever showing you stuff you already know how to do.
AllFreeCrochet website has a bunch too. The patterns are hit or miss in terms of how well they’re written but they’re free so can’t complain too much.
yarn amounts
This depends so much on the pattern and size but generally you’re looking at like 600-1200 yards for a basic cover up? Maybe more if it’s long or has sleeves. I always buy extra because nothing’s worse than running out of yarn right at the end.
Cotton yarn usually comes in those 120 yard balls (at least Lily Sugar’n Cream does) so you might need like 6-10 balls depending on the project. I know that sounds like a lot but cotton yarn is pretty cheap especially when it’s on sale.
Keep your receipt and don’t take the labels off the extra balls until you know for sure you won’t need them. Most craft stores let you return unused yarn.
things that can go wrong
Your tension might change as you work which can make the fabric wonky. This happens to me if I’m crocheting while watching TV and I get really into a scene – I’ll either crochet super tight when it’s tense or super loose when I’m relaxed. Try to stay consistent or at least aware of it.
The arm holes might end up in the wrong place. This is why trying it on as you go is important even though it’s annoying to keep stopping.
Cotton yarn can stretch out when it gets wet, so your cover up might get a little longer/droopier after you wear it to the beach a few times. This is normal and not really preventable. Just maybe make it slightly shorter than you think you want it.
Running out of yarn in a different dye lot was already mentioned but seriously this is so annoying. Buy all your yarn at once from the same dye lot if possible.
care instructions
Cotton yarn stuff can go in the washing machine on gentle cycle. I usually put mine in a lingerie bag so it doesn’t get stretched out. Lay flat to dry or hang it up but be aware it might stretch when wet.
Don’t put it in the dryer unless you want it to shrink potentially. Cotton can shrink in high heat.
If it gets really sandy at the beach just shake it out good and rinse it in cold water when you get home. Sand has a way of working itself into all the little stitches and— okay that’s probably enough about sand.
The colors might fade over time from sun and chlorine exposure but that kind of gives it a nice worn-in beachy vibe anyway? Or at least that’s what I tell myself when my bright turquoise cover up starts looking more like faded denim.
anyway that’s basically everything I know about making crochet beach cover ups. start with something simple, use cotton yarn, don’t stress too much about perfection because it’s literally beachwear. you’ll figure out what works for your body and style as you make more of them
