
Apr
Making Those Little Scandinavian Gnome Guys
okay so nisse gnomes are actually way easier than they look but nobody tells you the annoying parts until you’re already halfway through one. I made my first one back in spring 2022 when I was binge-watching that chef show on Netflix, the one with all the yelling, and I needed something to do with my hands that wasn’t scrolling my phone for the hundredth time.
The basic shape is just a cone body with a big nose sticking out and a hat that flops over. That’s it. But getting the proportions right so it doesn’t look like a weird potato with a tumor took me like three tries.
What You Actually Need
You need worsted weight yarn in whatever colors you want. I used Red Heart Super Saver for the hat because I had a ton of it laying around in this burgundy color called Claret. The body I did in Lily Sugar’n Cream in Ecru because I wanted that natural linen look but honestly any cream or beige works. For the nose I grabbed some Caron Simply Soft in a peach tone.
Hook size depends on how tight you crochet but I use a 4mm or G hook usually. You want the fabric tight enough that stuffing doesn’t show through. Polyfil stuffing, whatever’s cheap. A yarn needle for sewing parts together.
Some people use those fancy wooden beads for noses but crocheting a little ball and stuffing it works fine and doesn’t require a trip to the craft store.
Starting With The Body
The body is just a cone shape worked in continuous rounds. Start with a magic ring, do like 6 single crochet into it. Then you’re gonna increase every round for a bit to make the base wider.
Round 2: increase in every stitch so you have 12 stitches. Round 3: increase every other stitch for 18. Round 4: every third stitch gets an increase for 24. Keep going like this until your circle is about 3 inches across or whatever size you want the base to be.
Once you hit your base width just keep crocheting in single crochet with no increases. The piece will naturally start forming a tube that curves into a cone as you work. Keep going until it’s as tall as you want. Mine are usually about 5 inches tall from base to top but I’ve seen people make tiny ones that are like 2 inches.
What annoyed me SO MUCH about this part is that the cone wants to be floppy and won’t stand up on its own until you stuff it, but you can’t stuff it properly until you’ve attached the nose and done a bunch of other stuff, so you’re just working with this sad deflated fabric cone for way longer than feels right.
The Nose Situation
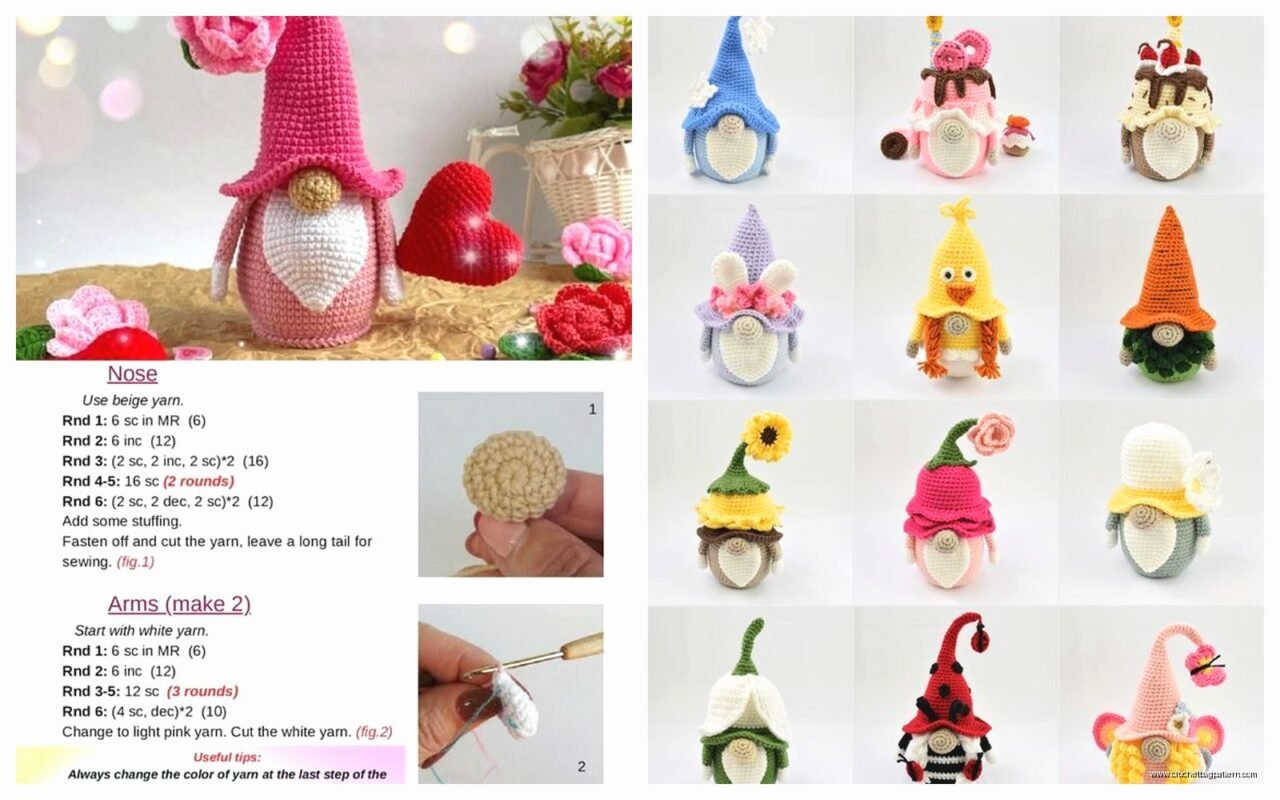
The nose is what makes it actually look like a nisse instead of just a random cone. You crochet a small ball separately. Magic ring with 6 sc, then increase to 12, maybe one more round to 18 if you want a bigger nose. Then just sc without increasing for like 3 or 4 rounds to make it ball-shaped instead of flat. Decrease back down and stuff it before you close it up completely.
Position the nose about a third of the way down from where the top of the body will be. Not in the middle, that looks weird. Sew it on really securely because it’s gonna stick out and be the first thing that gets bumped into stuff.
I’ve seen people hot glue them on but that seems like a disaster waiting to happen when you’re working with something that’s supposed to be kinda soft and cuddly.
Beard Options
Traditional nisse have these big fluffy beards. You can do this a bunch of ways and honestly I’m still figuring out which method I like best.
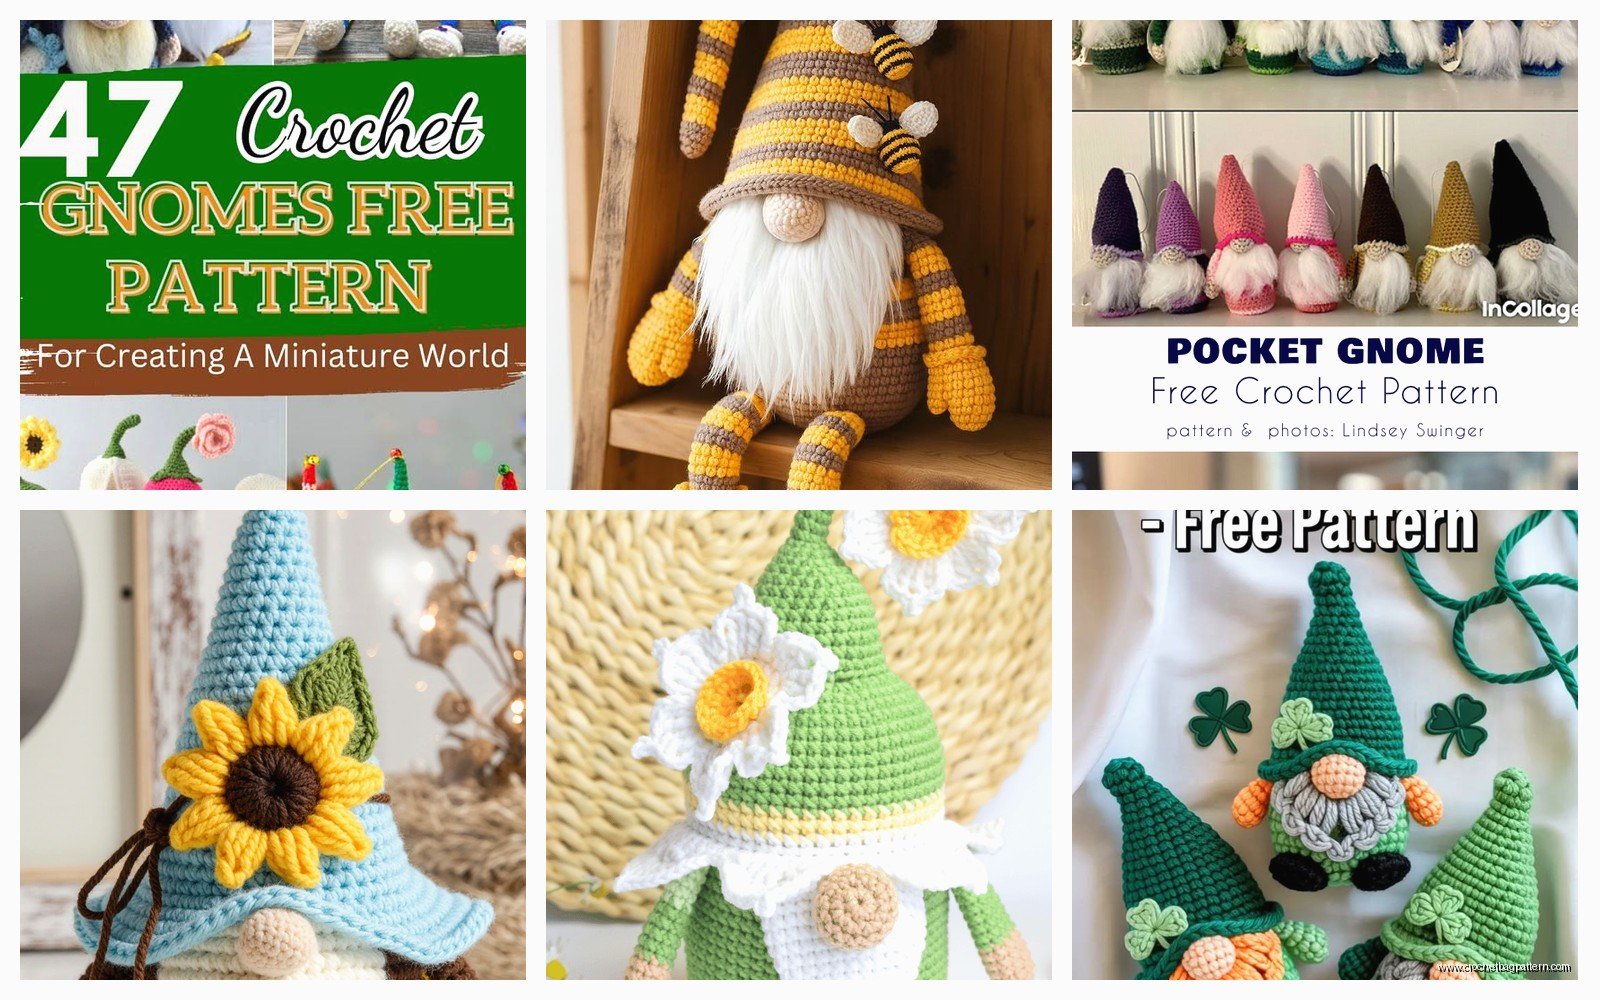
Method one is just attaching a bunch of yarn strands to the body under the nose. Cut pieces of white or cream yarn about 6 inches long, fold them in half, and use a crochet hook to pull the loop through the body fabric, then pull the ends through the loop. Do this all around under the nose until it looks beardy. Then trim it to shape. My cat kept trying to attack the yarn while I was doing this part which made it take forever.
Method two is crocheting an actual beard piece separately and sewing it on. I tried this once using a sort of triangle shape with longer stitches to make it look fluffy but it looked too structured and perfect which isn’t really the vibe.
Method three which I haven’t tried yet but saw someone do is using a fuzzy novelty yarn like Lion Brand Homespun or something similar and just crocheting a small piece that’s already textured. Seems like it would save time.
The Hat Is Where It Gets Tricky
The hat needs to be long and floppy but also stay on the head properly. I start by measuring around the top of the body cone where the hat will sit. Then chain enough to go around that circumference and join into a ring.
Work in single crochet rounds going up for like an inch or so without increasing so it makes a tube that fits on the head part. Then start increasing slightly every few rounds so the hat gets wider as it gets longer. This makes it want to flop over instead of standing straight up.
Keep going until the hat is as long as you want it. I usually make them about 8 inches long so they really drape over. The tip will naturally curl and fall to one side.
Some patterns tell you to decrease at the very end to make a point but I actually don’t because I think the blunt end looks better and more authentic to the Scandinavian style or maybe I’m just lazy, hard to say.
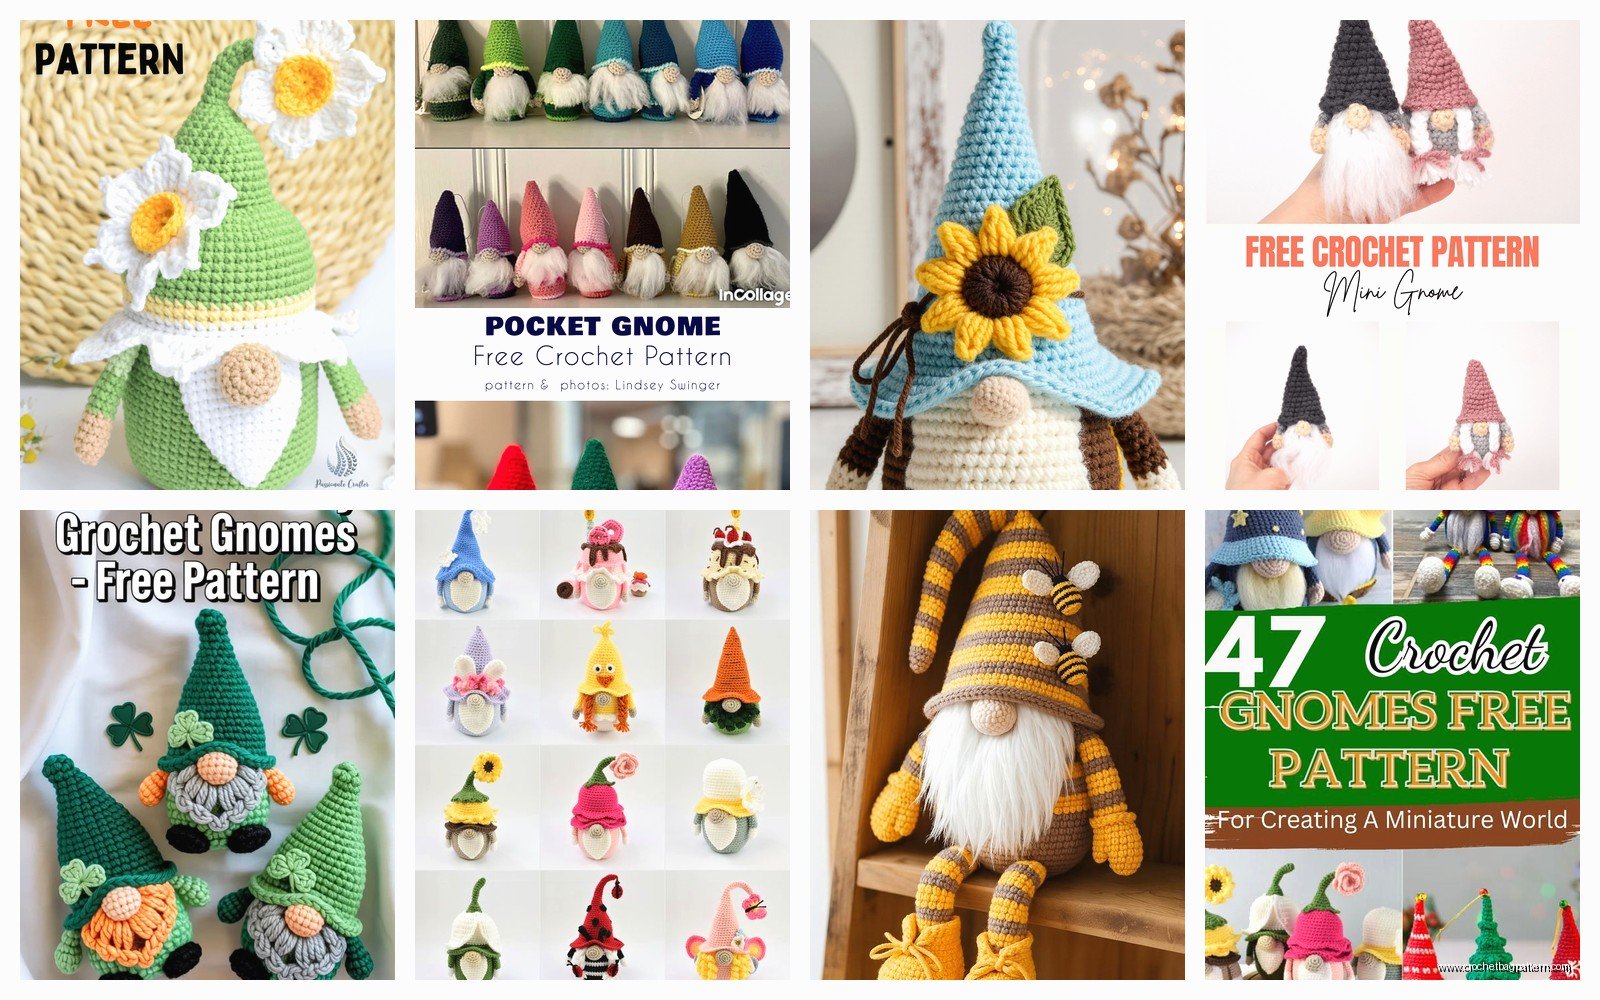
You can add a pompom to the end of the hat using the same technique as the beard. Just attach yarn pieces in a circle at the tip and trim them into a ball shape. I used Bernat Blanket yarn for one pompom because I wanted it really chunky and fluffy.
Assembly Is The Annoying Part
Now you gotta stuff the body firmly. Like really jam that polyfil in there especially at the base so it stands up properly. The nose should already be attached. The beard goes on next if you’re doing the yarn strand method.
Close up the top of the body cone by sewing it shut. Then position the hat and sew it on securely all the way around where the hat tube meets the body. This takes longer than you think it will and my stitches are never as invisible as I want them to be but once the hat flops over you can’t really see them anyway.
Optional Stuff People Add
Some people crochet little arms and hands to stick out the sides. I’ve done this once and it was cute but also made the whole thing take twice as long. If you want arms just crochet two small tubes in your body color, stuff them lightly, and sew them on about halfway down the body.
Feet are another option. Little boots or shoes peeking out from under the body. I haven’t bothered with this yet because the cone shape stands fine without them and I kinda like the simple look.
You can also add a belt around the middle using a strip of felt or a crocheted cord. I made one in summer 2024 with a little felt belt and buckle cut from craft felt and it did look more finished I guess.
Yarn Weight Matters More Than You Think
I tried making a mini version using sport weight yarn and a smaller hook and it was WAY more tedious. The stitches are so much smaller and it takes forever to get any height on the body. Stick with worsted weight unless you specifically want a tiny one and have patience.
Bulky weight yarn works too and goes faster but the finished gnome looks less detailed. The nose especially can look kind of blobby. I made one with Loops & Threads Cozy Wool in this really pretty gray and it turned out okay but not as crisp as the worsted weight versions.
Color Combinations That Actually Work
Traditional colors are red or gray hats with natural body colors. But I’ve done navy blue, forest green, even a dark purple that looked really good. The body should stay neutral though. Cream, beige, gray, tan. I tried making one with a brown body once and it just looked muddy.
The beard should always be white or cream or very light gray. I saw someone do a black beard once and it looked more like a garden gnome than a nisse.
Nose color is weirdish because you want it to stand out but not look clownish. Peachy pink tones work best. I used a pale coral once that was too bright and it looked ridiculous.
What Nobody Tells You About Gauge
Your gauge is gonna affect how much the hat flops. If you crochet really loose the hat will be super droopy and might not hold its shape at all. If you crochet tight like I do the hat will be stiffer and you might need to make it even longer to get that proper flop effect.
I don’t do gauge swatches for these because honestly who has time for that with a simple project but just know that your gnome might look different than someone else’s even if you follow the same basic instructions.
Troubleshooting Common Problems
If your gnome won’t stand up you didn’t stuff it enough at the base or your base circle isn’t wide enough. Make the starting circle bigger or really pack that stuffing in there.
If the nose looks weird it’s probably positioned wrong. It should be lower than you think it should be and should stick out pretty far. A wimpy nose makes the whole thing look wrong.
If the hat won’t stay on you didn’t sew it securely enough. Go around twice with your yarn needle and really tack it down. It’s gonna get handled and moved around so it needs to be solid.
If the beard looks scraggly and thin you didn’t add enough yarn strands. I probably use like 30-40 pieces of yarn for a decent full beard. Trim it after you attach all the pieces to even it out.
Making Multiples Gets Faster
The first one takes forever because you’re figuring stuff out. By the third or fourth one you can crank them out pretty quick. I made like six of them as gifts one year and once I got into a rhythm each one took maybe two hours total. That’s with a beard and pompom and everything.
You can also assembly-line the process. Make all the bodies one day, all the noses another day, all the hats another day. Then stuff and assemble them all at once. I find this boring though so I usually just make them one at a time while watching TV.
Variations On The Basic Pattern
I’ve seen people make girl nisse with braided yarn pigtails instead of beards. Never tried it myself but it looks cute in photos. You could also do different hat styles like a shorter stocking cap instead of the long floppy kind.
Some people add a wire inside the hat so you can pose it in different positions. Just thread a pipe cleaner or floral wire through the inside of the hat before you close up the top. Then you can bend it however you want.
You can also weight the base with something heavy like rice in a little pouch or those plastic pellets they use in stuffed animals. Makes them more stable if you’re putting them somewhere they might get knocked over.
The basic cone-nose-hat-beard formula works for lots of variations though so once you get it down you can experiment with sizes and details pretty easily. Just don’t overthink it because they’re supposed to look a little handmade and imperfect anyway.
