
Mar
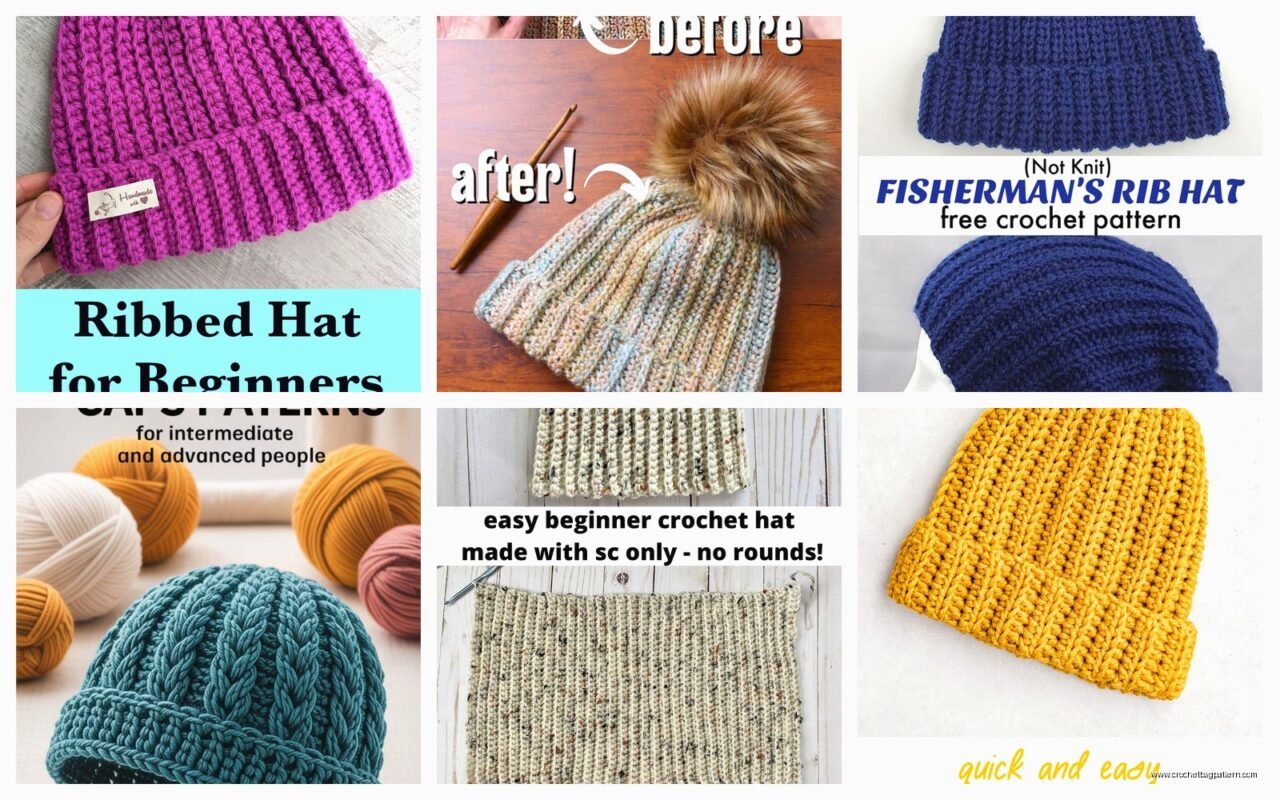
okay so ribbed beanies
I made one of these last fall, like October 2023 maybe? I was binge-watching some true crime thing on Netflix and just wanted something mindless to work on. The ribbed texture is actually way easier than it looks which is honestly the best part about this whole pattern.
So the main thing with ribbed hats is you’re basically just doing post stitches. Front post and back post double crochet, that’s it. If you’ve never done post stitches before you’re gonna want to practice for like ten minutes first because they feel weird at first but then suddenly click and you’ll be fine.
what you actually need
I used Lion Brand Wool-Ease Thick & Quick for mine because I wanted it done fast and that stuff works up quick obviously. The color was like… Fisherman or something? Cream colored. But honestly any worsted or bulky weight works. I’ve also used Caron Simply Soft before when I made one in spring 2022 for my sister and that turned out fine too, just took longer because it’s thinner yarn.
You need a hook that matches your yarn weight. For the Wool-Ease I used a 6.5mm hook I think? Maybe 7mm. Check your yarn label but also like, don’t stress too much about it. If your fabric feels too stiff go up a size, if it’s too floppy go down.
Scissors and a yarn needle for weaving in ends obviously.
the actual pattern part
Alright so here’s how I do it and I know there’s like a million ways to make ribbed hats but this is the way that makes sense to me.
You’re working in rows first to make the ribbed band, then you’re gonna seam it into a circle and work up from there. Some people work in the round from the start but I find that annoying because—wait I should explain the foundation part first.
starting chain
Chain like 10 or 12 stitches. This is gonna be the height of your hat band, the part that goes around your head. So if you want a band that’s like 2 inches tall, chain enough to make 2 inches. I usually do about 10 chains with bulky yarn.
Row 1: Start in the 3rd chain from hook (those first 2 chains count as your first dc), then dc across. So you’ll have like 8-9 dc stitches probably.
Row 2: Chain 2, turn. Now here’s where the ribbing starts. You’re gonna do fpdc and bpdc alternating.
Front post double crochet means you insert your hook from the front, go around the back of the post of the stitch below, and come back to the front. Then yarn over and complete like a normal dc. Back post is the opposite – insert from the back, go around the front of the post, back to the back.
So it’s like: chain 2, fpdc around first stitch, bpdc around next stitch, fpdc, bpdc, fpdc, bpdc… you get it. Alternate across the whole row.
Row 3 and beyond: Chain 2, turn, and here’s the thing that confused me at first – you work fpdc into the stitches that look like they’re poking forward at you, and bpdc into the ones that look recessed. So the front posts get front post stitches, back posts get back post stitches. This keeps the ribbing going.
Keep doing this until your band is long enough to wrap around your head. For me that’s usually like 60-70 rows? I know that sounds like a lot but they work up fast because the rows are short.
the annoying part I was talking about
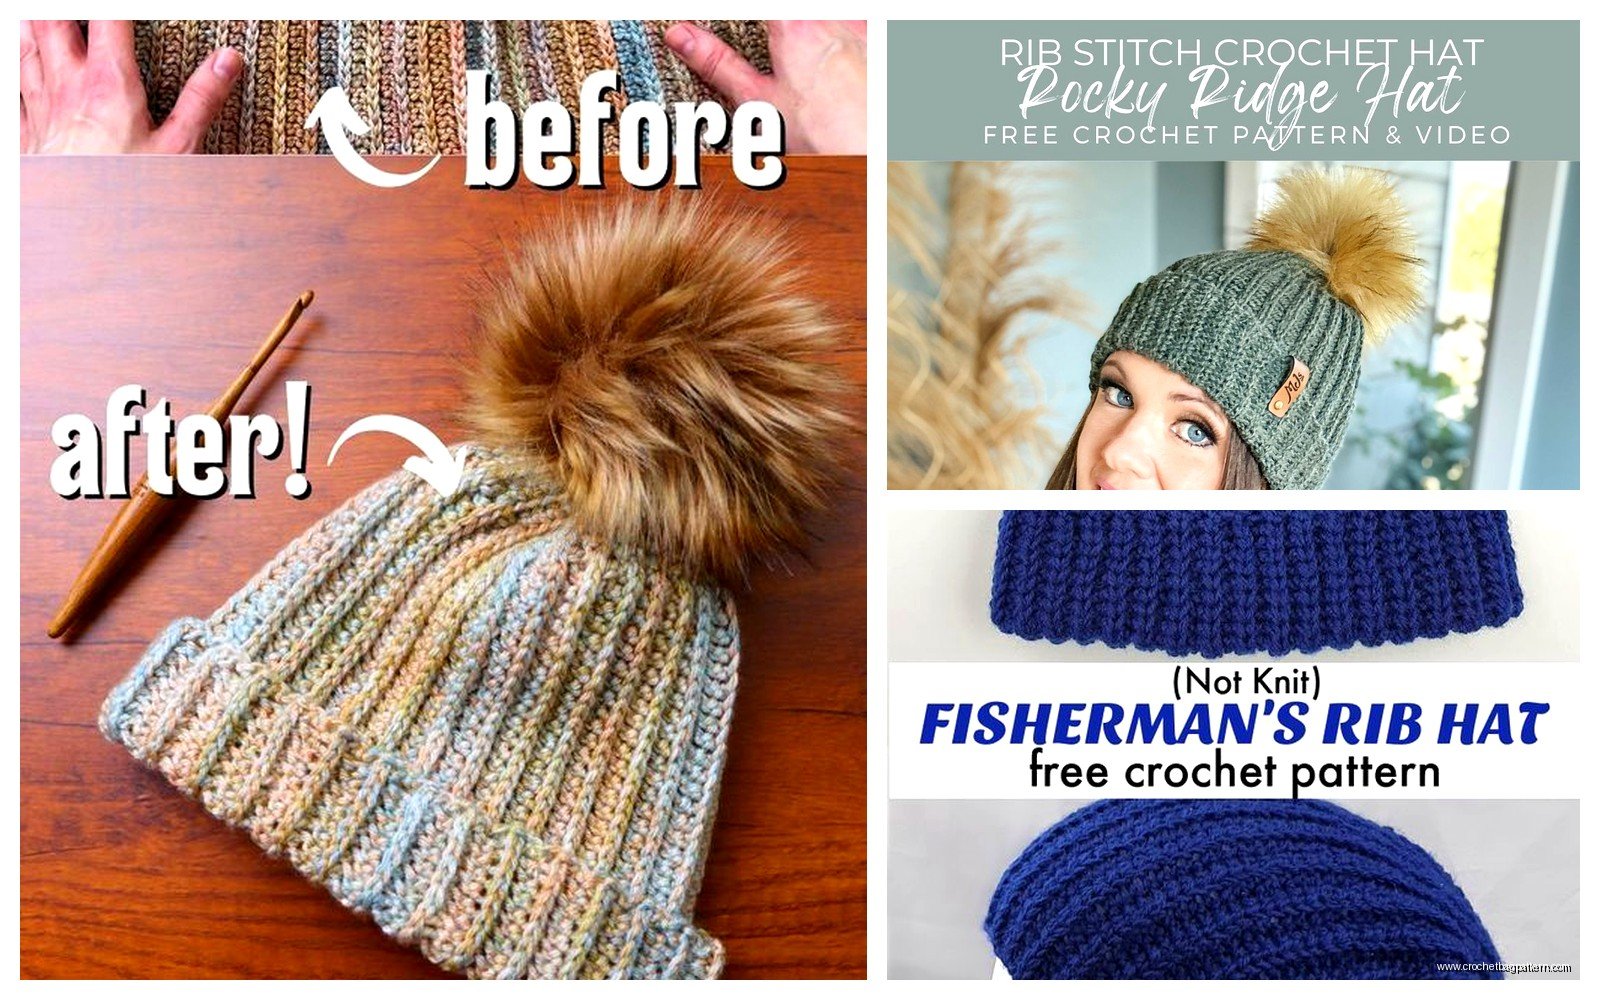
Okay so the thing that drove me crazy when I made that first one in 2023 was seaming the band. You have to whip stitch or slip stitch the two short ends together to make a circle and getting the tension right so it doesn’t look weird is… it’s just finicky. I redid mine twice because the first time it was too tight and puckered, second time too loose and gappy.
The trick I finally figured out is to use a piece of the same yarn and just do a loose whip stitch on the wrong side, and don’t pull it tight. Let it sit naturally. Also my cat kept trying to steal the yarn tail while I was doing this which did not help.
working the body of the hat
Once your band is seamed into a circle, you’re gonna work in rounds going up. Turn your band sideways so one long edge is at the top.
Round 1: Join your yarn anywhere on the top edge. You’re working into the ends of all those rows you made. Chain 1 (or 2 if you want, doesn’t really matter), then sc evenly around. The number of stitches depends on how many rows you made but you want it to be a multiple of… actually for the body it doesn’t matter that much. I usually end up with like 60-70 sc around.
Here’s where you gotta decide if you want to keep the ribbing going up the whole hat or switch to something else.
option 1: ribbing all the way up
If you want ribbing on the whole hat (which looks cool but takes longer), you keep doing the fpdc/bpdc thing in rounds.
Round 2: Chain 2, then fpdc around first stitch, bpdc around next, fpdc, bpdc all the way around. Join with slip stitch to the top of your starting chain 2.
Round 3 and up: Same thing. Keep the pattern going where front posts get fpdc and back posts get bpdc.
Do this for like 7-8 inches or until it’s as tall as you want. Then skip down to the decreasing part.
option 2: just regular stitches for the body
This is what I usually do because I’m lazy and also it works up faster. After your first round of sc, just keep doing sc in rounds. Or dc if you want it even faster.

Round 2 and up: Chain 1, sc in each stitch around, join with slip stitch. Repeat until your hat is like 7-8 inches tall from the band.
The ribbed band gives you that nice textured look at the bottom and then the body is smooth which I actually think looks better anyway? But that’s just me.
decreasing for the crown
Okay so when your hat is tall enough you gotta start decreasing to close up the top. This part is the same whether you did ribbing or plain stitches for the body.
First, count your stitches. Let’s say you have 60 stitches around.
Decrease Round 1: Sc 8, sc2tog (that means single crochet two together, so decrease one stitch), repeat around. You’re reducing by like 6 stitches this round.
Round 2: Sc in each stitch (no decreases).
Decrease Round 3: Sc 7, sc2tog, repeat around.
Round 4: Sc in each stitch.
Decrease Round 5: Sc 6, sc2tog, repeat around.
You keep going like this, doing a decrease round then a plain round, and reducing the number of stitches between decreases each time. So next would be sc 5, sc2tog… then sc 4, sc2tog… and so on.
When you get down to like 10-12 stitches left, you can do decreases every round instead of every other round to close it up faster.
Final round: Sc2tog around until you have just a few stitches left. Cut yarn leaving a long tail, thread it through the remaining stitches, and pull tight to close the hole. Weave in that end on the inside.
or you could do a different crown shaping
Some people divide the hat into like 6 or 8 sections and decrease in the same spot each round to make a more geometric crown. That creates visible decrease lines that spiral up to the top. It looks cool in a different way.
To do that you’d mark 6 spots evenly around your hat (every 10 stitches if you have 60 total), then every round or every other round you’d work a decrease at each marked spot. I’ve done it both ways and honestly can’t decide which I like better.
actual measurements and fitting stuff
So a typical adult hat needs to be about 20-22 inches around. Kids hats are smaller obviously, like 18-19 inches for older kids, 16-17 for little kids. You can measure someone’s head or just… look up a chart online, there’s tons.
The height from brim to crown is usually 8-9 inches for adults before you start decreasing. Slouchy beanies are like 10-11 inches.
With bulky yarn like that Wool-Ease I mentioned, I get about 12 stitches and 8 rows per 4 inches in the ribbed pattern. But gauge is weird with ribbing because it stretches, so don’t worry too much about being exact.
yarn choices that actually matter
Okay so yarn content makes a difference for hats. Acrylic is fine and cheap and washable which is good. I’ve used Red Heart Super Saver a bunch of times and it works fine, just feels a bit squeaky when you’re working with it.
Wool blends like that Wool-Ease are warmer and have better stretch memory, so the ribbing stays springy. But they cost more and some people are weird about wool touching their skin.
Cotton is… I mean you can use it but cotton hats don’t have much stretch and they’re not very warm so I don’t really see the point unless you’re making a summer hat? Which I guess is a thing people do but seems odd to me.
I tried Bernat Blanket yarn once thinking it would make a super cozy thick hat and it did but it was also like wearing a carpet on your head. Too thick. Would not recommend for hats even though the yarn is nice for other stuff.
color stuff
Variegated or self-striping yarns look cool with ribbed patterns because the texture makes the colors pop differently. I made one with some Caron Cakes yarn (I think it was the Berries and Cream colorway?) and the ribbing made these nice vertical color lines.
Dark colors hide your mistakes better which is helpful when you’re learning. Also they show off the texture better than light colors in my opinion, like you can see the shadows between the ridges more clearly.
common things that go wrong
Your band might end up twisted when you seam it. Check before you seam that all your rows are laying flat in the same direction and not spiraled around.
If your ribbing isn’t ribbing – like if it just looks like regular bumpy stitches – you’re probably not doing the post stitches right. Make sure you’re actually going around the post of the stitch and not just under the loops like a normal stitch.
Hat too tight or too loose: this is why I always measure the band around my head or the person’s head before seaming it. Hold it up and check. It should stretch a bit to fit comfortably but not be so loose it slides around.
The crown looks pointy or weird: you probably decreased too fast or too slow. If it’s pointy you need more stitches at the top so decrease slower. If it’s got a flat pancake top you decreased too slow and need to do it faster.
Brim is rolling or flipping up: ribbing usually lays flat pretty well but if yours isn’t, try using a smaller hook for just the band portion, or add an extra row or two to the band to give it more weight.
how long does this actually take
With bulky yarn I can make one in like 3-4 hours if I’m just sitting and working on it. With worsted weight it’s more like 5-6 hours. The band takes the longest because you’re turning every row and post stitches are slower than regular stitches.
If you’re working on it casually while watching TV or whatever, spread it over a few days. That’s what I usually do because my hands get tired after an hour or so of the post stitch stuff.
variations you could try
You could do a folded brim by making the band twice as tall and then folding it up. Looks nice and gives extra warmth over the ears.
Add a pom pom on top. You can make one from yarn or buy a faux fur one. I’ve done both and the faux fur ones look more expensive but the yarn ones are fun to make.
Use two colors and switch between them every few rows for stripes. With ribbing the stripes look really crisp and clean.
Make it slouchy by just not decreasing for longer, so you have like 10-11 inches of straight sides before you start the crown shaping. Then it pools at the back of your head.
Work the whole thing in just fpdc (no bpdc) for a different texture that’s more like thick ridges going around. It’s still stretchy but looks different.
I’ve been wanting to try one with a cable pattern worked into the ribbing but haven’t gotten around to it yet. Maybe this winter.
other random tips
Use stitch markers to mark the beginning of your rounds when you’re working the body. Otherwise you’ll lose track of where rounds start and end, trust me.
Weave in your ends as you go instead of saving them all for the end. It’s less overwhelming that way.
If you’re making hats to sell or give as gifts, make a few for yourself first to figure out your preferred method and measurements. Everyone’s tension is different so what works for someone else might not work exactly the same for you.
Keep notes. I have a little notebook where I write down what yarn I used, what hook size, how many rows for the band, how many stitches around, etc. Because I will 100% forget by the next time I make one and then I’m just guessing.
The ribbed band is also good for other stuff like headbands, ear warmers, the cuffs on mittens or the tops of boot cuffs. So once you get the technique down you can use it for a bunch of different projects.