
Apr
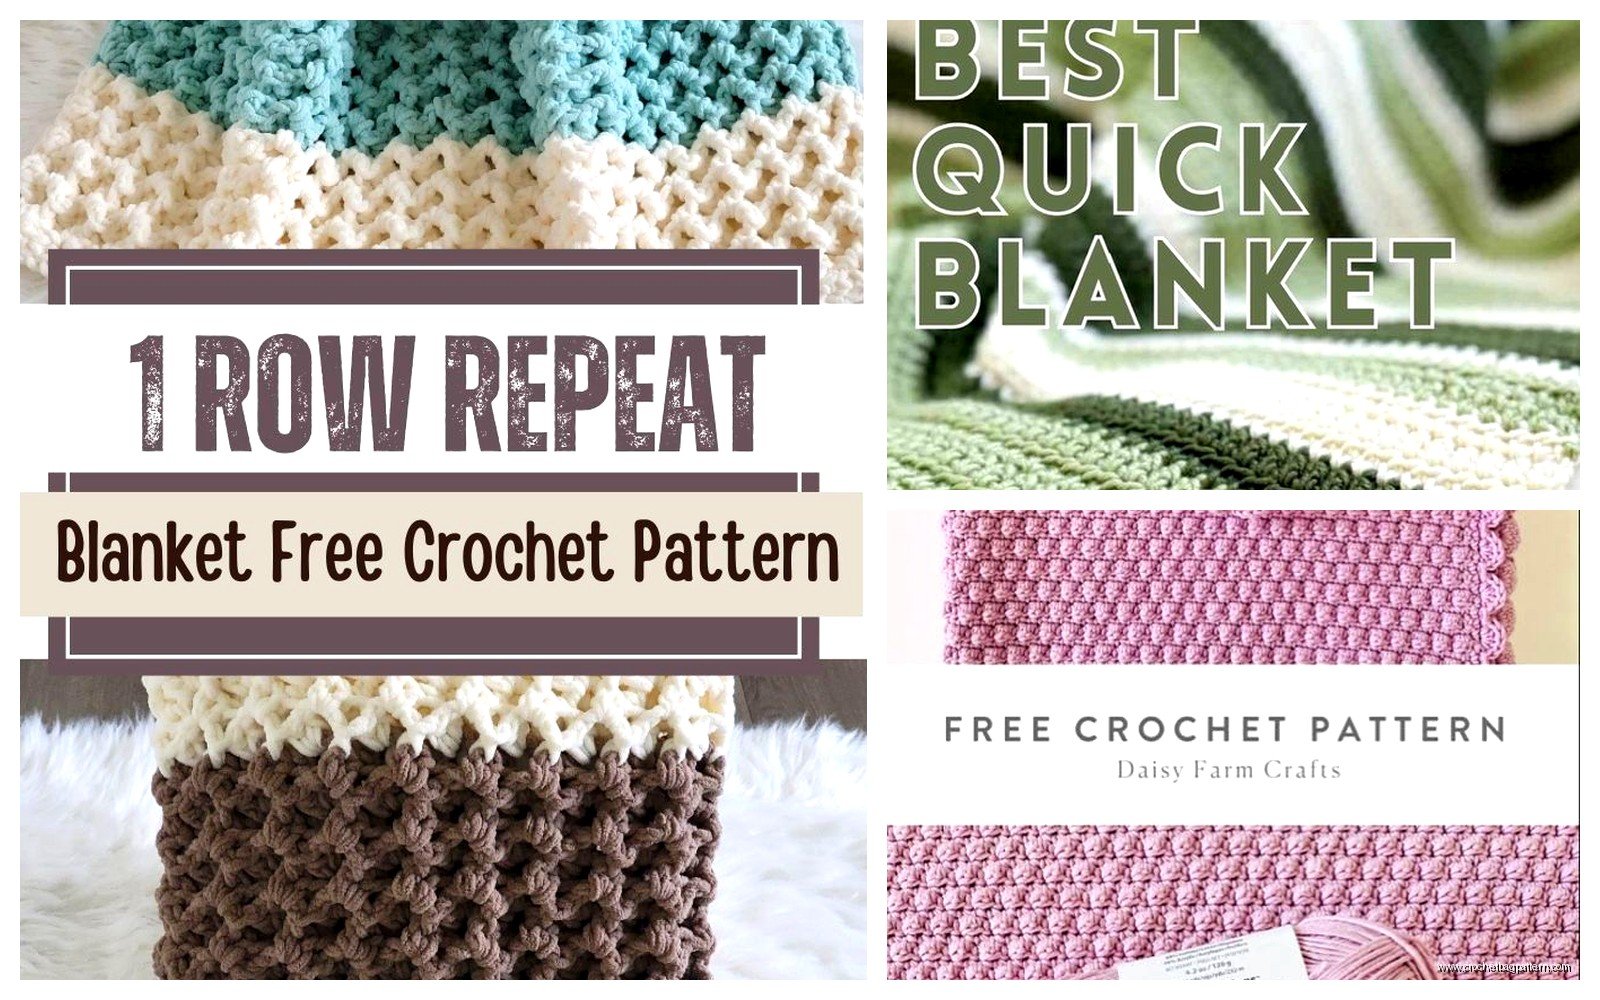
Getting Started With Your First Blanket
So basically you’re gonna want to pick a simple stitch pattern because trying anything complicated for your first blanket is just setting yourself up to hate the whole thing. I made my first actual blanket in spring 2022 when I was stuck at home with nothing to do and honestly it wasn’t even supposed to be a blanket at first, I was just making a square to practice and then it got bigger and I kept going.
The easiest pattern is literally just single crochet rows back and forth. That’s it. You chain like 150 stitches or however wide you want the blanket, then you just single crochet across, chain one, turn, and do it again. And again. And again for like three months if you’re slow like me.
Yarn Choices That Actually Matter
I used Red Heart Super Saver for that first one because it’s cheap and you need SO much yarn for a blanket. Like way more than you think. I bought 6 skeins thinking that would be enough and ended up needing 12. The color was called “Soft White” which is basically just regular white but they gotta make it sound fancy I guess.
The thing that really annoyed me though was how the yarn would split constantly when I was working with it. You’re going along fine and then your hook catches half the yarn strand instead of going under the whole stitch and suddenly you’ve got this messy split thing happening. With Red Heart it happened ALL the time and I’d have to back up and fix it.
For a different blanket I made in summer 2024 I used Caron One Pound in “Cream” and it was so much better. Still cheap enough that buying 8 skeins didn’t destroy my budget but the yarn didn’t split nearly as much. That blanket was for my couch because my cat keeps shedding all over everything and I figured a cream colored blanket would hide the fur better than—anyway the point is Caron One Pound is good for beginners.
How Much Yarn You Actually Need
This depends on the size obviously but for a throw blanket that’s like 40 by 50 inches you’re looking at around 2000 to 2500 yards of worsted weight yarn. The labels on the skeins tell you how many yards are in each one. Red Heart Super Saver has 364 yards per skein so do the math. I’m terrible at math so I always just bought extra and figured I’d use the leftovers for something else.
If you want a bigger blanket like full size for a bed you’re gonna need way more. I’ve never actually finished a full size blanket because I get bored after like three feet of length and start a different project.
The Basic Pattern Breakdown
Here’s what you do step by step:
- Chain 120 stitches for a narrow blanket or 150 for wider
- Row 1: Single crochet in the second chain from hook, then single crochet in each chain across
- Chain 1, turn your work
- Row 2: Single crochet in each stitch across
- Repeat Row 2 until the blanket is as long as you want
- Fasten off and weave in ends
That’s literally the whole pattern. The problem is it takes forever because single crochet is the shortest stitch so you need a million rows to get any length.
Faster Options If You’re Impatient
If you want something that works up quicker you can do double crochet instead. The pattern is basically the same but you chain 3 at the start instead of 1 and you do double crochet stitches instead of single. Each row adds more height so the blanket grows faster. I switched to this method for my summer 2024 blanket and finished it in like half the time.
The double crochet version has more drape though so it’s floppier and has bigger holes between stitches. Some people like that look and some don’t. I think it’s fine for a couch blanket but maybe not for a baby blanket where you don’t want tiny fingers getting stuck in the gaps.
Granny Square Method
Another option is making a bunch of granny squares and sewing them together. I know this sounds like more work but honestly it’s less boring because you finish each square pretty quick and it feels like you’re making progress. For my spring 2022 blanket I should’ve done this instead of the endless rows because I kept putting it down for weeks at a time and forgetting where I was.
A basic granny square pattern:
- Chain 4 and join with slip stitch to form a ring
- Chain 3, then do 2 double crochet in the ring
- Chain 2, then 3 double crochet in the ring
- Repeat step 3 two more times
- Chain 2 and join to the top of the starting chain 3
That’s one round. You keep adding rounds until each square is whatever size you want, like 6 inches or 8 inches. Then make like 30 or 40 squares depending on how big you want the final blanket and sew or crochet them together.
Tension Problems Everyone Has
Your tension is gonna be inconsistent when you start and that’s just how it is. Some rows will be tighter and some looser and the edges might look wavy. I watched TV while crocheting that first blanket and I could literally see where different episodes started and ended based on how my tension changed. During the intense episodes my stitches got tighter and during boring parts they got looser.
The only fix is practice. Eventually your hands figure out the right amount of pull on the yarn and it gets more even. But for your first blanket just accept that it’s gonna look a little wonky and that’s fine. You’re the only one who will notice anyway.
Border Ideas To Finish It Off
When you finish all the rows you can either just fasten off and call it done or add a border to make it look more polished. The simplest border is just one row of single crochet all the way around the edge. This evens out any weirdness on the sides and gives it a cleaner edge.
For corners you do 3 single crochets in the same stitch to make it turn the corner smoothly. If you only do one stitch in the corner it’ll pull and look weird.
I did a shell border on my summer 2024 blanket which is where you do like 5 double crochets in the same stitch, skip a few stitches, single crochet, skip a few stitches, and repeat. It makes a wavy decorative edge that looks fancier than it actually is to make.
Dealing With Yarn Ends
You’re gonna have loose ends from where you started, where you finished, and anywhere you had to join a new skein of yarn. These need to get woven in or they’ll come undone and your blanket will start unraveling.
Get a yarn needle which is basically a huge thick needle with a blunt end. Thread the loose end through it and weave it back and forth through the stitches on the wrong side of the blanket. Go through like 6 or 8 stitches in different directions so it’s really secure, then cut off the excess.
This is the most tedious part honestly and I kept putting it off until I had like 20 ends to weave in at once which made it even worse. Try to do them as you go instead of saving them all for the end.
Joining New Yarn When You Run Out
You’ll run out of yarn in the middle of the blanket and need to add a new skein. The easiest way is to just start the new yarn at the beginning of a row. Leave a tail of like 6 inches from the old yarn, then make a slip knot with the new yarn on your hook and start the next row. Later you weave in both tails.
Some people do fancy invisible joins where they splice the yarn together but that seems like too much work for something that’s gonna be covered by the rest of the blanket anyway.
Counting Stitches So You Don’t Lose Track
If you’re doing a simple rectangle blanket you need the same number of stitches in every row or the edges will start slanting inward or outward. I’m terrible at keeping count so I’d end up with like 148 stitches in one row and 152 in the next and the sides looked all janky.
The solution is either use stitch markers every 20 or 25 stitches so you can count in chunks, or just accept that it’s gonna be slightly imperfect. Unless you’re making it for someone really picky nobody’s gonna count your stitches.
For my couch blanket I stopped caring after the first ten rows and just eyeballed it. If the row looked about the same length as the previous one I called it good enough. The blanket turned out fine and nobody’s ever said anything about the edges being slightly uneven.
Choosing Colors Without Overthinking It
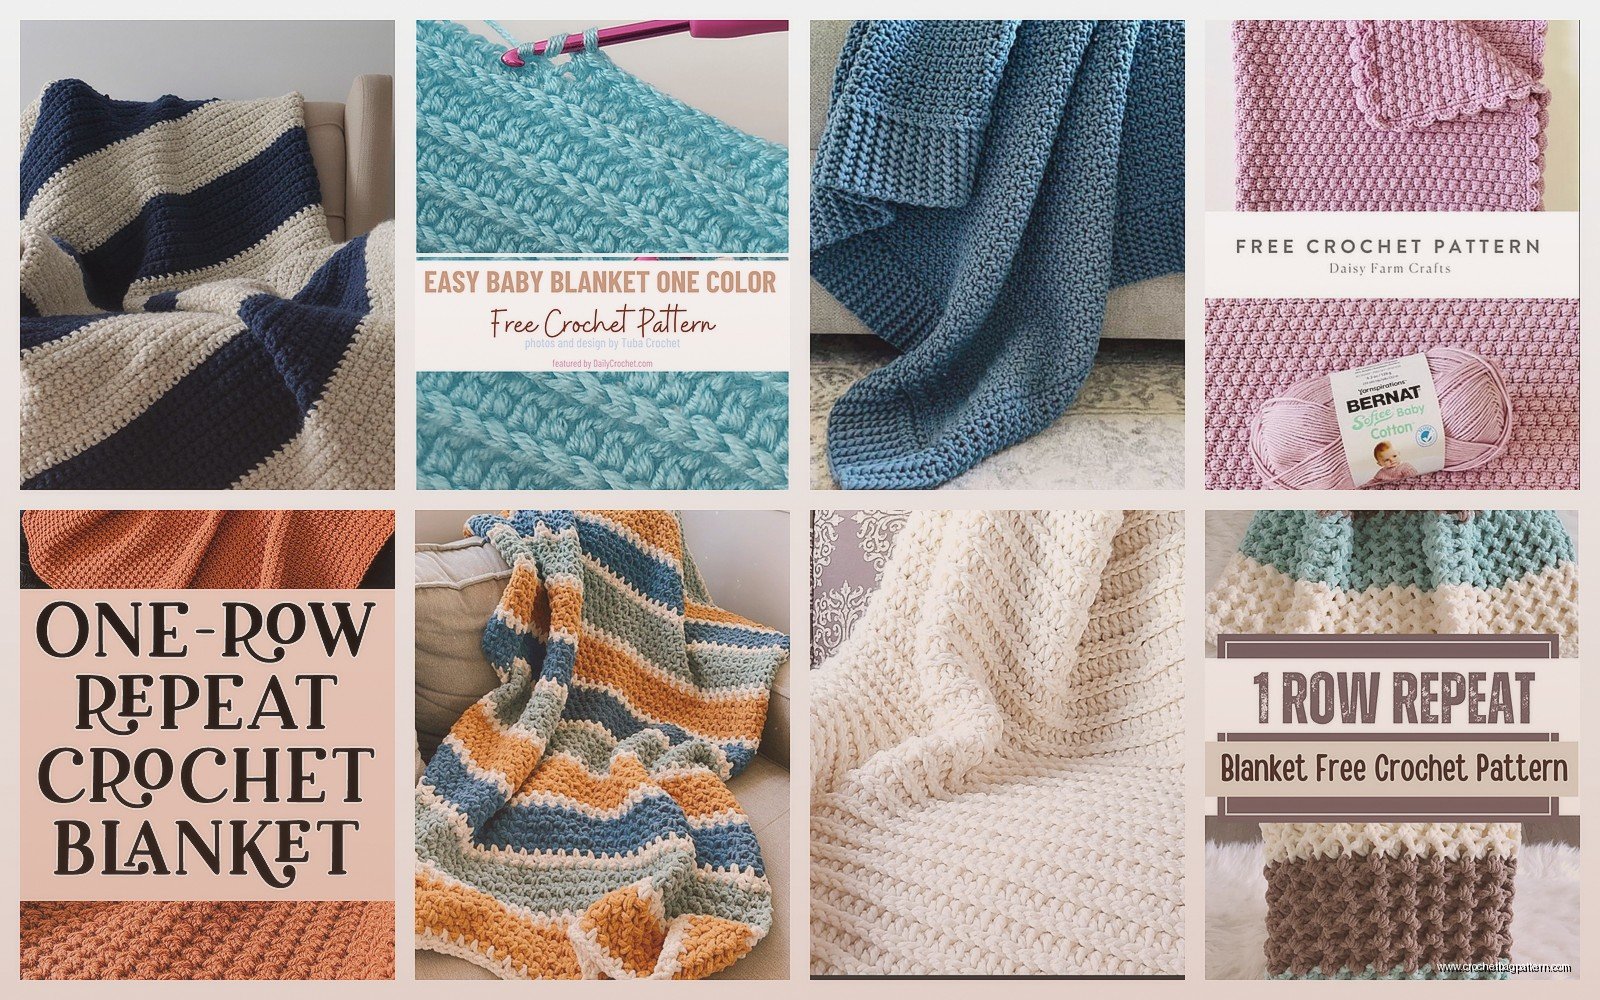
You can do a solid color blanket which is the simplest option, or stripes if you want more visual interest without more complicated stitches. For stripes you just switch colors every few rows. I did a blanket with cream and light blue stripes that used 4 rows of each color and it looked pretty good.
When you change colors you do it on the last stitch of the row. So you start the last stitch with the old color but when you pull through to complete it you use the new color. Then chain with the new color and continue. This makes the color change look cleaner than if you just started the new row with the new color.
Don’t pick colors that are too similar or the stripes won’t show up. I made that mistake with a gray and slightly darker gray blanket and you could barely tell there were supposed to be stripes. Also avoid really dark colors for your first blanket because it’s harder to see your stitches when the yarn is dark.
How Long This Actually Takes
I’m gonna be real with you it takes way longer than you think. That first blanket in 2022 took me almost four months working on it a few times a week for like an hour or two each time. And that was with me being pretty motivated to finish it.
If you crochet faster or work on it more consistently you could probably do it in a month. But if you’re like me and get distracted by other projects or just don’t feel like crocheting some weeks, plan on it taking several months.
The blanket I made in summer 2024 went faster because I used double crochet like I mentioned earlier, and also because I was binge watching this entire series on Netflix and needed something to do with my hands. That one took maybe six weeks total.
When You Mess Up And Have To Rip Out Rows
You’re gonna make mistakes and sometimes you won’t notice until you’ve done like five more rows past the mistake. Then you have to decide if you care enough to rip it out and redo it or if you’re just gonna leave it.
I’ve ripped out entire sections before when I realized I’d been accidentally adding stitches and the blanket was getting wider. That sucked because it was like three hours of work just gone. But if I’d left it the blanket would’ve looked really weird.
For small mistakes like one stitch that looks a little off or a spot where the tension is weird, I usually just leave it and keep going. Life’s too short to be perfect about a blanket that’s gonna end up covered in cat hair anyway.
What Hook Size To Use
The yarn label tells you what hook size to use. For worsted weight yarn it’s usually a H/8 (5mm) or I/9 (5.5mm) hook. I use a 5.5mm for most blankets because I like a looser fabric that has more drape.
If you use a smaller hook than recommended the fabric will be stiffer and tighter. Bigger hook makes it looser and drapier with bigger gaps between stitches. There’s no wrong choice really it just depends what you like.
Get an ergonomic hook if you can because regular hooks hurt your hand after a while. I switched to a Clover Amour hook partway through my first blanket and it made such a difference. They’re more expensive but worth it if you’re doing a big project.