
Feb
What You Actually Need
So last February I was sitting in my apartment freezing because the landlord was being weird about the heat again, and I decided I needed something for my ears that wasn’t a full hat because those always mess up my hair before work. I grabbed this ball of Lion Brand Wool-Ease in like a grey color—I think it was Oxford Grey or something? Anyway, you need worsted weight yarn, whatever brand, just not the thin stuff because that takes forever.
Get a 5.5mm hook, which is a I-9 in those weird American sizes. I use Clover hooks because they’re comfortable but honestly whatever works. You’ll also need scissors and maybe a yarn needle for weaving in ends but sometimes I just tie them and cut them short if I’m being lazy.
The Basic Approach That Actually Works
The whole thing is basically just a rectangle that you seam together, which sounds boring but it’s actually smart because you don’t have to worry about shaping or counting a million stitches. I make mine about 4 inches wide and then long enough to go around my head, which is like 20 inches? But measure your own head because mine’s probably different than yours.
Chain like 15 or 16 stitches to start. This is gonna be the width. Do a single crochet in the second chain from your hook—wait no, actually I usually do half double crochet for the whole thing because it works up faster and has a nice texture that’s not too holey for winter.
The Actual Stitching Part
If you’re doing half double crochet (which I recommend), you yarn over first, then go into the stitch, pull up a loop so you have three loops on your hook, then yarn over and pull through all three. It’s faster than double crochet but thicker than single crochet, and that’s the sweet spot for something you want done in an hour.

Chain two at the end of each row, turn your work, and keep going. The chain two counts as your first stitch, which I forget sometimes and end up with weird edges but whatever, it’s for your ears not a museum. Just keep doing rows of half double crochet until the thing is long enough to wrap around your head comfortably.
One thing that really annoyed me was that my tension kept changing because I’d get tired or distracted—I was watching that show Beef on Netflix while doing this—and then one end would be slightly wider than the other. You gotta try to keep your tension consistent or it looks wonky.
Making It Fit Your Actual Head
Here’s what I do: after like 18 inches or so, I stop and wrap it around my head to check. You want it snug but not tight, because the yarn has no stretch if you’re using acrylic or wool blends like I was. If you use 100% wool it might stretch out over time which is annoying.
The width should cover your ears fully—I learned this the hard way when I made one too narrow and it just sat on top of my ears uselessly. Four inches works for most people but if you have bigger ears maybe go to 5 inches? Just measure before you start.
Different Stitch Options I’ve Tried
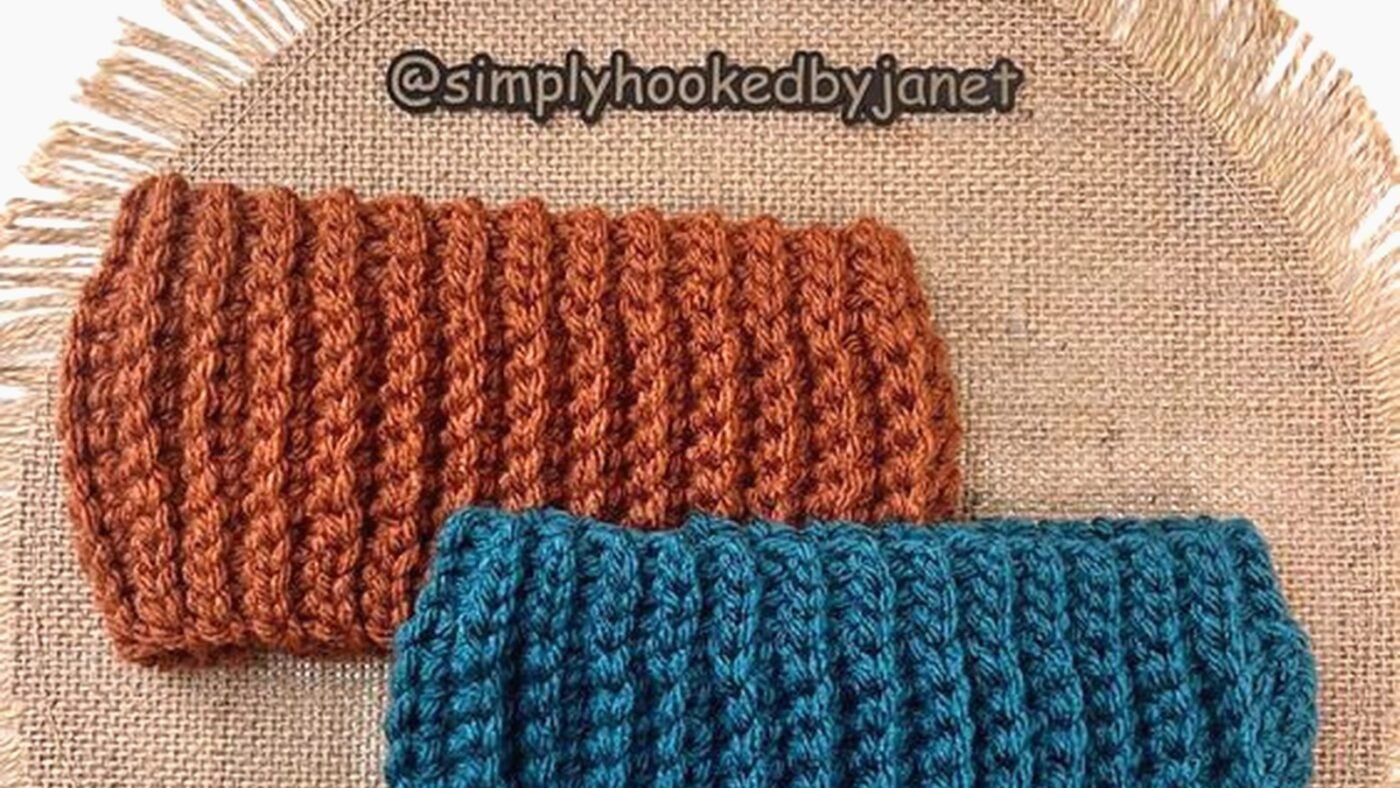
You can also do this in ribbing, which looks more professional and stretchy. For that you’d do it the tall way—like chain 60 or whatever fits around your head, then work rows that are only like 4 inches worth of stitches. But you have to work in the back loops only or do actual ribbing stitch, which is more complicated than just half double crochet.
I tried it once with the moss stitch (single crochet and chain one alternating) and it looked cute but took way more than an hour, more like two hours, so that defeats the purpose.
Seaming It Together Without It Looking Bad
Once your rectangle is done, you gotta connect the short ends together. I usually use a yarn needle and whip stitch them together, trying to match up the rows so it doesn’t look twisted. My cat kept trying to attack the yarn tail while I was doing this part, super annoying.
Some people say to slip stitch the seam with your crochet hook but I think that makes a bulky ridge that sits weird behind your head. The whip stitch is flatter if you do it right, which I don’t always because I’m impatient.
Make sure you’re seaming with the right sides together—or wait, actually for this it doesn’t matter that much because both sides look pretty much the same with half double crochet. Just don’t twist the band when you seam it or you’ll make a mobius strip situation that doesn’t work as an ear warmer.
Adding Stuff If You Want
You can add a button or a flower or whatever decorative thing. I made one for my coworker and she wanted a big chunky button on the side, so I just sewed that on with regular thread. It looked okay I guess.
For myself I usually don’t add anything because then I have to think about which side is the “front” and I can’t just grab it and put it on. But if you make one as a gift people seem to expect some kind of embellishment even though the plain version works fine.
Yarn Choices That Worked and Didn’t
That Lion Brand Wool-Ease I mentioned is good because it’s warm but also machine washable, which matters if you’re gonna wear this thing all winter and get it sweaty or snowy. I also used Red Heart Super Saver once in that Aran color and it worked fine but felt a bit scratchy at first, though it softened up after washing.
Don’t use cotton for this, I tried it once thinking it would be good for spring and it was just pointless—cotton doesn’t insulate at all so your ears stay cold anyway. And definitely not thin yarn, I grabbed some sport weight once without thinking and had to hold two strands together which was annoying to manage.

Bulky yarn works if you size up your hook to like 8mm or 9mm, and then it really does take like forty minutes instead of an hour. I used Bernat Blanket yarn for one and it was super thick and warm but almost too warm for just walking around the city.
Troubleshooting Stuff That Goes Wrong
If your ear warmer is too loose, you can’t really fix it after except maybe running elastic thread through it which seems like too much work. Just make a new one that’s shorter, it only takes an hour anyway.
If it’s too tight and giving you a headache, you can block it by getting it wet and stretching it over something round like a mixing bowl or basketball while it dries. This works okay with wool but not really with acrylic.
Sometimes the edges curl up weird and I just ignore it because once it’s on your head nobody can tell. But if it really bothers you, doing a row of slip stitch or single crochet around the top and bottom edges helps them lay flat.
Time-Saving Things I Figured Out
If you actually want this done in an hour, don’t stop to weave in ends as you go—just do them all at the end or even leave them long and tuck them in when you wear it. Not the neatest solution but it works.
Also don’t rip out mistakes unless they’re really bad, small tension variations or a missed stitch here and there won’t show once it’s all scrunched on your head. I used to be perfectionist about this stuff and it made everything take three times longer.
Use a yarn that doesn’t split easily because when you’re working fast you’ll stab through the yarn instead of into the stitch and it’s frustrating to fix. The Wool-Ease is good for this, also Caron Simply Soft doesn’t split much in my experience.
Keep your phone away or you’ll get distracted and it’ll take two hours instead of one—I learned this the hard way when I kept stopping to text my sister about her drama and suddenly it was 10pm and I wasn’t done yet.