
Mar
Getting Started With The Actual Supplies
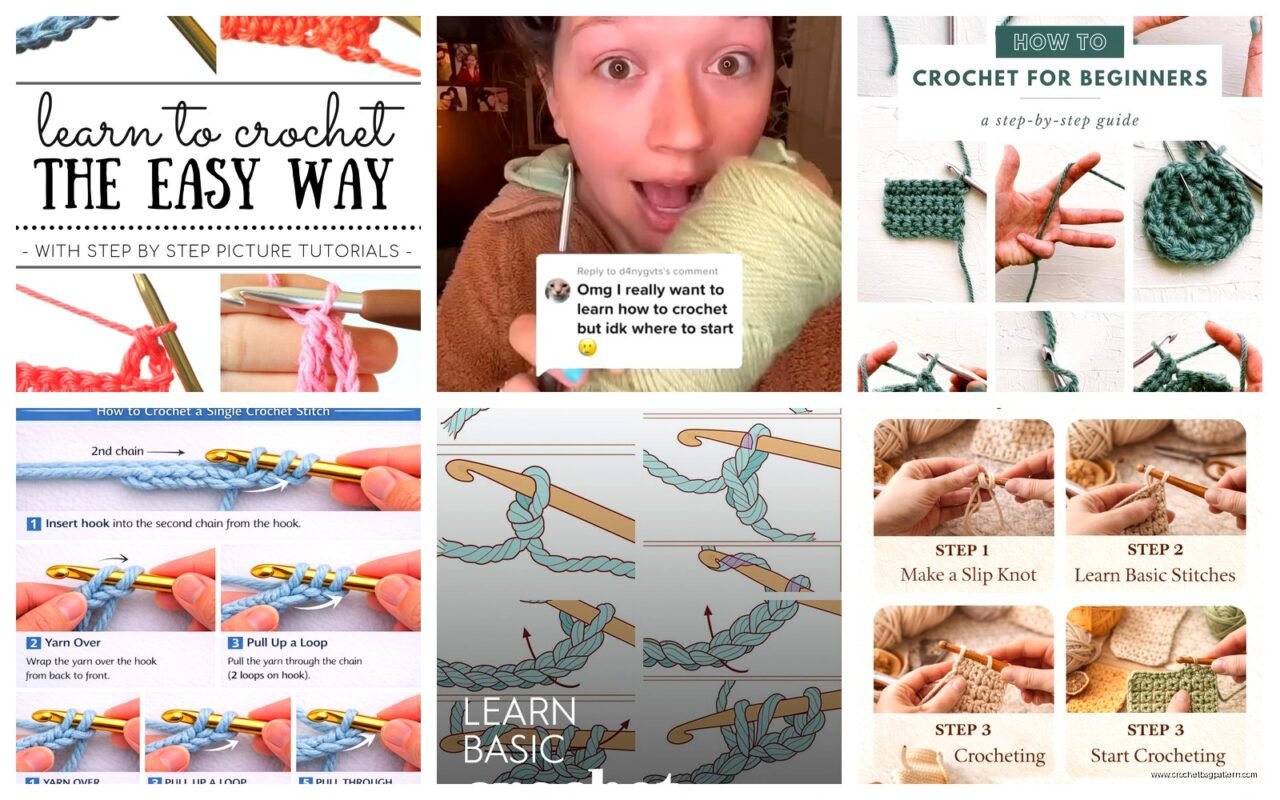
So back in spring 2022 I decided to learn crochet because honestly I was bored and my roommate kept watching these craft videos on youtube and I was like okay fine I’ll try it. The first thing everyone tells you is get a hook and yarn but like… which hook? which yarn? Nobody actually explains this part properly.
You need a size H/8 (5mm) hook to start. That’s it. Don’t buy a whole set because you won’t use them yet and they just sit there taking up space. I got a basic aluminum one from the craft store for like $3. The ergonomic handles are nice if you have hand pain but honestly just start cheap and see if you even like this before spending money.
For yarn I grabbed Red Heart Super Saver because it was on sale and everyone uses it. It’s acrylic, it’s cheap, it comes in a million colors. Yeah it’s kinda squeaky and not super soft but you’re learning, you’re gonna mess up and frog everything a hundred times so who cares if it’s fancy. I got the color “Medium Grey Heather” which sounds boring but at least when you’re trying to see your stitches you don’t want something dark like black or navy because you literally cannot see what you’re doing.
Other people recommended Lion Brand Wool-Ease to me but I didn’t try that until later. Red Heart worked fine for learning.
The Chain Stitch Thing Everyone Starts With
Okay so first you gotta make a slip knot. Take your yarn, make a loop, pull another loop through it, put that on your hook. There’s videos for this because explaining it in text is basically impossible but it’s like… the most basic starting point.
Then you chain. You literally just yarn over (wrap the yarn over your hook) and pull through the loop. Do that like 20 times. Your chain is gonna be twisted and weird and uneven and that’s fine. Mine looked like a disaster. I think I made chains for like three days before trying anything else because I kept reading that you need to get tension right first.
Tension is how tight you hold the yarn and honestly it’s the most annoying part of learning crochet. Too tight and you can’t get your hook into the stitches. Too loose and everything is floppy and looks bad. I held my yarn totally wrong for weeks and my hand cramped up constantly until I watched this one video where the person held it completely different and suddenly it clicked.
How You Actually Hold Everything
Hold the hook like a pencil or like a knife, whatever feels normal. I do pencil grip. The yarn goes over your left hand (if you’re right handed, flip this if you’re left handed) and there’s different ways but the one that worked for me was: yarn goes over your index finger, under middle and ring finger, then you kind of hold the work between your thumb and middle finger.
This felt SO awkward at first. Your hand will cramp. Take breaks. I was watching The Bear while learning this and I’d have to pause every ten minutes because my hand hurt.
Single Crochet Is Where It Actually Starts
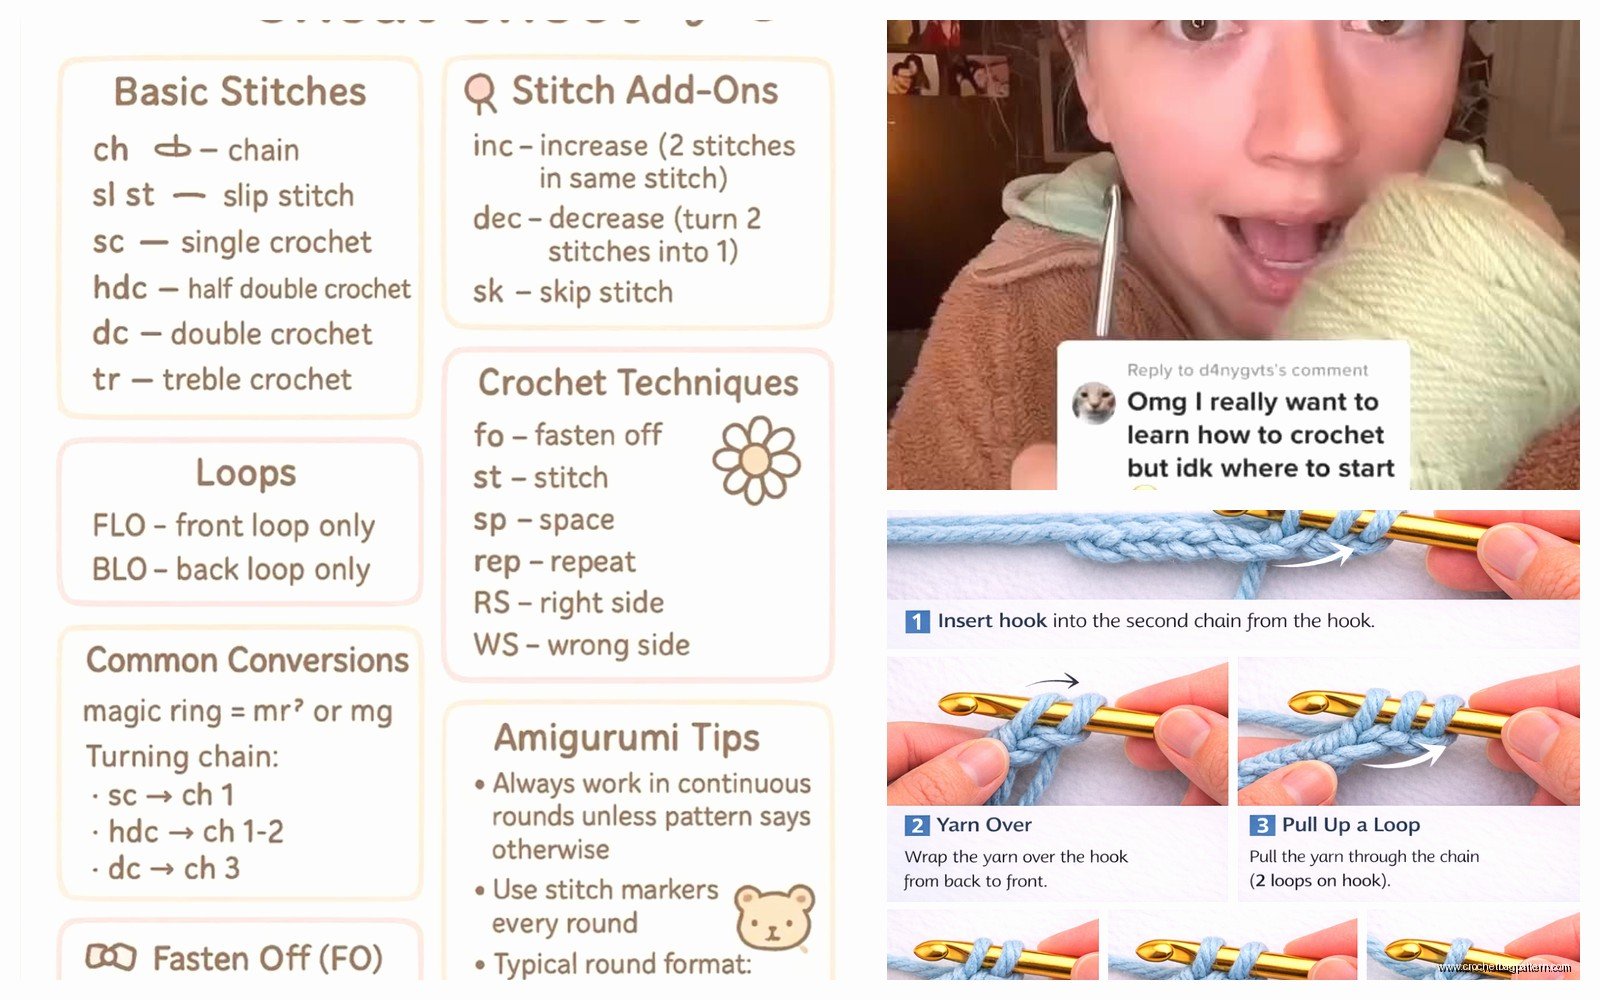
After you can make a chain that doesn’t look completely terrible, you learn single crochet. Make a chain of like 15. Then you’re supposed to insert your hook into the second chain from the hook (not the first one, the second one, which confused me forever), yarn over, pull through, and then you have two loops on your hook. Yarn over again, pull through both loops.
That’s one single crochet stitch.
Do that across the whole chain. You’ll probably skip stitches or add extra ones without meaning to. You’ll lose count. Your rectangle will become a trapezoid or triangle. This is normal and it drove me absolutely insane for weeks.
The thing that annoyed me most about learning crochet was that every tutorial assumes you can SEE your stitches clearly and count them easily but when you’re new everything just looks like a blob of yarn and you have no idea where to put your hook. People would say “just insert into the next stitch” and I’m like WHERE IS THE NEXT STITCH though.
What A Stitch Actually Looks Like
Each stitch has a little V shape on top. That V is made of two strands of yarn. Usually you put your hook under both strands of the V. Sometimes patterns say “back loop only” or “front loop only” but ignore that for now.
Count your stitches at the end of every row. If you started with 15 and now you have 13, you skipped some. If you have 17, you added extra somewhere. In the beginning just accept that your count will be wrong and keep going. You’re building muscle memory.
Turning Chains And Why They’re Confusing
When you get to the end of a row, you flip your work over and go back the other way. But first you make a “turning chain” which is usually 1 chain for single crochet. This gives you the height you need for the next row.
Some patterns count the turning chain as a stitch, some don’t. I still find this confusing honestly. For basic practice just chain 1, turn, and start your first single crochet in the first stitch. Don’t overthink it yet.
Practice Projects That Actually Help
Make a dishcloth. Seriously. Chain like 25, single crochet back and forth until you have a square. It’ll probably not be a perfect square but you can actually use it and it feels good to make something functional even if it’s lumpy.
I made probably five dishcloths in spring 2022 before trying anything else. Used them in my kitchen and they worked fine even though they looked handmade in that obvious beginner way.
After that I tried a simple scarf. Just single crochet in rows until it’s long enough. I used Caron Simply Soft for this because Red Heart felt too scratchy for something going around my neck. Caron Simply Soft is really nice actually, it’s still acrylic but much softer.
Double Crochet Is Faster But Trickier
Once single crochet feels somewhat automatic you can try double crochet. It’s taller so projects work up faster. You yarn over BEFORE inserting into the stitch, then insert, yarn over and pull through (now you have 3 loops on hook), yarn over and pull through 2 loops, yarn over and pull through the last 2 loops.
I know that sounds complicated written out. Watch a video. But basically it’s just more yarn overs and you’re pulling through loops in stages.
Double crochet needs a turning chain of 3 usually. And here’s where it gets annoying again because sometimes that chain-3 counts as your first stitch and sometimes it doesn’t and different patterns do it different ways and—yeah it’s frustrating.
Half Double Crochet Exists Too
It’s between single and double crochet in height. Yarn over first, insert, yarn over and pull through, then yarn over and pull through ALL THREE loops at once. Turning chain is usually 2.
I didn’t use half double crochet much at first because it felt like why not just do single or double, but it’s actually nice for certain textures.
Reading Patterns Is A Whole Different Skill
Crochet patterns are written in abbreviations and it’s like learning another language. SC means single crochet, DC means double crochet, CH means chain, ST means stitch, etc.
Patterns will say things like: “Ch 20, SC in 2nd ch from hook and in each ch across. (19 SC)” The number in parentheses is your stitch count for that row which helps you know if you messed up.
Asterisks mean repeat. Like “*SC in next 2 st, 2 SC in next st* repeat from * to * across” means you do that sequence over and over until the row is done.
I found patterns really overwhelming at first so I just followed youtube videos where people show you every step. That’s totally valid. Eventually you pick up the abbreviations just from seeing them over and over.
Gauge And Why People Mention It
Gauge is how many stitches per inch you make. It matters for clothing because if the pattern says the sweater will fit a medium but your gauge is different, you’ll end up with a weird size.
For learning? Ignore gauge. Make dishcloths and scarves and blankets where size doesn’t really matter. My cat kept trying to lay on my practice squares while I worked which was annoying but also cute I guess.
Common Beginner Mistakes I Made
Not counting stitches and ending up with weird shapes. Count every row until it becomes automatic.
Crocheting too tight because I was nervous and tense. Your stitches should slide on the hook somewhat easily. If you’re wrestling with the yarn, loosen up your grip.
Not knowing where to put the first stitch of a new row. It goes in the first actual stitch, not in the turning chain usually (except when it does, which is why patterns specify).
Accidentally adding stitches by working into the turning chain when I wasn’t supposed to. This made my rectangles wider on one side.
Using yarn that was too fuzzy or dark to see stitches clearly. Light colored smooth yarn is your friend when learning.
Working In The Round
Some things like hats or amigurumi (stuffed animals) are made in the round instead of back and forth rows. You make a magic ring or chain and join it into a circle, then work in a spiral or in joined rounds.
I didn’t try this until summer 2024 when I decided to make a bucket hat. Working in the round is actually easier in some ways because you don’t have to turn your work, but counting gets trickier because you need stitch markers to know where rounds begin and end.
Stitch markers are just little plastic clips or safety pins or even a piece of different colored yarn. Put one in the first stitch of the round so you know when you’ve completed a full circle.
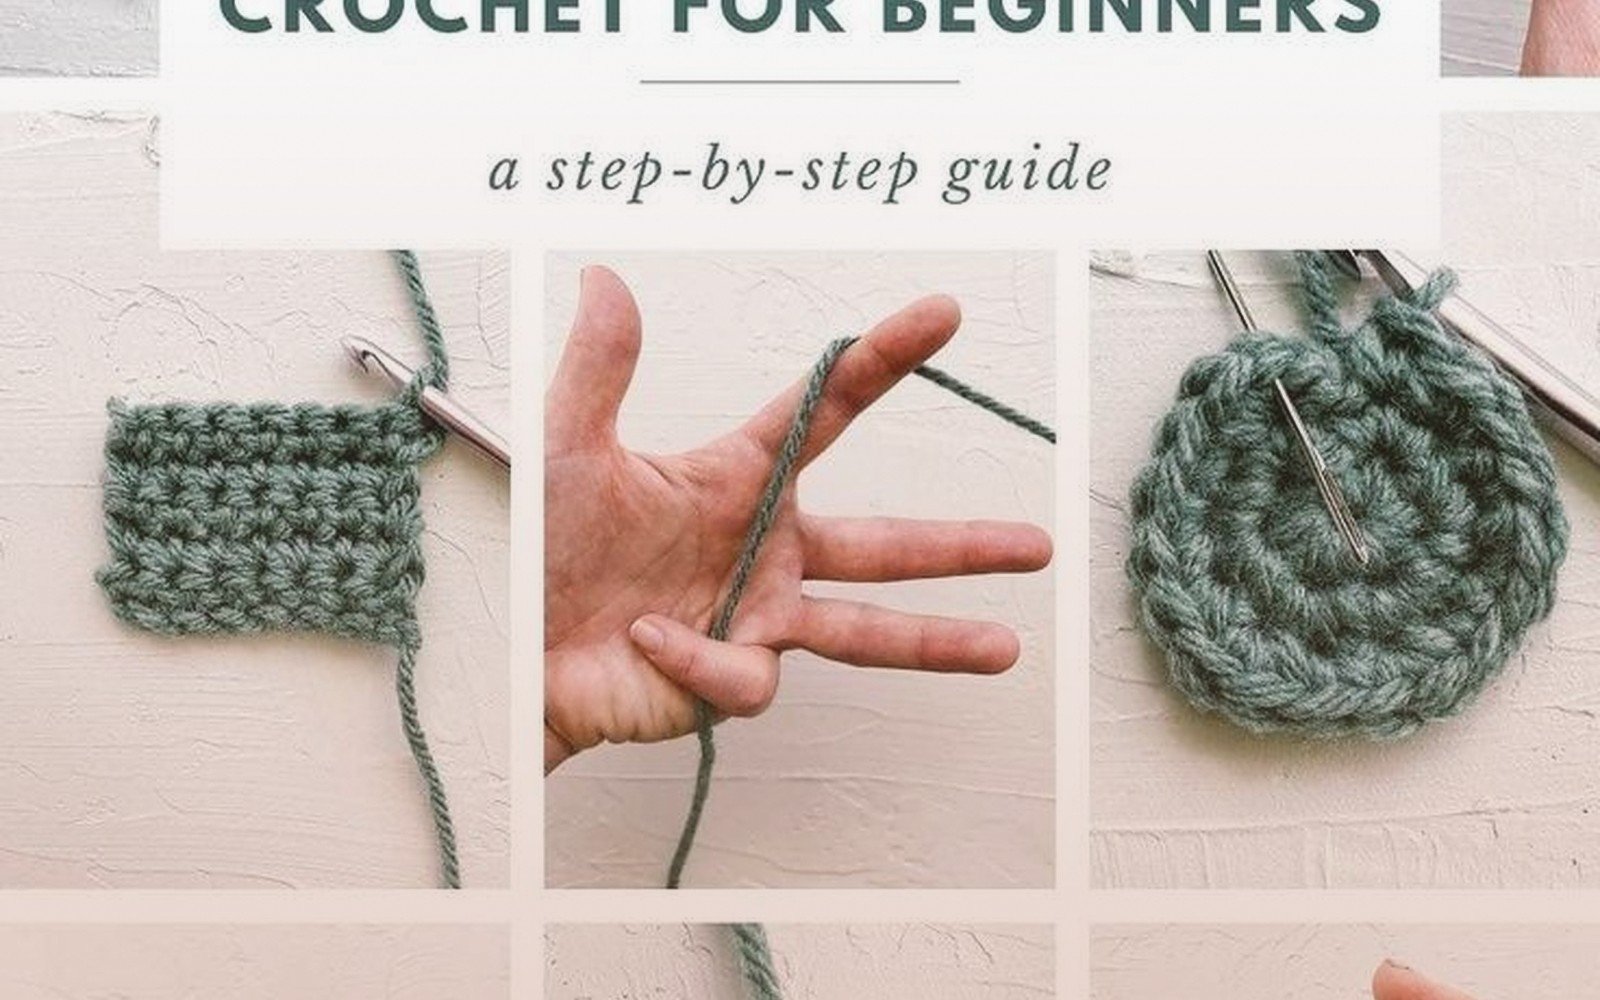
The Magic Ring Technique
For starting circles, magic ring is better than chaining and joining because it doesn’t leave a hole in the center. You wrap yarn around your fingers in a specific way, crochet into the ring, then pull the tail to tighten it.
This took me like fifty tries to get right. I kept losing the tail or pulling the wrong end or the whole thing would fall apart. There’s videos that show it slowly and eventually it’ll click but it’s genuinely one of the harder beginning techniques even though people act like it’s basic.
Fixing Mistakes
You’re gonna make mistakes constantly. The good news is crochet is easy to undo. Just take your hook out and pull the working yarn (the end attached to the ball) and your stitches will unravel. This is called “frogging” because you rip-it, rip-it like a frog sound… yeah crochet humor is bad.
I frogged my first attempt at a scarf like eight times before I got past ten rows without messing up the count.
Sometimes you don’t notice a mistake until several rows later. You can either frog back to where the mistake is, or just keep going because honestly most mistakes aren’t that noticeable in the finished item and perfectionism will kill your enjoyment of this hobby.
Joining Yarn And Weaving In Ends
When your yarn ball runs out or you want to change colors, you just start using the new yarn. Leave a tail of like 6 inches from both the old and new yarn. Later you’ll weave these ends in with a yarn needle by threading them through the back of stitches so they don’t show.
Weaving in ends is tedious and boring but necessary. I have definitely left ends hanging on projects that I only use at home because I got lazy.
Yarn Weights And What They Mean
Yarn comes in different thicknesses called weights. The numbers go from 0 (lace, super thin) to 7 (jumbo, super thick). The most common are:
- Weight 3: Light/DK
- Weight 4: Medium/Worsted (this is Red Heart Super Saver and most beginner yarns)
- Weight 5: Bulky
The yarn label tells you what weight it is and what hook size to use. For learning, stick with weight 4 and a size H/8 or I/9 hook.
Actually Following A Pattern Project
When you’re ready to make something from a pattern, start with something rated “easy” or “beginner.” Ravelry is a website where people share free patterns and you can search by difficulty level.
I made a simple granny square blanket by following a pattern in summer 2024. Granny squares are those traditional square motifs with gaps in them. You work in rounds and it’s very repetitive which makes it good for practicing.
The pattern said to use worsted weight yarn and I used I Love This Yarn from Hobby Lobby because it was cheap and came in colors I liked. Made like 48 squares and then sewed them together which took forever but the blanket turned out decent.
Tension Issues And Hand Pain
If your hand hurts, stop. Take breaks every 20-30 minutes especially when you’re learning and your hands aren’t used to the motion. Stretch your fingers and wrists.
Some people develop carpal tunnel or tendonitis from crochet. Pay attention to pain that’s more than just muscle tiredness. The ergonomic hooks with the rubber grips do help if you’re getting hand pain. Clover Amour hooks are really popular but they’re like $7-8 each so maybe wait until you’re sure you’ll stick with crochet.
Video Resources That Actually Helped
Youtube is gonna be your best friend. Some channels I used:
- Bella Coco – she goes slow and explains clearly
- The Crochet Crowd – tons of tutorials for different stitches
- TL Yarn Crafts – good for left-handed people since she shows both ways
Watch videos at 0.75 speed if they’re going too fast. Pause constantly. Rewind and watch the same part fifteen times. That’s normal.
What To Make After Basic Rectangles
Dishcloths and scarves get boring after a while. Try:
- Simple beanies (work in the round, usually just double crochet)
- Granny square anything (blankets, bags, coasters)
- Market bags (they work up fast with bulky yarn)
- Headbands
- Simple shawls (usually just a triangle shape with basic stitches)
Avoid amigurumi at first unless you really want to make stuffed animals. It requires tight tension and a lot of counting and shaping that’s hard when you’re still learning basic stitches.
Buying Yarn Without Going Broke
Craft stores have sales constantly. Michael’s and Joann’s do 40-50% off coupons all the time. Buy yarn on sale and stock up on basics.
Red Heart Super Saver is usually like $3-4 a skein. Caron Simply Soft is maybe $5-6. Lion Brand Wool-Ease is around $6-7. These are fine for learning and for most projects.
Fancy indie dyed yarn can be like $30+ for one skein which is beautiful but totally unnecessary when you’re starting out and you’re just gonna practice and probably frog everything anyway.
The Actual Time Investment
Learning basic stitches takes maybe a week or two of practicing for 30 minutes to an hour a day. Getting comfortable enough to follow simple patterns takes a month or so. Making your first real project that you’re proud of might take a few months depending on how much time you put in.
I crocheted almost every evening for like three months in 2022 and went from total beginner to being able to make simple blankets and hats. It’s not a fast skill to pick up but it’s not super slow either if you practice regularly.
When It Starts Feeling Natural
At some point your hands will just know what to do and you won’t have to think about every single step. You’ll be able to watch TV and crochet at the same time. You’ll stop dropping stitches constantly. Your tension will even out.
For me this happened around month two or three. I was making a scarf and realized I’d done like ten rows without looking at my hands once. That’s when it clicked that I’d actually learned the skill.
You’ll still mess up and have to frog things and get frustrated with patterns that don’t make sense. But the basic mechanics become automatic and that’s when crochet gets actually enjoyable instead of just being a frustrating puzzle you’re trying to solve.