
Mar
okay so summer tops are actually way easier than you think
I made my first one in spring 2022 when I was basically just sitting around trying to distract myself from checking my phone every five minutes and honestly it turned out pretty wearable which shocked me. The thing about crochet tops is they look complicated but they’re really just rectangles or granny squares attached to each other and maybe some straps.
So first thing you gotta know is that summer tops need to be made with cotton or cotton blend yarn because acrylic is gonna make you sweat like crazy. I learned this the hard way. I used Red Heart Super Saver for my first attempt and it was so hot I couldn’t wear it outside for more than ten minutes. Now I stick with Lily Sugar’n Cream or I Love This Cotton from Hobby Lobby when it’s on sale because honestly yarn gets expensive fast.
the basic rectangle top method
The easiest beginner top is literally two rectangles sewn together at the shoulders and sides with gaps for arms. You make a front panel and a back panel and that’s it. For sizing you basically crochet a rectangle that’s as wide as your chest measurement and as long as you want the top to be. I usually make mine like 18 inches long because I’m gonna wear high waisted shorts or jeans with it anyway.
Start with a chain that matches your width measurement. If you want a 16 inch wide panel and your gauge is like 4 stitches per inch then you need 64 chains. But honestly I never measure gauge properly I just chain until it looks right when I hold it up to my body.
Then you just do rows of double crochet back and forth until it’s long enough. The most basic stitch pattern is:
- Chain your foundation (make it an even number)
- Row 1: Double crochet in 4th chain from hook and each chain across
- Turn, chain 3 (counts as first dc)
- Row 2: Double crochet in each stitch across
- Repeat row 2 until you hit your desired length
Make two of these panels exactly the same size. Then you lay them on top of each other and use slip stitch or single crochet to seam the shoulders together. Leave like 8-10 inches open in the middle for your head hole. Then seam up the sides but leave 8-9 inches open at the top for arm holes.
The annoying thing about this method is that seaming is boring as hell and my tension always gets weird when I’m sewing pieces together so sometimes one side ends up tighter than the other and the whole thing sits crooked on your body.
granny square top which sounds harder but isn’t
Summer 2024 I made one of these while binge watching The Bear and it actually came out cute. You make a bunch of granny squares in whatever size you want and then arrange them and connect them. Most people do 4-6 inch squares because they work up fast.
Basic granny square pattern if you don’t know it:
- Chain 4, slip stitch to form ring
- Round 1: Chain 3, make 2 dc in ring, chain 2, then (3 dc, chain 2) three more times, slip stitch to top of beginning chain
- Round 2: Slip stitch to first chain-2 space, chain 3, (2 dc, chain 2, 3 dc) in same space for corner, chain 1, then in next chain-2 space do (3 dc, chain 2, 3 dc) for next corner, repeat around
- Keep adding rounds until square is the size you want
For a top you need like 12-16 squares depending on your size and how cropped you want it. Arrange them in a layout that makes sense – usually two squares wide and however many tall you need. You can make a front panel of 6 squares (2 wide x 3 tall) and same for back, then connect at shoulders and sides.
The cool thing about granny squares is you can use different colors for each round and make it look actually interesting instead of just a solid colored rectangle. I used Bernat Handicrafter Cotton for mine in like four different colors and it looked kinda retro.
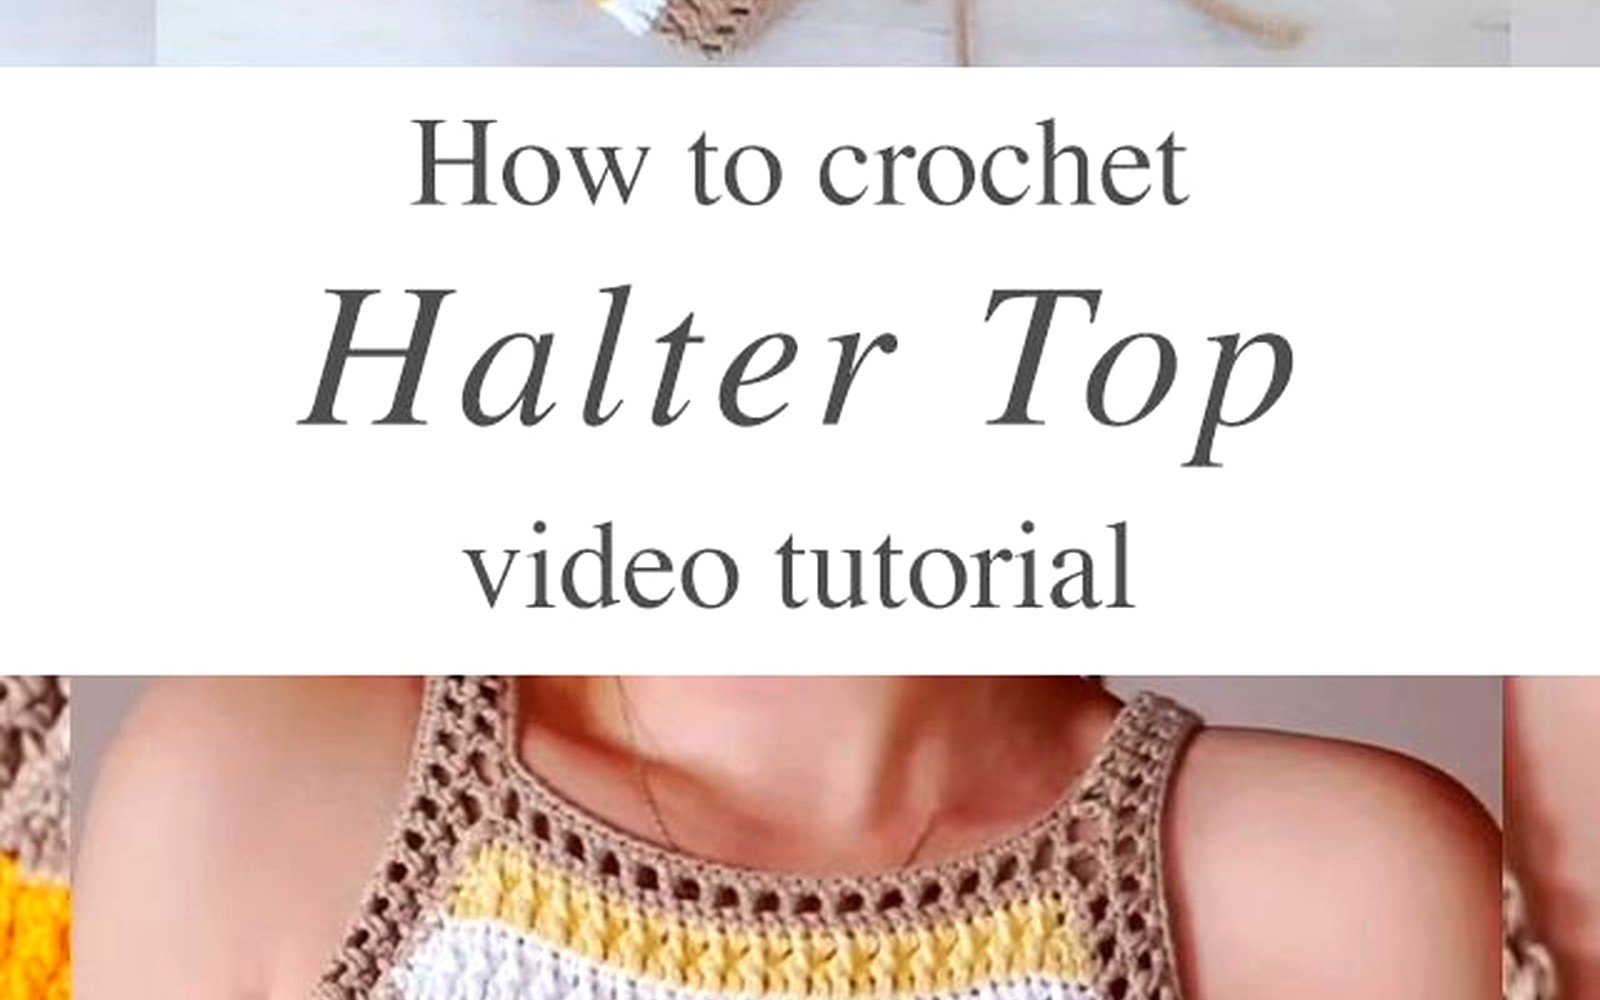
the halter style which is my favorite honestly
This one’s just a rectangle or granny square panel for the front and you add ties that go around your neck and around your back. No back panel needed which means less work. You make one panel that covers your chest (measure from underarm to underarm for width and from collarbone to wherever you want it to end for length).
Then you add straps by either:
Chaining a long chain (like 100+ chains) and attaching it to the top corners of your panel for neck ties, or crocheting actual straps by doing like 5 chains and then single crocheting back and forth for a few rows to make a strap that’s maybe an inch wide and super long.
For the back ties you attach chains or straps to the sides of your panel at underarm height so you can tie them behind your back. This style is good because it’s adjustable and you don’t have to worry as much about exact sizing.
I made one of these during that heat wave last July and wore it to a barbecue and someone asked where I bought it which felt pretty good not gonna lie.
actual measurements and sizing stuff
Okay so here’s what you actually need to measure on yourself:
- Bust measurement (around the fullest part)
- Length from shoulder to where you want the top to end
- Shoulder width if you’re doing a tank style
- Underarm to underarm width for halter styles
But honestly crochet is stretchy so you don’t have to be super precise. I usually make things slightly smaller than my measurements because they stretch out when you wear them. Like if your bust is 36 inches make your panel 32-34 inches and it’ll stretch to fit.
adding straps properly because this matters
For a tank style top you need straps and there’s a few ways to do them. The easiest is to just crochet chains that are long enough to go over your shoulder. Try on the top panels as you go and hold the chain over your shoulder to check length before you fasten it off.
Or you can make wider straps by doing this:
- Chain 6-8
- Single crochet back across the chain
- Chain 1, turn, single crochet in each stitch
- Repeat until strap is long enough
Attach straps to the inside of your top panels with a needle and yarn or just crochet them directly onto the top edge of your panels which is what I usually do because I’m lazy about weaving in ends.
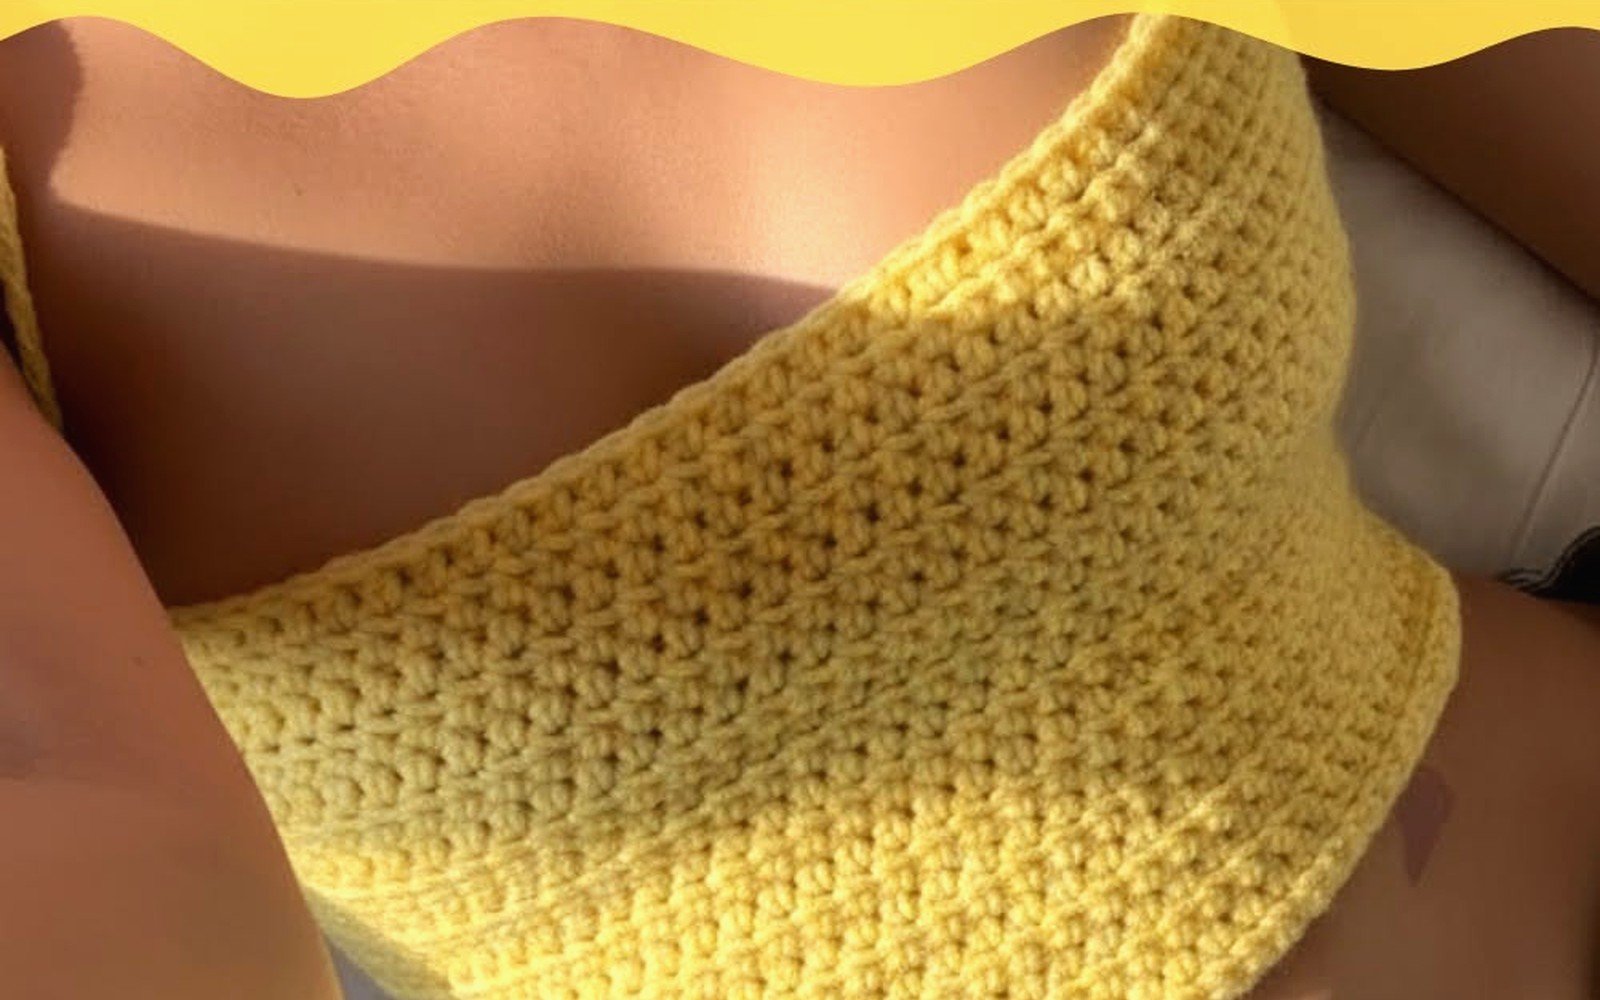
the mesh top thing that’s everywhere
You’ve probably seen those mesh crochet tops all over instagram or whatever. They’re just made with a really open stitch pattern instead of tight double crochets. The easiest mesh pattern is:
- Chain an even number
- Row 1: Dc in 6th chain from hook, *chain 2, skip 2 chains, dc in next chain* repeat across
- Row 2: Chain 5, turn, dc in next dc, *chain 2, dc in next dc* repeat across
- Repeat row 2
This makes a super open fabric with holes. You gotta wear a bralette or tank top under it obviously but it looks beachy and uses less yarn so it’s cheaper. I made one with some Paintbox Yarns Cotton DK I had leftover from another project and it worked up in like three hours.
The thing that annoyed me about mesh tops is that it’s really easy to accidentally skip a stitch or add an extra one and then your edge gets all wonky and wavy. You have to actually pay attention and count which is hard when you’re also trying to watch TV or whatever.
finishing touches that make it look less homemade
Okay so you made your panels and attached everything but it still looks kinda craft project-y. Here’s what helps:
Add a border around all the edges. Just single crochet around the neckline, arm holes, and bottom hem. This cleans up the edges and makes everything look more intentional. I usually do two rounds of single crochet in a contrasting color.
Weave in your ends properly don’t just tie knots and cut them. Get a yarn needle and weave the tails through the back of your stitches for like 3-4 inches then trim. Otherwise they’ll work loose and you’ll have strings hanging out.
Block your finished top which sounds fancy but just means getting it wet and pinning it flat to dry in the right shape. I usually just hand wash it in the sink with regular detergent, squeeze out the water, lay it flat on a towel on the floor and pin the edges so it dries in a rectangle shape instead of all twisted. My cat tried to lay on it once while it was drying which was—anyway just keep pets away from wet yarn projects.
yarn amounts you’ll probably need
For a basic small/medium tank top you need like 400-600 yards of yarn. That’s usually 2-3 balls of Lily Sugar’n Cream which comes in 120 yard balls, or 2 skeins of I Love This Cotton which has 180 yards per skein.
Granny square tops use more yarn because of all the chain spaces. Plan for maybe 600-800 yards for those.
Mesh tops use the least, sometimes as little as 300 yards because of all the holes.
Always buy an extra ball just in case because dye lots vary and if you run out halfway through you might not be able to find the exact same color again. I learned this the hard way with a light blue top where I had to finish the back panel in slightly different blue and you can totally tell if you look close.
hook sizes matter more than you think
Most cotton yarn recommends a 5mm or 5.5mm hook but for summer tops I usually go up a size to make the fabric more drapey and less stiff. A 6mm hook with worsted weight cotton makes a nice loose fabric that doesn’t feel like cardboard.
If you’re doing a mesh pattern definitely use a bigger hook so the holes are actually visible. Like 6.5mm or even 7mm.
Smaller hooks make tighter denser fabric which is warmer so that’s not great for summer unless you’re making something to wear over a swimsuit.
random tips that actually help
Make your foundation chain loose. Like looser than you think it should be. Tight foundation chains make the bottom edge curl up and look weird.
Try on your work as you go especially if you’re winging the measurements like I usually do. Just hold it up to your body every few inches and see if it’s the right width.
Cotton yarn is harder on your hands than acrylic. Take breaks if your fingers start hurting because cotton doesn’t have as much give.
Wash your finished top before you wear it out. Cotton softens up after washing and the fabric relaxes so you want to see what the final texture will be like.
Don’t make your first top in white or light cream because you’ll get it dirty while making it and every bit of dust or dirt shows up. Start with a darker color or something with color variation.
what to do when it doesn’t fit right
If your top is too big you can add elastic thread to the bottom hem by crocheting over it with single crochet stitches. Or add a drawstring by threading ribbon through the bottom edge.
Too small means you gotta add panels to the sides. Make two skinny rectangles and seam them in between your front and back panels. This actually looks intentional if you use a contrasting color.
Straps too long just rip them out and make new shorter ones. Straps too short you can add chain extensions or tie ribbon to them to make them longer.
If the neckline is too loose add a round of slip stitches around it to tighten it up. Too tight means you need to rip out the top few rows and start the neck shaping earlier.
That’s basically it. You’re just making rectangles or squares and tying them to your body in a way that covers what needs covering. Don’t overthink it just start chaining and see what happens. Worst case you rip it out and use the yarn for something else.