
Feb
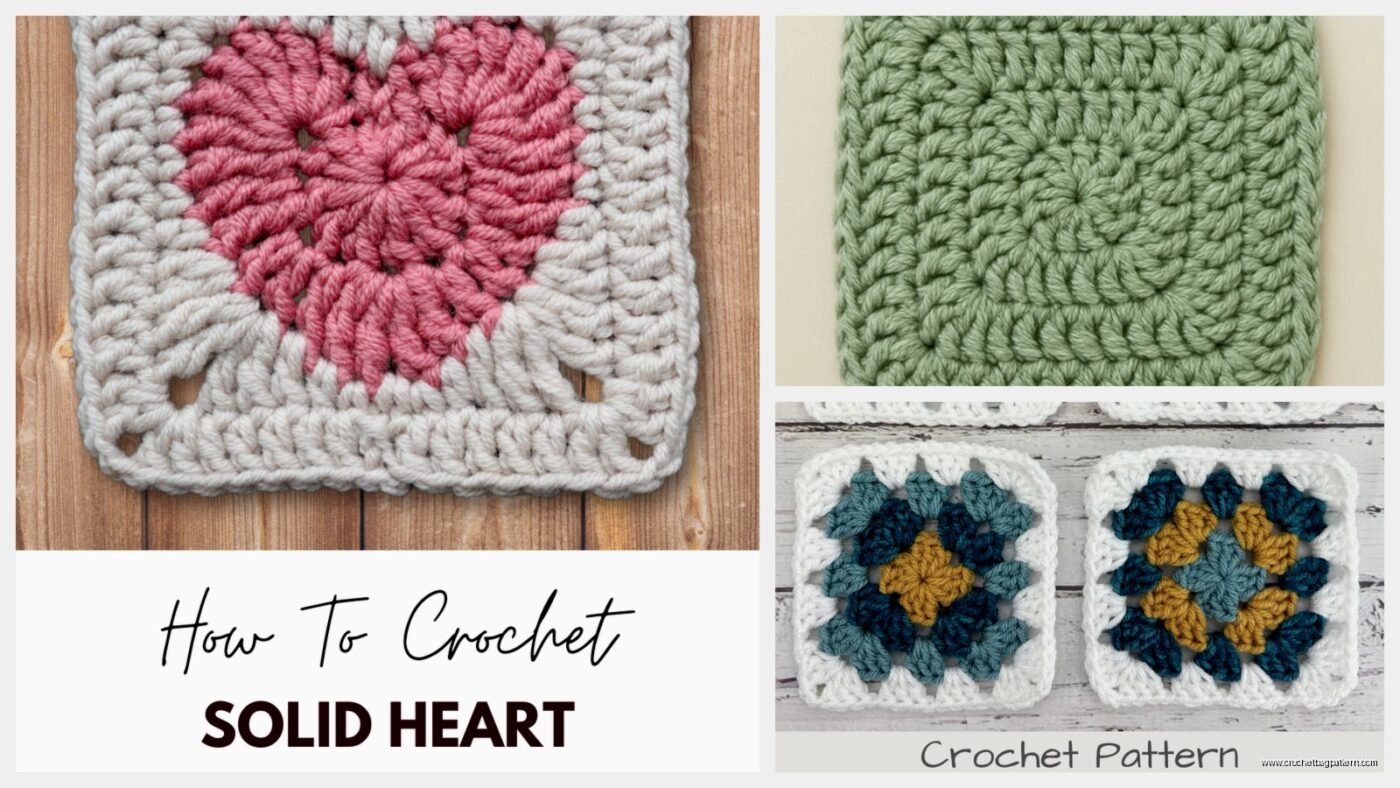
The Basic Granny Square That Actually Works
So you’re gonna start with a slip knot and chain four. Join it with a slip stitch to make a ring. I remember sitting on my couch in January 2023 making my first proper granny square while my cat kept batting at the yarn ball, and I kept having to restart this stupid ring because my tension was all over the place. The ring doesn’t have to be perfect but it needs to actually close into a circle or the whole center looks weird.
Chain three—this counts as your first double crochet. Then you do two more double crochets into the ring. Chain two. That’s your first corner space. Repeat this three more times: three double crochets, chain two. You’ll have four corner spaces total. Slip stitch to join to the top of that first chain three.
The thing that drove me absolutely nuts about granny squares at first was how the corners never seemed to line up right. Like I’d count my stitches and they’d be correct but the square would look lumpy or lopsided. Turns out I was pulling my corner chains too tight.
Round Two Is Where It Gets Real
Slip stitch into the first corner space. Chain three again, put two double crochets in that same corner space. Chain one. In the same corner space, do three double crochets, chain two, three more double crochets. That makes the corner. Chain one, then go to the next corner space and repeat.
You’re basically building clusters of three double crochets with chain spaces between them. The chain-two spaces are always your corners. The chain-one spaces are just the sides. This pattern continues for every round you add.
I used Red Heart Super Saver when I started because it was cheap and at Walmart. The texture isn’t great honestly—kind of squeaky?—but you can see your stitches clearly which helps when you’re learning. I’ve also used Caron Simply Soft and that one’s nicer to work with but more expensive.

Adding More Rounds Without Losing Your Mind
For round three, you do the same thing but now there’s a chain-one space on each side between corners. Slip stitch to the corner, chain three, two double crochets in corner space. Chain one. Three double crochets in the chain-one space from the previous round. Chain one. Then in the corner space: three double crochets, chain two, three double crochets. Chain one, three double crochets in the side space, chain one, next corner.
Each round adds one more cluster on each side. Round four has two clusters per side plus the corners. Round five has three clusters per side. You just keep going until your square is as big as you want.
Tension Things Nobody Tells You
Your tension is gonna be inconsistent at first and that’s fine. I made like fifteen squares before they started looking even remotely uniform. Some were tight and small, some were loose and floppy. I was going through this breakup and just crocheting every night while watching old episodes of The Office, and honestly the squares from the really bad nights look noticeably tighter because I was stress-crocheting.
If your squares are curling up at the edges, you’re probably crocheting too tight. If they’re wavy and ruffled, too loose. The fix is just to pay attention and try to keep consistent pressure on the yarn as it feeds through your fingers.
Joining Squares Together
Once you have a bunch of squares you gotta join them. There’s like a million methods but the easiest one for beginners is the whip stitch. Line up two squares with wrong sides facing each other. Use a yarn needle and whip stitch through the back loops only of both squares. It creates a little ridge on the right side which some people hate but I think it looks fine and it’s sturdy.
You can also slip stitch them together as you go, which is what I do now, but when you’re starting out just make all your squares first and then figure out joining later.
Color Changes and Yarn Ends
If you want to change colors between rounds, finish your round with a slip stitch, cut the yarn leaving like a 6-inch tail. Start the new color in any corner space with a slip knot on your hook, then chain three and continue. You’ll have ends to weave in later and yes it’s annoying.
For weaving in ends, thread them through a yarn needle and weave through the backs of several stitches in different directions. I usually go through about five or six stitches, change direction, go through a few more, then trim close. If you don’t weave them in properly they’ll work loose and your square will start falling apart.
Some people say to weave in ends as you go but I always end up with a pile of finished squares and spend an entire evening just weaving in ends while watching TV. Not fun but necessary.
Common Mistakes That’ll Trip You Up
Forgetting to chain two at the corners is the most common mistake. You’ll get to the end of your round and have too many or too few stitches and have to rip it out. Count your corner chains every time until it becomes automatic.
Another thing is accidentally crocheting into the chain-two corner space when you’re supposed to be working in the chain-one side space, or vice versa. This makes your square look really weird and uneven. I still do this sometimes if I’m not paying attention.
Not slip stitching to join at the end of each round. If you forget this step and just start the next round, you’ll create a spiral instead of defined rounds. Spirals are fine for some projects but not for traditional granny squares.
Variations Once You Get Bored
The basic granny square gets boring fast so there’s tons of variations. Solid granny squares don’t have the chain spaces—you just do double crochets all the way around with corners. Sunburst granny squares have a different center that looks more like a flower. Circle granny squares aren’t actually squares at all for the first few rounds, then you start adding corners to make it square.

I tried making a solid granny square blanket once with Bernat Blanket yarn and gave up after like eight squares because that yarn is SO thick and heavy. My hands hurt after an hour of working with it.
You can also do granny rectangles which are just… well, rectangles instead of squares. You add more stitches on two opposite sides to make it longer. Same principle though.
What to Actually Make With Them
Blankets are the obvious choice. You need a lot of squares though. For a lap blanket you probably need 30-40 squares depending on size. For a full bed blanket you’re looking at 100+ squares which is a serious time commitment.
I made a tote bag with granny squares once by making two large squares for the front and back, joining them together on three sides, and adding handles. It worked but wasn’t very sturdy because granny squares have holes in them. You’d need to line it with fabric.
Pillows are good for using up smaller numbers of squares. Make two squares the same size, join three sides, stuff it, join the fourth side. Or you could make one square for the front and use solid fabric for the back.
Some people make clothes with granny squares but I haven’t tried that yet because… I don’t know, seems like it would be really heavy and not very wearable? But I’ve seen vests and cardigans that looked decent.
Sizing and Planning
If you want specific dimensions, you gotta do math which is annoying. Make one square and measure it. If you want a 40-inch blanket and your squares are 5 inches, you need 8 squares across. But factor in some shrinkage when you join them because the seams take up space.
I never plan honestly I just make squares until I feel like I have enough and then join them together and see what happens. This is not the recommended method if you’re making something as a gift or that needs to be a certain size.
Different yarn weights make different sized squares too. Worsted weight yarn with a 5mm hook makes squares around 4-5 inches depending on how many rounds you do. Chunky yarn makes bigger squares, fingering weight makes tiny squares that take forever.
Hook Size Actually Matters
I started with whatever random hooks I had which was a mistake. Using the right hook size for your yarn makes everything easier. The yarn label tells you what hook size to use. For worsted weight it’s usually 5mm or 5.5mm (H or I hook). If you use too small a hook your fabric is super stiff and your hand cramps up. Too large and it’s floppy and full of holes.
Ergonomic hooks are worth it if you’re making a lot of squares. I have some Clover Amour hooks now and they’re so much better than the cheap aluminum ones. Your hand doesn’t hurt as much after long sessions.
Also if you’re left-handed like my sister, you crochet the same way as right-handed people just mirror image. Some people think you need special instructions but you don’t, you just hold everything in the opposite hands.
When to Give Up and Start Over
Sometimes a square just isn’t working and you need to rip it out and start over. If your stitch count is off by more than a few stitches, if the shape is really wonky, if you made a mistake several rounds back—just rip it. It’s frustrating but trying to fix major mistakes is usually more frustrating than starting fresh.
I ripped out the same square probably six times when I was trying to learn because I kept miscounting stitches and not noticing until three rounds later. Eventually I learned to count as I go and check each round before moving on.
Yarn chicken is when you’re trying to finish a round with the yarn you have left and you might run out before you finish. I’ve lost yarn chicken many times and had to rip out a partial round. Now I just start a new yarn if I’m not sure there’s enough left because I’d rather weave in an extra end than waste time ripping out.