
Feb
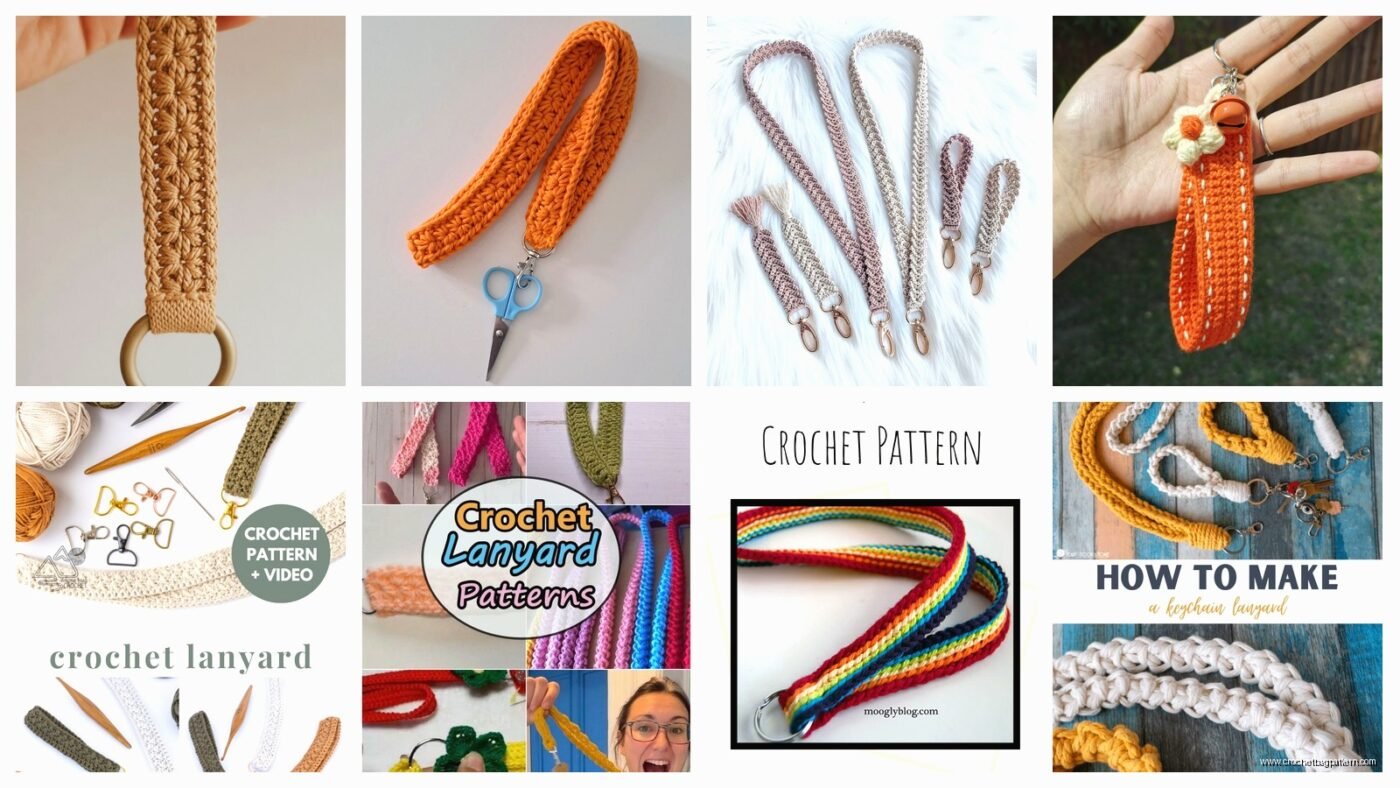
Making a Basic Crochet Lanyard
So I made my first actual lanyard back in spring 2022 when I needed something for my work badge and honestly I was tired of those scratchy nylon ones from the office supply closet. I just grabbed some Red Heart Super Saver in that teal color because it was sitting in my stash and started chaining.
The most basic pattern is literally just a long chain. You’re gonna chain until it’s about 30-36 inches long, depending on how you want it to hang. I do a slip stitch in each chain back down to make it sturdier because just a chain alone is too stretchy and flimsy. Some people do single crochet but that makes it way too thick and stiff for a lanyard in my opinion.
Width Options That Actually Work
If you want it wider than just a chain, you can do rows of single crochet but keep it narrow – like 3 or 4 stitches across max. I tried making one that was 6 stitches wide once and it just looked weird and bulky around my neck. The thing that really annoyed me about making lanyards is that they take forever even though they seem like they should be quick projects because they’re so thin and long and repetitive.
For a slightly fancier version, chain 4 or 5, then single crochet back across. Chain 1, turn, single crochet across again. Just keep going until you hit your desired length. This gives you an actual strap feel instead of just a cord.
Adding the Hardware Parts
You need a swivel clasp hook thing – they sell them at craft stores in the keychain section or you can order them online. Before you finish your lanyard, thread it through the little loop on the clasp. Then you either sew the end to itself or I usually just slip stitch the beginning and end together to form the loop around the clasp.
I made one during summer 2024 for my friend’s birthday using Lily Sugar’n Cream because I wanted it to be cotton and more breathable since she works in a hot warehouse. The cotton ones definitely feel better in summer but they stretch out more over time which is annoying.
Stitch Patterns That Don’t Suck for Lanyards
You can do a simple stripe pattern by changing colors every few rows. Just drop the old color and pick up the new one, carry the unused color along the edge or weave it in as you go.

Slip stitch crochet makes a really nice dense fabric for lanyards. Chain your starting length, then slip stitch through the back bump of each chain. It creates this almost woven looking texture. My cat kept trying to attack the lanyard while I was making this version though so it took way longer than it should have.
Single crochet in the back loop only gives you ridges that look kinda cool. Front loop only works too but I think back loop looks better for some reason.
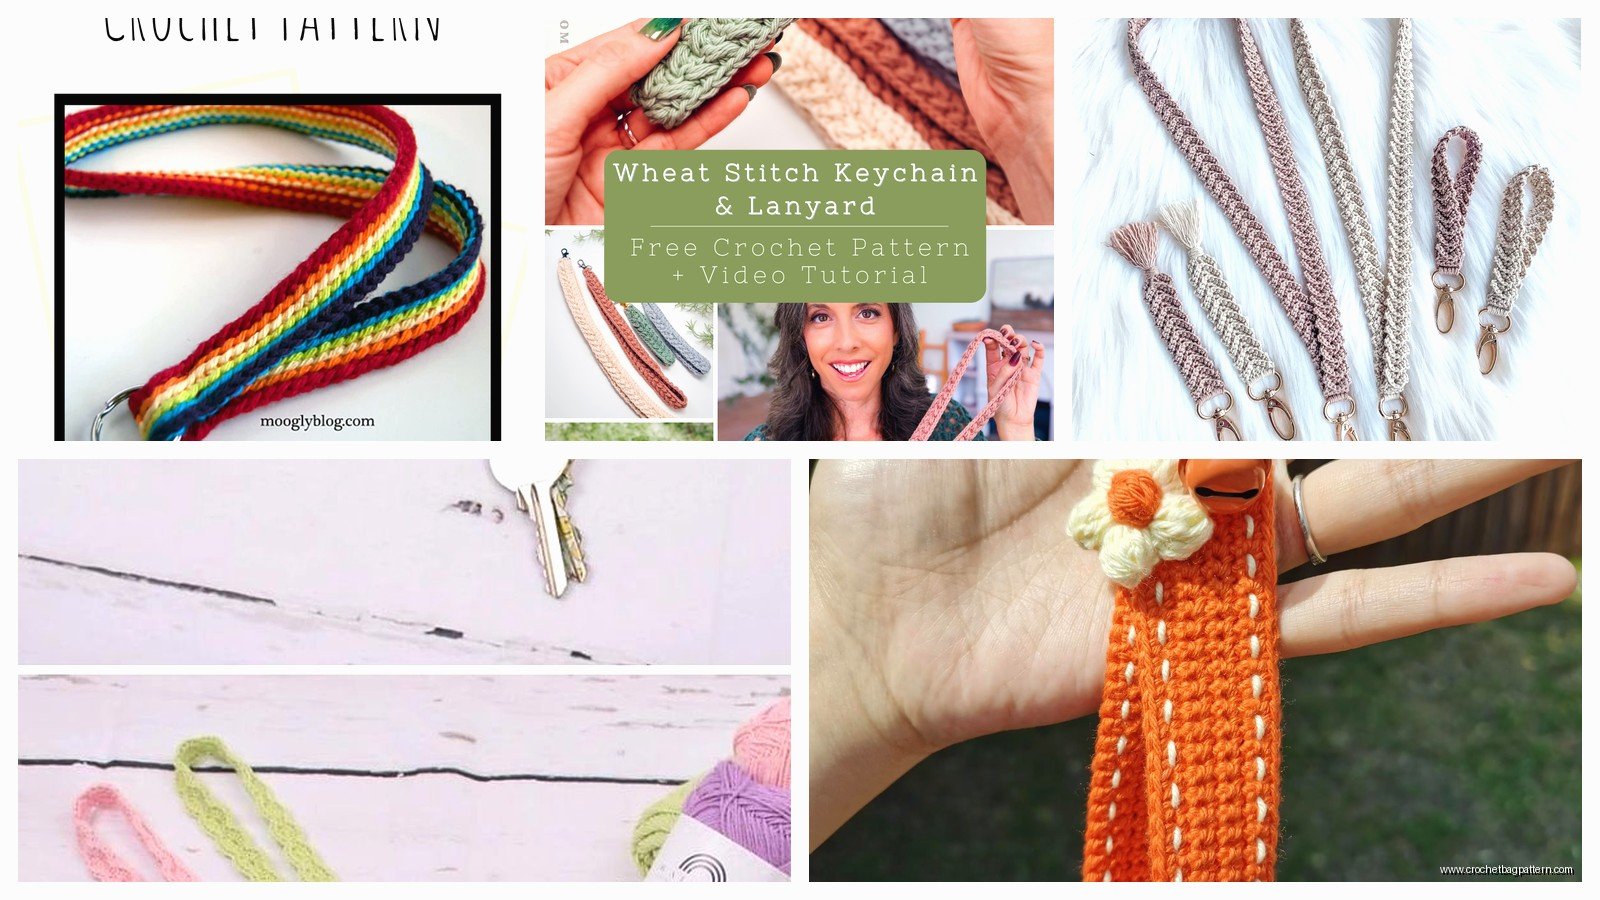
The Keychain Strap Wristlet Version
These are shorter – only like 6 to 8 inches. I make these way more often than full lanyards because they’re actually quick. Same concept but you need the keyring hardware and usually a lobster clasp for the other end so you can attach it to your keys and also clip it to your purse or belt loop or whatever.
Chain about 25 stitches (adjust for your yarn weight), slip stitch back down, then thread through your keyring and sew or slip stitch the ends together. Done. I’ve made probably a dozen of these as little gifts.
For wristlets I really like using Hobbii Rainbow Cotton 8/4 because the colors are so much better than the basic craft store brands, but you gotta order it online and wait for shipping which is the downside.
Making Them More Interesting Without Making Them Complicated
You can add beads as you crochet. Thread them onto your yarn before you start, then slide one up and work your stitch around it. I don’t do this much because it’s fiddly but it looks good if you have the patience.
Variegated yarn does the work for you. Red Heart Unforgettable or any self-striping yarn means you don’t have to think about color changes. Just crochet and it looks like you planned something.
Surface crochet on top of a finished lanyard can add designs. Make your basic lanyard in one color, then use a contrasting color to slip stitch designs on top – stripes, zigzags, whatever. I was watching The Bear while trying this technique and honestly the show was more stressful than the crochet.
Practical Stuff Nobody Tells You
Use a smaller hook than you normally would for that yarn weight. If you usually use a 5mm for worsted weight, go down to 4mm or even 3.5mm. You want tight stitches because lanyards get pulled and tugged constantly. Loose stitches stretch out and look sloppy after like a week of use.
Steam blocking helps a lot even though it seems unnecessary for something this simple. It makes the stitches look more even and the whole thing lays flatter. Just hover your iron on steam mode over it or pin it out and spray it with water.
The length thing is tricky because you think you’ve made it long enough but then when you add the hardware and loop it through, it gets shorter. I always make mine at least 34 inches before attaching anything because you lose a few inches in the hardware connections.
Yarn Choices That Worked and Didn’t Work
Worked well: Red Heart Super Saver (cheap and durable), Lily Sugar’n Cream (cotton feels nice), Caron Simply Soft (if you want something softer but it pills eventually), Bernat Handicrafter Cotton
Didn’t work: anything fuzzy or with eyelash texture because it just looks messy and you can’t see your stitches, really chunky yarn makes it too bulky, super thin thread takes forever and the finished lanyard is too delicate for actual daily use
I tried making one with some fancy wool blend once thinking it would be nice and it just… wool around your neck all day gets itchy and also it started felting slightly from body heat and friction which was weird.
The Badge Holder Add-On
If you’re making this for work badges, you need a badge holder clip attachment. The clear plastic sleeve clips onto the lobster clasp at the bottom of your lanyard. You can find badge holder clips in bulk online or at office supply stores.
Some people crochet an actual pouch for their badge but honestly that seems like overkill when the plastic sleeves work fine and you can easily swap badges if needed.
Width and Comfort
Anything narrower than 3 stitches wide cuts into your neck if you’re wearing it for hours. I learned this the hard way. If you’re making it for someone who’ll wear it all day at work, go for at least 4-5 stitches wide in worsted weight yarn.
You could also make two thin strands and twist them together before attaching hardware – gives you width without bulk and it looks kinda interesting.
Quick Wristlet Pattern I Use Most
This is my go-to because it’s fast and people actually like receiving them as gifts. Using worsted weight and a 4mm hook, chain 30. Single crochet in second chain from hook and each chain across. Chain 1, turn. Single crochet in back loops only across. Repeat that row until you have about 8 inches or your desired length. Fasten off, thread through keyring and lobster clasp on opposite ends, sew or slip stitch the short ends to themselves to secure the hardware. Takes maybe 30 minutes.
You can do this in school colors, favorite colors, match someone’s car interior, whatever. I made a bunch in black and gold for my coworker who’s obsessed with her college team.
The main thing is just to keep your tension consistent because any weird loose or tight spots really show up on something this simple and narrow.