
Feb
Getting Started With the Actual Hat Part
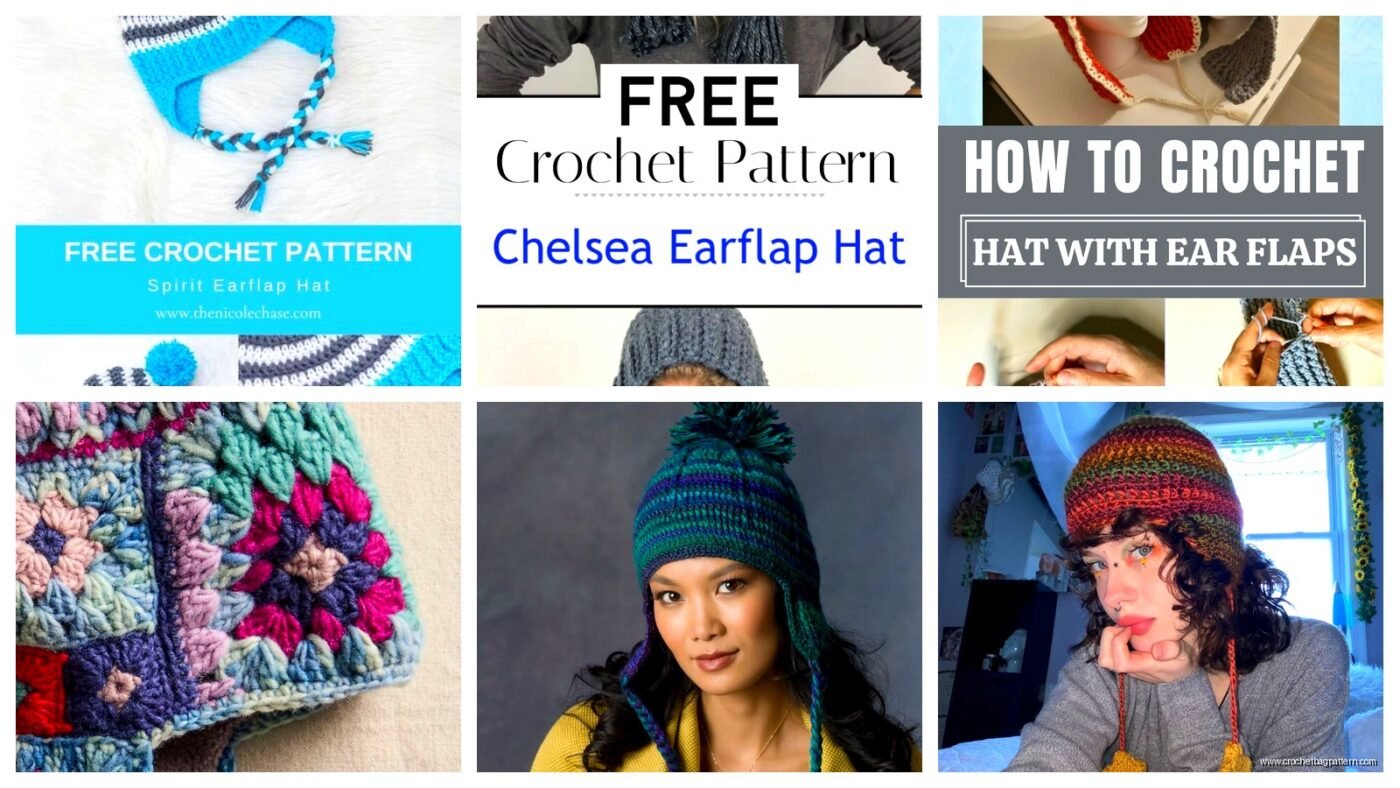
So I made one of these ear flap hats back in winter 2023 when my nephew kept complaining his ears were cold at the bus stop and honestly it turned out way better than I expected. You’re gonna start with the ear flaps first which feels backwards but trust me it works better this way.
I used Red Heart Super Saver in that grey heather color because it was on sale at Walmart and also it’s super warm even if people get snobby about acrylic yarn. Each ear flap starts with like 6 chains, then you just single crochet across. The annoying part is you have to increase on both sides of every row for the first several rows to get that triangular shape, and keeping track of whether you’re on an increase row or just continuing straight gets confusing real fast.
The Ear Flap Shaping Thing
Chain 6 to start. Row 1 is just single crochet in the second chain from hook and across – you’ll have 5 stitches. Then for rows 2-8 or so you’re doing 2 sc in the first stitch, sc across until the last stitch, then 2 sc in that last stitch. So you’re adding 2 stitches per row which makes it fan out.
I think I did this for about 8 rows but honestly it depends on how big the person’s head is. My nephew was 7 so I went smaller. You want the widest part of the triangle to be roughly 3-4 inches across maybe? I just held it up to his head when he wasn’t paying attention.
Make two of these flaps obviously. One thing that really annoyed me was that I made the first one and then couldn’t remember exactly how many rows I did, so I had to count them like three times to make sure the second flap matched. Should’ve written it down but I never do.
Connecting Everything and Starting the Main Hat
This part feels weird but it works. You’re gonna chain a bunch of stitches to connect the ear flaps and create the front and back of the hat. So you’ve got your first ear flap, then chain like 10-12 stitches (this goes across the front), then you attach to your second ear flap and sc across it, then chain another 10-12 for the back, then join to the first ear flap.
I was watching The Great British Baking Show while doing this part and kept losing count of my chains because I got distracted by someone’s collapsed pavlova or whatever.
Once you’ve got this weird chain-and-flap circle thing, you just start working in rounds going up. I used half double crochet for the main body because it works up faster than single crochet and it’s stretchier. You could use double crochet if you want it even faster but it might end up with bigger gaps and less warm.
The Rounds Going Up
Just hdc in each stitch around and around. I didn’t use a stitch marker because I’m lazy but you probably should so you know where your rounds start and end. The hat needs to go straight up for a while – like maybe 6 or 7 inches total from the base to the top? Depends on if you want it slouchy or fitted.
For my nephew I made it pretty fitted because kids lose slouchy hats easier I think. I used Caron Simply Soft for a different hat I made around the same time and honestly that one was softer but the Red Heart held up better in the wash.
Keep checking the fit as you go. The annoying thing about crochet hats is they stretch out over time so you want it slightly snug at first or it’ll end up too loose after like two weeks of wearing.
Decreasing for the Crown
When you’ve got enough height you gotta start decreasing or you’ll just have a tube on someone’s head. I do this by switching to a decrease round pattern – so like hdc in 4 stitches, then hdc2tog (that’s half double crochet two together, makes one stitch out of two). Then repeat that around.
Next round do hdc in 3 stitches then hdc2tog around. Then 2 and decrease, then 1 and decrease. By this point the hole at the top is getting pretty small. When you’ve only got like 6-8 stitches left just cut your yarn leaving a long tail and thread it through those remaining stitches and pull tight to close the hole.
My cat kept trying to sit on the hat while I was making it which didn’t help anything.
Adding Braids or Ties
For the ear flap ties I cut like 6 strands of yarn maybe 24 inches long each and attached them to the bottom point of each ear flap. Then I braided them but you could also just leave them as tassels or do a twisted cord if you know how to do that.
The braids took forever honestly and that was the most annoying part of the whole project – even more annoying than keeping track of the increase rows on the flaps. Each braid needs to be long enough to actually tie under someone’s chin so don’t make them too short or the whole ear flap thing is pointless.
Yarn Weight and Hook Size Stuff
I used a 5.5mm hook with the Red Heart Super Saver which is worsted weight. If you use bulky yarn it’ll work up way faster but you need like an 8mm or bigger hook and it might look kinda chunky. I made one with Lion Brand Wool-Ease Thick and Quick once and it was done in like 2 hours but it looked more rustic or…
The gauge doesn’t matter that much for hats honestly as long as the fabric isn’t too loose and holey. You want it tight enough to block wind but not so tight it doesn’t stretch.
Sizing for Different Ages
For babies you’d start with like 4 chains on the ear flaps instead of 6 and do fewer increase rows. For adults start with 8 chains maybe and increase for more rows to get bigger flaps. The chain sections connecting the flaps would be longer too – like maybe 15 chains for the front and back instead of 10-12.

I never measure anything properly which probably shows but hats are forgiving. Worst case you just add or remove a few rounds in the straight section to adjust the height.
Optional Decorative Stuff
You can add a pom pom on top which looks cute but is extra work. I made one using a pom pom maker from Michaels and attached it but my nephew pulled it off within a week so maybe skip that for kids hats.
Some people add ribbing around the brim by doing back loop only stitches for the first few rounds but I think that’s unnecessary effort. The ear flaps already keep it secure on your head.
You could also do stripes by changing colors every few rounds which would make it more interesting. I did a red and white striped one as a Christmas gift using Red Heart again and it turned out pretty good even though joining new colors always leaves those little tails you gotta weave in later.
Washing and Care
Acrylic yarn you can just throw in the washing machine which is why I use it for kids stuff. The Red Heart one has been through the wash probably 20 times and still looks fine. Wool blends you gotta be more careful with or they’ll felt up and shrink.
The braids can get tangled in the wash so I usually tell people to hand wash or at least put it in a lingerie bag but does anyone actually do that probably not.
Anyway that’s basically how you make these hats – start with the flaps, chain them together, go up in rounds, decrease at the top, add braids. Takes maybe 3-4 hours total if you’re not getting distracted by TV or cats or whatever.