
Feb
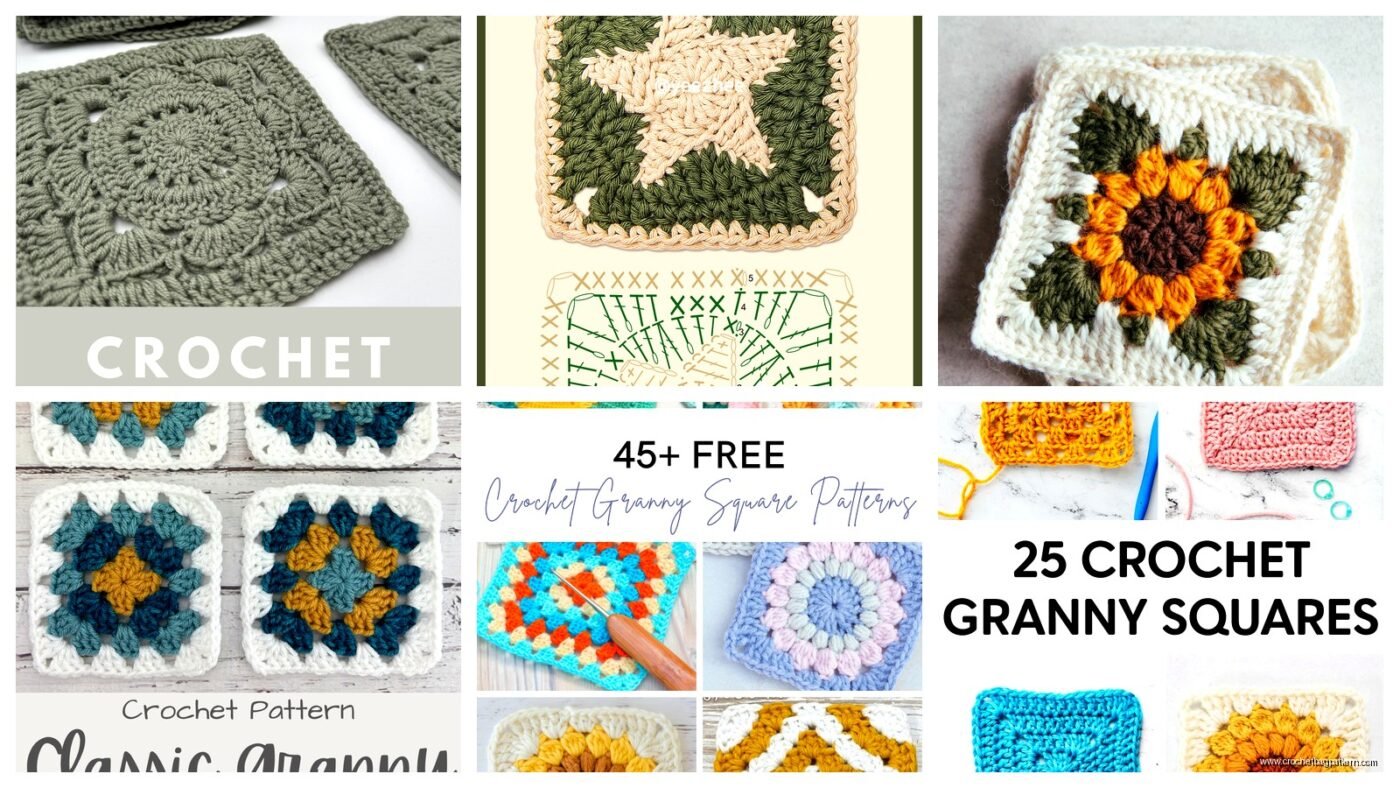
The Basic Starting Chain Thing
So you’re gonna start with a slip knot and chain four. I remember sitting on my couch in January 2023 making my first actual granny square while watching The Last of Us, and I kept losing count of those chains because I was too distracted by the zombie stuff. Chain four, then slip stitch into the first chain to make a ring. That’s your center. You could also do the magic circle method but honestly that confused me for the longest time so just stick with the chain four.
Round One Is Where Everyone Gets Confused
Okay so chain three. This counts as your first double crochet, which is annoying because you have to remember it later. Then you’re doing two more double crochets into that ring you just made. So really you have three double crochets total but only physically made two of them because of that chain three situation.
Then chain two. This is your corner space. Now do three more double crochets into the ring, chain two, and repeat that whole thing two more times. So you end up with four groups of three double crochets with chain-two spaces between them. Slip stitch to the top of that beginning chain three to close the round.
I used Red Heart Super Saver for my first ones because it was cheap and I wasn’t sure if I’d even finish one. The Soft White color shows your stitches really clearly which actually helps when you’re learning.
The Second Round Makes It Actually Look Like Something
Slip stitch into the next stitch and into that corner space. Chain three again (ugh), then do two double crochets, chain two, and three more double crochets all in that same corner space. That makes your corner.
Now chain one and move to the next corner space. In that corner space you’re doing the same thing: three double crochets, chain two, three double crochets. Keep going around until you’ve done all four corners with those chain-one spaces between them. Slip stitch to join.
My cat kept trying to attack the yarn while I was doing this part and I had to lock her out of the room which made me feel guilty but also she was being super annoying about it.
Round Three and Beyond
This is where the pattern really clicks and you realize it’s just repeating the same thing forever. Slip stitch to the corner space, do your starting chain three plus two double crochets, chain two, three double crochets in the corner.
But now you have those chain-one spaces from the previous round. So you chain one, then do three double crochets in that chain-one space from round two. Chain one, then do your corner (three dc, chain two, three dc). Just keep going around putting three double crochets in each chain space and doing the corner thing in the corner spaces.

Each round you add one more group of three double crochets on each side. So round three has one group between corners, round four has two groups, round five has three groups, and… you get it.
The Part That Annoyed Me The Most
The starting chain three thing drove me absolutely crazy for weeks. Sometimes I’d forget it counted as a stitch and I’d accidentally make an extra double crochet at the beginning. Then my square would get all wonky and warped. You gotta really pay attention to where you’re putting that slip stitch at the end of each round. It goes into the TOP chain of that beginning chain three, not into the first actual double crochet you made.
Also the corners sometimes get too tight or too loose depending on your tension. I still struggle with this honestly. If your square is cupping up like a bowl, your tension is too tight. If it’s ruffling and wavy, it’s too loose. With Red Heart it was easier to keep even tension than with some of the softer yarns I tried later like Caron Simply Soft which is really slippery when you’re not used to it.
Changing Colors Because Solid Squares Are Boring
When you want to switch colors, finish your round completely with the slip stitch. Then when you start the next round, just tie on your new color in any corner space. I don’t even weave in the ends until the very end, I just leave them hanging and deal with it later.
Some people fasten off the old color and tie on the new one, some people carry the yarn up, whatever works. I usually just cut the old color leaving like a six inch tail and start fresh with the new color. Less thinking involved.
Actually Measuring Your Square
You’d think a “granny square” would be square but sometimes they’re not if your tension is off. Measure from corner to corner and side to side. They should be the same. Mine never are perfectly the same but as long as they’re close enough it doesn’t really matter once you join them together.
I made like fifteen squares in different sizes before I figured out that the number of rounds matters way more than I thought. Three rounds makes a tiny coaster-sized square. Six rounds is more like… I don’t know, maybe six inches across? Depends on your yarn weight and hook size obviously.
Hook Size Actually Matters
I started with a 5mm hook (H-8) because that’s what I had lying around. That works fine with worsted weight yarn like Red Heart Super Saver or Bernat Premium. If you use a bigger hook your square will be looser and bigger. Smaller hook makes it tighter and smaller.
The yarn label usually tells you what hook size to use but honestly I just eyeball it. If the stitches look too tight and your hand is cramping, go up a hook size. If it’s so loose you can see huge gaps between stitches, go down a size.
Common Mistakes I Made Like A Million Times
Skipping the chain-one space between stitch groups. You’ll end up with not enough spaces and your square won’t grow right on the sides. It’ll look more like a octagon or something weird.
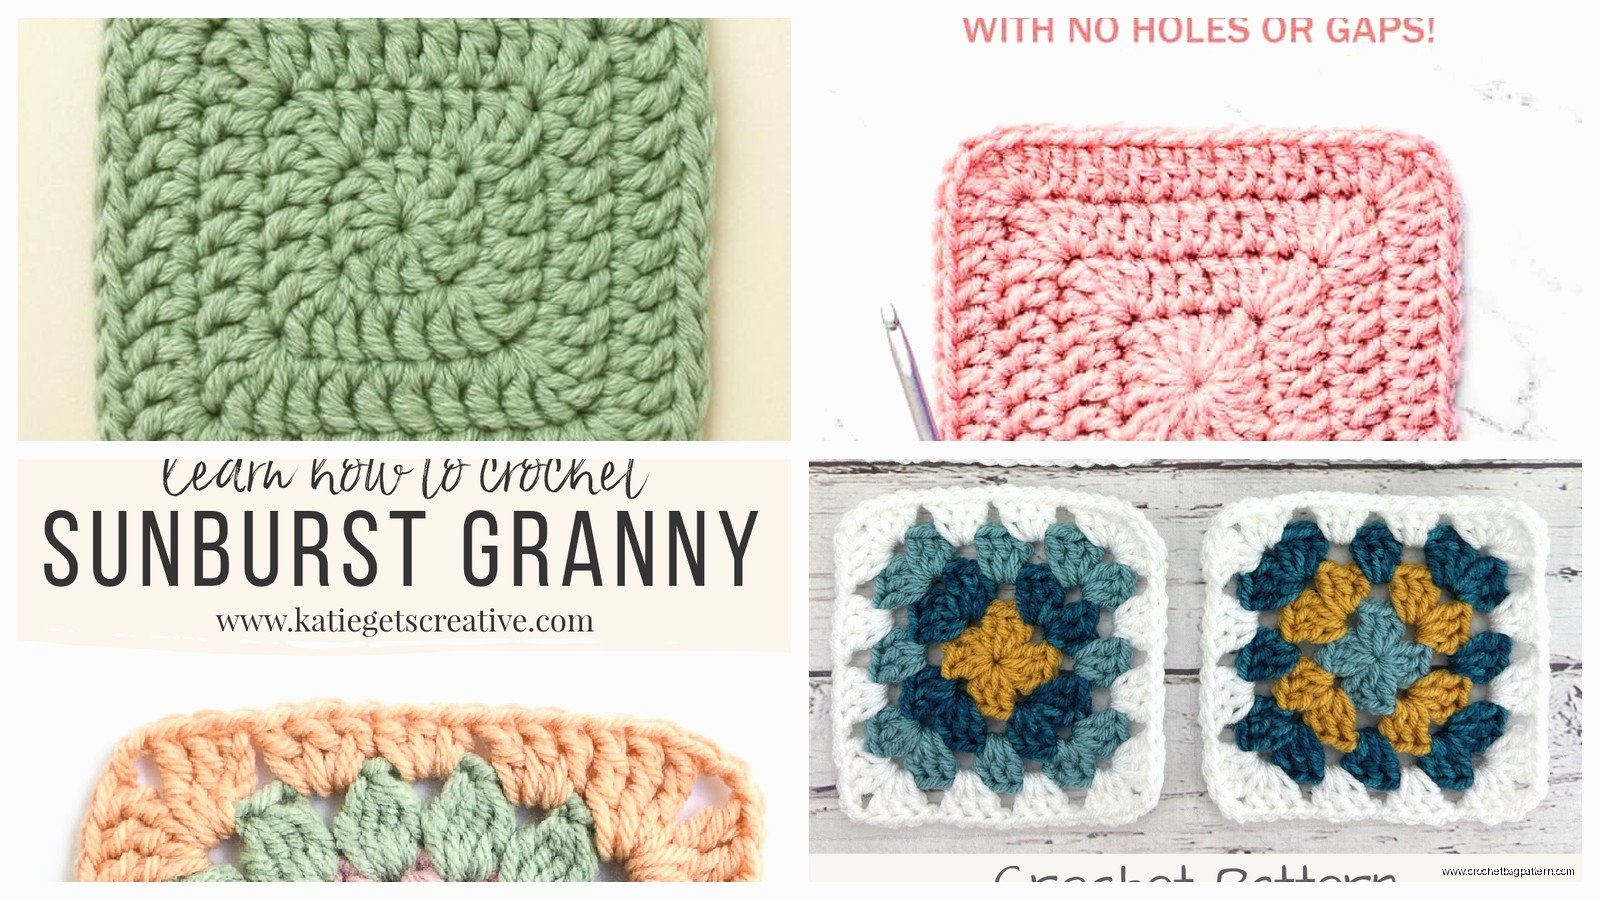
Putting three double crochets IN the double crochets from the previous round instead of in the chain space. This makes everything bunch up and look wrong. The whole point is that you’re working into those chain spaces, not into the actual stitches.
Forgetting which corner you started on and getting confused about where to end the round. I put a stitch marker in my starting corner for the first month until I got better at recognizing it.
Not counting your stitch groups. Each side should have the same number of three-dc groups. If one side has more than the others you messed up somewhere and need to frog it back.
What To Actually Do With Finished Squares
I made probably twenty squares in January and February 2023 before I even thought about what to do with them. Just kept making them in different colors while I was processing some personal stuff (bad breakup, don’t want to get into it). They were all different sizes because I wasn’t planning anything.
Eventually I crocheted them together into a blanket using slip stitch method. You can also whip stitch them together with a yarn needle or do the join-as-you-go method but I find that more complicated than it needs to be when you’re starting out.
Some people make bags, pillows, clothing even. I’ve seen people use granny squares for literally everything. Seems excessive but whatever makes you happy I guess.
The Yarn Ends Situation
Every square is gonna have at least two yarn ends, one from starting and one from finishing. If you changed colors you’ll have even more. I use a big yarn needle and weave them through the back of the stitches. Go through like five or six stitches in one direction then back through a few stitches in another direction so it doesn’t come loose.
This is the most boring part and I always put it off but you gotta do it or your squares will literally fall apart. I usually do it while watching TV because it requires zero brain power, just tedious hand movements.
When Your Square Won’t Actually Square
Sometimes no matter what you do, the square just looks wrong. The corners might be too pointy or too rounded. The sides might bow in or out. This usually means your tension changed midway through or you miscounted somewhere.
I had one square where I somehow added an extra double crochet on one side every single round and didn’t notice until I had like eight rounds done. It looked like a weird trapezoid. Had to frog the whole thing which was incredibly frustrating but there was no saving it.
If your corners are too tight and pulling inward, try doing chain three instead of chain two in the corner spaces. If they’re too loose and floppy, do chain one instead. You can adjust this to fix the shape issues.
Blocking helps too. Get the square damp, pin it out into an actual square shape on a blocking board or foam mat or even a towel, and let it dry. The yarn kind of “remembers” that shape after. Works better with natural fibers like cotton or wool than with acrylic but it still helps a bit.