
Feb
So About Making Your First Granny Square
Okay so I made my first actual granny square in spring 2022 when I was stuck at home with nothing to do and I’d been watching these random crochet videos on YouTube. I already knew basic stitches but had never made a granny square because honestly they looked complicated even though everyone said they weren’t.
First thing you gotta do is pick your yarn. I used Red Heart Super Saver in that medium blue color because it was literally what I had lying around from another project I never finished. Red Heart is cheap and it’s scratchy but it works fine for learning because you’re probably gonna mess up anyway and you don’t wanna waste expensive yarn. I’ve also used Caron Simply Soft which is way nicer to work with if you can spend a bit more. The hook size matters too—I used a 5mm hook (which is an H hook in the US sizing that makes no sense but whatever).
Starting the Center Ring
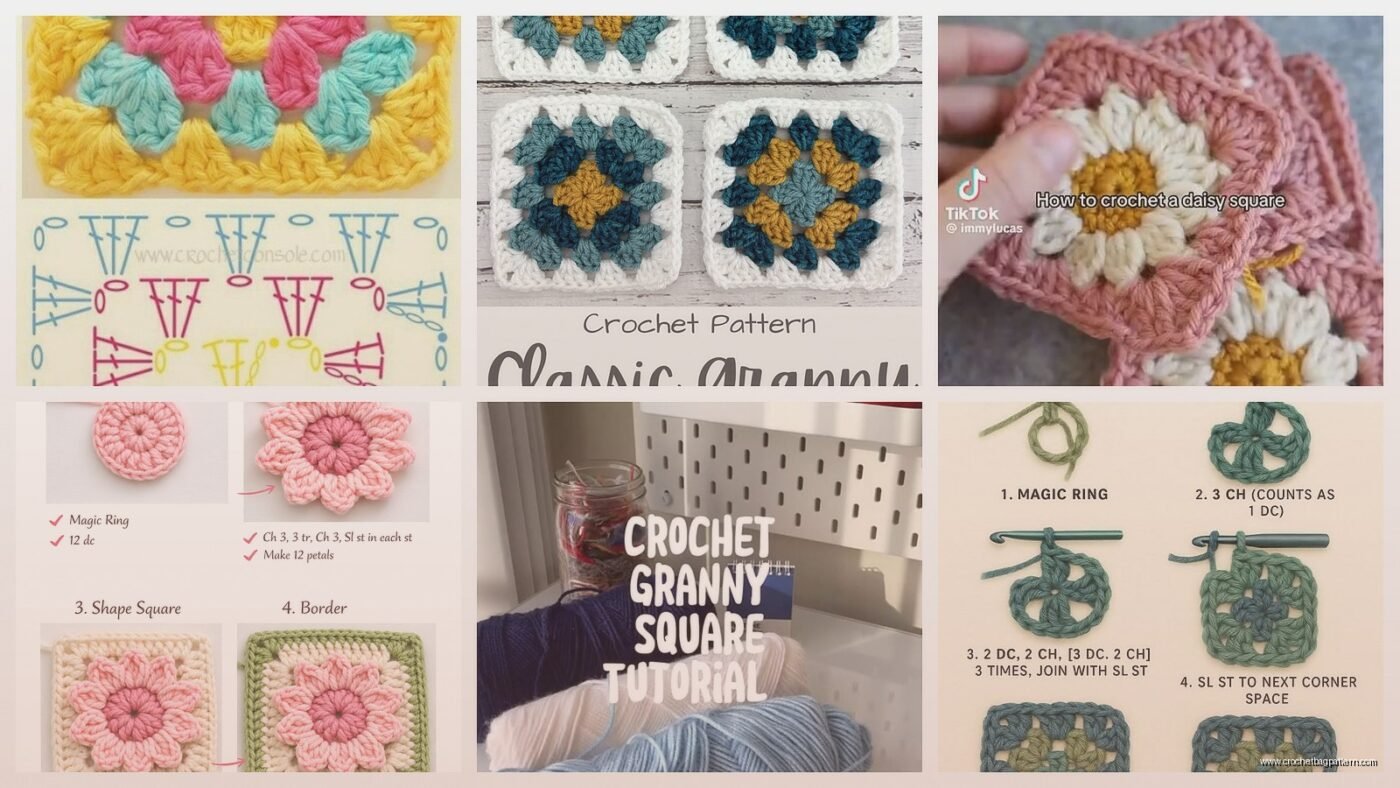
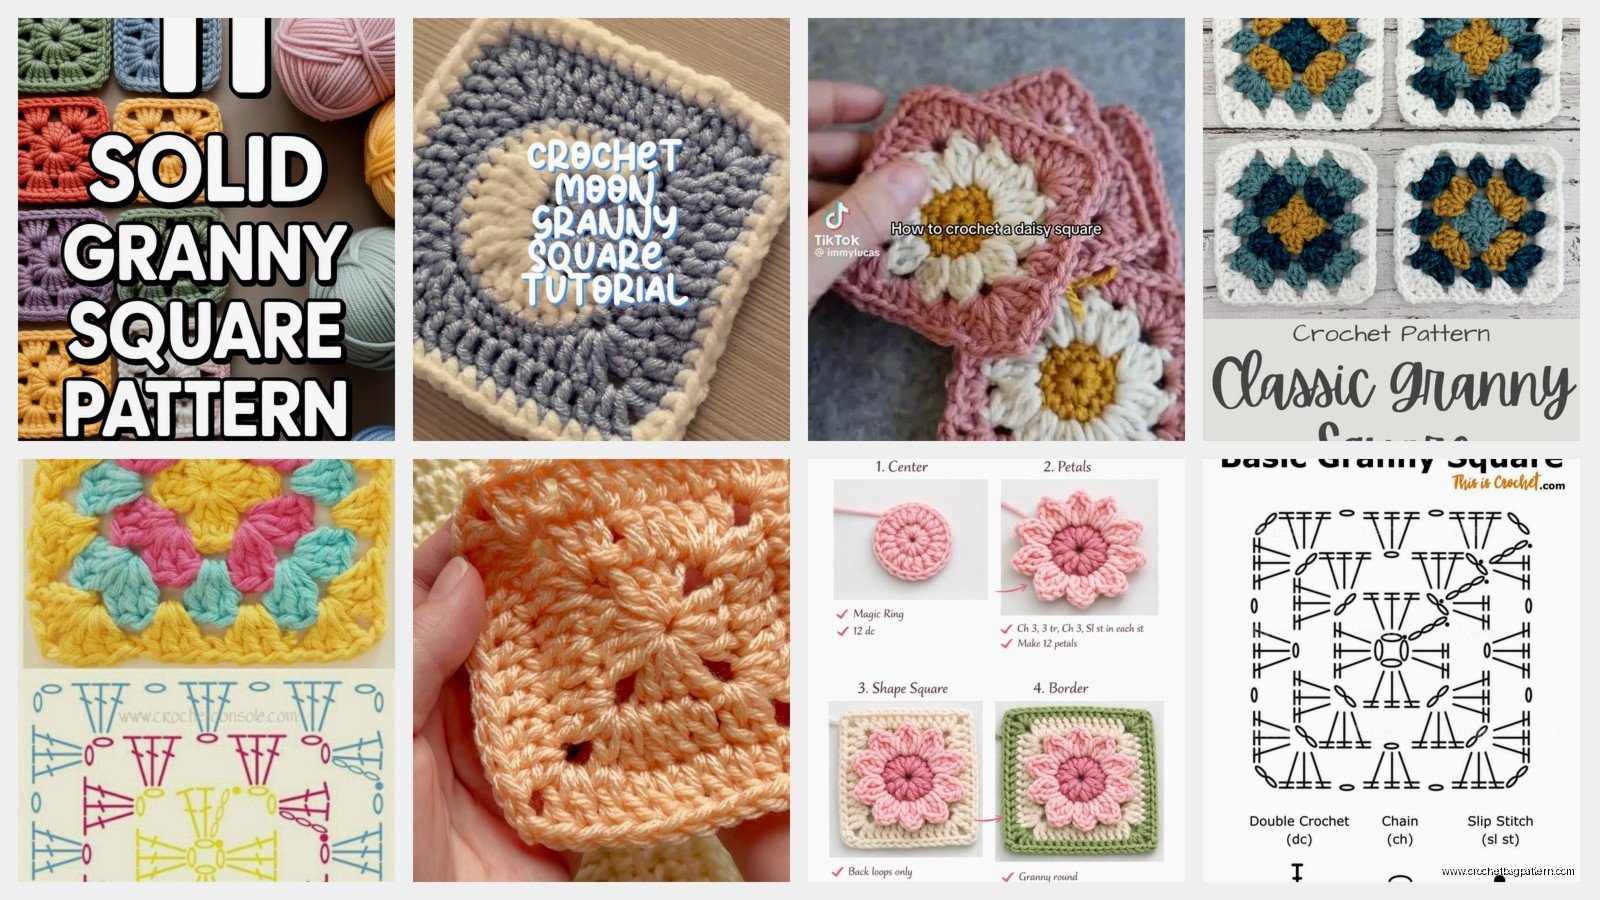
You need to make a center ring to start. There’s two ways—you can chain 4 and slip stitch to connect it into a ring, or you can do a magic ring. I always do the chain method because magic rings stressed me out at first and I could never get them tight enough. So chain 4, then slip stitch into the first chain to make a little circle. It’ll look tiny and weird but that’s normal.
Once you have your ring, chain 3. This counts as your first double crochet even though it’s not actually a double crochet, it’s just supposed to be the same height. This annoyed me SO MUCH when I was learning because like… why not just make an actual double crochet? But apparently that’s how it works and everyone does it this way.
Making the First Round
After your chain 3, you’re gonna make 2 more double crochets into the center of that ring. So you’re putting your hook through the ring (not into the chains, INTO the ring space) and making double crochets. Then chain 2—this creates your corner space.

Now you just repeat that pattern three more times: 3 double crochets into the ring, chain 2. Do that until you have four groups of 3 double crochets with chain-2 spaces between them. Those chain-2 spaces are your corners. When you get back to where you started, slip stitch into the top of that chain-3 from the beginning. My cat kept trying to attack the yarn while I was doing this part which was extremely unhelpful.
Round Two Is Where It Gets Real
Okay this is where I messed up like five times when I first learned. You need to get into the corner space to start round 2. I usually slip stitch across the next 2 stitches and into the chain-2 corner space, then chain 3 again (this counts as your first DC again, ugh).
In that same corner space, you do: 2 double crochet, chain 2, then 3 more double crochet. So you’re putting 6 double crochets total plus a chain-2 in that one corner space. That makes the corner.
Then chain 1. This creates the space along the side of your square.
Move to the next corner space (the next chain-2 from round 1). In that corner you do the same thing: 3 double crochet, chain 2, 3 double crochet. Then chain 1 again.
Keep going around—corner, chain 1, corner, chain 1—until you get back to the start. Slip stitch to join.
Round Three and Beyond
Round 3 follows the same concept but now you have more spaces to work into. Get into a corner space again (slip stitch over there if you need to), chain 3, then do your corner: 2 DC, chain 2, 3 DC in the corner space.
Here’s the difference: now you have that chain-1 space from the previous round along the side. Chain 1, then put 3 double crochets into that chain-1 space from round 2. Chain 1 again. Then you’ll be at the next corner.
So the pattern for round 3 is: corner (3 DC, chain 2, 3 DC), chain 1, 3 DC in the side space, chain 1, corner, and repeat.
Every round after this just adds more groups of 3 DC along the sides. Round 4 would have two groups of 3 DC between each corner. Round 5 would have three groups. You just keep building outward and the square gets bigger.
Things That Tripped Me Up
The counting was the worst part honestly. You’re supposed to count your stitches to make sure you have the right number but I kept losing track because my tension was all over the place at first. Some of my double crochets were loose and some were tight so the square looked kinda wonky.
Also that thing where the chain-3 counts as a stitch? I kept forgetting and would do an extra double crochet at the beginning which threw off my whole count. You gotta remember that chain-3 is standing in for a DC so you only do 2 more after it, not 3 more.
Joining and Weaving Ends
When you’re done with however many rounds you want (I usually do 5 or 6 rounds for a decent sized square), you cut your yarn leaving like a 6 inch tail. Pull it through the last loop to fasten off. Then you gotta weave in your ends which is tedious but necessary unless you want your square to unravel.
I use a yarn needle—it’s like a big plastic needle with a bent tip—and I weave the tail through the back of the stitches going in different directions so it’s secure. Some people say weave it through like 10 stitches but I usually just do enough until it feels like it’s not gonna come out.
Yarn Choices and Colors
After that first square in spring 2022 I got kinda obsessed and made probably 20 more squares that year. I tried Lily Sugar’n Cream which is cotton yarn—it’s good for dishcloths or potholders but it’s not as soft for blankets. Bernat Blanket yarn makes huge squishy squares if you use a bigger hook but the stitches are harder to see because it’s so thick.
For color changing, you can switch colors at the beginning of any round. Just fasten off the old color and join the new color in a corner space with a slip knot on your hook, then start your chain-3 and continue. I made one square where I changed colors every round and it looked pretty cool but also I had like eight ends to weave in which was annoying as hell.
What To Do With Granny Squares
I mean the obvious thing is to make a blanket—you just make a bunch of squares and join them together. You can whipstitch them together with yarn or slip stitch them or even single crochet them together. I’ve never actually finished a full blanket because I get bored after like 15 squares and start a different project, which is probably bad but… yeah.
You can also make one giant granny square instead of a bunch of small ones. Just keep going with rounds until it’s blanket sized. That’s actually easier because you don’t have to do the joining part.
People make granny square bags, coasters, pillow covers, all kinds of stuff. I made a couple coasters that I actually use which felt productive.
Common Mistakes I Made
Missing a corner is easy to do—you’ll be going along and suddenly realize you only have three corners instead of four. Usually this happens because you put your corner clusters in the wrong spot, like in the side space instead of the actual corner space. The corner is always in that chain-2 space from the previous round.
Another thing is accidentally working in the back loops only or front loops only without meaning to. You’re supposed to go under both loops of the stitch unless the pattern specifically says otherwise. When I was watching TV and crocheting (I was rewatching The Office for the millionth time during this period), I’d stop paying attention and my stitches would get weird.
Tension issues are just gonna happen when you’re learning. My first square was more like a trapezoid because one side was way looser than the others. You kinda just have to keep practicing until your hands figure out the right tension naturally. It took me probably 10 squares before they started looking actually square.
Increasing Size Without Changing Hook or Yarn
If you want a bigger square you literally just keep adding rounds. Each round adds about half an inch to three quarters of an inch to each side depending on your tension and yarn weight. A 5-round square with worsted weight yarn and a 5mm hook is usually about 4-5 inches. A 10-round square might be 8-9 inches.
You can also use bulkier yarn and a bigger hook for larger stitches but the technique stays the same. I tried making one with Bernat Blanket and a 9mm hook and it grew SO fast, like each round added over an inch.
Reading Patterns vs Just Winging It
I never learned from actual written patterns, I just watched videos and kinda figured it out. But if you’re looking at a written pattern, it’ll have abbreviations like DC for double crochet, CH for chain, SP for space, etc. A basic granny square pattern written out looks something like:
Round 1: CH 4, join with slip stitch to form ring. CH 3 (counts as first DC), 2 DC in ring, CH 2, [3 DC in ring, CH 2] 3 times, join with slip stitch to top of beginning CH-3.
Honestly though I think videos are way easier for learning this specific thing because you can see exactly where the hook goes.
When Things Go Wrong
Sometimes you’ll get halfway through a round and realize something’s off—wrong number of clusters, missed a corner, whatever. You can either rip it out (that’s called frogging because you “rip it, rip it”) or sometimes you can fudge it by adding or skipping a chain space. I’ve definitely done the fudging thing when I didn’t feel like undoing a whole round.
If your square is curling or ruffling, your tension’s probably too tight or too loose. Curling usually means too tight, ruffling means too loose. The solution is just to adjust how you hold your yarn but that’s easier said than done when you’re starting out.
I still make granny squares sometimes when I want something mindless to do with my hands. They’re not like revolutionary or anything but they’re satisfying once you get the rhythm down and you can make them while watching TV or whatever. Just start with that center ring and keep going in circles until it’s the size you want, then you’re done.