
Feb
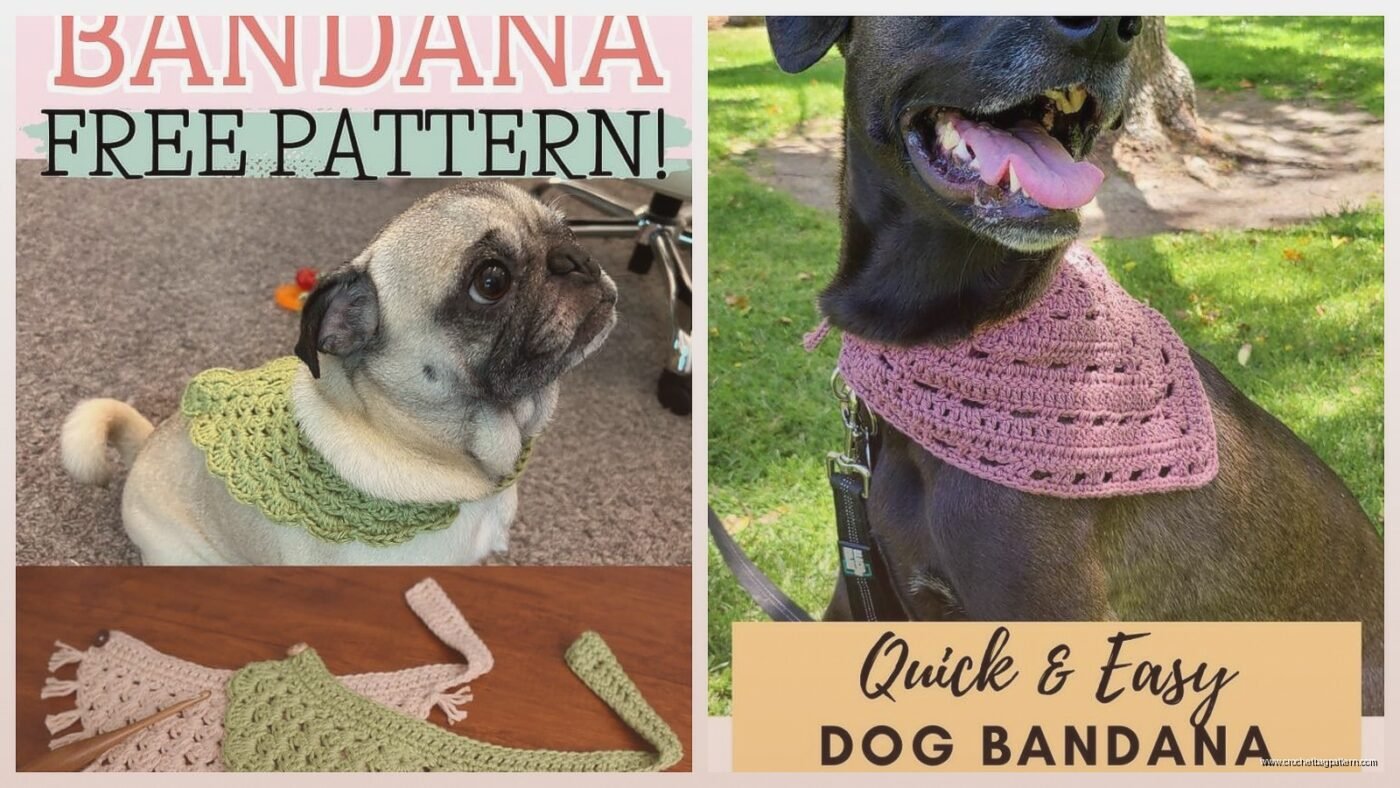
The Basic Triangle Style Bandana
So last spring I made like three of these in one weekend because my sister’s dog had a birthday party and I needed something quick. The triangle style is honestly the easiest way to go because you’re literally just making a triangle and tying it on. You start with a chain that’s about 30 inches long depending on how big the dog is, then you work rows back and forth while decreasing on each side until you get to a point.
I used Red Heart Super Saver in that turquoise color because I had a huge skein left over from a blanket I never finished. The yarn is scratchy honestly but dogs don’t care and it holds up in the wash which matters more. You could use something softer like Caron Simply Soft if you’re making it for a small dog with sensitive skin or whatever.
Measuring Your Actual Dog
Okay so you gotta measure around the dog’s neck but not tight, like loose enough that you can fit two fingers under the measuring tape. Then add about 6-8 inches for the ties on each side. Most medium dogs need a bandana that’s about 14-16 inches on the long edge of the triangle. Small dogs maybe 10-12 inches. Big dogs you’re looking at 18-20 inches or more.
The annoying thing about this whole project is that you really can’t know if it fits right until you tie it on the dog and they immediately try to scratch it off or roll around on the carpet. My dog Cooper acted like I’d personally offended him the first time I put one on him even though he looked adorable.
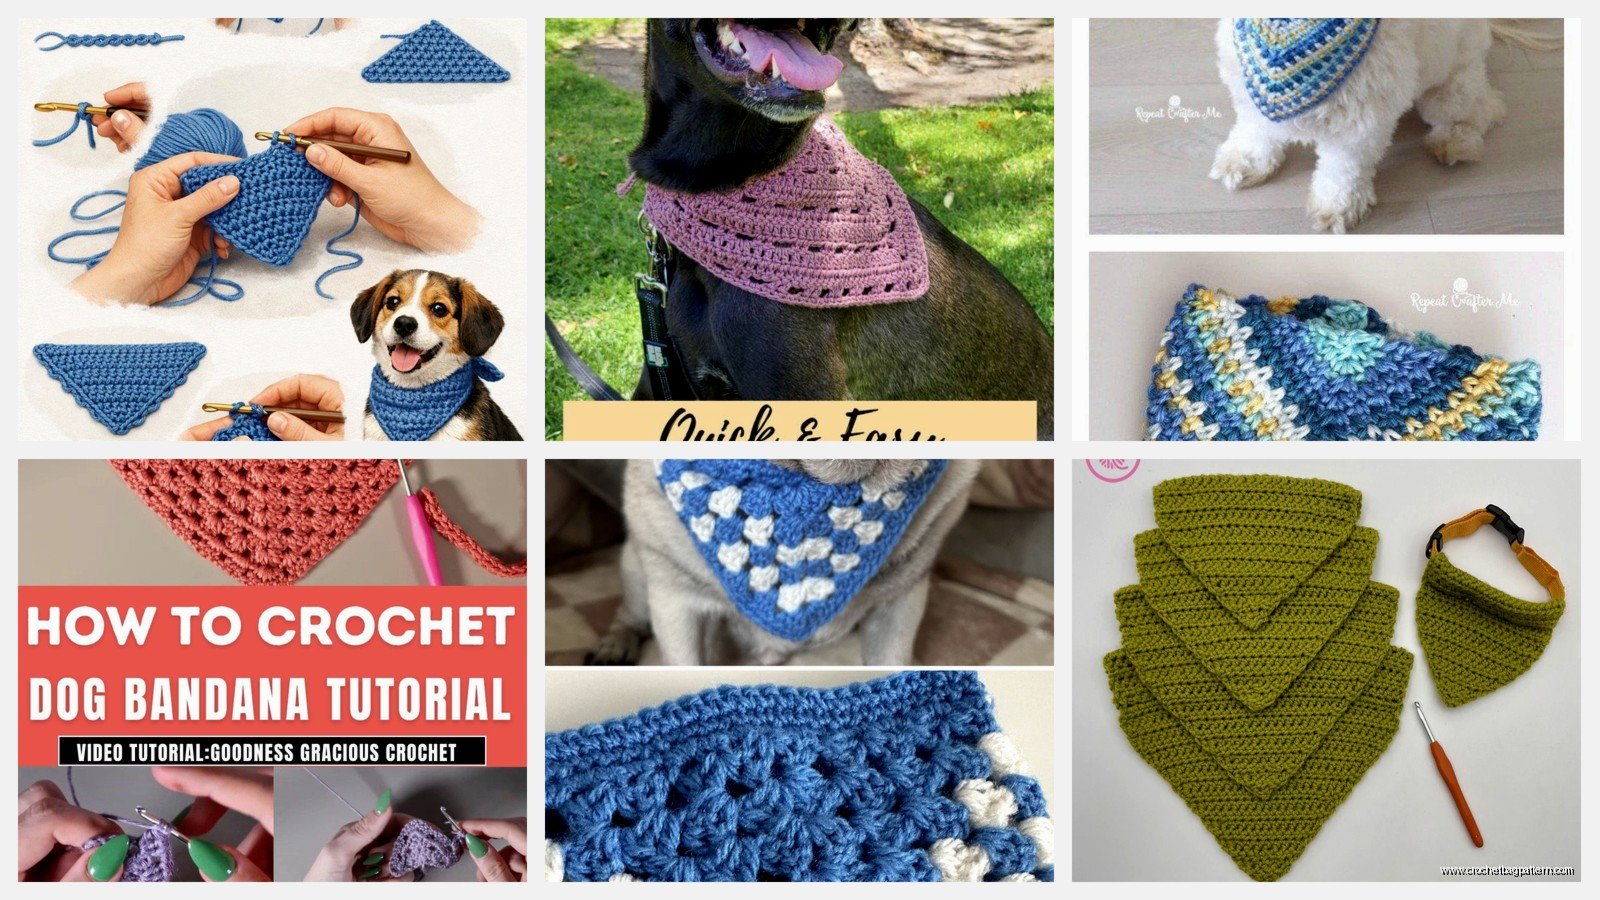
The Flat Triangle Method I Actually Use
Chain 4 to start. In the second chain from hook do 1 single crochet, then 1 sc in the next chain, then 3 sc in the last chain. This creates the point of your triangle. Now you’re gonna work back along the other side of the foundation chain – 1 sc in each of the next 2 chains. Turn your work.
Chain 1. Now you increase on both ends of every row. So it’s 2 sc in first stitch, sc across until the last stitch, 2 sc in last stitch. Keep doing this until the long edge measures however long you need it based on your dog’s neck measurement.
I made one during that heat wave in summer 2024 when my AC was broken and I was just sitting in front of a fan watching Love Island and crocheting because what else was I gonna do. Used Lily Sugar’n Cream cotton yarn because I thought maybe cotton would be cooler for a dog to wear in summer but honestly I don’t think the dog noticed the difference in fiber content.
The Tie-On Strings
This is where people get confused but it’s simple. When you finish your triangle you need to add the strings so you can actually tie it on the dog. Chain about 40-50 stitches from one corner of the long edge. Cut yarn and weave in. Attach yarn to the other corner and chain another 40-50. These are your ties.
Or you can work the ties right into the pattern as you go which is what I do now because attaching them separately is annoying and they can come off easier. When you start your triangle instead of chaining 4 you chain like 50, then do your triangle setup in the middle of that chain, then chain another 50 at the end. So the ties are built in from the beginning.
The Over-The-Collar Style
Okay there’s also this other style where instead of tying it you make a tube that slides over the dog’s existing collar. I made one of these in spring 2022 when I was dog-sitting for my friend and her dog kept pulling the tied bandana off. This style stays on better.
You basically make a rectangle that wraps around the collar with a triangle piece hanging down in front. Measure the collar width and length. Make a rectangle that’s about 2 inches longer than the collar and wide enough to fold over it with a little overlap – usually 3-4 inches wide works.
I used Bernat Blanket yarn for this one which was probably overkill because it’s so chunky but it worked up fast. Single crochet back and forth until you have your rectangle. Then for the triangle part you can either make a separate small triangle and sew it on or you can work it directly off the middle of one long edge of the rectangle.
Attaching The Triangle To The Rectangle
If you’re working it directly attached, find the center of your rectangle edge. Attach yarn there and chain 2, then sc in same stitch. Sc in next 4-5 stitches along the edge. Turn. Now decrease at both ends every row until you get to a point. So you’re doing sc2tog at beginning of row, sc across, sc2tog at end. The triangle hangs down in front of the dog’s chest.
Then you need to add snaps or velcro to close the rectangle around the collar. I used heavy duty velcro from the craft store and just hand-sewed it on. Snaps work too but they can be harder to sew through thick yarn.
Making It Look Less Boring
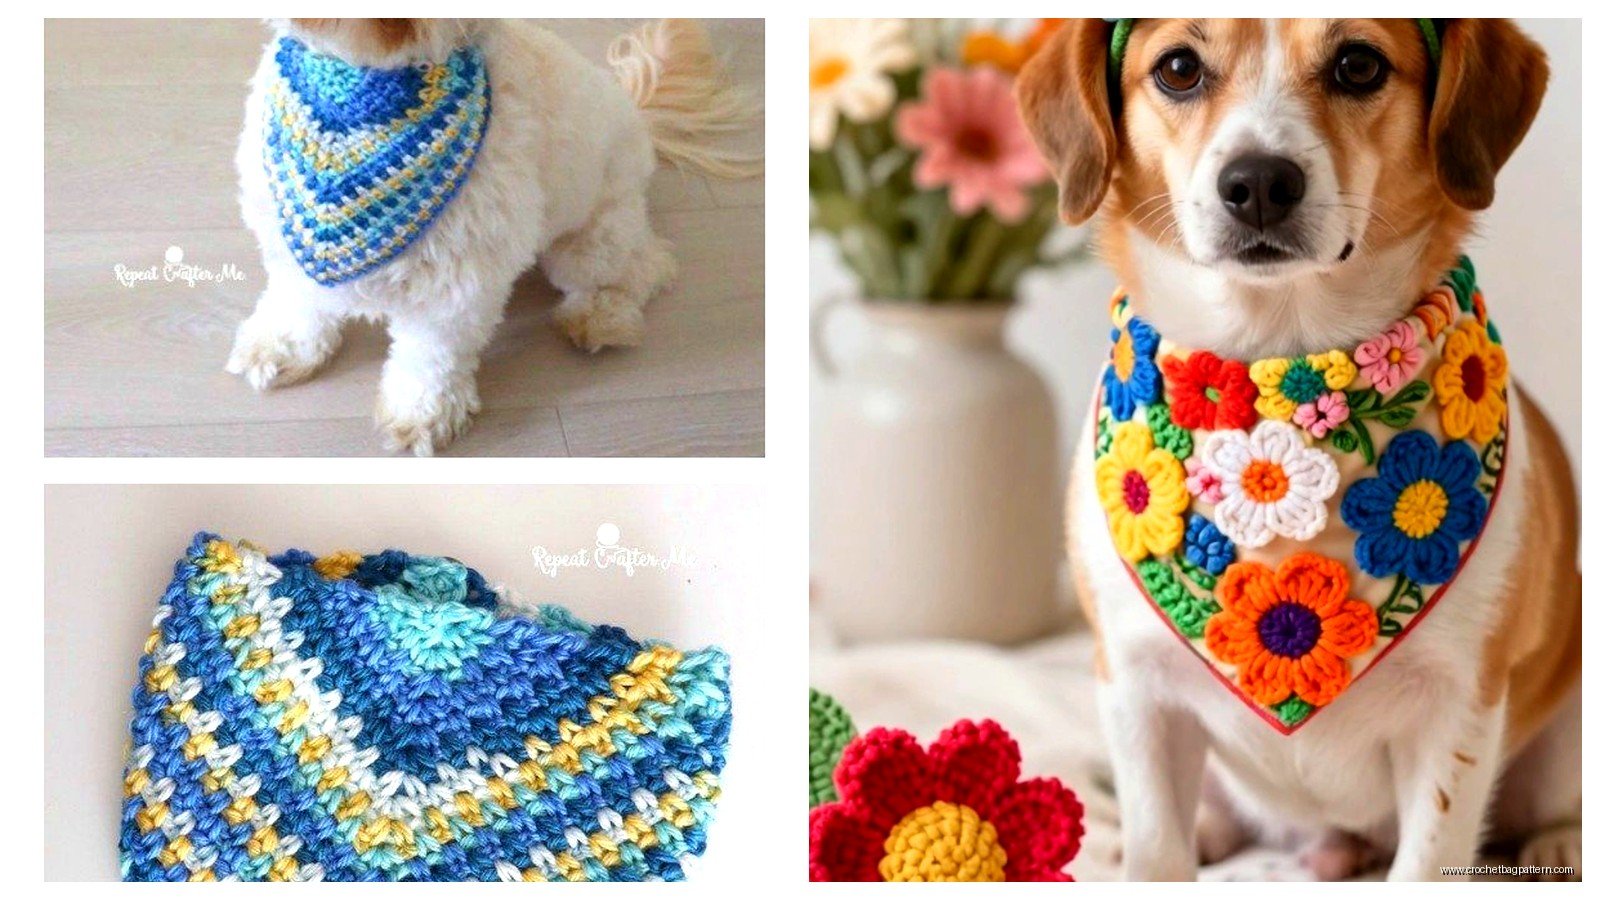
Plain solid colored bandanas are fine but you can also do stripes by changing colors every few rows. I made a red white and blue one for July 4th using Red Heart… I think it was their “With Love” line maybe? The yarn was softer than Super Saver but still machine washable.
You can also add stuff after you finish. I’ve sewn on little felt patches, embroidered names with yarn, added those iron-on letters (though I don’t trust those through multiple washings), tied on small bows or flowers. One time I crocheted a tiny flower and sewed it to the corner which was cute until Cooper ate it so maybe supervise your dog if you add embellishments.
The Gauge Thing Nobody Wants To Hear About
I know gauge is boring but it actually matters here because you need the bandana to fit. If you crochet really tight your triangle is gonna be smaller and stiffer. If you crochet loose it’ll be bigger and floppier. I crochet pretty loose naturally so I usually go down a hook size from what the yarn recommends.
For worsted weight yarn (the medium thickness kind like Red Heart Super Saver) I use a G hook or 4.0mm. For chunky yarn like Bernat Blanket I use a J or K hook even though the label says M or N. You want the fabric to have a little drape to it but not be so loose you can see through it and not so tight that it’s stiff like cardboard.
Washing These Things
Dogs are gross and bandanas get dirty fast. This is why I only use acrylic or cotton yarn that can go in the washing machine. Throw them in with your regular laundry on cold or warm, regular detergent is fine. I usually air dry them but they can go in the dryer on low if you’re in a hurry.
The one thing that annoyed me SO MUCH was when I made one with that fancy Wool-Ease yarn thinking it would be nice and it felted in the wash even on cold. Completely ruined. So stick with acrylic or cotton unless you want to hand wash dog bandanas forever which sounds miserable.
Size Adjustments For Different Dogs
Small dogs like chihuahuas or yorkies need smaller everything. Start with a chain of maybe 3 instead of 4 for the triangle point and don’t work as many increase rows. The long edge should only be like 10 inches max. Ties can be shorter too, maybe 30 chains instead of 50.
Big dogs like labs or golden retrievers need bigger bandanas obviously. You might start with a chain of 5 or 6 for the initial point and work more increase rows. Long edge could be 20+ inches. I made one for my friend’s Great Dane and it needed to be huge, the long edge was probably 24 inches and the ties were like 60 chains each.
The medium dog size I mentioned earlier is like beagles, corgis, cocker spaniels, that size range. Those are easiest because that’s what most patterns are written for if you’re using an actual pattern which I usually don’t.
Yarn Weights That Work
Worsted weight (size 4) is the standard and easiest to find. Red Heart Super Saver, Caron Simply Soft, Lion Brand Vanna’s Choice, Bernat Premium, I’ve used all of these. They all work fine. Super Saver is cheapest and comes in a million colors.
Sport weight (size 3) or DK weight works too but you’ll need a smaller hook and more rows to get the same size. The bandana will be thinner and lighter which might be good for summer or small dogs.
Chunky weight (size 5 or 6) like Bernat Blanket works up really fast but the bandana ends up pretty thick and heavy. Better for big dogs or cold weather I guess. I don’t use chunky much for bandanas because it seems like overkill.
Cotton yarn like Lily Sugar’n Cream or Bernat Handicrafter Cotton is great if you want something that breathes more and doesn’t have that acrylic feel. It’s stiffer though so the bandana won’t drape as nicely. Good for the over-collar style where stiffness doesn’t matter as much.
That Time I Tried To Get Fancy
In summer 2024 I decided to make a reversible bandana with two different colored triangles sewn wrong-sides together so you could flip it and have two different looks. Used Lion Brand Pound of Love in grey and yellow. It worked but it was way more effort than just making two separate bandanas and it was really thick and stiff. The dog looked uncomfortable. Don’t recommend unless you’re really bored or… actually no just don’t do it.
Troubleshooting Common Problems
If your triangle is coming out lopsided you’re probably not increasing evenly on both sides. Count your stitches. Each row should have 2 more stitches than the previous row (one increase on each end).
If the point of the triangle is weird and curly you might have done 3 sc in that starting chain instead of spreading them out correctly. Or your starting chain was too tight. It should curl just a tiny bit but not roll up on itself.
If the bandana won’t stay tied on the dog the ties are probably too short or too slippery. Add more chains to make them longer. If you’re using really smooth yarn like Caron Simply Soft it can slip untied easier – Red Heart Super Saver actually stays tied better because it’s got more grip to it even though it’s scratchy.
If the dog acts weird wearing it they might just need time to get used to it or it might be too tight. Make sure you can fit two fingers under the bandana when it’s tied on. Some dogs just hate wearing stuff and there’s not much you can do about that except try anyway because they look cute.