
Feb
So About Making That Crossbody Bag
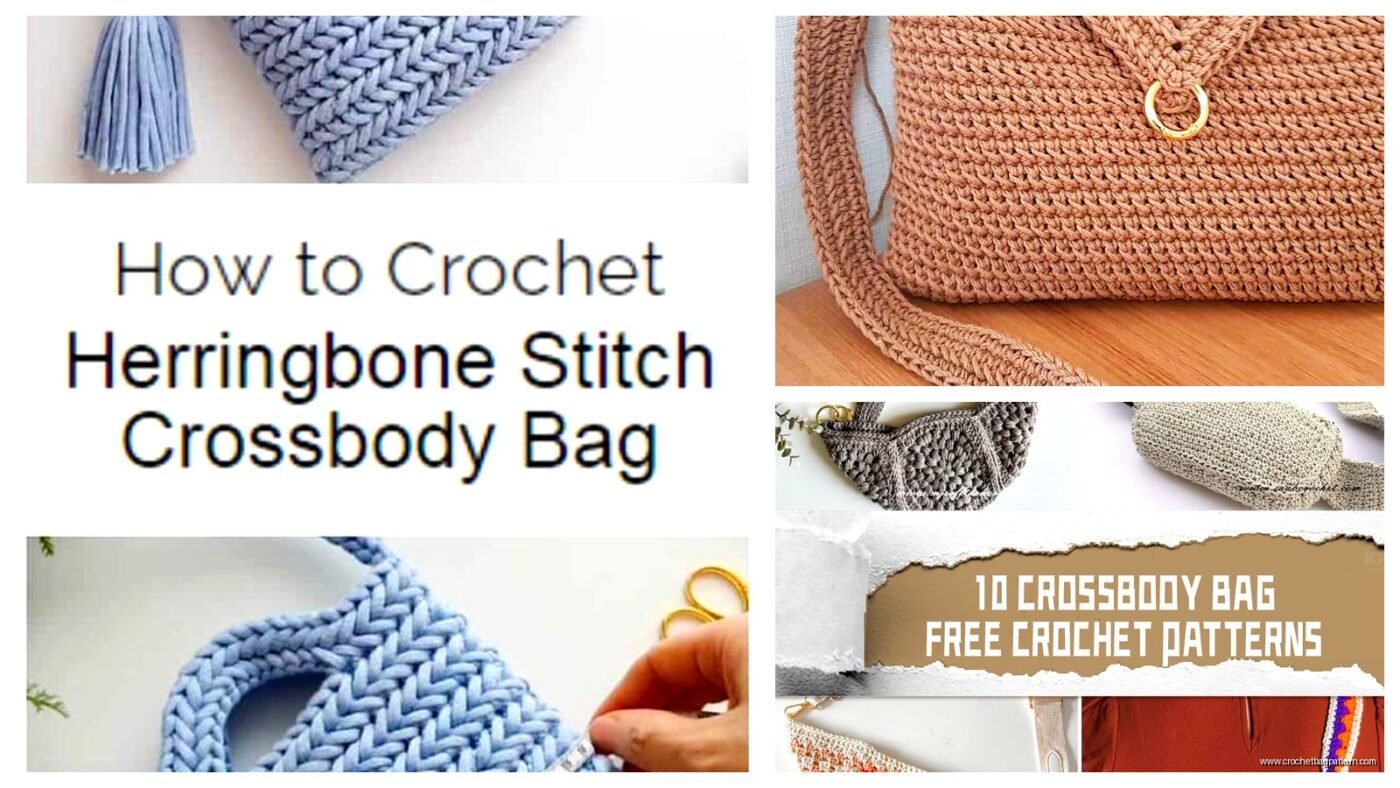
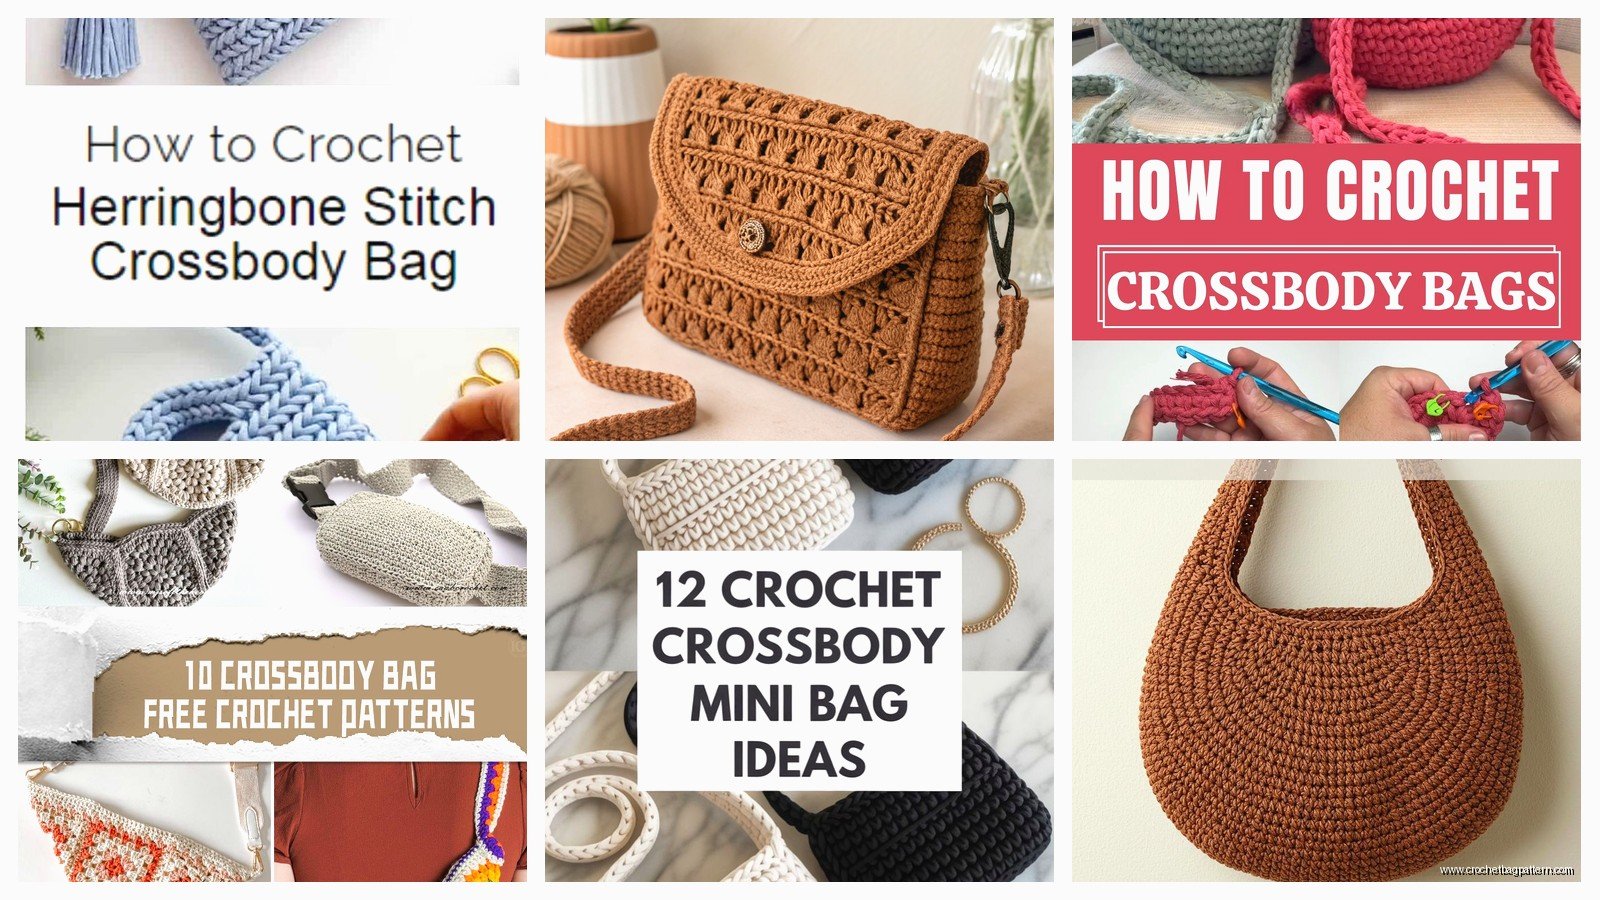
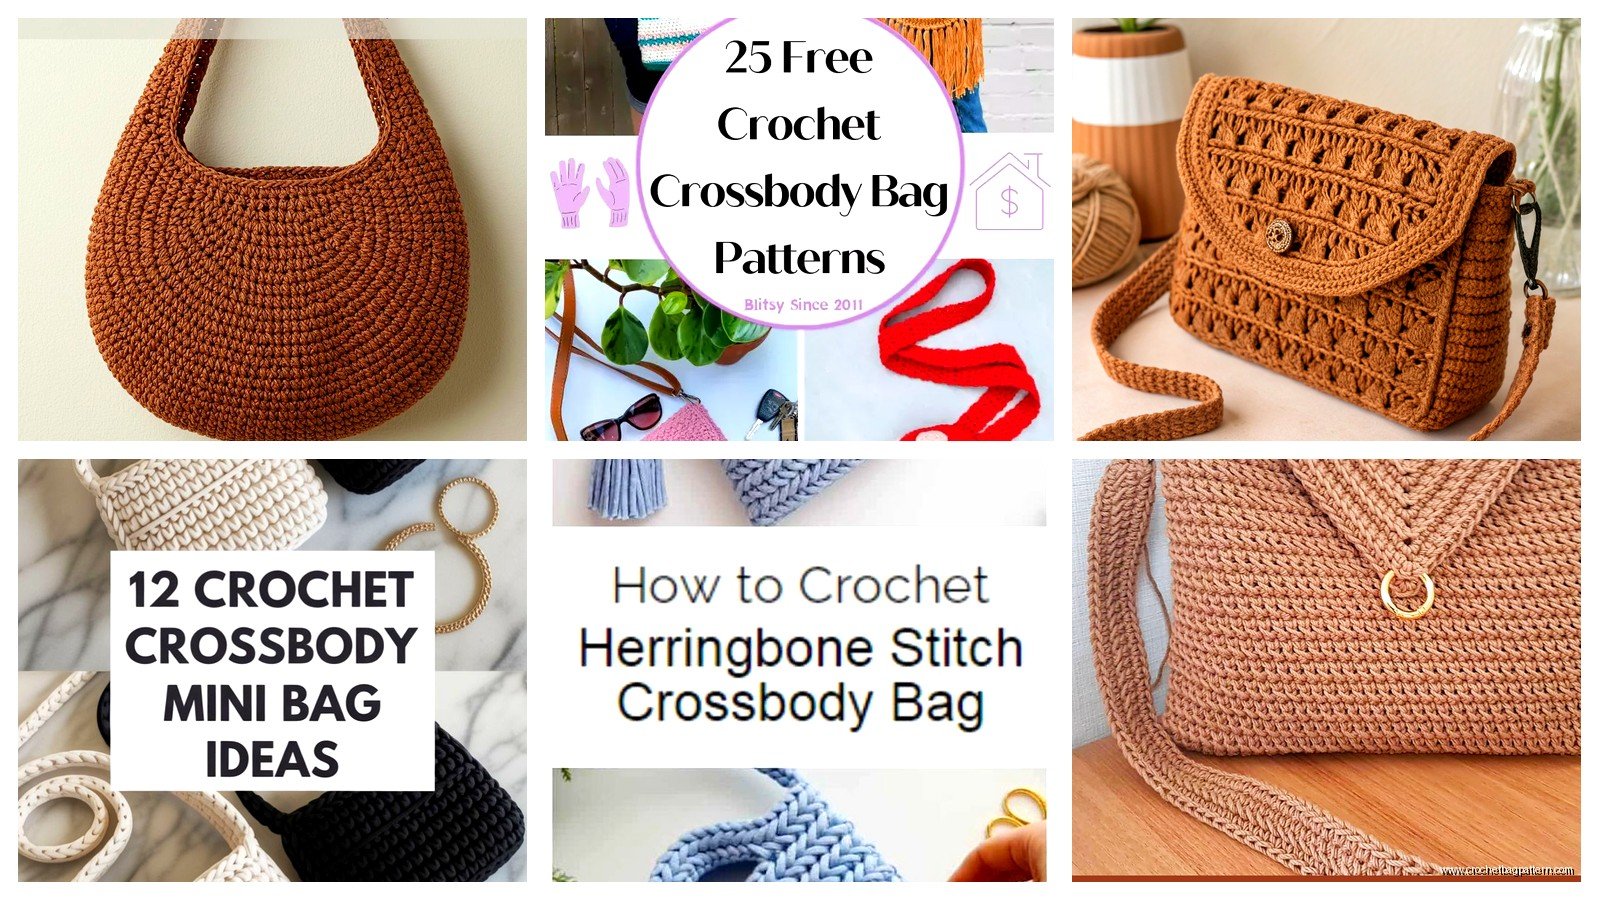
Okay so last summer, like July 2024, I made this crossbody bag because I was sick of carrying around this giant tote everywhere and my shoulder was killing me. I used Red Heart Super Saver in that Cafe Latte color because it was on sale at Michaels and honestly it worked fine even though people always say it’s scratchy or whatever.
What You Actually Need
You’re gonna need a few things before you start and don’t skip the lining part because I did that once and everything fell through the stitches which was super annoying. Get yourself:
- About 400-500 yards of worsted weight yarn (I like Caron Simply Soft too, way softer than Red Heart)
- A 5mm hook, maybe 5.5mm if you crochet tight
- Fabric for lining – I just used some cotton fabric from old pillowcases
- A strap, or you can crochet one but that takes forever
- Scissors and a yarn needle for weaving in ends
- Magnetic snap closure thing from the craft store
The Base Part
Start with a rectangle for the base. I chained like 25 stitches but you can do more or less depending on how big you want it. Then just single crochet back and forth for about 8 rows. The thing that really annoyed me about this whole process was trying to keep the edges straight because my tension is all over the place and one side always wanted to curve in.
Once you have your rectangle, you’re gonna work in the round going up the sides. Pick up stitches all the way around the perimeter of that rectangle – across the top, down the short side, across the bottom, up the other short side. It’s gonna feel weird at the corners but just put 3 stitches in each corner stitch and it works out.
Building Up The Sides
Now just keep going around and around in single crochet or half double crochet if you want it to work up faster. I did half double crochet for mine because I was trying to finish it before this camping trip and my cat kept laying on my yarn which didn’t help.
You need to decide how tall you want the bag. Mine ended up being about 9 inches tall which fits my phone, wallet, keys, and some other stuff. Just keep crocheting rounds until it looks right. I probably did like 18 or 20 rounds, I don’t remember exactly.
The Flap Situation
For the crossbody style you want a flap that folds over. So once you get to the height you want, stop working in the round and just work back and forth on one side of the bag. This is gonna be your flap.
I chained 1, turned, and single crocheted across half the bag opening. Then I decreased on each end every other row to make it taper down into a curved flap shape. To decrease just sc2tog at the beginning and end of the row. Keep doing this until your flap is the length you want – mine was about 5 inches long so it could tuck into the bag opening.
Strap Options Because There’s Different Ways
You can either crochet a strap or use something else. Crocheting one takes FOREVER and uses so much yarn. If you do wanna crochet it, just chain a long chain and then single crochet back down the chain for like 45-50 inches depending on how long you want it to hang.
I actually used a leather strap from an old purse I didn’t use anymore. Just sewed it onto the sides of the bag with regular thread and a needle, going through the crochet stitches. Way easier and it looks more professional honestly.
The Lining Part You Can’t Skip
So the lining is important because without it you can see through the stitches and small things fall out. Measure your bag and cut fabric pieces for the front, back, bottom, and sides. You’re basically making a fabric bag that fits inside the crochet one.
Sew the fabric pieces together on a sewing machine or by hand if you don’t have one. Leave the top open obviously. Before you put it in the crochet bag, install your magnetic snap on the lining fabric – one piece on the inside of the flap area and one on the body of the bag where the flap will close.
Then just stick the fabric lining inside the crochet bag and hand-sew it around the top edge. I used a whip stitch and just went through the crochet stitches and the fabric. Takes maybe 20 minutes if you’re slow like me.
Making It Actually Look Decent
Weave in all your ends with a yarn needle. This is the worst part and I was watching Love Island while doing it which made it slightly less boring. Don’t skip this though because ends will come loose and it’ll look messy.
If your bag is kinda floppy you can block it. I just wet mine, shaped it how I wanted, and let it dry flat. The Caron Simply Soft blocked really nice when I made another one in spring 2023, but the Red Heart Super Saver didn’t change much.
Variations I’ve Tried
I made one with Bernat Blanket yarn on an 8mm hook and it worked up super fast but was really bulky. Good for winter I guess but looked kinda chunky. The one I made during… well anyway that one I used Lily Sugar’n Cream cotton yarn and it was perfect for summer, really sturdy and held its shape better than acrylic.
You can also add pockets inside when you’re making the lining. Just sew a pocket onto the lining fabric before you install it in the bag. I put one in mine for my phone so it doesn’t just float around in there with everything else.
Size Adjustments That Work
If you want a bigger bag just start with a bigger rectangle base. Like chain 35 instead of 25 and do more rows. Then do more rounds when you’re building up the sides. It’s pretty straightforward.
For a smaller bag, same thing in reverse. Chain fewer stitches and do fewer rounds. I made a tiny one for my niece with just a chain of 15 and it was cute but basically only fit like chapstick and a credit card.
Color Stuff
Solid colors look more professional and clean. I tried doing stripes once with Impeccable yarn in different colors and it was fine but the color changes created little jogs that bugged me. If you do want stripes, look up how to do an invisible join for working in the round or it’ll have that step up every time you change colors.
Variegated yarn can look cool but also kinda chaotic depending on the pattern. I used some Scarfie yarn once and it pooled weird so the colors didn’t distribute evenly.
Common Problems I Had
The bag can stretch out when you put heavy stuff in it. Using a tighter gauge helps with this or doing half double crochet instead of double crochet because it’s denser.
The strap attachment points take a lot of stress so reinforce them. I sewed mine on, then went over it again with yarn using a yarn needle to make it extra secure. One of mine started pulling away from the bag after a few weeks and I had to redo it.
If your flap doesn’t stay closed, you might need to make it longer or position your magnetic snap differently. Mine kept popping open until I added a second snap.
Uneven edges happen when your tension changes. I just tried to stay consistent and if it looked really bad I’d frog a few rows and redo them. Sometimes good enough is good enough though.