
Mar
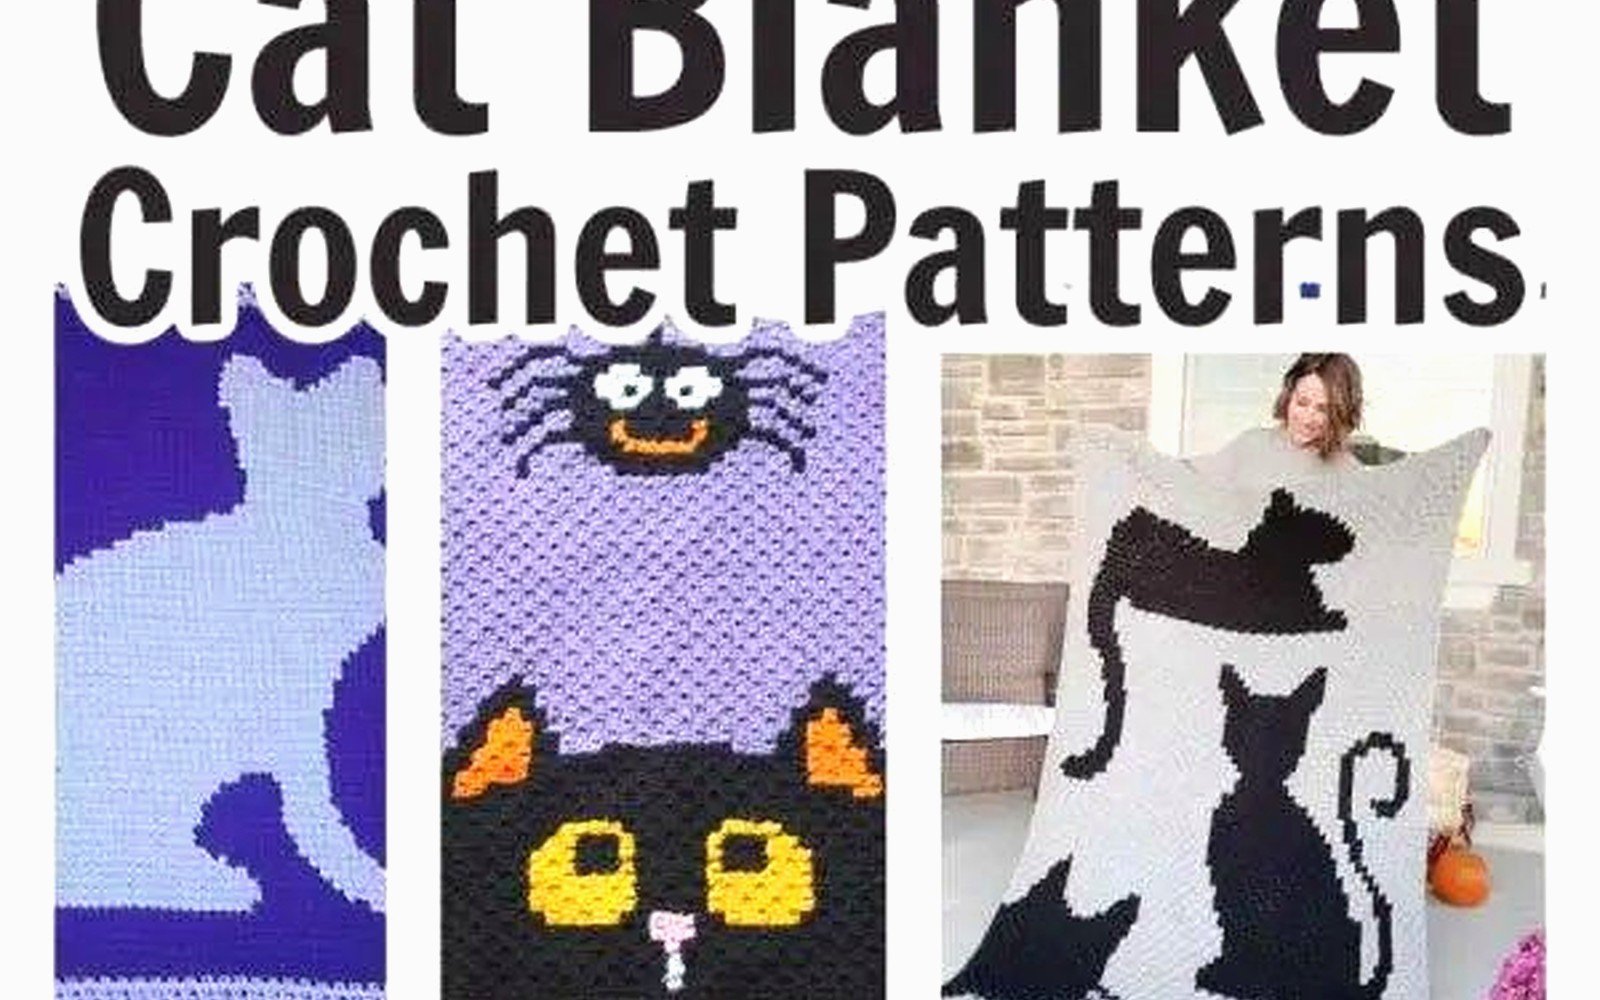
Okay So About Making a Cat Blanket
I made one of these in spring 2022 when my roommate kept complaining that her actual cat was shedding everywhere and I thought it’d be funny to make a blanket WITH cats on it. Like more cats would somehow help the situation, which obviously it didn’t but whatever.
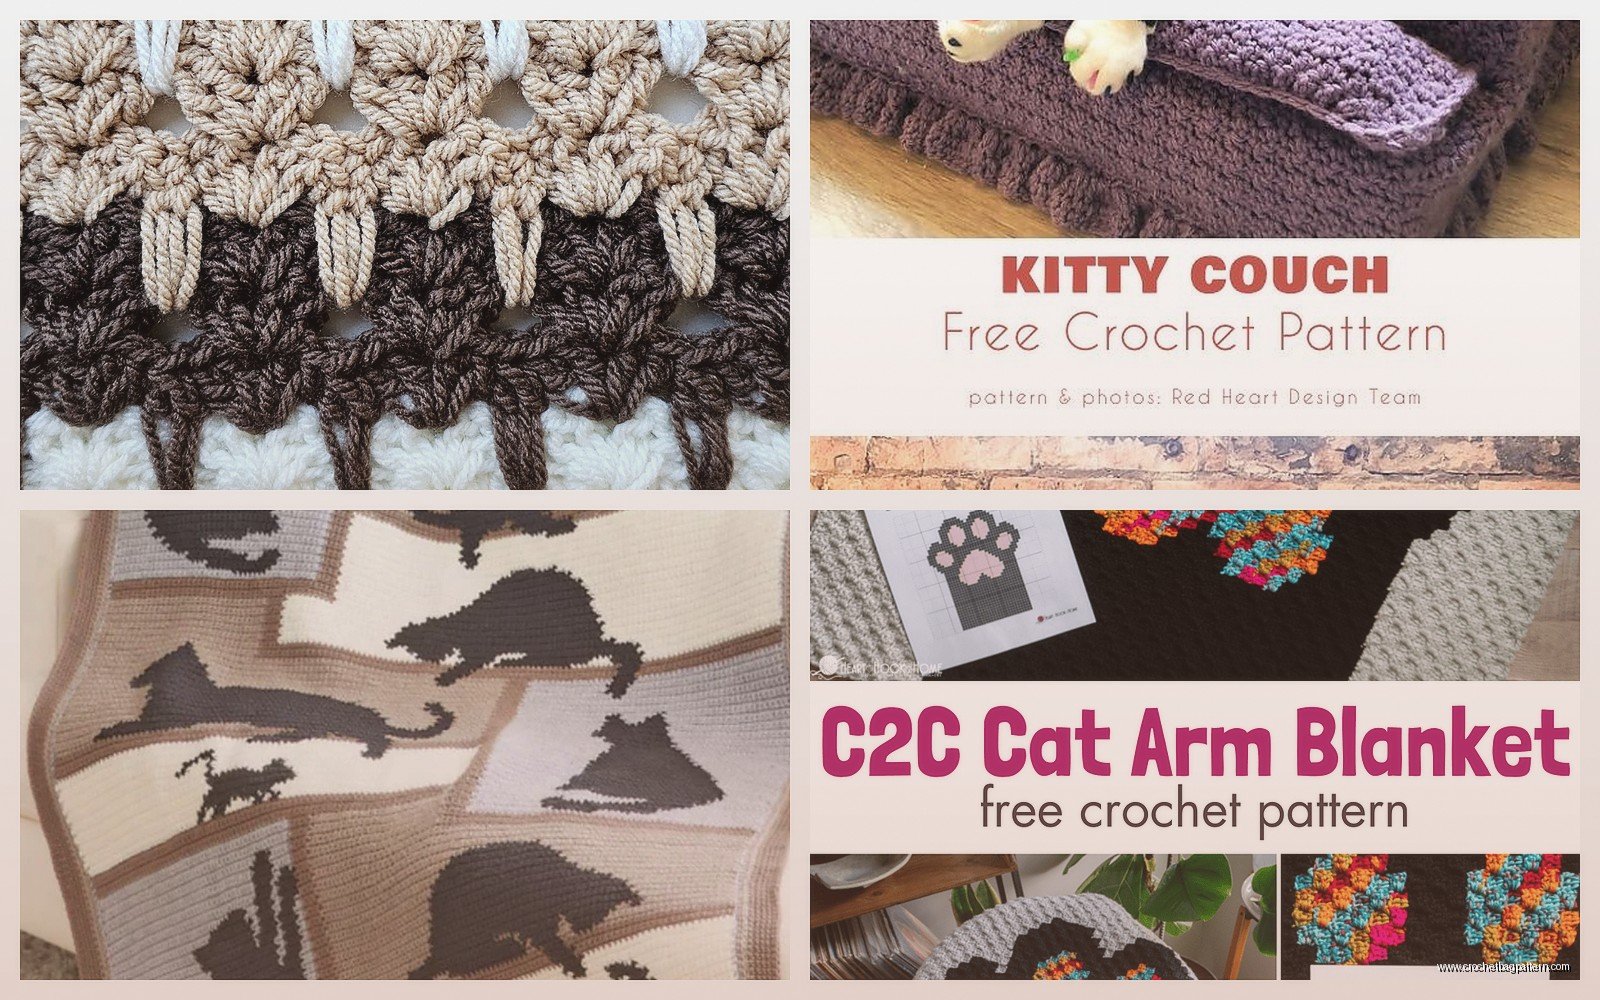
The basic idea is you’re gonna crochet a blanket with cat shapes worked into it. There’s like three main ways to do this and I tried all of them at different times so I’ll just explain what actually worked.
Method One: The Applique Thing
This is where you make the blanket first, just a regular blanket in whatever stitch, and then you crochet separate cat shapes and sew them on after. I used Red Heart Super Saver for the base because it was like $4 a skein at Walmart and I needed a lot. The color was called “Soft White” but honestly it looked more like old teeth color.
For the cats I used some Caron Simply Soft I had lying around. You basically make a flat cat silhouette which sounds easy but getting the shape right is annoying. I did:
- Chain about 15 for the body
- Single crochet back and forth for maybe 8 rows to make an oval shape
- Then for the head you chain 8 off to the side and work in a circle
- Ears are just little triangles – chain 4, then decrease each row until you have one stitch
- Tail is a long skinny rectangle, like 20 chains and then single crochet back
The thing that annoyed me SO MUCH about this method was sewing them on afterward. I hate weaving in ends normally but having to attach like 6-8 separate cat pieces to a blanket means you’ve got all these yarn tails and it took forever. I was watching The Great British Baking Show while doing it and I finished like an entire season just sewing on cats.
Pro tip though – use a yarn needle that’s actually sharp. I was using this dull one at first and it kept splitting the yarn and I wanted to throw the whole thing across the room.
Method Two: Intarsia or Whatever It’s Called
This is where you change colors AS you’re making the blanket to create the cat shape. Like you’re crocheting along with your background color and then you switch to cat color for a section, then back to background.
I tried this with some Lion Brand Vanna’s Choice because I read somewhere it’s good for colorwork. Used “Mustard” for the cats and “Linen” for the background. Honestly the Mustard looked more like baby poop yellow but it was what they had.
The way you do it is you’re working in rows and when you get to where the cat should be, you drop your background color and pick up your cat color. The trick is to twist the yarns together when you change colors so you don’t get holes. Like literally twist them around each other once before continuing.
You need to plan this out on graph paper first which I didn’t do the first time and the cat ended up looking like a deformed blob. Each square on the graph paper is one stitch. I found some pixel art of a cat online and just copied that.
The annoying part here is managing all the different yarn balls. You can’t just use one ball of cat color for the whole row because you might have background on both sides of the cat. So you need like separate little balls of yarn for each color section and they get all tangled behind your work. I used sandwich bags to keep them separate which helped but my dog knocked over my project bag once and it was a nightmare of tangled yarn.
Method Three: Granny Square Cats
This one’s actually the easiest if you ask me. You make a bunch of granny squares and some of them are cat-colored in a pattern that looks like a cat.
I used Bernat Blanket yarn for this one because I wanted it thick and fast. Got “Vapor Gray” for the background squares and “Coal” for the cat squares. This yarn is chunky so it works up really quick which is nice when you’re making like 50 squares.
Basic granny square pattern if you don’t know it:
- Chain 4, slip stitch to form a ring
- Chain 3, then do 2 double crochet in the ring
- Chain 2, then 3 double crochet in the ring
- Repeat that chain 2 and 3 double crochet thing two more times so you have 4 corners
- Chain 2, slip stitch to the top of your starting chain 3
- For next rounds you’re putting 3 dc, chain 2, 3 dc in each corner space and 3 dc in the side spaces
Make each square the same size, like maybe 4 or 5 rounds depending on your yarn thickness. Then lay them out on the floor to plan your cat design. I did a sitting cat silhouette which took like 30 squares total for the whole blanket.
The cat shape is made by using the dark squares where the cat should be and light squares for the background. You gotta squint at it to see if it looks right. I took a picture with my phone and looked at it that way because somehow it’s easier to see the shape in a photo.
Join the squares with slip stitch or single crochet. I did single crochet because it makes a little ridge that I actually liked the look of. Some people do the join-as-you-go method but I can never keep track of where I am with that.
Actual Pattern Stuff You Need To Know
For a decent sized blanket you want like 40×50 inches maybe? That’s big enough to actually use on a couch or whatever.
If you’re doing single crochet for the base blanket, chain like 150 stitches to start (for worsted weight yarn). That’ll give you about 45 inches wide. Then just single crochet back and forth until it’s long enough. This takes forever though, I’m not gonna lie. Single crochet is slow.
Double crochet works up faster. Chain like 120 for the same width since double crochet is wider. The blanket will be more drapey and less stiff.
For the applique cats you can make them different sizes which actually looks kind of cool. Like one big cat and a few small ones like kittens or whatever. The small ones are literally just fewer stitches and rows – maybe chain 8 instead of 15 for the body and do 4 rows instead of 8.
Yarn Amount Estimates
This is always a guess but for a 40×50 inch blanket in worsted weight you need like 2000-2500 yards probably. If you’re doing applique cats, get like 2200 yards of your main color and 300 yards of cat color.
For the intarsia method, maybe 1800 yards background and 400 yards cat color since the cats take up more area.
Granny squares eat up yarn like crazy so get more than you think. I’d say 2500 yards total, split between your two colors based on how many squares are each color.
I always buy extra anyway because running out partway through is the worst and you can never match dye lots if you buy more later.
The Details That Actually Matter
Hook size depends on your yarn but I used a 5.5mm for worsted weight and a 6.5mm for the chunky stuff. You want a fabric that’s solid but not stiff. If you can see through it, go down a hook size.
Tension matters more than you think for this. If your tension is super loose, the cats will look stretched out weird. Too tight and they’ll be squished. I had to redo part of my intarsia blanket because my tension got tighter as I went and the cat’s face looked squashed.
For the applique method, pin the cats to the blanket before you sew them. I used regular straight pins and just poked them through. This lets you move stuff around until it looks right. I thought I had mine positioned perfectly but when I laid the blanket out flat one cat was way off center and I had to redo it.
When you’re sewing the appliques on, use the same color yarn as the cat, not the background. The stitches will show less. Go around the edge of each cat piece with whip stitch or backstitch. I did whip stitch because it’s faster.
Edge Finishing
You need to do something with the edges or it looks unfinished. Single crochet border is the easiest – just go around the whole blanket with one or two rows of single crochet. At the corners do 3 single crochets in the same stitch so it doesn’t pucker.
I did a picot edge on mine which is single crochet, then chain 3 and slip stitch back into the same stitch, skip one stitch, repeat. It makes little bumps all the way around. Looks fancier than it is.
Some people do like elaborate shell stitch borders or whatever but honestly after making the whole blanket I was over it and just wanted to be done.
Things That Went Wrong For Me
The intarsia cats came out wonky at first because I didn’t account for how stitches are taller than they are wide. Like if you make a square on graph paper it’s even, but crochet stitches are rectangular. So the cats looked stretched vertically. I had to adjust my graph pattern to be wider and shorter than I thought to make them look proportional.
Also the yarn tangles behind your work are real. I thought people were exaggerating but no, it’s actually that annoying. You have to stop every few rows and untangle everything or it gets impossible to manage.
The applique cats kept curling at the edges even though I blocked them. I ended up sewing them down more at the edges than in the middle so they’d lay flat. Just tack down the very edge every inch or so with extra stitches.
Washing the finished blanket made the colors bleed a little bit even though I used acrylic which isn’t supposed to do that. The white background got slightly gray around the dark cats. Not super noticeable but it bugged me. I should’ve washed a test swatch first but who actually does that.
Variations You Could Try
Instead of cat silhouettes you could do cat faces. Like make circles for the heads and add triangles for ears and embroider the facial features with black yarn after. This would probably look cute on a baby blanket or whatever.
You could do paw prints instead of whole cats. Just make little ovals for the paw pad and smaller ovals for the toes. These would be easier to space out randomly across the blanket.
Or do stripes with the cats appearing in just one or two of the stripes. Like gray stripe, white stripe, gray stripe with cats, white stripe, repeat. This would be easier to plan than scattering cats around randomly.
Corner cats are another option – just put one cat in each corner of the blanket and leave the middle plain. Less work and still looks intentional.
Color Choices That Worked
Gray cats on white background is classic and shows up well. Black cats on any light color works too. I wouldn’t do dark background with dark cats because you can’t see the shape.
Orange cats on cream or light blue looks good. Like a tabby cat vibe.
You could do rainbow cats if you’re feeling chaotic – each cat a different bright color on white or black background. Would be fun for a kid’s room.
Avoid colors that are too close in value even if they’re different hues. Like dark purple cats on dark blue background won’t show up enough. You need good contrast.
I wanted to try white cats on dark background but I didn’t because white yarn shows every speck of dirt and I knew I’d be annoyed trying to keep it clean.
The thing is you’re gonna be looking at this blanket for a long time while making it so pick colors you won’t get sick of. I almost did hot pink cats but I’m glad I didn’t because that would’ve driven me crazy by row 50.
Anyway that’s basically everything I figured out making these. The applique method is most forgiving if you mess up because you can just make new cats and sew them on. The granny square version is fastest if you use chunky yarn. The intarsia method looks the most professional but it’s the most annoying to actually do. Pick whatever sounds least terrible to you I guess.