
May
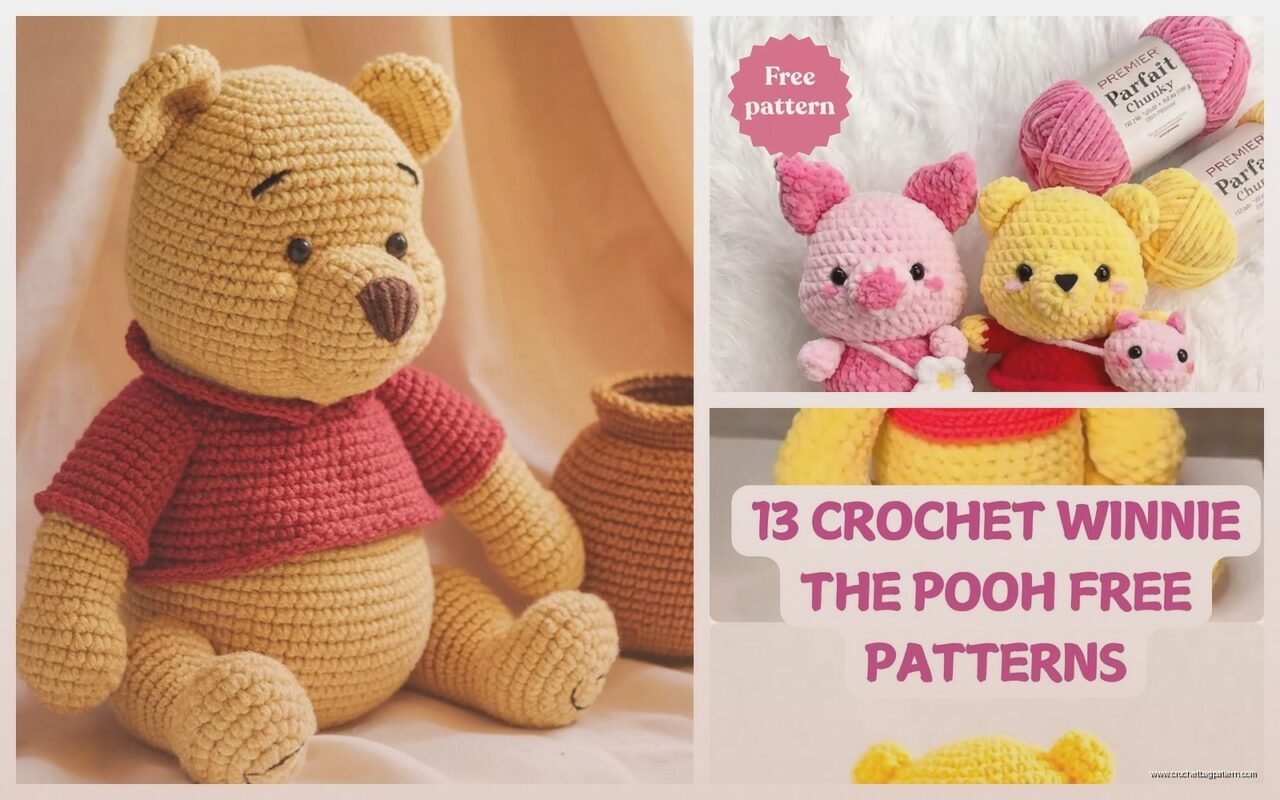
okay so winnie the pooh patterns
I made one of these last spring 2023 when I was stuck at home with a sprained ankle and honestly it was the perfect distraction from binge-watching too much reality TV. The Pooh bear pattern is surprisingly straightforward once you get past the whole “making a sphere that actually looks like a head” thing.
So first off you’re gonna want to find a free pattern online and there’s like dozens of them but they all basically follow the same structure. The body is usually worked in continuous rounds starting with a magic ring. I used Red Heart Super Saver in Gold for the body because it was cheap and I had a ton left over from another project. The texture isn’t super soft but for a stuffed character it works fine and holds its shape really well.
the basic body structure
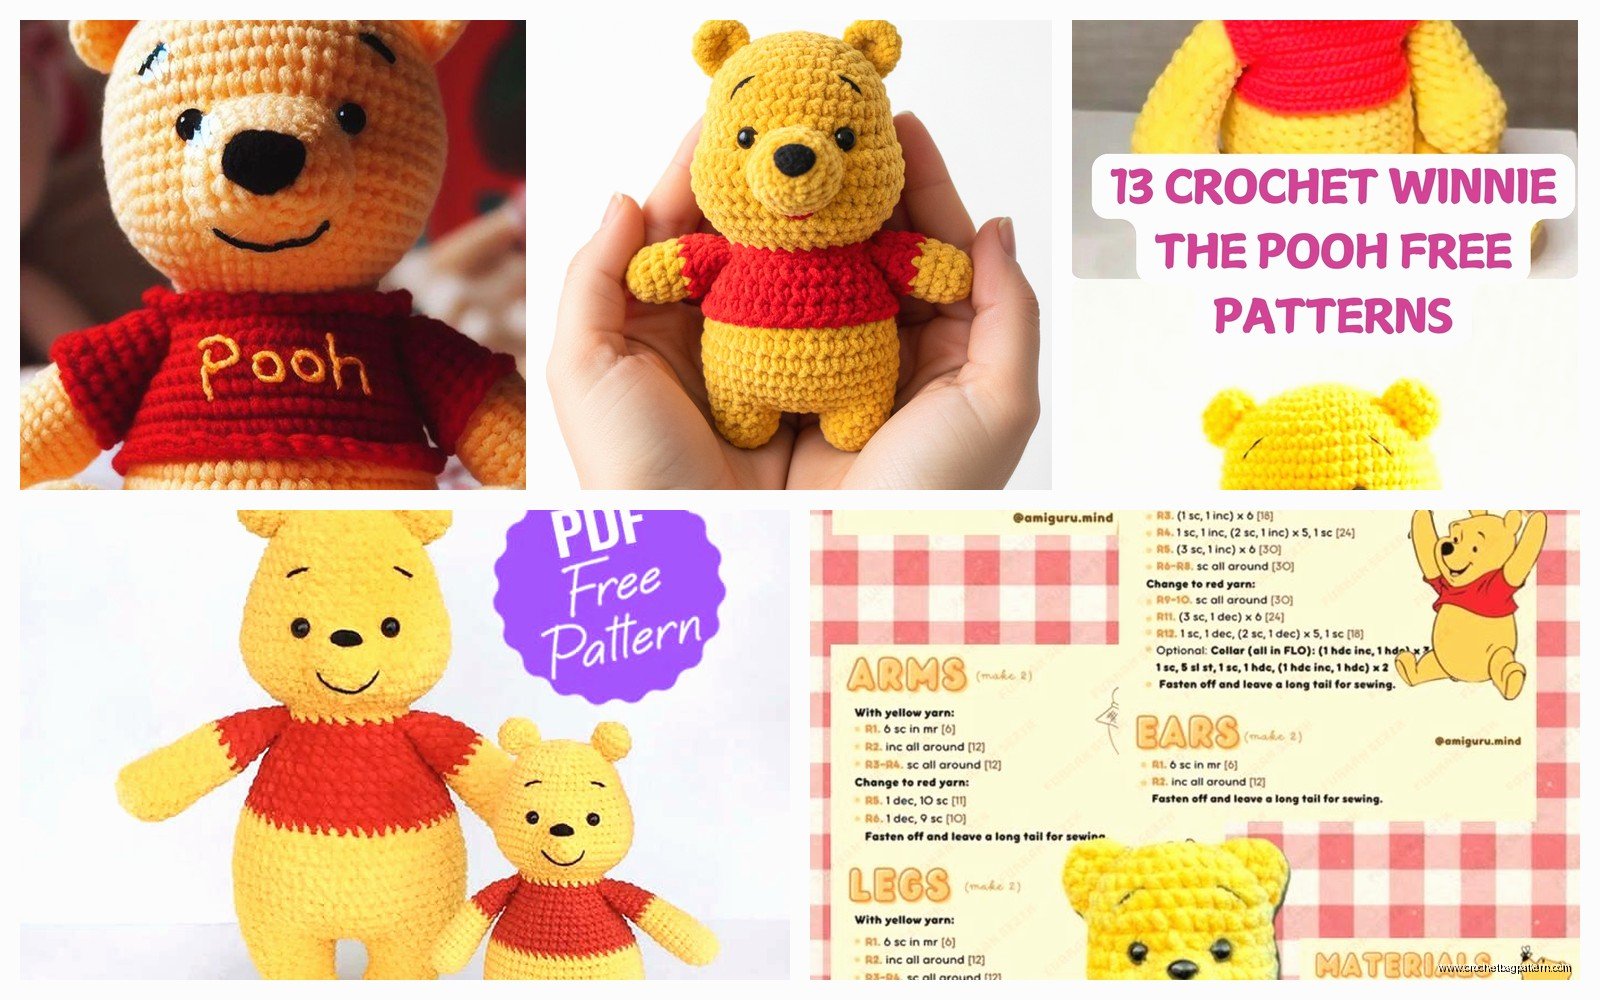
Start with your magic ring and do 6 single crochets into it. Then you increase every round until you get to like round 6 or 7 depending on how big you want your Pooh. Most patterns I’ve seen go up to about 54 stitches around which makes a decent sized bear, maybe 8-10 inches tall when everything’s assembled.
One thing that really annoyed me was keeping track of where the rounds started because I’d lose my stitch marker constantly. My cat kept batting it off the couch and I’d have to stop and count stitches like every few minutes. Super frustrating when you’re trying to get into a rhythm.
After you get to the widest part you work even for several rounds – usually like 8 to 12 rounds with no increases or decreases. This creates the cylindrical body part. Then you start decreasing to close up the bottom, stuffing as you go. I used polyfil stuffing but honestly the cheap stuff from the craft store works just as well as the fancy brands.
the head part
The head is basically the same process as the body but smaller. Magic ring, increase rounds, work even, then decrease. The tricky part is getting it proportional to the body. I made mine too small the first time and it looked weird, like bobblehead in reverse or something.
For the muzzle you make another small sphere but you only stuff it about halfway so it’s not too puffy. This gets sewn onto the front of the head and honestly the placement of this makes or breaks the whole thing. If it’s too high he looks surprised, too low and he looks sad. You want it centered but slightly toward the bottom half of the head.
I used Lily Sugar’n Cream in Ecru for the muzzle area because I didn’t have any tan yarn and the cream color worked fine. Cotton yarn actually worked better here because it’s firmer and the muzzle kept its shape better than when I tried acrylic.
arms and legs
These are pretty simple tubes basically. Start with a magic ring, do your increases for the paw part, then work even up the arm or leg. The arms don’t need much stuffing, just enough to give them shape. The legs need more stuffing especially at the foot part so they can support the body if you want him to sit up.
What I did different than the pattern was I crocheted through both layers at the top of the arms and legs to close them flat before attaching. This made sewing them onto the body way easier because you have a flat edge to work with instead of trying to sew a tube to a sphere.
The legs attach at the bottom of the body angled slightly forward. Arms go on the sides about halfway up the body. I pinned everything in place first and walked around looking at it from different angles because once you sew it you’re kinda committed unless you wanna rip out a bunch of stitches.
ears are weirdly important
The ears are these small half-circle type things and they seem insignificant but they really affect the whole look. You make them flat, working in rows instead of rounds. Most patterns have you do like 3 or 4 rows of increases then fold them slightly when you attach them.
Position them on the sides of the head angled slightly back and outward. Not on top like mouse ears, more on the sides. I messed this up initially and had to reattach one ear because it looked too far forward and gave him a startled expression.
I didn’t bother with any wire or pipe cleaners in the ears like some patterns suggest. Just sewed them on securely and they stayed in place fine. The yarn has enough body to hold the shape on its own.
the red shirt situation
So classic Pooh wears that little red shirt and you have options here. Some patterns have you crochet the shirt separately and some have you crochet it directly onto the body. I did the separate shirt method using Red Heart Super Saver in Cherry Red.
It’s basically a tiny tube that you work flat and then seam up the side. You leave openings for the arms obviously. The neck opening needs to be big enough to fit over the head which means it’ll look too big when you’re making it but trust the process.
I added a few rows of ribbing at the bottom of the shirt using back loop only single crochets which gave it that slightly gathered look. Didn’t do ribbing on the sleeves though because it seemed like overkill and I was getting tired of the project at that point honestly.
face details and embroidery
This is where things get subjective and also where I spent way too much time. The eyes are usually just black embroidery – I used black embroidery floss and did French knots. Some people use safety eyes but I think embroidered looks more classic and authentic to the original illustrations.
The nose is an upside down triangle shape in black thread on the muzzle. The mouth is tricky because if you make it too big he looks manic and too small looks grumpy. I did a simple upside down Y shape which is pretty standard. The eyebrows are just a few straight stitches in black above each eye, slightly angled to give him that friendly thoughtful expression.
One thing nobody tells you is that the face looks completely different depending on how tight you pull the embroidery stitches. I pulled too tight on the first eye and it created this dimple effect that I didn’t want, so I had to redo it with looser tension.
assembly tips that actually matter
When you’re sewing pieces together use the same yarn you crocheted with and a yarn needle. I tried regular thread once thinking it would be less visible but it wasn’t strong enough and an arm started coming loose after like a week.
Sew with a whip stitch or ladder stitch going through the actual stitches of the crochet not just the surface. This makes it way more secure. For the head attachment I went around twice because that’s the most likely thing to get yanked off if anyone actually plays with it.
Stuff firmly but not rock hard. You want it to have some give so it’s huggable but firm enough to hold its shape. I understuffed my first attempt and the head kept flopping forward which looked really sad.
variations I’ve seen work
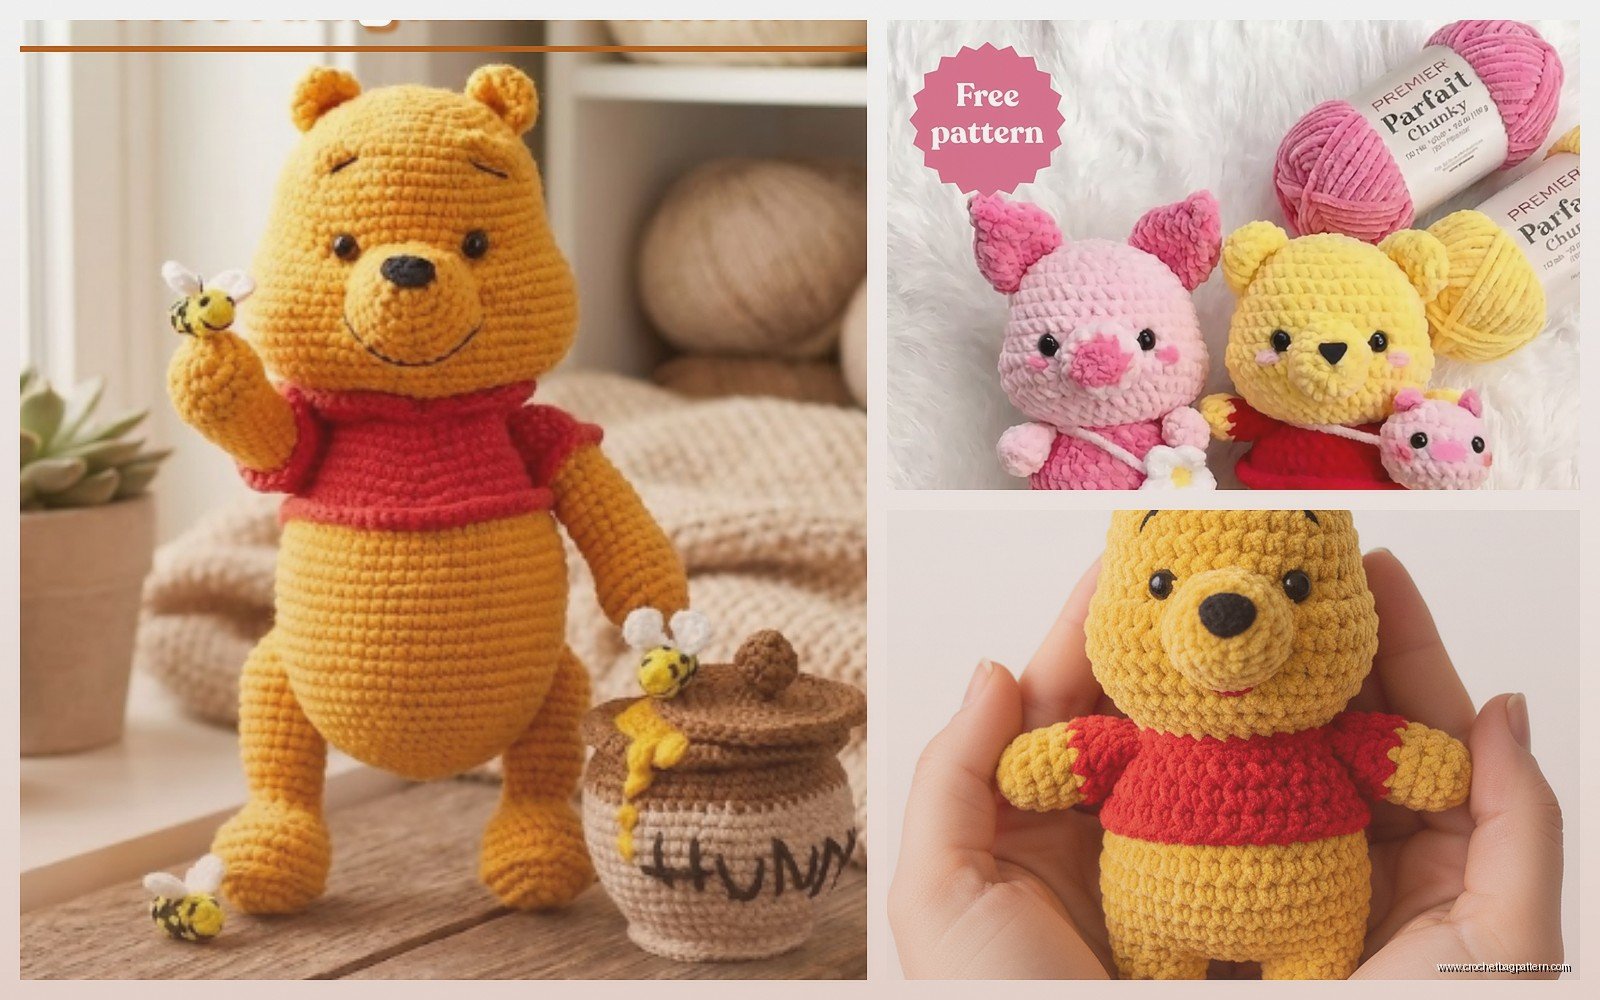
Some patterns have you make Pooh holding a honey pot which is cute. The pot is just a small cylinder in brown or tan with some yellow for the honey part. You can attach it to his hand or just make it separate.
I’ve seen people do different sizes too – I made a keychain sized one that was maybe 3 inches tall using sport weight yarn and a smaller hook. Same pattern just scaled down. That actually worked up really fast, took maybe two hours total.
There’s also patterns for Eeyore and Piglet and Tigger if you wanna make the whole gang but I haven’t attempted those yet. The Pooh pattern is definitely the easiest to start with because the color blocking is simple – just gold and red basically.
yarn weight and hook size stuff
Most free patterns use worsted weight yarn with a 3.5mm or 4mm hook. I used a 4mm hook (US G/6) and it worked fine. Some people size down the hook to make tighter stitches so the stuffing doesn’t show through but I didn’t have that problem with the hook size I used.
If you use a different yarn weight just know everything will be proportionally different. I tried it with bulky yarn once thinking it would work up faster and yeah it did but he ended up being like 15 inches tall which was way bigger than I wanted. Ended up giving that one to my neighbor’s kid.
The gauge doesn’t matter that much for amigurumi as long as your stitches are tight enough that stuffing doesn’t poke through. I don’t even bother doing gauge swatches for this kind of project because it’s not like a sweater where fit matters.
common problems I ran into
The biggest issue was getting the proportions right between all the pieces. The first time I made the arms too long and they hung down past his feet which looked weird. I ended up making shorter arms and it looked way better.
Another thing is the stuffing distribution. If you don’t stuff the neck area firmly enough the head wobbles around. But if you stuff it too much the head sits too high on the body and looks disconnected. There’s like a sweet spot you gotta find.
The shirt kept riding up on mine so I tacked it down with a few stitches at the bottom edge securing it to the body. The pattern didn’t mention doing this but it seemed necessary to keep everything in place.
how long it actually takes
The body and head took me maybe 3 hours total. Arms and legs were another hour. Ears and muzzle maybe 30 minutes. The shirt was like an hour because I kept messing up the armhole placement. Assembly and embroidering the face took the longest – probably 2 hours because I’m slow at embroidery and kept redoing things.
So all in all maybe 8 hours spread over a few days? Some people work faster though. I was watching The Great British Bake Off while crocheting which probably slowed me down because I kept getting distracted.
pattern resources and where to find them
Ravelry has tons of free Pooh patterns. Some are better written than others. Look for ones with lots of projects completed and good reviews. The pattern photos can be deceiving though – sometimes the finished bear looks nothing like the photo depending on yarn choice and tension.
YouTube has video tutorials too if you’re more of a visual learner. I usually follow written patterns but I watched a video for the face embroidery because I wasn’t sure about the placement from just reading the instructions.
Pinterest has patterns too but half the links are broken or lead to sites that want your email address before showing you the pattern which is annoying. I’d stick with Ravelry for free patterns because at least everything’s in one place.
making it look more polished
Blocking doesn’t really work on amigurumi but you can steam it lightly if there are any weird bumpy areas. I held a steamer a few inches away from the body and it smoothed out some uneven stitches.
Weave in all your ends really securely. I use the Russian join method when changing colors so there’s fewer ends to weave in overall. Nothing worse than an end poking out of a finished project.
If your stitches are going in different directions and it looks messy you might be accidentally twisting your work. Make sure you’re always working in the same direction around the piece and not flipping it over between rounds.
stuff about copyright and selling
Technically Winnie the Pooh is trademarked by Disney so if you’re making these to sell you might run into legal issues. For personal use it’s totally fine obviously. Some pattern designers specifically say in their terms that you can’t sell finished items made from their pattern so check that before you make a bunch to sell at craft fairs or whatever.
The classic Pooh design is supposedly public domain now but the Disney version with the red shirt definitely isn’t. It’s kinda a gray area honestly and I’m not a lawyer so I just make them as gifts and don’t worry about it.
There’s also patterns for the “classic” E.H. Shepard illustration style Pooh which looks different from the Disney version – more bear-like and less rounded. Those might be safer legally if you’re concerned about that stuff but they’re also harder to crochet because the proportions are less forgiving.