
May
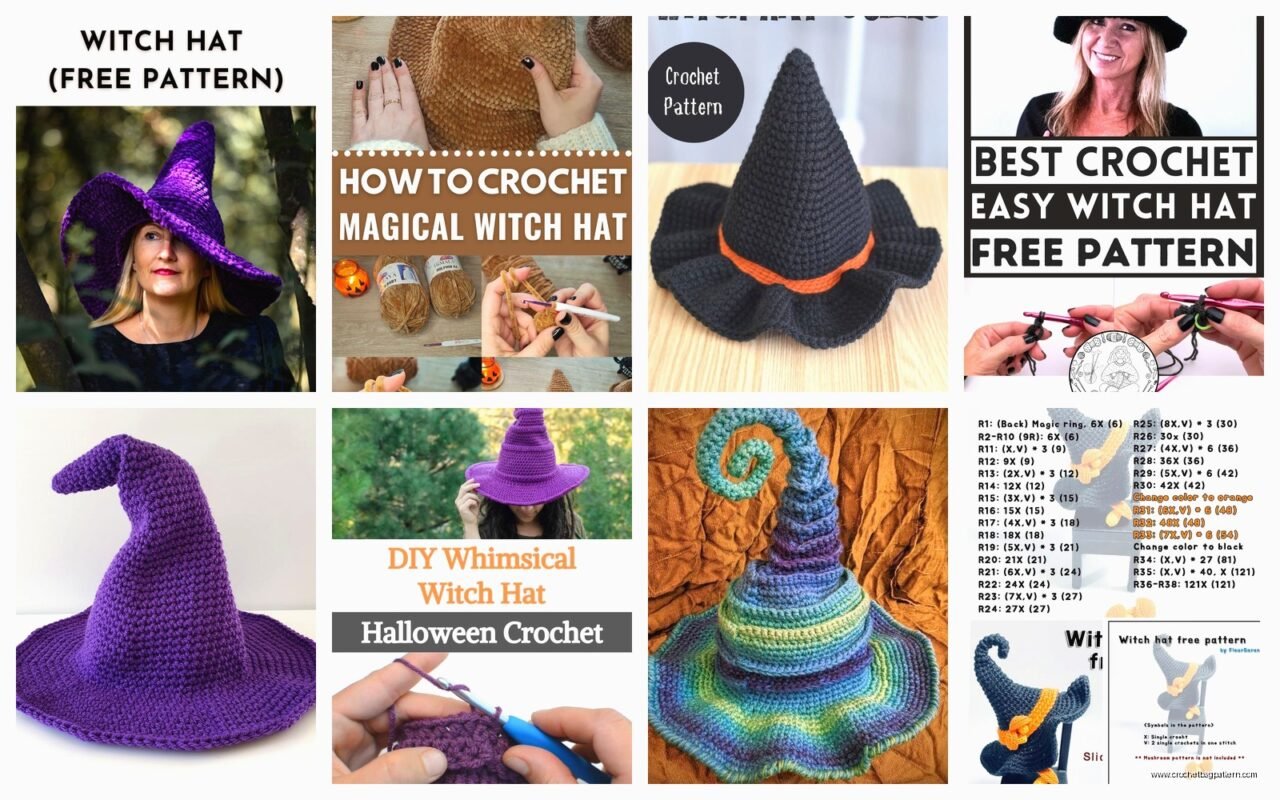
okay so you wanna make a witch hat
Right so last October I made like three of these because my neighbor’s kids wanted them and honestly once you get the hang of it they work up pretty fast. I used that Red Heart Super Saver in black because it was literally $3 at Walmart and I had a coupon. The orange one I made used some Caron Simply Soft I had leftover from a blanket project that never happened.
The basic idea is you’re making a cone and then a brim separately and attaching them. Sounds complicated but it’s really just increases and decreases in the right spots.
what you actually need
So for yarn you want worsted weight probably. I’ve used Red Heart Super Saver, Caron Simply Soft, and once I tried with some Lion Brand Vanna’s Choice and that worked fine too. You need maybe 150-200 yards for an adult sized hat? Kids size is less obviously. Get a 5mm hook or maybe 5.5mm depending on how tight you crochet. I crochet pretty loose so I went with the 5mm.
You’re gonna need a yarn needle for weaving in ends and sewing the pieces together. Stitch markers help but honestly I just use a piece of different colored yarn tied in a loop.
starting with the cone part
The cone is basically just a really tall triangle you work in rounds. Start with a magic ring or chain 4 and slip stitch to form a ring, whatever you prefer. I always do magic ring because I hate the hole in the middle otherwise.
Round 1: Chain 2 (doesn’t count as stitch), then 8 half double crochet into the ring. Join with slip stitch to first hdc. Pull that magic ring tight.
Round 2: Chain 2, hdc in same stitch, 2 hdc in each stitch around. You’ll have 16 stitches. Join.
Round 3: Chain 2, hdc in same stitch, hdc in next stitch, *2 hdc in next stitch, hdc in next stitch* repeat around. That gives you 24 stitches.
Here’s where it gets repetitive but you’re basically increasing every other round or every third round to make it cone shaped instead of a tube. The annoying thing about this whole project is keeping track of which round you’re on because they all start looking the same after a while and I definitely had to rip back twice on my first one because I lost count.
So continue like this:
Round 4: Chain 2, hdc in each stitch around (no increases). 24 stitches still.
Round 5: Chain 2, hdc in same stitch, hdc in next 2 stitches, *2 hdc in next stitch, hdc in next 2 stitches* around. Should have 32 stitches.
Round 6: No increases, just hdc around. 32 stitches.
Round 7: Chain 2, hdc in same stitch, hdc in next 3 stitches, *2 hdc in next stitch, hdc in next 3 stitches* around. 40 stitches.
Rounds 8-9: No increases.
Round 10: Increase round again, this time with hdc in next 4 stitches between increases. You’ll have 48 stitches.
Rounds 11-13: Just hdc around with no increases.
At this point you should have something that looks like a cone. Keep going for maybe 10-12 inches total height depending on how tall you want the hat. I made mine about 11 inches because that seemed witchy enough without being so tall it falls over.
The last few rounds you might wanna do without increases at all to keep the point actually pointy. My cat kept trying to attack the point while I was working on it which was super annoying but also kinda funny.
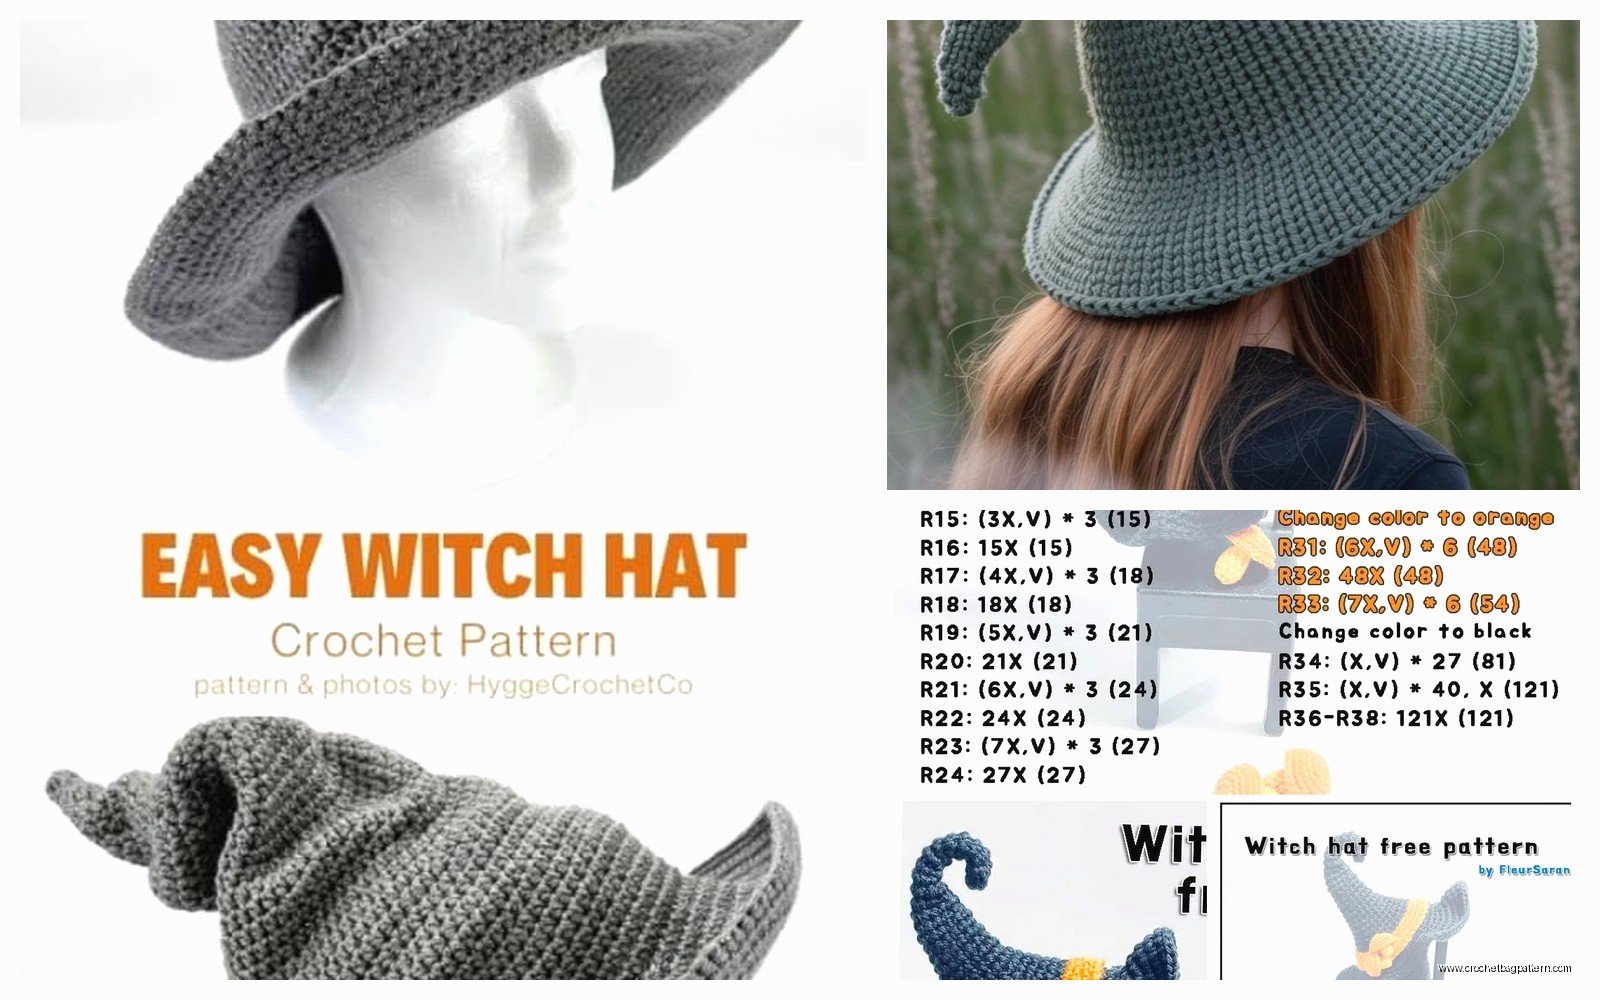
the brim is where it gets tricky
Okay so the brim. This part frustrated me at first because getting it to lay flat but also have that slight upward curve is weird. You’re basically making a flat circle with a hole in the middle that fits around the base of your cone.
Measure around the bottom of your cone. Mine was about 15 inches around. You need the inner circle of your brim to match that.
Start with a chain that matches your cone’s base circumference. So for me that was about 50 chains. Join with slip stitch to form a ring, being careful not to twist it.
Round 1: Chain 2, hdc in each chain around. Join.
Round 2: Chain 2, hdc in same stitch, hdc in next stitch, *2 hdc in next stitch, hdc in next stitch* around. This starts the brim expanding outward.
Round 3: Chain 2, hdc in each stitch (no increases).
Round 4: Chain 2, increase every 3rd stitch this time.
Round 5: No increases.
Keep alternating like this until your brim is as wide as you want. I did mine about 4 inches wide which seemed good for the proportion. If you want a really dramatic wide brim you could go 5-6 inches but it gets floppy.
The thing that annoyed me most was that the brim wanted to ruffle up at the edges if I increased too much, but if I didn’t increase enough it cupped upward weird. You gotta find that balance and honestly it’s different depending on your yarn and tension. I ended up ripping out the brim completely on my second hat and redoing it with fewer increases.
putting it together
So now you have a cone and a brim. The cone should fit into the hole in the middle of the brim pretty snugly. If it doesn’t, you might need to adjust one or the other.
I pinned mine together first with regular sewing pins just to see how it looked. Then I used my yarn needle and the same yarn to whip stitch around the inside where they meet. Go around twice for stability because you don’t want the hat falling apart when someone’s actually wearing it.
Weave in all your ends. There’s gonna be a lot because you changed rounds so many times. I was watching some true crime show while I did this part because it’s boring and mindless.

making it stay on your head
A witch hat that falls off is useless right? So you need either a chin strap or some way to attach it. For the kids’ hats I made, I just crocheted a simple chain about 20 inches long and attached it on both sides under the brim. They could tie it under their chins.
For an adult you could do the same thing or you could sew in some elastic or even put a couple bobby pins through the bottom edge to clip into your hair. I’ve also seen people hot glue a headband to the inside which works but seems permanent.
variations and decorations
The basic black witch hat is classic but you can obviously do whatever. I made an orange one with a black band around it which looked really good. You could add:
- A buckle made from yellow or gold yarn or craft foam
- Stars or moons crocheted separately and sewn on
- Ribbon around the base of the cone
- Sparkly yarn for the whole thing or just accents
- A bent tip by putting wire inside the cone or just letting it flop over naturally
That purple metallic Caron yarn would probably look amazing for this actually, the one that has like shimmer in it? I can’t remember what it’s called but you know the one.
sizing for different heads
Kids sizing is basically just making everything smaller. Start with fewer stitches in your initial ring, maybe 6 instead of 8. Make the cone shorter, like 7-8 inches instead of 11. Make the brim narrower, maybe 3 inches instead of 4.
For a really little kid like toddler size, you might wanna make it even smaller because their heads are tiny and a full size witch hat will just slide right off or be so big it covers their eyes.
Adult sizing is pretty forgiving honestly because the brim sits on your head and the cone can be various sizes. Just measure around the person’s head where the hat will sit (usually like 21-23 inches for adults) and make sure your brim’s inner circle matches that.
common problems I ran into
The cone leaning to one side – this happened when my tension was uneven or I accidentally skipped stitches. Count your stitches every few rounds especially at first.
Brim ruffling – too many increases too fast. Space them out more.
Brim cupping upward – not enough increases. Add more but gradually.
The whole thing being too floppy – your yarn might be too soft or you’re crocheting too loose. Try going down a hook size or using a stiffer yarn. That’s why Red Heart Super Saver actually works great for this even though people complain it’s scratchy because it holds its shape really well.
Point not being pointy enough – stop increasing earlier and do more straight rounds at the end of the cone.
how long it actually takes
My first one took like 6 hours total because I kept messing up and recounting. The second and third ones were maybe 3-4 hours each. If you’re experienced with crochet and don’t make mistakes you could probably do one in like 2-3 hours? The brim is pretty quick, it’s the cone that takes forever because it’s so many rounds.
I made all three of mine over like a week in October, just working on them in the evenings after work. It’s a good project for that because you can put it down and pick it back up easily since it’s just rounds of the same stitch.
yarn amounts and costs
One skein of Red Heart Super Saver (the 364 yard one) is enough for two adult hats with a little left over. So at $3-4 per skein you’re making these for like $2 each which is way cheaper than buying them at a costume shop.
The Caron Simply Soft is more expensive, like $6-7 per skein, but it’s softer and drapes nicer. Depends what you want.
I’ve never tried this with really cheap acrylic like the $1 skeins from dollar stores but it would probably work? Might be splitty to work with though.
alternatives to this method
Some patterns have you make the whole thing in one piece by starting with the brim and then working up into the cone. I’ve never done it that way because it seems like it would be harder to get the shaping right, but some people prefer it.
You could also make this with single crochet instead of half double crochet but it’ll take longer and be stiffer. Or use double crochet to make it work up faster but it might be too loose and holey.
There are also patterns where you make it flat and seam it which seems unnecessarily complicated to me but whatever works for you.
other random tips
Block your finished hat if you want it to look really professional. I just dampened mine and shaped it over a bowl and let it dry. Made the brim lay flatter and the cone straighter.
If you’re making multiples like I did, do all the cones first and then all the brims. It’s faster than switching back and forth because you get into a rhythm.
Mark your first stitch of each round or you’ll lose track of where rounds begin and end. Trust me on this.
The edge of the brim can curl under a little which actually looks good, gives it that authentic witch hat vibe. But if you hate it you can do a round of slip stitches or single crochet around the outside edge to flatten it.
You could technically make this with different weight yarns but you’d have to adjust everything. Like with bulky yarn you’d need way fewer stitches and rounds. With fingering weight you’d need way more and it would take forever.
Store these flat or they’ll get squished. I learned this the hard way when I shoved all three into a bag and they came out dented.
So yeah that’s basically it. It’s not a super complicated project once you get the hang of the increases and shaping. The first one is always rough but after that you can kinda do it without thinking too much. Perfect for making last minute Halloween costumes or just because witch hats are fun honestly.