
May
Making Triangle Shapes with Crochet
So basically triangles are one of those shapes that seem super straightforward but then you actually sit down to make one and you’re like wait how do I make this actually look like a triangle and not just some weird trapezoid situation. I made my first real triangle back in spring 2022 when I was trying to make bunting for my sister’s baby shower and honestly it took me like four tries before I figured out what I was actually doing wrong.
The thing with triangles is you can work them a few different ways. You can start at the point and increase outward, or you can start at the base and decrease up to the point, or you can even work them side to side if you’re feeling adventurous but I’ve only done that once and it was weird.
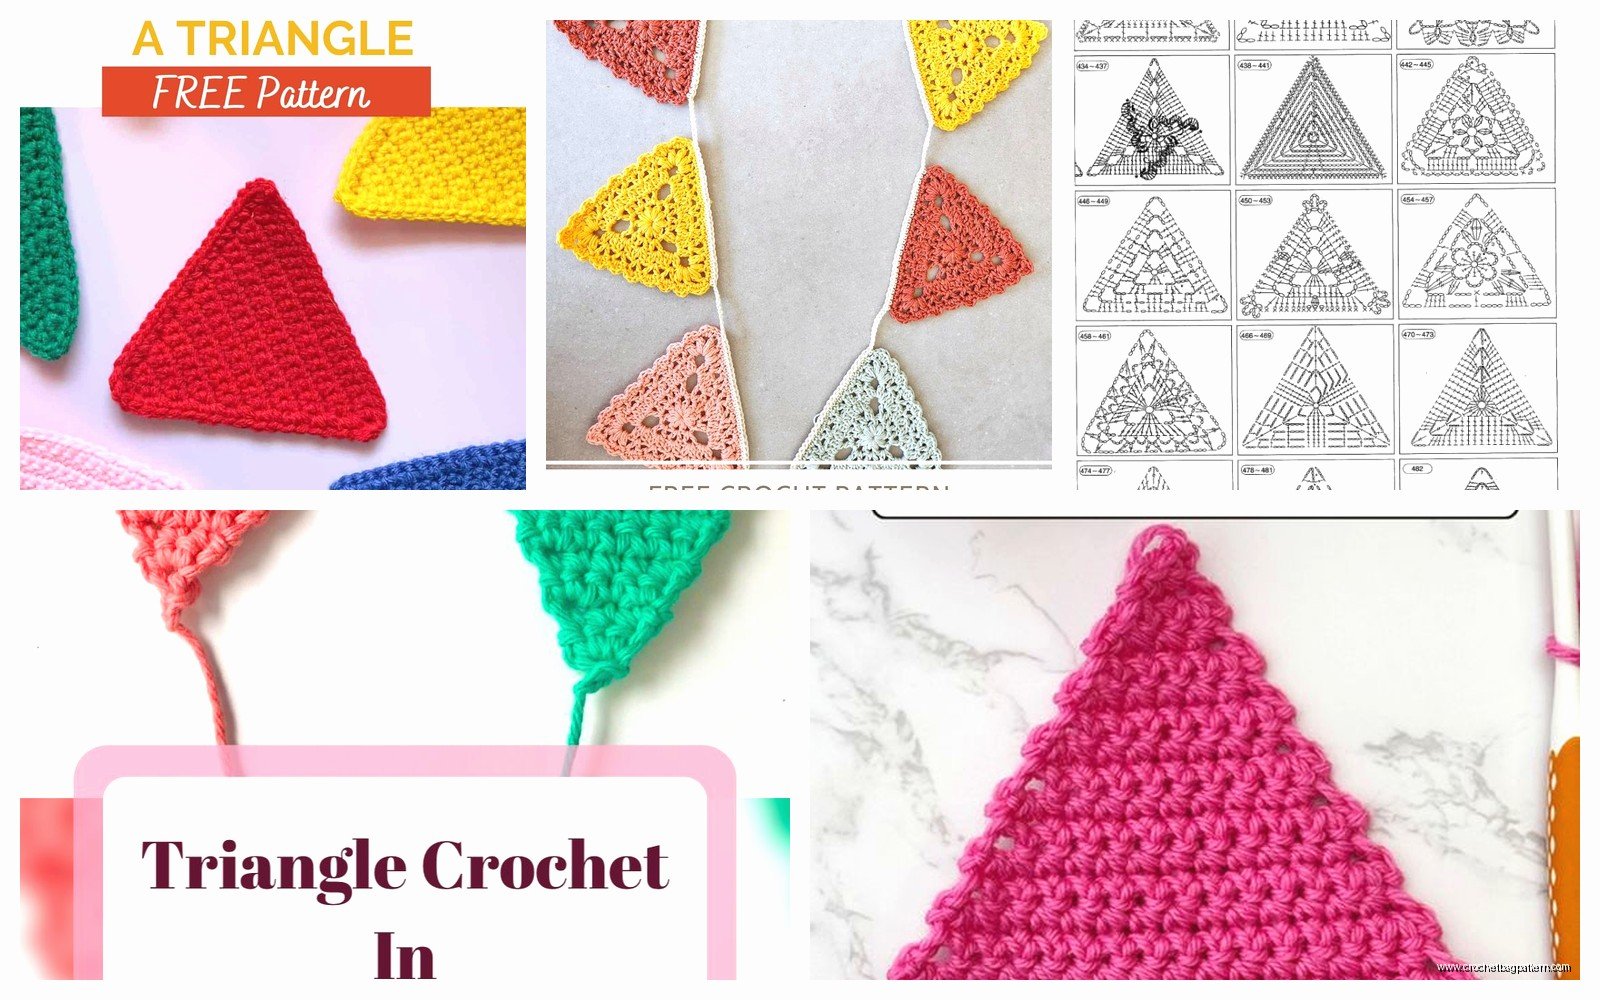
Starting From the Point Method
This is probably the easiest way if you’re just learning. You’re gonna start with a small chain, usually like 4 chains, then you work increases on both sides as you go up. So here’s basically how it works:
Chain 4 (or 5 if you want a bigger base to start with). Row 1 is usually like one single crochet in the second chain from hook, then single crochet in each chain across. You’ll have 3 or 4 stitches depending on your starting chain.
Then for each row after that, you chain 1 and turn, then work 2 single crochets in the first stitch, single crochet across until the last stitch, then 2 single crochets in that last stitch. So you’re adding 2 stitches per row, one on each side. Keep doing this until your triangle is as wide as you want it.
I used Red Heart Super Saver for those bunting triangles because I needed like 20 of them and wasn’t about to spend a fortune. The Bright Yellow color was actually really nice, not as harsh as you’d think. Also used some kind of Caron Simply Soft in white but I don’t remember the exact color name.
Starting From the Base Method
This one’s the opposite. You chain however long you want the base of your triangle to be, then you decrease on both ends until you get to the point. The annoying thing about this method is that sometimes the point doesn’t come to a nice sharp point, it can look kind of blunt if you’re not careful with your last few decreases.
So let’s say you want a triangle that’s 20 stitches wide at the base. Chain 21 (the extra is your turning chain). Row 1: single crochet in second chain from hook and across. You should have 20 stitches.
Row 2: Chain 1, turn. Skip the first stitch, single crochet across until 2 stitches remain, then skip the next stitch, single crochet in the last stitch. You just decreased by 2 stitches.
Keep repeating row 2 until you have like 3 or 4 stitches left, then on your final row you can either just slip stitch across to close it up, or do a decrease to get down to 1 stitch. I usually do the decrease thing because it looks cleaner.
The thing that really annoyed me when I was figuring this out was that my edges kept looking all wonky and loose. Like the sides of the triangle would be wavy instead of straight. Turns out I was being inconsistent with my tension and also I wasn’t paying attention to whether I was working into the actual last stitch or into the turning chain from the previous row. You gotta be consistent about that or your edges will absolutely look like garbage.
Equilateral vs Other Triangle Types
Here’s where it gets slightly mathematical but don’t worry it’s not that bad. An equilateral triangle has all three sides the same length. If you’re making one with crochet, you need to think about your row gauge versus your stitch gauge because rows are usually not the same height as stitches are wide.
Like if you’re using single crochet, your rows are gonna be shorter than your stitches are wide, which means if you just increase by 2 stitches every row starting from the point, you’ll end up with a triangle that’s wider than it is tall. For a true equilateral triangle you actually need to increase less frequently or use a taller stitch.
I made an equilateral triangle in summer 2024 for this geometric wall hanging thing I was working on while watching that show The Bear, and I had to actually swatch and measure because I wanted it to be mathematically correct. Used Paintbox Yarns Cotton DK in this really nice dusty blue color, I think it was called Denim Blue or something. Anyway I figured out that with that yarn and a 4mm hook, I needed to increase every 1.5 rows basically, which meant I’d do a regular increase row, then a straight row with no increases, then another increase row. That got me pretty close to equilateral.
But honestly for most projects you don’t need to be that precise. If you’re making bunting or a scarf or whatever, it doesn’t really matter if your triangle is technically more of an isosceles situation.
Working in the Round for Triangles
Okay so this is kind of a different approach but you can also make triangles by working in rounds, sort of like how you’d make a granny square but with three sides instead of four. You start with a magic ring or chain 4 and join.
Round 1: Chain 3 (counts as first double crochet), work 2 double crochet in ring, chain 2 (this is a corner space), then *3 double crochet in ring, chain 2* two more times. Join to top of beginning chain 3. You should have three groups of 3 double crochets with chain-2 spaces between them.
Round 2: Slip stitch to first corner space. Chain 3, work (2 double crochet, chain 2, 3 double crochet) all in that corner space. That’s your first corner made. Then work 3 double crochet in next corner space, chain 2, 3 double crochet in same space. Repeat for the third corner. Join.
For each subsequent round, you’re gonna work (3 double crochet, chain 2, 3 double crochet) in each corner space, and then along the sides between corners you work 3 double crochet in each chain space from the previous round. This builds up the triangle with those nice corner points.
I actually prefer this method for making coasters or potholders in triangle shapes because the structure is sturdier and you don’t have those straight edges that can get wonky. My cat knocked over my coffee onto a triangle coaster I made this way and it actually held up pretty well, didn’t even stain that bad.
Joining Triangles Together
If you’re making like a blanket or shawl with multiple triangles, you gotta think about how you’re gonna join them. You can seam them together afterward with a yarn needle, or you can join-as-you-go which is what I usually do because I hate seaming.
For join-as-you-go, when you’re working the last round or row of your second triangle, you join it to the first triangle along one edge. If you’re working in rounds, you can slip stitch into the corresponding stitches of the first triangle. If you’re working in rows, you can single crochet through both pieces along the edge.
The pattern I was following for those bunting triangles had me make them all separately and then I just used a whip stitch to sew them onto bias tape, but looking back I probably could’ve crocheted them directly onto a chain or something and saved myself the sewing.
Adjusting Size and Gauge
The nice thing about triangles is they’re pretty forgiving with gauge. If your triangle comes out bigger or smaller than you expected, it doesn’t usually matter unless you’re trying to fit specific dimensions. But you should still do a gauge swatch if you’re making something that needs to be a certain size.
Hook size makes a huge difference obviously. I made two identical triangles once, one with a 5mm hook and one with a 3.5mm hook using the same Knit Picks Brava Worsted yarn, and the size difference was like… significant. The smaller hook one was way more dense too which actually worked better for the project I was making.
If you need your triangle to be a specific measurement, work your swatch first and measure it, then do some math. Like if your swatch is 4 inches wide after 20 rows of increases from the point, and you need a triangle that’s 12 inches wide, you’d need to work 60 rows. Or something like that, I’m bad at math but you get the idea.
Different Stitch Patterns for Triangles
You don’t have to just use single crochet or double crochet. You can work triangles in basically any stitch pattern, you just have to figure out the increase/decrease rhythm for that particular stitch.
I made a triangle shawl once using half double crochet and it worked up way faster than single crochet would have. Used Caron Cakes in that Rainbow Sprinkles colorway which was very 2019 of me but whatever, it looked cool. The principle is the same – increase 2 stitches per row on each side if you’re working from the point.
You can also do shells or clusters or whatever. Just remember that your increases need to happen at the edges. So if you’re doing a shell pattern, you might work (2 shells) in the first stitch space and (2 shells) in the last stitch space, with your regular shell pattern in between.
Lace patterns can look really pretty in triangle shawls. There’s this one pattern I tried that had a feather and fan type stitch and you just had to increase the pattern repeats as you went up. It was from some blog I found and I don’t remember what yarn I used, maybe it was Lion Brand Jeans? That seems right.
Common Problems and Fixes
Okay so the wavy edge thing I mentioned earlier – that’s usually from inconsistent tension or not working into the right stitch. Make sure you’re counting your stitches at the end of each row. I know it’s tedious but just do it, especially when you’re learning.
If your triangle is curling, you might be working too tightly or your increases might be too aggressive. Try going up a hook size or spacing out your increases more.
If the point of your triangle looks weird and lumpy when you’re working from the base down, try doing a final row where you decrease more aggressively. Like instead of decreasing by 2 stitches, decrease by 3 or 4. Or switch to a smaller hook for the last few rows.
Sometimes when working from the point up, that initial chain can look stretched out and weird. You can either start with a magic ring instead and work your first few stitches into that, or you can just accept that the very tip of your triangle might be a little wonky and nobody will really notice once it’s part of a bigger project.
Blocking Triangle Pieces
Blocking makes such a difference with geometric shapes I can’t even tell you. Those bunting triangles I made looked kinda sad and wrinkled until I pinned them out and steamed them. Then they were crisp and actually looked like proper triangles.
You need blocking pins or T-pins, and either a blocking board or just like a foam mat or even your ironing board covered with a towel. Pin out each corner of the triangle, making sure the edges are straight. If you’re blocking multiple triangles, try to make them all the same size so they’re consistent.
Then either spray with water and let air dry, or use a steamer, or carefully hover an iron over it with steam. Don’t press the iron directly onto acrylic yarn or it’ll melt and that’s a whole disaster. Ask me how I know.
Triangle Projects Worth Making
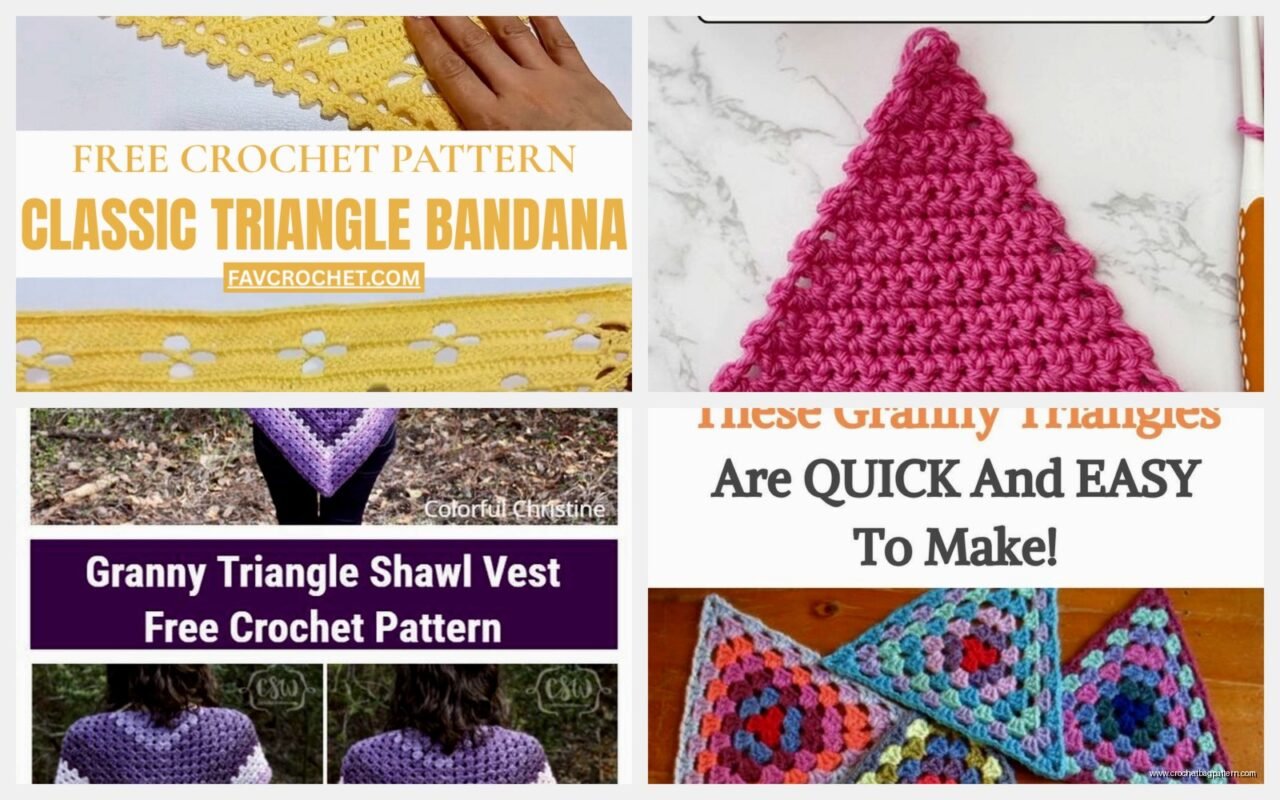
Bunting is the obvious one and it’s actually a good first triangle project because you need multiples so you get practice and they don’t have to be perfect.
Triangle shawls are classic and there are like a million free patterns online. They’re basically just big triangles worked from the point at your neck down to the wide bottom edge.
You can make a blanket from triangles arranged in different ways – all pointing the same direction, alternating directions, mixed with squares, whatever. I saw someone on Instagram make one that looked like mountains and it was actually really cool.
Bunting bags are having a moment, those are just triangles sewn or joined together with a drawstring. Could work as a produce bag or just like a decorative thing I guess, I haven’t actually made one but it’s on my list.
Garland for parties or kids rooms, same concept as bunting but maybe bigger triangles. You could even stuff them lightly to make them 3D which could be cute.
Coasters and potholders like I mentioned. Trivets too if you make them big enough and use cotton yarn.
Specific Measurements and Stitch Counts
If you want a small triangle for a coaster or something, start with chain 4, work from the point, and increase until you have about 20-24 stitches across. That’ll give you roughly a 4-5 inch triangle depending on your yarn and hook.
For bunting triangles, I did chain 4, increased for 15 rows, ended up with about 33 stitches across the top and they were maybe 6 inches wide and 5 inches tall. Perfect size for party bunting.
For a lap blanket made of triangles, you’d probably want each triangle to be like 8-10 inches on each side, so that’s more like 40-50 stitches across if you’re using worsted weight yarn. You’d need probably 20-30 triangles depending on how you arrange them.
A shawl is harder to give specific numbers for because it depends on how big you want it, but most triangle shawl patterns have you increase until it measures like 60-72 inches across the top edge, which is a lot of rows. I’ve never actually finished a triangle shawl because I get bored but I’ve started like three of them.
Anyway that’s basically everything I know about making triangle shapes with crochet. The main thing is just to keep your edges consistent and count your stitches and you’ll figure it out. First few attempts might look weird but that’s normal, you’ll get the hang of it.