
May
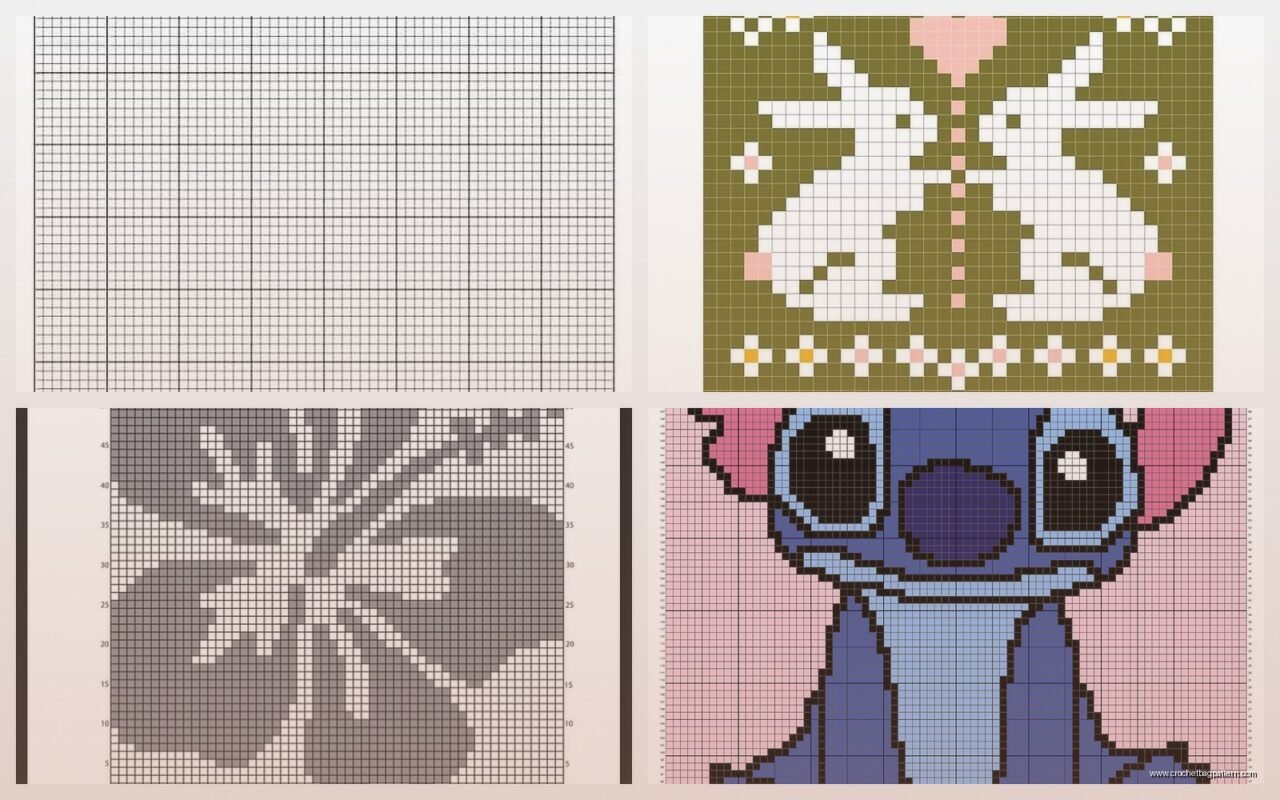
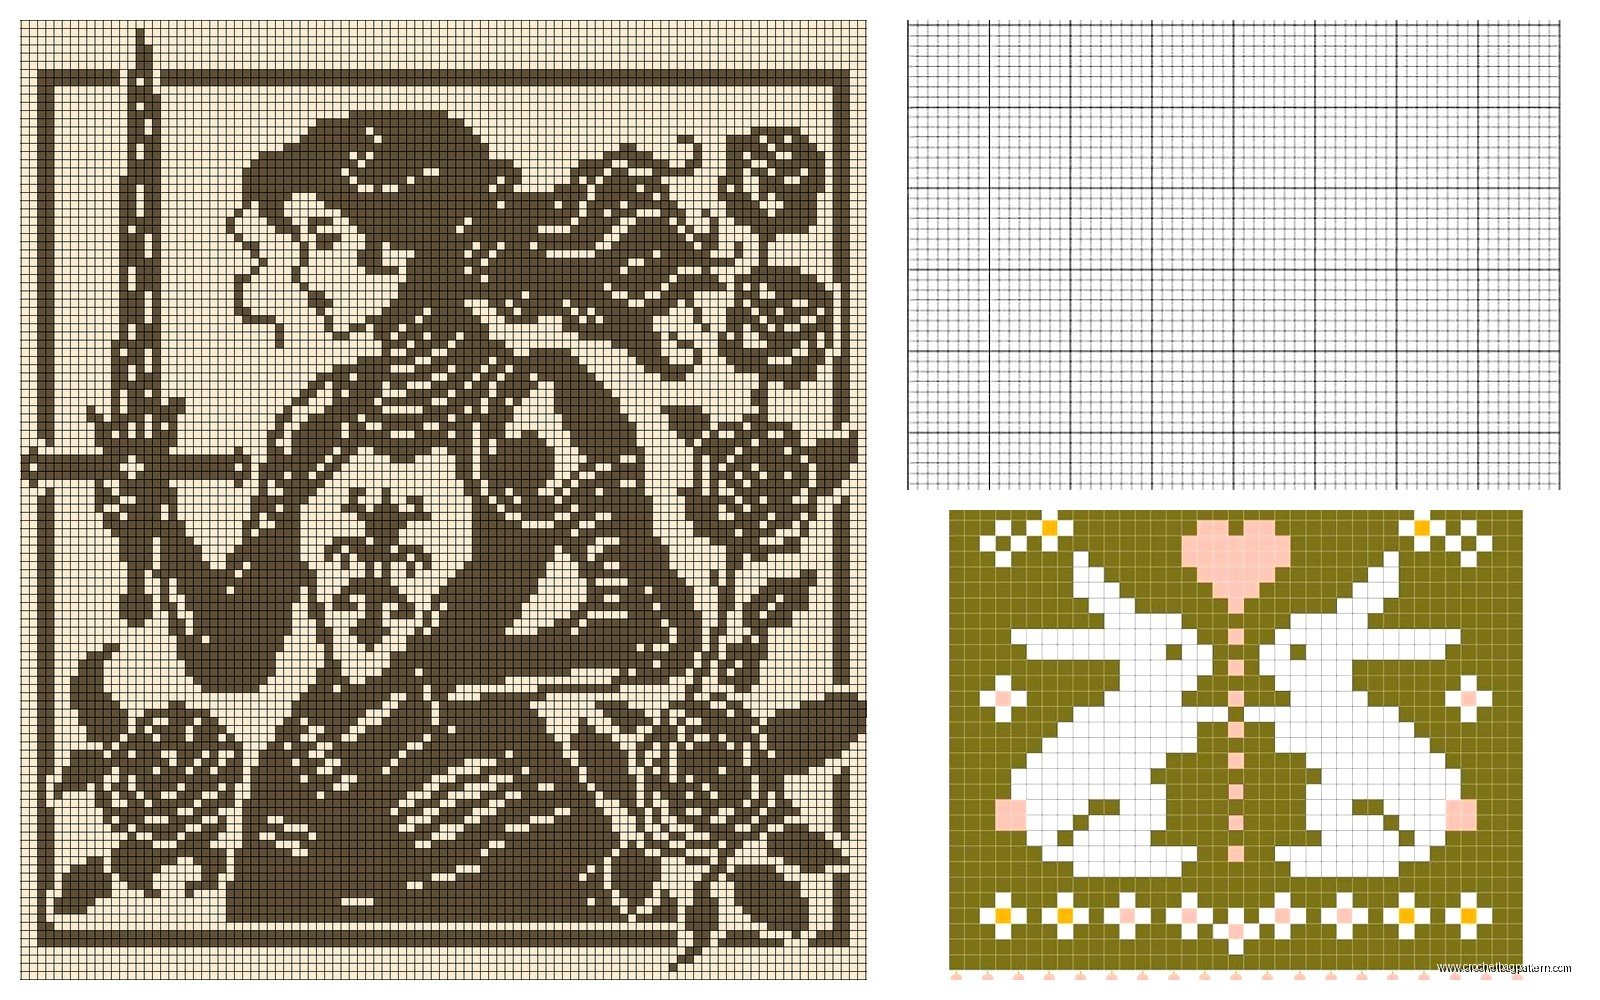
okay so graph patterns are basically just pixels
You know how cross stitch works with those little X marks on a grid? Crochet graphs are pretty much the same thing except each square represents one stitch instead of one cross. I made my first real graph pattern thing in spring 2022 when I was trying to make a blanket with my cat’s face on it—which sounds ridiculous now but I was really into it at the time.
The basic idea is that you’re reading a chart where each filled square tells you to use your main color and each empty square means switch to your background color. Single crochet works best for this because the stitches are short and square-ish, so they actually look like pixels when you’re done.
Reading the actual charts
Most crochet graph patterns read from right to left on odd rows and left to right on even rows, which makes sense when you think about how you’re actually crocheting back and forth. But honestly some charts just read left to right the whole time and you gotta figure out which one you’re working with before you start or you’ll end up with a backwards design.
Each square equals one single crochet stitch. That’s it. If the square is filled in or has a color, you use that yarn color. If it’s blank or white, you use your background color. Some charts use symbols instead of colors which is actually easier to print but harder to read quickly.
the color changing part that everyone struggles with
So here’s where it gets annoying—and this is the thing that really frustrated me about the whole process—you have to change colors like constantly. And the “right” way to do it is to work the last yarn over of your stitch in the NEW color, not the old one. This means you’re planning ahead by one stitch all the time.
Let me explain that better. When you’re finishing a single crochet, you pull through two loops on your hook right? That final pull-through needs to be in whatever color is coming NEXT, not the color you just used. Otherwise your stitches look messy and the color bleeds over into the wrong squares.
I was watching The Bear while figuring this out and kept having to rewind because I’d miss entire scenes trying to count stitches.
carrying yarn vs cutting it
You’ve got two options when you’re working with multiple colors. You can either carry the yarn you’re not using along the back of the work, or you can cut it every time and weave in a million ends later. Both options are kinda terrible in different ways.
Carrying works better when you’re switching back and forth between the same two colors frequently. Like if you’re doing a checkerboard or something where you need both colors in every row. You just crochet over the unused yarn as you go so it gets trapped inside your stitches. But if you carry yarn across more than like 3-4 stitches it starts showing through to the front or making the fabric puckery.
Cutting means you have cleaner color blocks but oh my god the ends. I used Red Heart Super Saver for that cat blanket because it was cheap and I needed a lot of it, and I swear I had like 200 yarn ends to weave in when I finished. Took me longer to finish the ends than to actually crochet the thing.
making your own pixel patterns
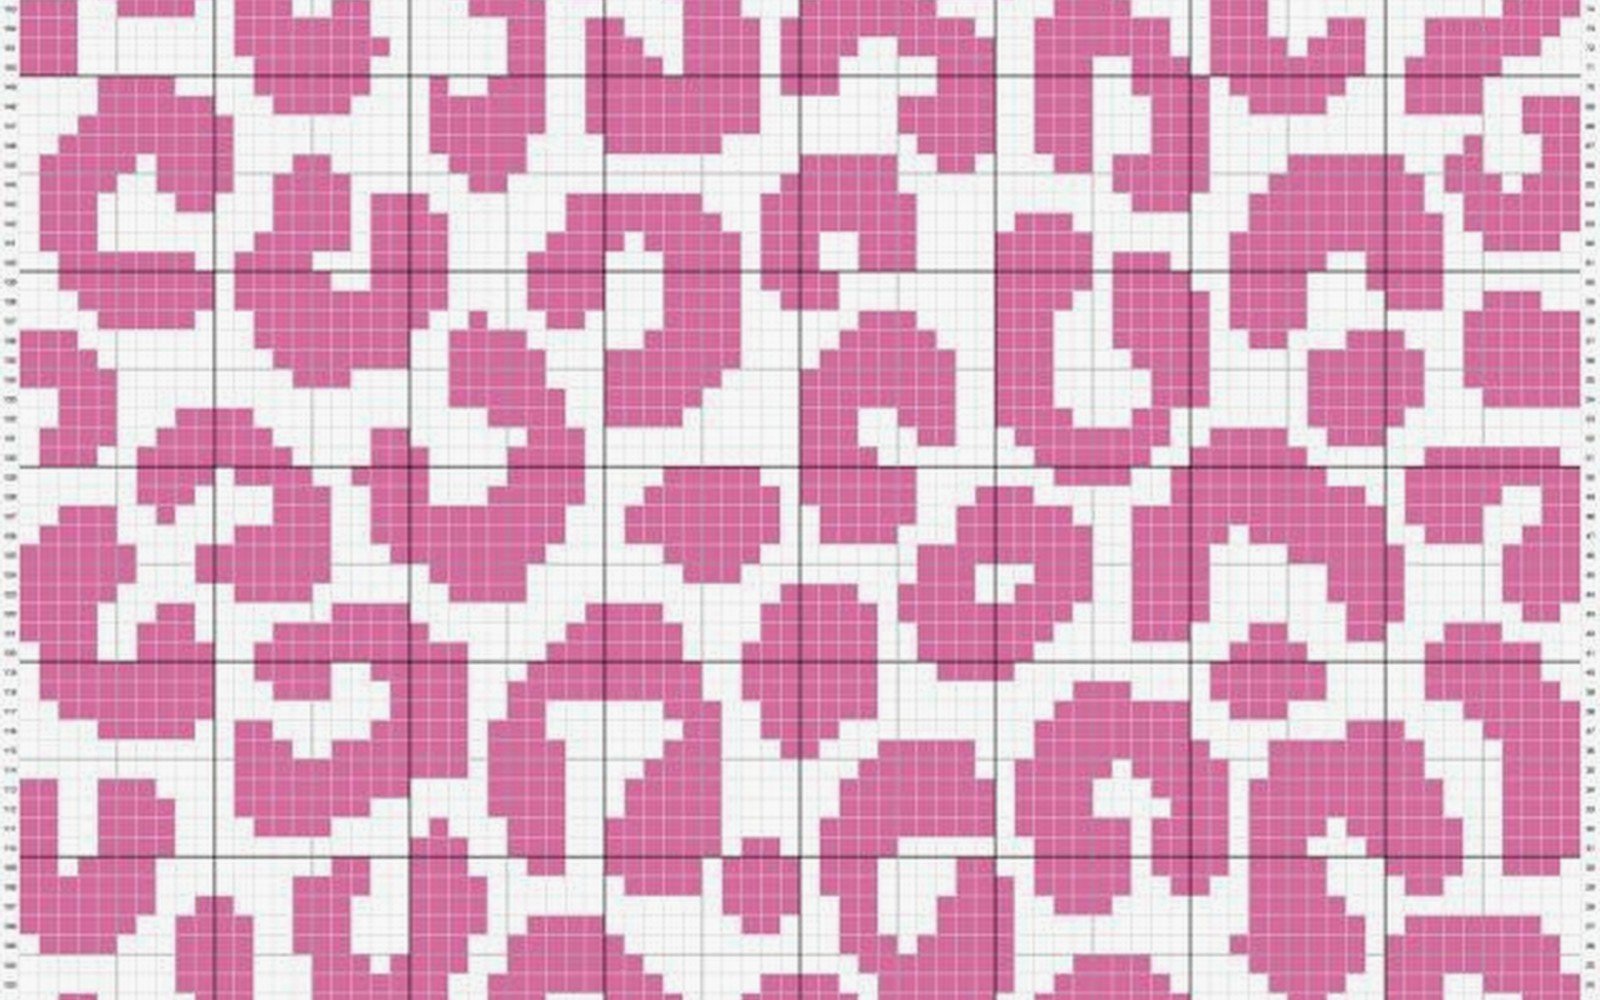
This is actually the fun part. You can turn literally any image into a crochet graph pattern if you have the right tools. There are websites that do it automatically—Stitchboard and Stitch Fiddle are the ones I’ve used. You just upload a picture and it converts it into a grid.
The catch is that you need to keep your design pretty simple unless you want to make something huge. Like a 50×50 stitch graph is already gonna be a decent sized project, and that’s only 50 pixels across. Not exactly high resolution. So simple designs work better—geometric shapes, basic logos, pixelated art style stuff.
I tried to do a complicated photo of my cat and it just looked like a blob of brown and orange squares. Then I found a simplified silhouette version and THAT actually worked. You want high contrast, clear shapes, not a lot of tiny details.
the math you gotta do
Before you start you need to figure out your gauge with whatever yarn you’re using. Make a swatch of single crochet stitches—like 20 stitches wide and 20 rows tall—and measure it. This tells you how many stitches per inch you’re getting.
Then you can calculate how big your finished project will be based on how many squares are in your graph. If your graph is 40 squares wide and you’re getting 4 stitches per inch, your project will be 10 inches wide. Basic math but important unless you want to end up with a blanket that’s actually the size of a potholder or whatever.
Single crochet stitches are wider than they are tall usually, so your pixels won’t be perfect squares. They’ll be slightly rectangular. Some people adjust for this by making their graph pattern taller/narrower than the actual image they want, but honestly I never bother with that level of precision.
yarn choices matter more than you’d think
I’ve used a bunch of different yarns for graph patterns and they definitely don’t all work the same. Red Heart Super Saver is fine—it’s cheap and comes in tons of colors which you need for this kind of work. The colors are really saturated too so they show up clearly against each other.
I tried using some fancy wool blend once, I think it was We Are Knitters cotton—wait no it was their wool actually—and the colors were all these subtle heathered shades that looked beautiful in the skein but totally muddy in a graph pattern. You couldn’t tell where one color stopped and the next started. Waste of money for this technique.
Caron Simply Soft works pretty well too. The yarn is smooth so your stitches look even, and it comes in both bright colors and neutrals. I made a geometric pattern wall hanging with it in summer 2024 and it turned out clean looking.
Whatever you use, make sure all your yarns are the same weight. Don’t try to mix worsted and DK or whatever because your gauge will be off and your squares won’t line up right.
tension is gonna make you crazy
Keeping even tension across color changes is hard. Like really hard. Your brain gets distracted by switching colors and counting squares and suddenly you’re pulling too tight or too loose and your whole row is wonky.
I don’t have a great solution for this except to pay attention and maybe rip out rows that look obviously wrong. Some people use a smaller hook than they normally would for the yarn weight because it makes the fabric tighter and hides any tension inconsistencies better. I go down half a hook size usually—so like a G hook instead of an H for worsted weight.
reading patterns from the internet
There are tons of free graph patterns online, especially on Pinterest and Ravelry. But you gotta check what format they’re in before you get excited. Some are actual crochet graphs (great, use them), some are cross stitch patterns (also fine, they work the same way), and some are knitting charts which use different symbols and won’t translate directly.
Knitting charts show knit and purl stitches with different symbols and that doesn’t really map onto crochet. You can use the color layout from a knitting chart but ignore all the stitch symbols.
Also check if the chart tells you how big it is in stitches. Some patterns just show you the picture without dimensions and you have to like… count all the squares yourself which is tedious.
apps and software
Stitch Fiddle is free for basic use and lets you create patterns up to a certain size. You can upload images or draw your own pixel designs. It shows you the pattern in grid form and you can assign different colors to different squares. You can also see a preview of what it might look like stitched up which is helpful.
There’s also an app called Crochet Charts but I think it’s more for regular stitch patterns not color work graphs, so maybe not as useful for this specific thing.
Honestly graph paper and colored pencils work fine too if you want to design something simple. Just draw your design on the graph paper with each square representing one stitch. Old school but it works.
what actually works as a design
Letters and words are popular—you can make a name blanket or whatever. Keep the font blocky though, not cursive or anything with thin lines. Pixel fonts from old video games work really well for this reason.
Geometric patterns like diamonds, chevrons, stripes—all good choices. They’re repetitive so once you get the pattern down you don’t have to look at the chart as much.
Simple animals or objects in silhouette form. Hearts, stars, flowers if they’re stylized and simple. Video game sprites—like actual 8-bit or 16-bit game graphics—are perfect because they’re already pixelated.
I tried to do a detailed mandala type thing once and it was a nightmare. Too many color changes, too many stitches to count, just not worth it.
the weaving in ends situation
Okay so back to this because it’s truly the worst part. Every time you change colors you create two yarn tails—one from the color you’re ending and one from the color you’re starting. Those all need to get woven in eventually.
Some people weave as they go which sounds responsible but I never do it. I just crochet the whole thing and deal with the ends at the end. Which means I’m sitting there for hours with a tapestry needle weaving in literally hundreds of ends depending on the project size.
Weave them through the back of the stitches in the same color if you can, going in different directions so they don’t all come loose at once. I usually go through like 5-6 stitches, then double back through 2-3 stitches in the opposite direction, then trim close to the work.
There are some people who just tie knots and trim and call it done but that seems risky—or wait, actually for something like a wall hanging that won’t get washed maybe that’s fine? For a blanket or something that’ll get used you definitely need to weave properly.
bobbins might help you might hate them
If you’re working with multiple colors in one row you can wind each color onto a bobbin so you’re not dragging entire skeins around. Bobbins are those little plastic things that hold a small amount of yarn. You wind just enough yarn for the section you need onto each bobbin.
So like if your pattern has three separate blue sections across one row, you’d have three blue bobbins. Keeps things from getting tangled.
I tried this exactly once and found it annoying because the bobbins kept hitting each other and tangling anyway. But lots of people swear by them so maybe I was doing it wrong. Your mileage may vary or whatever.
starting and stopping
When you’re starting a new color in the middle of a row, just drop the old color and pick up the new one. Make sure you leave like a 6 inch tail on both yarns for weaving in later. Some people tie a loose knot just to keep the new color from falling out but you’ll undo that later anyway.
For the next row, when you come back to that color change spot, the yarns should be hanging there ready for you to pick up again. Just make sure you’re picking up the right color for whatever square you’re on.
It’s easy to get confused and grab the wrong yarn, especially if you’re using similar shades. I usually lay out my pattern chart right in front of me and put a sticky note or ruler under the row I’m working on so I don’t lose my place.
fixing mistakes without crying
You will miscount squares. You will use the wrong color. You will realize six rows later that you messed up back there. It happens to everyone.
If you catch it right away, just rip back to where the mistake is and redo it. Annoying but straightforward.
If you’re several rows past the mistake, you have to decide if it’s worth ripping out all that work or if you can live with it. For something like a geometric pattern, one wrong square might throw off the whole design. For something more random or abstract, maybe nobody will notice.
I’ve definitely left mistakes in projects because I couldn’t face undoing hours of work. The cat blanket has three squares that are the wrong color and you can see them if you look closely but whatever, my cat doesn’t care.
Some people do duplicate stitch over mistakes afterward—basically embroidering the correct color on top of the wrong stitch. I’ve never tried this but I’ve seen it done and it seems to work okay for small fixes.
project ideas that aren’t blankets
Pillow covers are good for graph patterns because they’re smaller than blankets but still big enough to show a design clearly. You make two squares and seam them together, stuff with a pillow form.
Wall hangings if you’re into that aesthetic. Just crochet a rectangle with your design and hang it up. Add a dowel rod through the top if you want it to look fancy.
Bags or pouches—the flat sides are perfect for a pixel design. Though you probably want to line fabric bags so all the yarn ends on the inside don’t catch on stuff.
Coasters or mug rugs if you want something small to practice on. A 15×15 stitch square is a good beginner size.
I’ve seen people make scarves with repeating pixel patterns which looks cool but seems impractical for actually wearing because of all the carried yarn on the back making it thick and bumpy.
the thing nobody tells you
Your first graph pattern project is gonna take way longer than you expect. Like way longer. Even if it’s small. All the color changes and counting and checking the chart slows you down so much compared to regular crochet.
I thought that cat blanket would take me two weeks. It took almost two months. And it wasn’t even that big—maybe 30 inches square or something. Just so much stopping and starting and switching colors.
Don’t plan to make a graph pattern project as a gift with a deadline unless you’re starting really early. This is not a quick technique.
But the result does look pretty cool when you’re done, I’ll give it that. Very satisfying to see the design actually come together and look like the thing you were trying to make. Even with my wrong-colored squares the cat was clearly recognizable as a cat which felt like an achievement.