
May
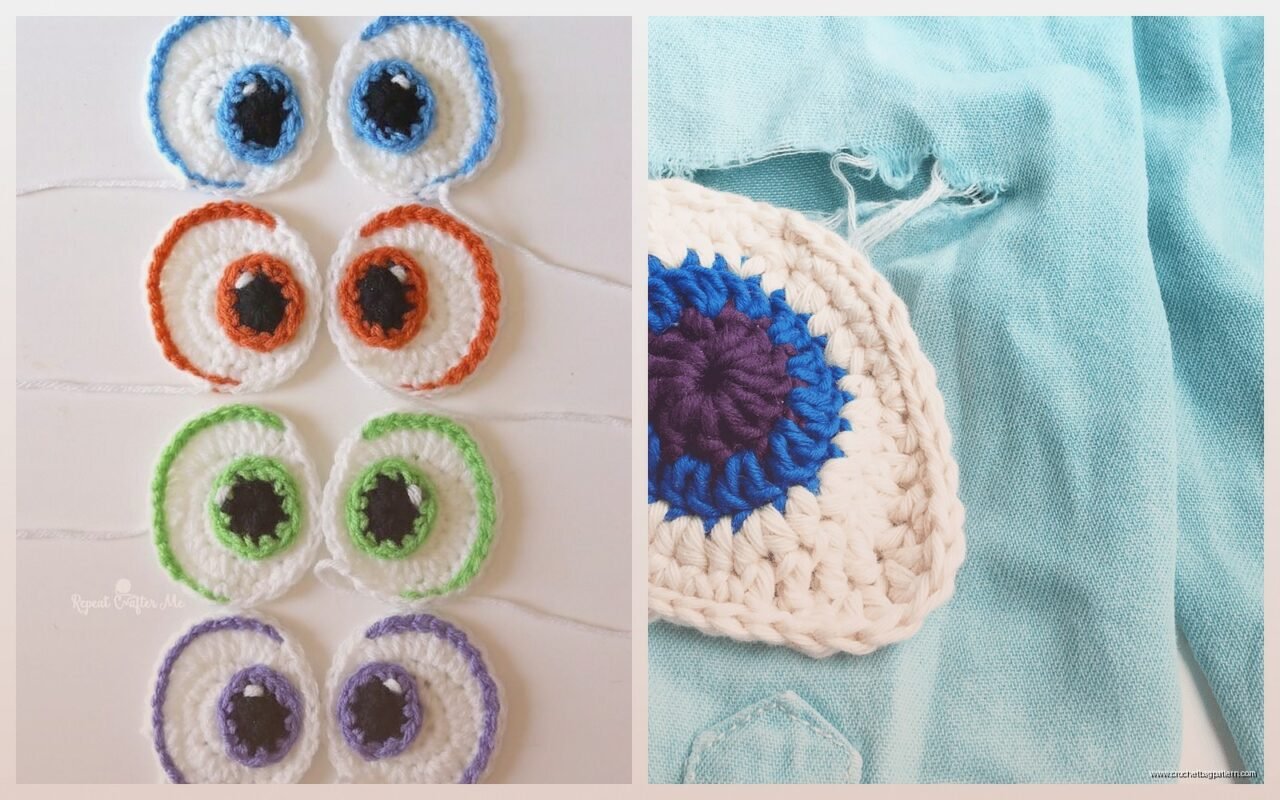
okay so safety eyes for amigurumi
Right so you’re making amigurumi and you need eyes. Safety eyes are basically plastic eyes with a washer that locks them in from the inside of your project. They come in different sizes and honestly once you figure them out they’re pretty straightforward but there’s definitely stuff I wish someone had told me.
I remember back in spring 2022 I was making this ridiculous octopus while watching like three seasons of The Office back to back and I put the eyes in wrong and had to basically destroy half the head to fix it. That was annoying. So yeah, learn from my mistakes I guess.
what size eyes you actually need
The packaging will say like 6mm, 9mm, 12mm, 15mm etc. Here’s what I‘ve figured out:
- 6mm – tiny stuff, like really small keychains or mini amigurumi
- 9mm – small projects, think palm-sized animals
- 12mm – medium stuff, this is probably what you’ll use most
- 15mm and up – bigger projects or if you want that cute big-eyed look
The thing is it depends on your yarn weight too. Like if you’re using chunky yarn obviously you need bigger eyes than if you’re using thread weight. I usually use Red Heart Super Saver or sometimes Lily Sugar’n Cream if I want cotton, and with that worsted weight stuff I go for 12mm most of the time.
when to put them in and this is important
You gotta put safety eyes in BEFORE you close up your project and stuff it. This seems obvious but I’m telling you it’s easy to forget when you’re in the zone crocheting. The washer goes on the inside and once it’s clicked on, it’s basically permanent. Like you can get them off but you’ll probably stretch out your stitches or make a hole.
I usually put them in after I’ve crocheted the head to about halfway or two-thirds done. That way you can see the shape and get the placement right, but you still have room to get your hand inside to attach the washer.
actually placing them where they should go
This is where it gets subjective but here’s what generally works. Count your rounds first. I know, I know, counting is annoying but it helps. Most patterns will tell you something like “between rounds 12 and 13, with X stitches between eyes.”
If you’re winging it without a pattern (which honestly I do a lot), a good rule is:
- Eyes usually go roughly in the middle of the head height-wise, maybe slightly above center
- Space them about 5-7 stitches apart for a normal look, closer for cute, further for… I dunno, alien vibes?
- Make sure they’re on the same round so they’re even
I use stitch markers or just pins to mark where I want them before I actually poke the post through. This saved me after that octopus incident.
the actual installation part
So you’ve got your spot marked. Take the eye (it has a post sticking out the back) and push it through your fabric from the outside. You want it going between stitches, not through the yarn itself, because splitting the yarn looks messy and can weaken it.
Sometimes you gotta wiggle it a bit to find the gap between stitches. The fabric should stretch a little to let the post through. If you’re using really tight tension this can be harder – I tend to crochet pretty loose which actually helps here.
Once the post is through to the inside, get your washer. It’s usually a little disc with a hole in the middle and some ridges. The ridges face the fabric. Push the washer onto the post and you’ll feel it click into the grooves. Push it down firmly – like really firmly – until it’s flat against the inside of your work.
You should hear or feel a click. If it’s not on all the way it can pop off later which would be a disaster if you’ve already finished the whole thing.
what if you mess up the placement
Ugh okay so if you put them in and realize they’re crooked or too close together or whatever, you CAN remove them but it’s not fun. You basically have to pull really hard on the washer from inside. Sometimes I use pliers but be careful not to break the plastic post.
The hole will be stretched out after you remove it though. You can try to massage the stitches back into place or if it’s really bad you might need to frog back and redo that section. This is why I’m so paranoid about checking placement before I click them in.
In summer 2024 I was making a bear for my neighbor’s kid and I put the eyes way too far apart by accident – looked like a hammerhead shark or something. Had to rip them out and the holes were visible even after I fixed the stitches, so I ended up embroidering little white highlights over the stretched parts to hide it. Worked out okay but was annoying.
alternatives to regular safety eyes
There’s different types beyond the basic black plastic ones:
- Colored eyes – same concept but in different colors, good for specific animals
- Cat eyes – they have that vertical pupil slit
- Sew-on eyes – these are flat backed and you stitch them on, good if you’re giving the toy to a baby since they’re safer
- Glass or acrylic eyes – more realistic looking, some have the wire loop on back
For babies and really young kids you should probably embroider eyes instead or use felt because safety eyes can still be pulled off if a kid is determined enough. The name is kinda misleading honestly.
buying them and what brands
You can get them at craft stores like Michaels or Joann, but honestly Amazon has better variety and prices. I’ve bought from random brands on Amazon and they’ve been fine. The brand doesn’t matter as much as the size consistency.
If you want specific recommendations, Suncatcher Craft Eyes is a brand I’ve used that has good variety. There’s also a shop called 6060 International that makes them. But really the generic ones work just fine for most projects.
They usually come in packs of like 100 pairs which seems like a lot but you’ll use them. I have a whole container organized by size because once you start making amigurumi you kinda can’t stop.
the one thing that really annoys me
The washers. Specifically how they just fall everywhere and you lose them and then you have eyes with no washers. I’ve started keeping them in those little bead organizer boxes but before that I was constantly finding washers in random places. One time my cat was batting one around the kitchen at like 2am. Just keep them organized from the start, trust me.
Also some washers are really hard to click on, like the smaller sizes especially. My fingers hurt after installing like eight 6mm eyes once. There’s probably a tool for this but I just deal with it.
making them look alive
Placement changes the whole expression. Eyes close together looks cuter and more baby-like. Wide apart looks derpier or more surprised. Angled slightly outward or inward changes the mood too.
I usually add white highlights with embroidery floss or fabric paint after everything’s done. Just a little french knot or a few stitches in the upper right (or left, whatever) of each eye makes such a difference. Makes them look shiny and alive instead of just flat and dead.
Some people do the highlights before they install the eyes by painting them on with white nail polish or acrylic paint. That works too but I like having the finished project to look at so I can see where the light would naturally hit.
working with different yarn types
With Bernat Blanket or other really chunky yarn you need bigger eyes obviously. Like 18mm or even 24mm. The posts on safety eyes are only so long though, so if you’re working with super bulky yarn the post might not stick through far enough to get the washer on. In that case you might need to look for eyes specifically made for chunky yarn, or use sew-on style instead.
With thin yarn like Aunt Lydia’s crochet thread you want tiny eyes, 4mm or 6mm. These are harder to work with because everything’s so small but they look really professional when done right.
Cotton yarn like I mentioned – Lily Sugar’n Cream – works great with safety eyes. The fabric has good structure and doesn’t stretch out as much as acrylic can. But acrylic is fine too, I use Red Heart for like 80% of my projects and it’s totally fine.
troubleshooting stuff
If the eyes are loose and wobbling around, the washer isn’t on tight enough. You can try to push it down more but if it’s already clicked in all the grooves you might be out of luck. This usually happens with stretched out stitches or if your tension is really loose.
If you can see the post through your stitches from the outside, your fabric might be too open. Either crochet tighter or use a smaller hook size, or hold two strands of yarn together to make a denser fabric.
If the eyes seem to sit weird or stick out too much, check that the washer is actually flat against the fabric on the inside. Sometimes it gets crooked and that makes the eye tilt.
when to consider embroidering instead
Sometimes safety eyes just don’t work for the project. Like if you’re making something with a really small head or weird shape, embroidered eyes might look better. Or if you want a sleeping/closed eye look obviously you can’t do that with plastic eyes.
I usually embroider with black embroidery floss, just doing satin stitch or even just a few straight stitches across. It’s more time consuming but you have total control over the shape and expression.
For safety with kids under 3, embroidery is definitely the way to go even though it’s more work.
storing your collection
Like I said I use those plastic organizer boxes with the little compartments. Label them by size or you’ll forget which is which – 9mm and 12mm look pretty similar when they’re just loose in a drawer. I learned this the hard way.
Keep the eyes and washers together in the same compartment if you can, or at least in the same box. Nothing worse than having 50 pairs of 12mm eyes and only 23 washers because the rest are scattered across your house.
The eyes themselves are pretty durable but try not to scratch them up. Scratched plastic eyes look foggy and weird on the finished project.
pricing and how many to buy
They’re pretty cheap honestly. A pack of 100 pairs might be like $8-12 depending on size and where you buy them. Bigger sizes cost more. The really tiny ones (4mm) can be pricier per piece because they’re more specialized.
I’d say start with a pack of 12mm black eyes since that’s the most versatile size. Then add other sizes as you need them for specific projects. Don’t go too crazy buying every size and color right away because you might find you stick to certain sizes depending on what you like to make.
Colored eyes are fun but you’ll use black ones way more often. Maybe grab some brown or blue ones if you’re planning specific projects.
Okay so that’s basically everything I’ve figured out about safety eyes over the past few years of making amigurumi. The main things to remember are put them in before stuffing, check the placement carefully, and push those washers on HARD. The rest you’ll figure out as you go. Just start with a simple project and don’t stress too much about making it perfect because honestly even wonky eyes can be charming in their own way.