
Apr
okay so bucket hats
Right so I made my first bucket hat in summer 2022 when I was visiting my sister and she kept complaining about sunburn on her ears. Like she had this expensive sunscreen but refused to wear a normal hat because she said they all looked bad on her, which honestly… anyway I had brought some yarn with me because I always do that, and I just kind of figured it out while we sat on her porch.
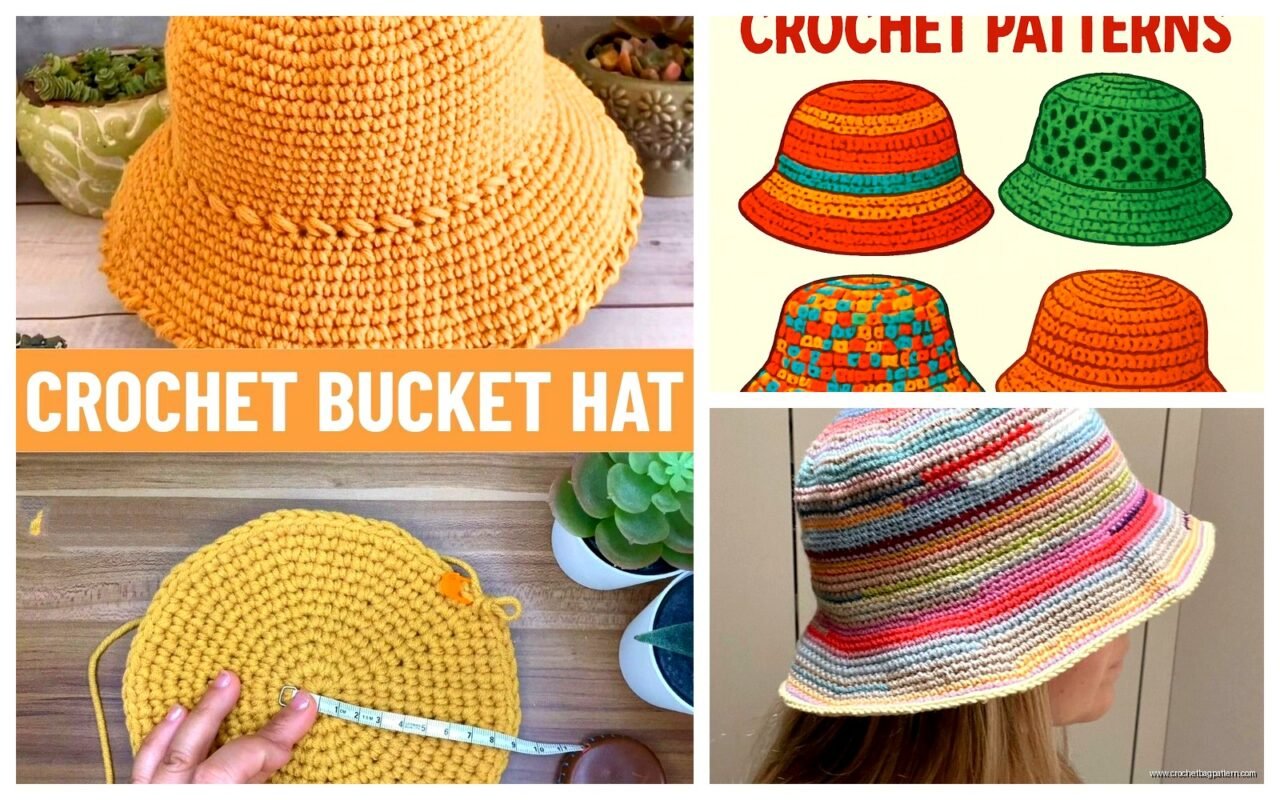
The basic idea is you’re making a circle for the top, then working straight sides for the crown part, then you add a brim that flares out. Sounds simple but the brim is where everyone messes up including me that first time.
what you actually need
You need worsted weight cotton yarn mostly. I used Lily Sugar n Cream that first time in that weird seafoam color, and honestly it worked fine. Cotton is better than acrylic for summer obviously because it breathes and doesn’t make your head all sweaty. I’ve also used Hobbii Rainbow Cotton which is cheaper if you order online and wait for shipping.
For the hook size I usually go with a 5mm or 5.5mm. Some people say use smaller for tighter stitches but then it takes forever and your hand cramps up. The hat needs to have some structure but also you want it done before summer ends right?
You also need a stitch marker or just use a piece of different colored yarn tied in. And scissors obviously and a yarn needle for weaving in ends later.
starting with the crown circle
So you start with a magic ring. If you don’t know how to do that just look it up real quick, it’s way better than chaining and joining. Into the magic ring you’re gonna work 12 double crochets. Pull it tight, slip stitch to join.
Then you increase every round until the circle is big enough for the top of a head. The pattern goes like this:
- Round 2: 2 dc in each stitch (24 stitches total)
- Round 3: *dc in next stitch, 2 dc in next stitch* repeat around (36 stitches)
- Round 4: *dc in next 2 stitches, 2 dc in next stitch* repeat around (48 stitches)
- Round 5: *dc in next 3 stitches, 2 dc in next stitch* repeat around (60 stitches)
You keep going like this, adding one more regular dc between increases each round. For an adult sized hat you usually need to get to about 72 or 84 stitches depending on head size. The circle should measure like 7 to 8 inches across.
One thing that really annoyed me was keeping track of where rounds started and ended. Like I’d lose my place and then have to count all the stitches again which is so tedious. That’s why the stitch marker matters even though I forget to use it half the time.
the straight sides part
Once your circle is the right size you stop increasing and just work even. This means you do one dc in each stitch around, no increases at all. This forms the sides of the hat that go down over your head.
For depth you want probably 5 to 6 inches of straight rows. I usually do like 12 to 15 rounds depending on how slouchy you want it. My sister wanted hers to fit snug so I only did 10 rounds but then she complained it was too tight so… you can’t win.
This part goes pretty fast honestly. Just round and round. I made one while watching that show Beef on Netflix, the whole straight sides section took like two episodes maybe? It’s kind of mindless which is nice.
the brim is where it gets tricky
Okay so the brim needs to flare out from the sides but not flare out so much that it looks like a lampshade or something. The key is gentle increases.
What I do is work the first brim round with increases every 8 or 9 stitches. So like *dc in next 8 stitches, 2 dc in next stitch* all the way around. Then the next round I increase every 10 stitches. Then every 12 stitches.
You want the brim to be about 2.5 to 3 inches wide. That’s usually 6 to 8 rounds depending on your tension and how much you’re increasing.
The annoying thing I discovered is that if you increase too much the brim gets wavy and floppy. If you don’t increase enough it curves up instead of out and looks more like a bowler hat which is not the vibe. I had to undo the brim on that first hat twice before I got it right and my sister was just sitting there drinking iced coffee being no help at all.
different stitch options for texture
You don’t have to use all double crochet. Some people do half double crochet for the whole thing which makes it a bit denser and sturdier. I tried that once with some I Love This Yarn from Hobby Lobby in a coral color and it was fine but took longer.
You can also do the brim in single crochet if you want it really firm and flat. Or alternate rows of dc and sc for texture. I saw someone do a brim in all slip stitches which looked cool and very structured but my hand hurt just thinking about it.
For a fun look you can do the crown in one color and switch colors for the sides and brim. I made one that was cream colored on top and then sage green for the rest using Paintbox Yarns Cotton DK doubled up, and it looked pretty good actually.
sizing issues and adjustments
So heads are all different sizes obviously. The measurements I gave work for like an average adult woman’s head which is about 22 to 23 inches around. For a smaller head or a kid you’d make a smaller starting circle, maybe only go to 60 stitches instead of 72.
For a bigger head you need to keep increasing the circle until it’s bigger. You can measure by holding it up to someone’s head if they’re around or just… I don’t know, measure a hat they already wear.
The straight sides can be adjusted too. If someone has a lot of hair they might need deeper sides. Or if they want it to sit high on their head make it shorter.
I made one for my friend who has really thick curly hair and I had to add like 5 extra rounds to the sides otherwise it just perched on top of her head looking ridiculous. She sent me a photo and I was like yeah that’s not gonna work, and I had to start over basically.
the floppy factor
Cotton yarn makes hats that are kind of floppy and casual which is good for summer. But if you want more structure you have a few options.
You can add a wire to the brim edge. Like actually just crochet over a piece of wire in the last round. I’ve never done this because it seems annoying but people say it works.
Or you can use a stiffer yarn. That Lily Sugar n Cream is pretty sturdy naturally. I tried making one with some soft bamboo blend yarn once and it was way too droopy, just collapsed on itself.
Some people starch their finished hats which… okay I guess if you want to do laundry chemicals on something you’re wearing on your head. I just accept the flop.
finishing the hat properly
When your brim is done you slip stitch to join the last round and fasten off. Leave a long tail for weaving in. Then you gotta weave in all your ends including the starting tail from the magic ring.
I always weave ends in as I go now because I learned the hard way that having like 5 ends to weave in at the end is miserable. My cat kept trying to attack the yarn tails while I was doing this on that first hat and I almost gave up entirely.
You can add a tie or chin strap if you want but honestly I never do. It’s a bucket hat not a bonnet. Although I guess if it’s really windy that would be smart or whatever.
variations and style changes
Once you know the basic construction you can mess around with it. I made one with granny squares for the crown which was cute but took way longer. You make like 6 or 7 squares and join them into a circle then continue from there.
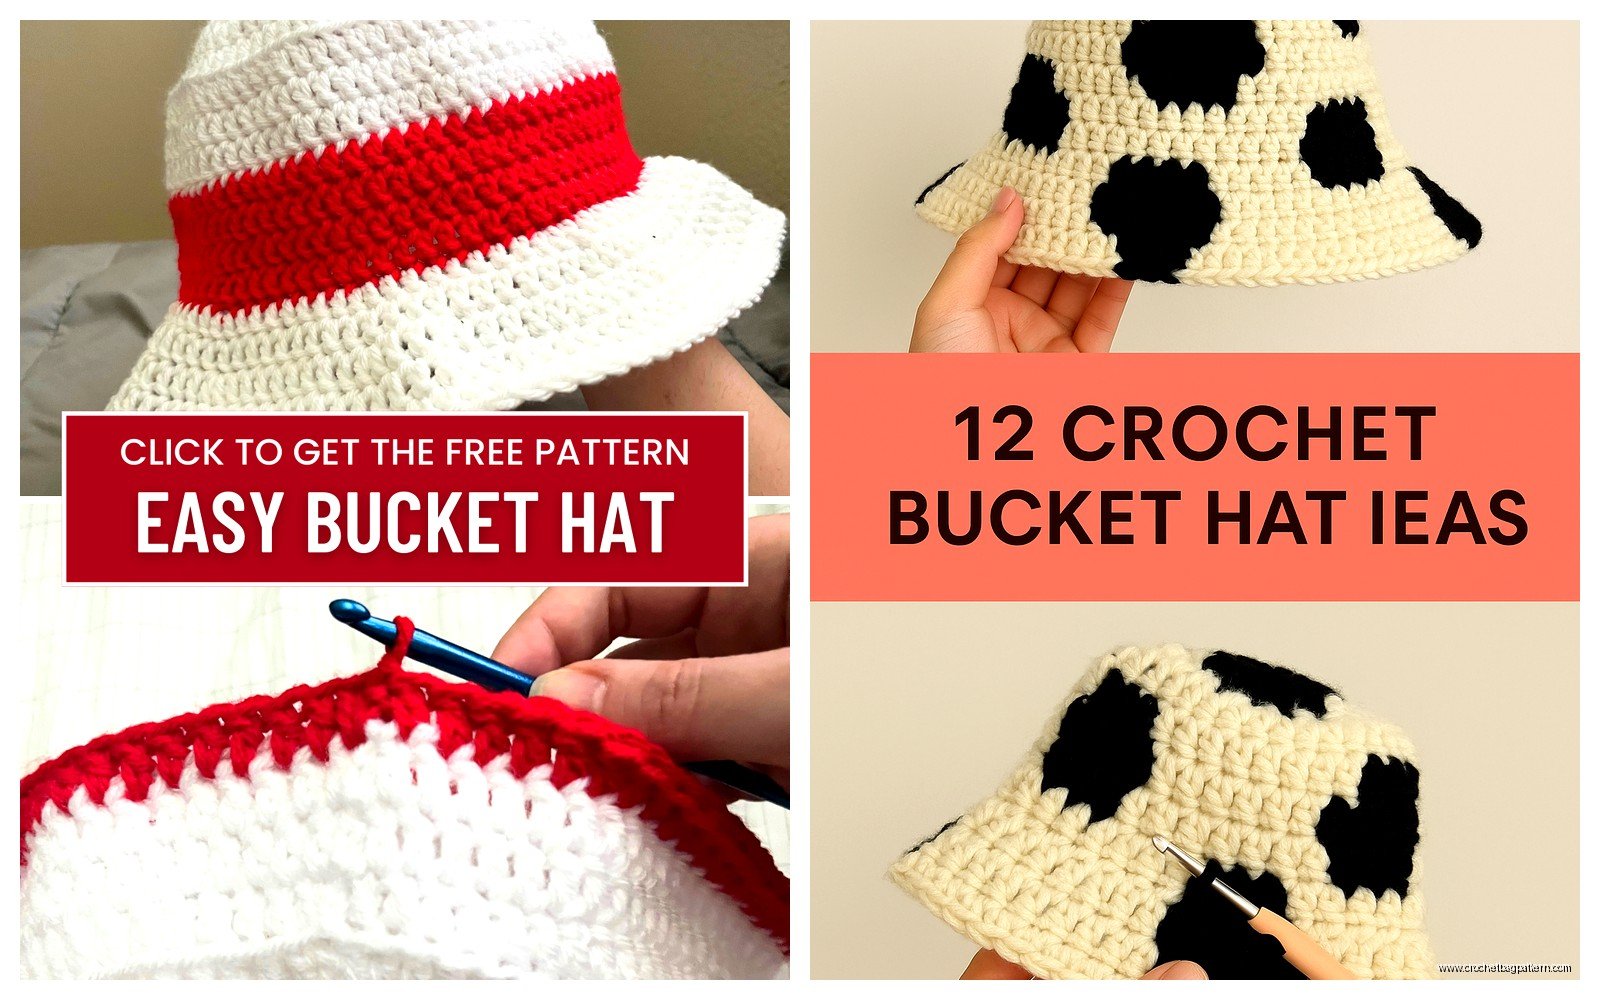
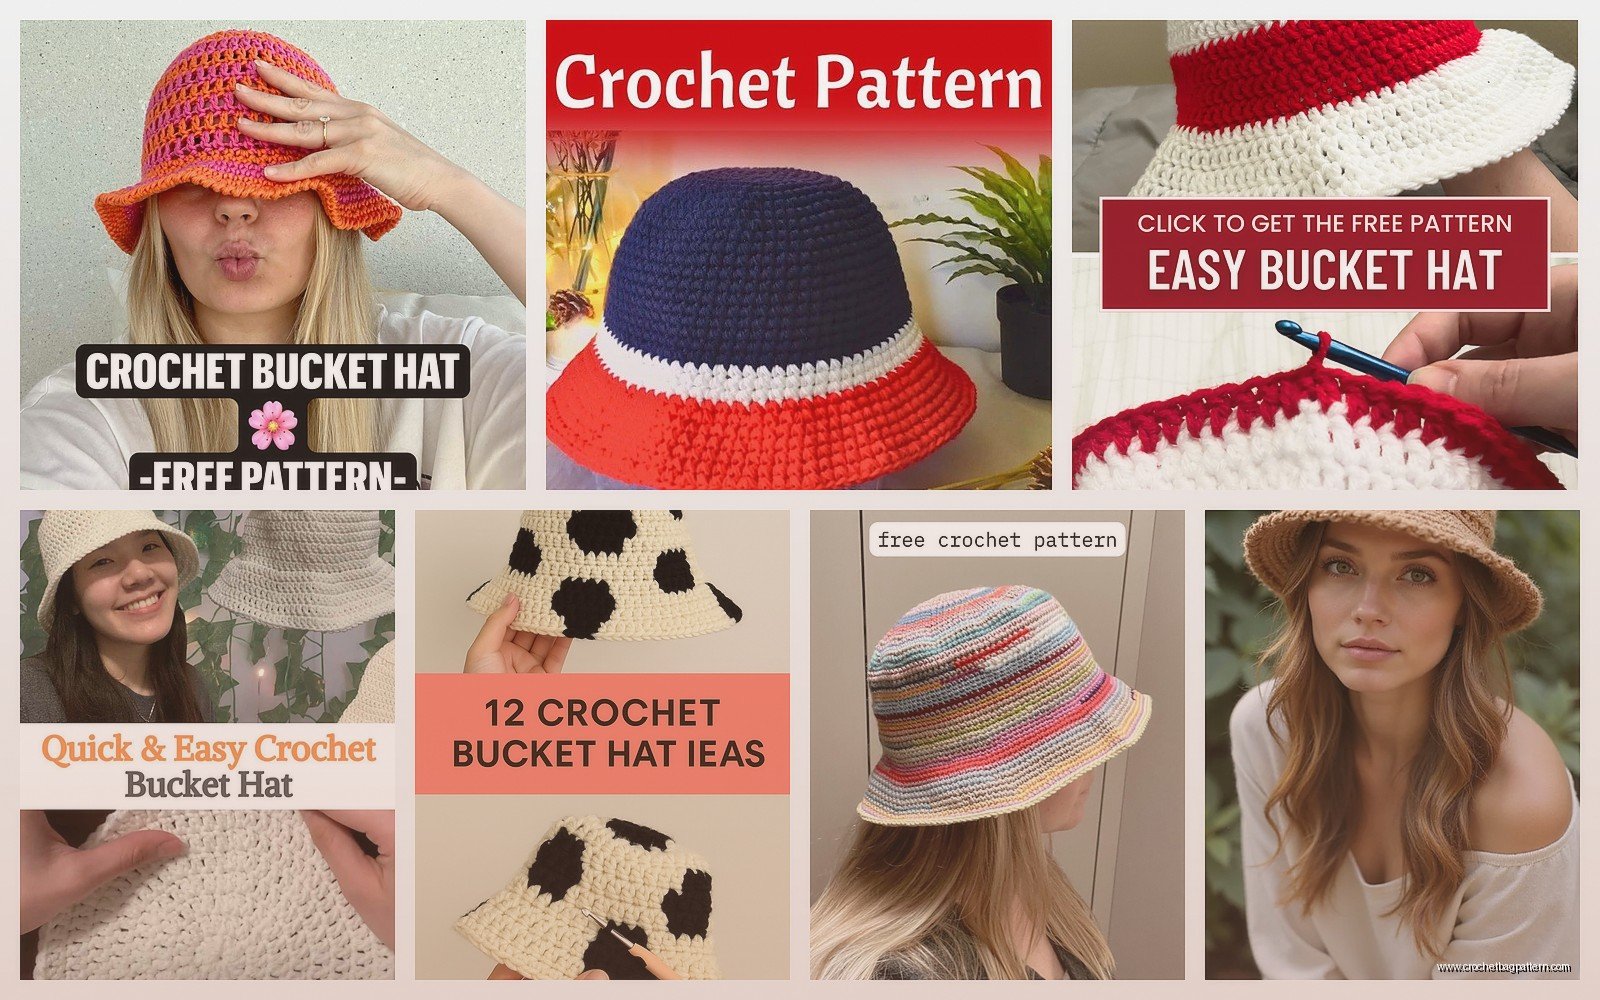
You can also do stripes which is easy, just change colors whenever. Or add a band around where the sides meet the brim using a different color or stitch pattern.
I’ve seen people add flowers or patches or embroidery to decorate them. Not really my thing but it looks good if you’re into that. You could also line the inside with fabric if you’re really ambitious and know how to sew, which I don’t.
There’s also reversible bucket hats where you make two and sew them together wrong sides facing. So you can flip it inside out and have two different colors. That seems like a lot of work though.
yarn amounts and time
For one adult bucket hat you need probably 200 to 300 yards of worsted weight cotton. That’s usually one big skein or two smaller ones. I always buy extra because running out of yarn partway through is the worst and then you have to try to match the dye lot or just accept that it’ll be slightly off.
Time wise it depends how fast you crochet and how distracted you get. I can make one in maybe 6 to 8 hours total? Spread over a few days usually. If you’re slower or just learning it might take longer. If you’re really fast and focused maybe less.
That first one I made at my sister’s house took me like three days because we kept doing other stuff and I had to redo the brim and also I didn’t really know what I was doing yet.
common problems people have
The circle not laying flat is a big one. Usually that means you’re increasing too much or too little. It should lay completely flat without ruffling or cupping up.
The sides being too tight or too loose happens a lot. You really need to check the fit as you go. Like try it on every few rounds if you’re making it for yourself.
Brim curling up instead of staying flat usually means not enough increases. Brim being too wavy means too many increases. It’s all about finding that balance and honestly it takes practice.
Uneven stitches can make the whole thing look sloppy. Try to keep consistent tension which is easier said than done. I still struggle with this especially when I’m tired or watching something really intense on TV where I’m not paying attention.
washing and care stuff
Cotton hats can be machine washed which is nice. I throw mine in with regular laundry on gentle cycle and lay flat to dry. Don’t put it in the dryer or it might shrink or get weird shaped.
If it gets misshapen you can wet it and reshape it and let it dry flat. Or block it with pins if you’re fancy but again I never do that.
The colors might fade over time especially if you wear it outside a lot which makes sense. That seafoam green one I made first is now more of a pale mint color after two summers of use.
who actually wears these
I made like five bucket hats that summer of 2022 and gave most of them away. My sister obviously got the first one. Then I made one for my coworker who was going on vacation. Made two for myself in different colors.
They’re actually pretty practical for summer if you’re gonna be outside. Beach, hiking, gardening, whatever. Better than those visors that don’t protect your head at all or baseball caps that only shade your face.
Some people think bucket hats look dorky but honestly who cares. They’re functional and you made it yourself which is cool even if it’s not perfect.
I wore mine to a music festival last summer and got so many compliments and people asking where I bought it. Felt pretty good to say I made it myself even though the brim was slightly uneven if you looked closely.
Anyway that’s basically how you make a crochet bucket hat. Start with a circle, work straight sides, add a flared brim. Use cotton yarn and a 5mm hook probably. Don’t overthink it too much because you can always adjust as you go or make another one if the first one doesn’t turn out great. I’ve made probably ten of them by now and they still aren’t always perfect but they work fine and keep the sun off your head which is the whole point really.