
Apr
okay so bucket hats
I made my first one in June 2023 when I was visiting my sister and she kept complaining about not having a beach hat and I was like well I have yarn in my bag so here we go. Used Lion Brand 24/7 Cotton in this cream color because it was what I had, and honestly that yarn worked out pretty well for a hat even though it’s kinda splitty sometimes.
The basic idea is you’re making a circle for the top, then straight sides for the part that goes around your head, then a brim that flops down. It’s really just three sections but the brim part is where people mess up because you gotta increase at the right rate or it either sticks straight out like a frisbee or doesn’t have enough flop.
Starting the Crown
So you start with a magic ring. If you don’t know how to do that just youtube it real quick, but basically it’s a loop you can tighten. Chain 2, then do 10 double crochet into the ring. Pull it tight. Slip stitch to join.
Then you’re gonna increase every round until the circle is big enough to cover the top of someone’s head. The formula I use is:
- Round 2: 2 dc in each stitch around (20 stitches)
- Round 3: *2 dc in first st, 1 dc in next st* repeat (30 stitches)
- Round 4: *2 dc in first st, 1 dc in next 2 sts* repeat (40 stitches)
- Round 5: *2 dc in first st, 1 dc in next 3 sts* repeat (50 stitches)
You keep going like that, adding one more single dc between increases each round. For an adult hat you usually need to get to like 60-70 stitches depending on the yarn weight. I was using a 5mm hook with the Lion Brand cotton which is worsted weight basically.
The annoying thing about this whole process was measuring it on someone’s head while you’re working because you can’t really try it on yourself properly and see if it fits. My sister kept getting yarn fuzz in her hair and complaining about it.
The Sides Part
Once your circle is wide enough—like measure it, should be about 7-8 inches across for adults—you stop increasing and just work even. This means you’re doing 1 dc in every stitch around, no increases, no decreases. Just going in circles.
This part is actually boring but easy. I usually do this while watching TV or whatever. That summer I was rewatching The Office for like the millionth time and got through maybe four episodes just doing the sides of that hat.
You want the sides to be about 3-4 inches tall. Could be taller if you want more of a slouchy look but then it’s not really a bucket hat anymore it’s more like a regular beanie. For the classic bucket hat shape keep it shorter. I did like 12 rounds of straight double crochet which gave me about 3.5 inches.

The Brim Is Where It Gets Tricky
Okay so this is the part that took me three tries to get right the first time I ever made a bucket hat. The brim needs to increase but not too much. If you increase too fast it ruffles and looks weird. If you don’t increase enough it pulls in and won’t lay flat.
What worked for me was increasing every 5th or 6th stitch. So like:
Brim Round 1: *1 dc in next 5 sts, 2 dc in next st* repeat around
Brim Round 2: *1 dc in next 6 sts, 2 dc in next st* repeat around
Brim Round 3: *1 dc in next 7 sts, 2 dc in next st* repeat around
You want the brim to be wide enough to actually shade your face but not so wide that it’s floppy and ridiculous. I usually do 5-6 rounds for the brim which makes it about 2-3 inches wide. You can go wider if you want that really dramatic look but then it’s harder to pack in a bag.
Yarn Choices That Actually Matter
Cotton is honestly the best for summer hats because it breathes and doesn’t make your head sweaty. I’ve used:
- Lion Brand 24/7 Cotton (good, affordable, lots of colors)
- Lily Sugar’n Cream (works but it’s thinner so you need a smaller hook and more rounds)
- Paintbox Yarns Cotton DK (this was nice, softer than Lion Brand)
- Some random acrylic once and I hated it, way too hot
The Paintbox one I used in spring 2024 to make a hat for myself in this dusty rose color and it turned out really soft and nice. But it was also more expensive and I’m not sure it was worth the extra money honestly.
Don’t use wool. Just don’t. I mean you can if you want a winter bucket hat I guess but that seems like a weird choice.
Sizing Issues
Here’s something nobody tells you—bucket hats stretch. Especially cotton ones. So if you make it to fit perfectly when it’s fresh off the hook, it’s gonna be too big after someone wears it a few times. I learned this the hard way with that first hat for my sister. She wore it to the beach and by the end of the day it was sliding down over her eyes.
Now I make them slightly smaller than I think they should be. Like maybe half an inch smaller in diameter on the crown part. The sides will stretch out to fit and then it stays put better.
Also people’s heads are different sizes and you’d think that’s obvious but it really hits you when you’re trying to make hats for people. My head is on the smaller side so the measurements I use don’t always work for someone with a bigger head or lots of thick hair.
Different Stitch Options
You don’t have to use double crochet for everything. I usually do because it works up fast and has a nice texture, but you can switch it up:
Half double crochet makes a tighter, sturdier fabric. Good if you want the hat to hold its shape more. Takes longer though.
Single crochet is even tighter and denser. I did this once and it was fine but took forever and my hand cramped up. Wouldn’t recommend unless you really want that super structured look.
Mixed stitches can be cool for texture. Like alternating rounds of hdc and dc, or doing a round of single crochet between double crochet rounds. I made one with a checkerboard pattern once using… I think it was just dc and front post dc alternating and it looked interesting but was kind of a pain to keep track of.
Color Work and Stripes
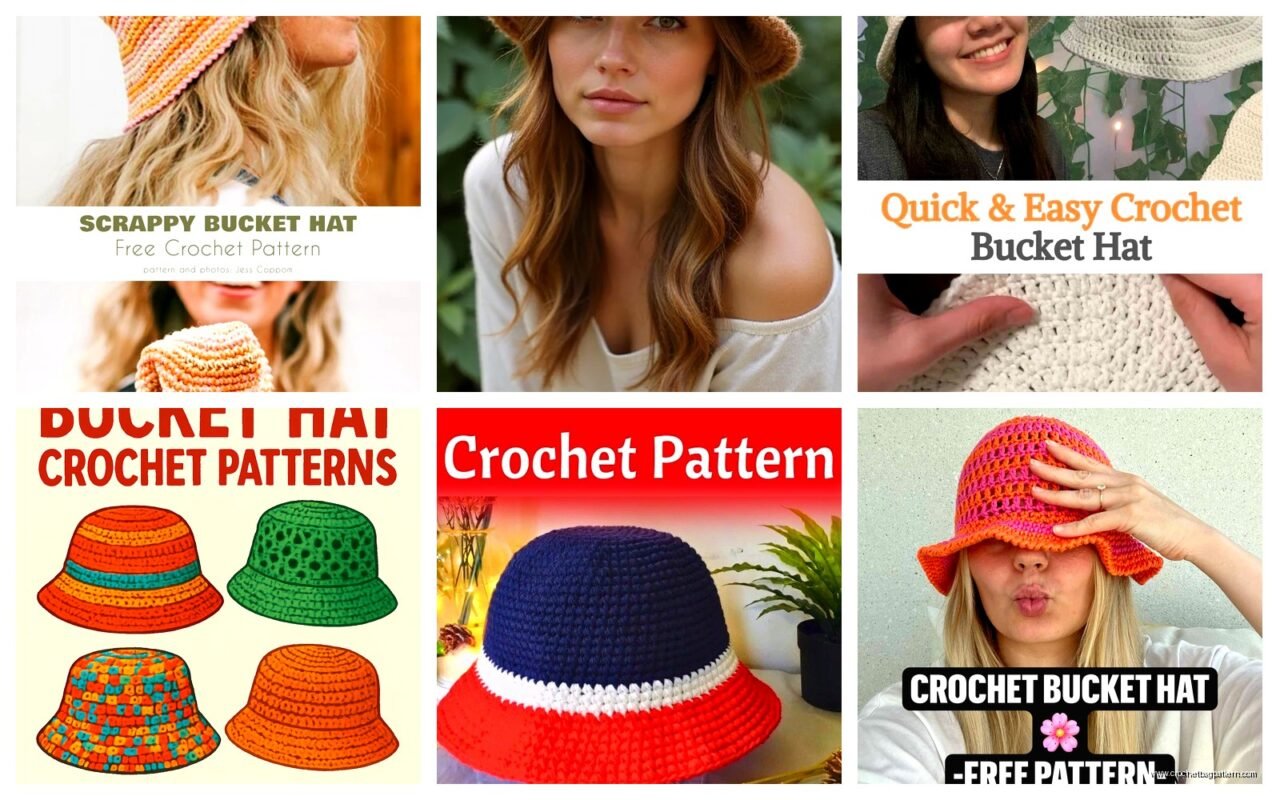
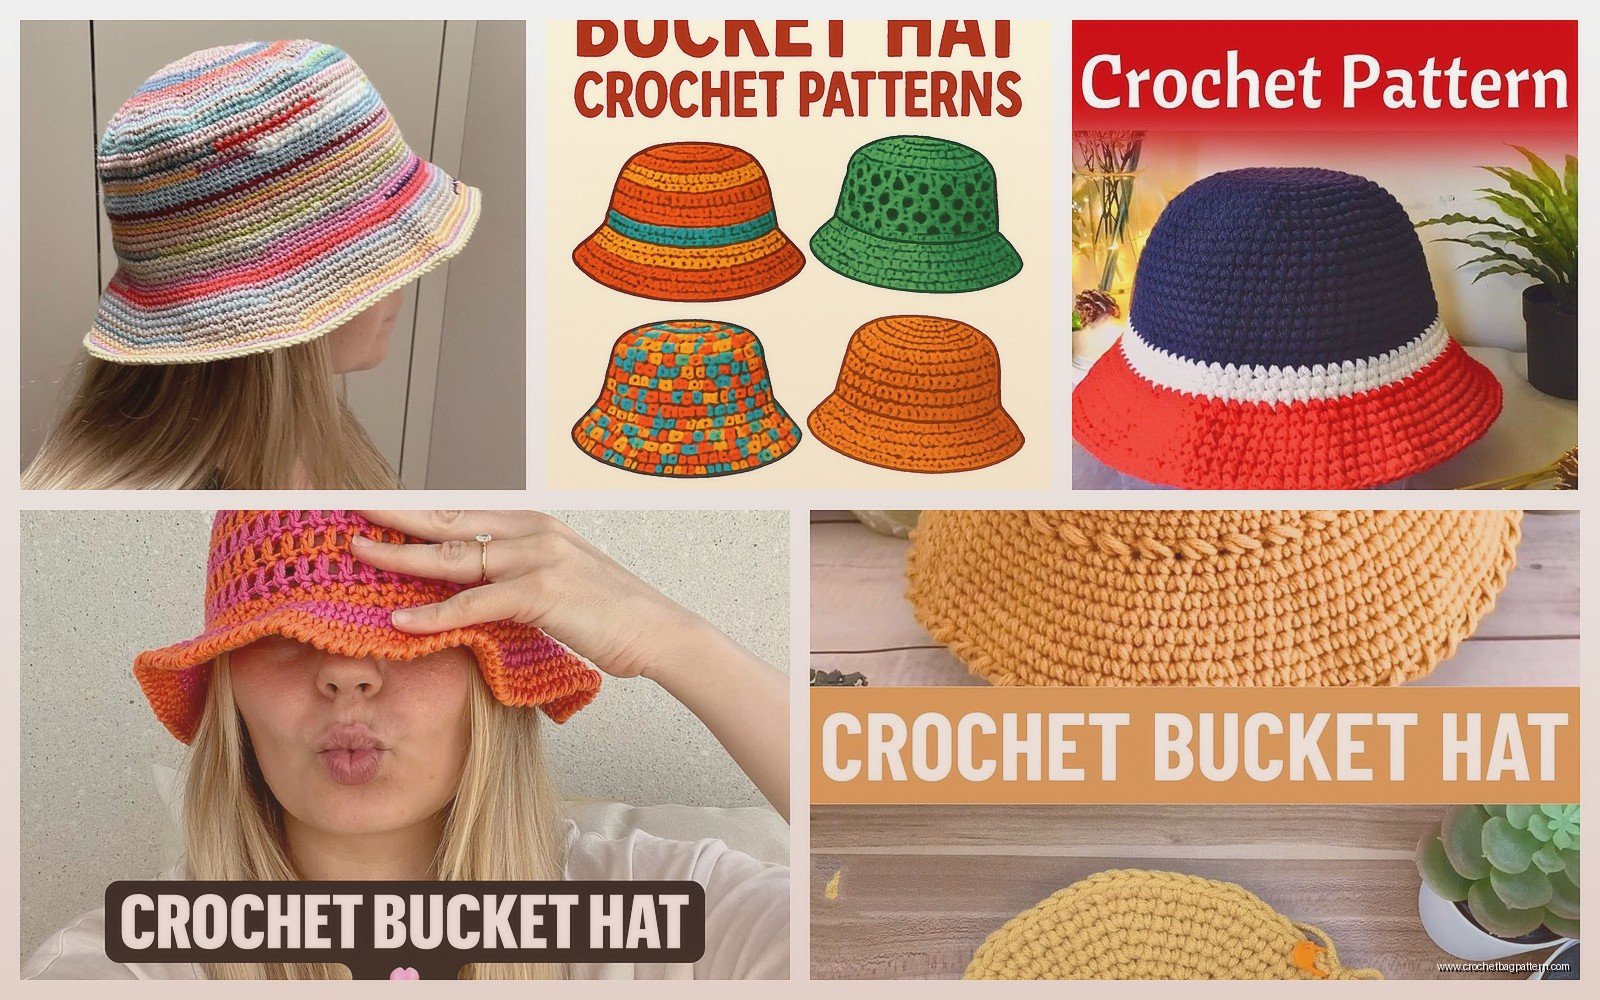
Stripes are easy and look good. Just change colors at the end of a round. I made a navy and white striped one that looked very nautical and basic but people loved it.
For stripes you gotta carry the yarn up the side or cut it and weave in ends. I usually carry it if the stripes are narrow like every 2 rounds. If they’re wider I cut and rejoin because carrying makes a bumpy line up the side that bugs me.
You could also do color blocking where the crown is one color, sides another, brim another. That looks pretty modern and cool. Haven’t tried that yet but it’s on my list.
Finishing the Thing
When your brim is as wide as you want it, just slip stitch to join, fasten off, weave in your ends. That’s it. The end is kinda anticlimactic honestly.
I usually block my hats by getting them damp and putting them on a bowl or something round that’s about head-sized. Let it dry like that so it holds the shape. Dinner plates work for this too if you don’t have a head-shaped form sitting around which like, why would you.
Some people add a drawstring to the inside so you can tighten it to fit better but I’ve never bothered. Seems like extra work and I’m gonna lose the drawstring anyway.
What Actually Annoyed Me
The thing that annoyed me most was the counting. You have to count your stitches basically every round to make sure you’re increasing at the right rate and I always lose count. I’ll be at like stitch 43 and my cat jumps on my lap—her name is Pepper and she always wants attention right when I’m in the middle of something—and then I have to start over counting.
Stitch markers help but I forget to use them half the time. The locking kind are better than the ring kind for this because you can move them as you go.
Also the beginning chain-2 thing, I hate that. Some patterns say chain 3 counts as first dc but then you have this gap that looks bad. Chain 2 doesn’t count as a stitch but then your join looks weird. I’ve started just doing a standing dc to start rounds instead and it looks cleaner but took me years to learn that technique.
Variations I’ve Tried
Made one with a rolled brim once where instead of making the brim flat you make it longer and it naturally rolls up. That was interesting but didn’t really look like a bucket hat anymore, more like a beanie.
Also tried making one in a mesh stitch for more airflow and that was actually really nice for hot weather. Used a bigger hook and a more open stitch pattern. Only problem is your scalp can sunburn through it if you’re not careful, learned that one the hard way.
There’s also reversible bucket hats where you make two and seam them together wrong sides facing so you can flip it inside out and have two different colors. Haven’t tried that yet because it seems like it would be really thick and hot but maybe with a lightweight cotton…
Time Investment
A basic bucket hat takes me like 4-5 hours maybe? Depends on how distracted I am. Could probably do it faster if I really focused but who does that. I usually spread it over a few days, work on it here and there.
The first one always takes longer because you’re figuring out the pattern and checking measurements constantly. After you’ve made a few you can kinda zone out and just go.
Practical Wearing Stuff
Cotton bucket hats are machine washable which is great. I throw mine in a mesh bag and wash on gentle, then reshape and air dry. They hold up pretty well. The Lion Brand 24/7 Cotton one my sister has is like two years old now and still looks decent even though she wears it constantly.
They pack flat which is nice for travel. Just fold it and stuff it in your bag. It’ll reshape when you put it on.
Wind is your enemy though. These things fly off your head if there’s any breeze. Some people add a chin strap or cord but that looks kinda dorky in my opinion. I just accept that I’m gonna be chasing my hat down the beach sometimes.
Gifting Them
Bucket hats make good gifts because they’re practical and trendy right now. Made like six of them last summer for various people. The problem is you gotta know their head size and preferred colors and sometimes people say they like something but then never wear it and you see it sitting in their closet and it’s like okay cool thanks.
Best to make them for people who specifically ask for one. My sister’s friend saw hers and wanted one in black and that one actually gets worn because she specifically requested it.
Price-wise the yarn costs like 6-8 dollars and it takes a few hours so if you were selling them you’d need to charge at least 30-40 dollars to make it worth your time but people don’t wanna pay that much for a handmade hat usually. They’d rather buy a cheap one from Target for 15 bucks even though it’ll fall apart in three months.
Pattern Adjustments for Kids
Kids hats are basically the same but smaller. Start with fewer stitches in the magic ring, maybe 8 instead of 10. Don’t increase the crown as much, stop at like 50 stitches instead of 70. Make the sides shorter, like 2 inches instead of 3-4.
Kids also have big heads relative to their body size which is weird. A toddler hat isn’t that much smaller than an adult one honestly.
Made one for my niece last year and she wore it exactly once for a photo and then refused to wear hats ever again because she’s three and has opinions about everything. So that was a good use of my time.
Other Random Tips
If your tension is loose the hat will be too big and floppy. If it’s tight it’ll be too small and stiff. Try to stay consistent with your tension throughout.
Joining rounds invisibly makes it look more professional but I honestly can’t be bothered most of the time. The seam line doesn’t show that much when someone’s wearing it.
You can add embellishments like patches or embroidery but keep it simple. Too much stuff and it weighs down the brim and looks messy.
Using a lighter weight yarn means more rounds and more time but a more delicate finished product. Bulky yarn works up fast but can look chunky. Worsted is the sweet spot for me.
That’s pretty much it. Make the circle, make the tube, make the brim. Don’t overthink it. First one might be wonky but by the third one you’ll have it figured out.