
Apr
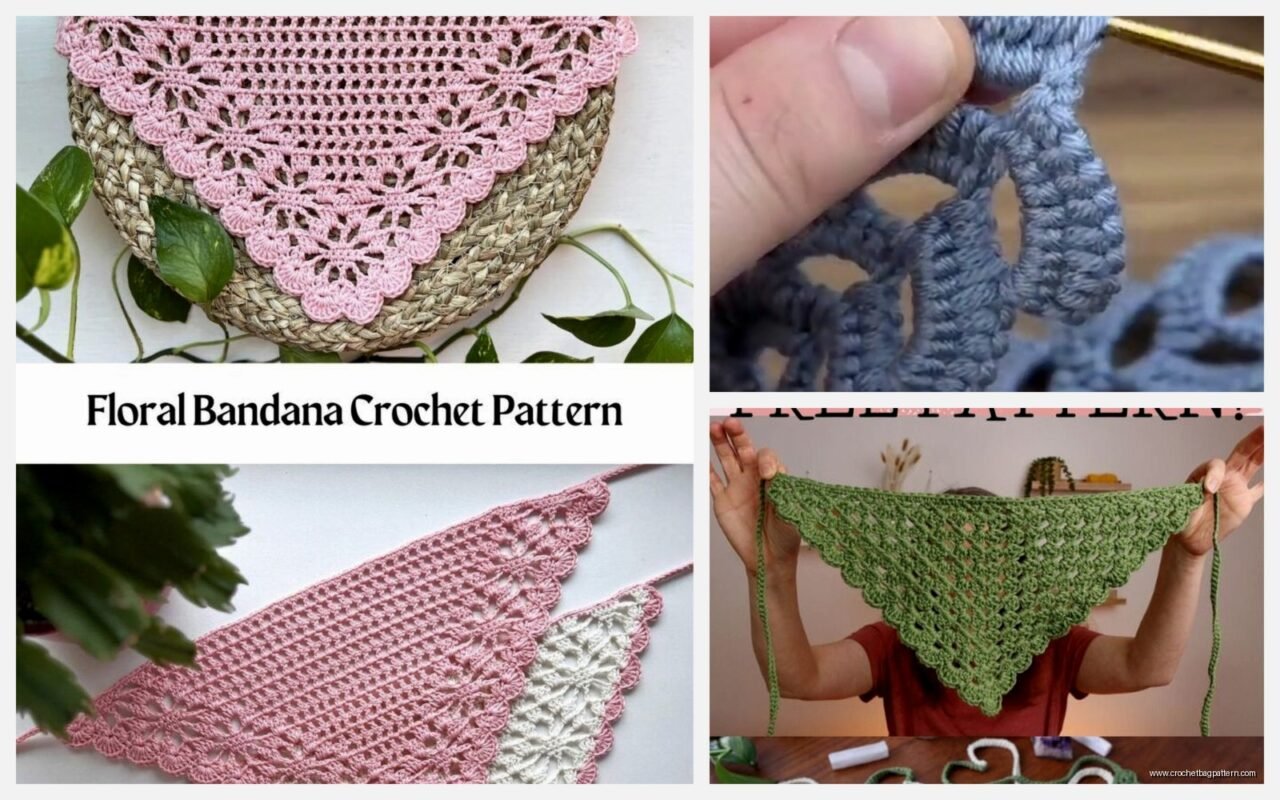
So you wanna make a crochet bandana
Okay so last spring I made like three of these because I was going through this whole phase where I kept burning my neck in the sun and regular bandanas from the store just felt too stiff. Started with the basic triangle pattern because honestly that’s the easiest way to make a bandana and you don’t have to think too much about shaping.
The triangle method is literally just increase rows until it’s big enough. I used Red Heart Super Saver in that “Cherry Red” color for my first one, worked a chain of like 4 stitches, then just kept adding stitches on each end every row. The annoying thing though was figuring out how long to actually make it because everyone’s head is different and also it depends if you’re tying it in back or on the side or whatever.
Basic triangle bandana pattern
Start with a chain 4. Then:
- Row 1: Turn, skip first chain, single crochet in next 3 chains
- Row 2: Chain 1, turn, 2 sc in first stitch, sc across until last stitch, 2 sc in last stitch
- Keep repeating row 2 until your triangle is wide enough
For me that was like 40 rows? Maybe 45? I wasn’t really counting because I kept trying it on my head while watching The Bear and my cat kept sitting on the working yarn which was super helpful obviously.
The width you want depends on how you’re gonna wear it. If it’s going on your head as a headscarf you need it wider than if it’s just a neck thing. I measured against my head from like ear to ear across my forehead and that gave me a decent size. Probably around 22 inches wide at the longest edge.
The neck kerchief version
This one’s smaller and honestly faster. Same principle but you stop earlier. I made one in summer 2024 using Caron Simply Soft in “Bone” which sounds weird but it was this nice cream color and it was for wearing with dresses and trying to look more put-together than I actually am.
For a neckerchief you only need like 16-18 inches at the widest part. Goes way faster. The thing that annoyed me SO MUCH about this project was that Simply Soft yarn is kinda slippery so my tension was all over the place. Some rows were tight, some were loose, and you could totally see it in the finished piece. Still wore it though because I spent like 4 hours on it and wasn’t gonna just throw it away.
Oh and if you use a bigger hook it works up faster but looks more holey. I used a 5.5mm hook (I think that’s a US I hook?) for most of mine. Smaller hooks make it denser which is better for sun protection if that’s what you’re going for.
The granny square method that actually works
Okay so there’s also this method where you make it from granny squares but arrange them in a triangle shape. Saw this on someone’s Instagram and tried it in like March with some Lion Brand Pound of Love in grey because I had a ton left over from a blanket.
You make a bunch of squares (I did 3-round granny squares, so they were pretty small), then arrange them like:
- Top row: 1 square
- Second row: 2 squares
- Third row: 3 squares
- Fourth row: 4 squares
Then join them as you go or sew them together after. I used the join-as-you-go method on the last round of each square which is supposed to be faster but honestly I always mess up and forget which side I’m joining to. The pattern gets confusing when you’re working in the round and also trying to connect to another piece at the same time.
This method looks really cool though because you get that visible granny square texture and if you use different colors it’s got this whole patchwork vibe. But it takes longer than just doing the triangle increases. Probably took me like 6 hours total? Versus maybe 3-4 for a regular triangle.
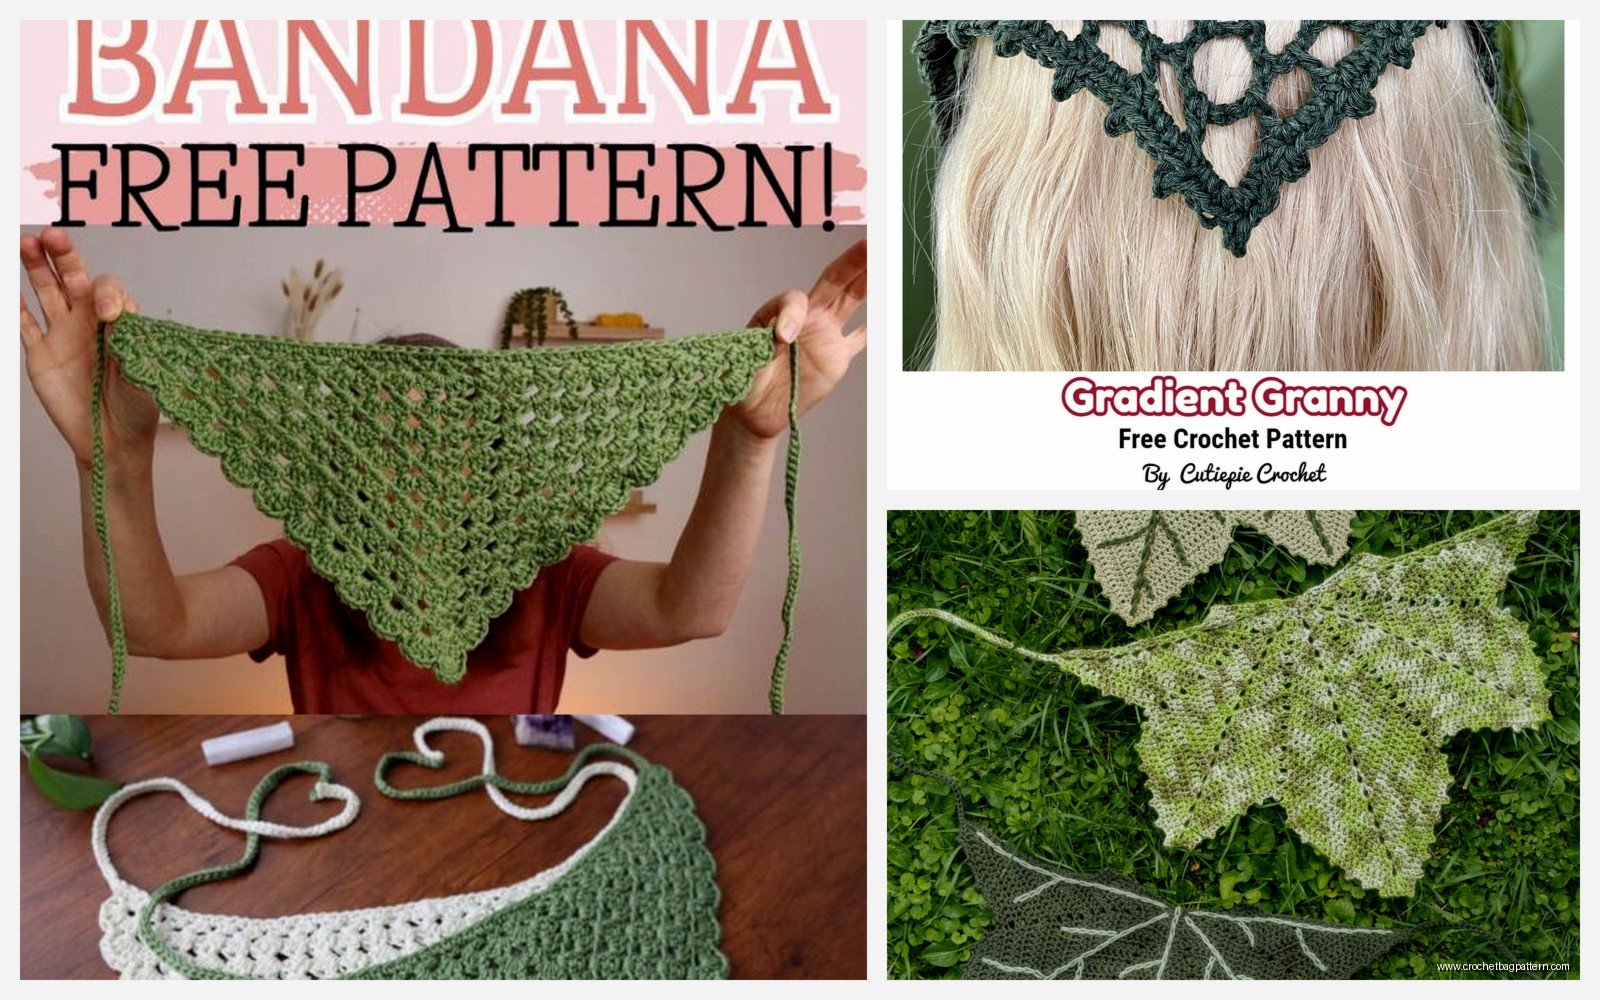
Ties and closures
So the two pointy ends of your triangle are what you tie with. Some people just leave them as is but they can be kinda thick and awkward to tie. What I do is add a chain on each corner.
When you finish your last row, don’t cut the yarn. Chain like 40-50 stitches (or longer if you want), then slip stitch back into the corner where you started. Cut yarn and weave in the end. Then attach yarn to the other corner and do the same thing.
These chains make it way easier to tie and you can do a bow or just a knot or whatever. The first time I did this I made the chains too short and could barely tie them and it just sat on top of my head weird instead of actually staying on.
You can also do i-cord ties if you know how to do those but honestly chains are faster and work fine.
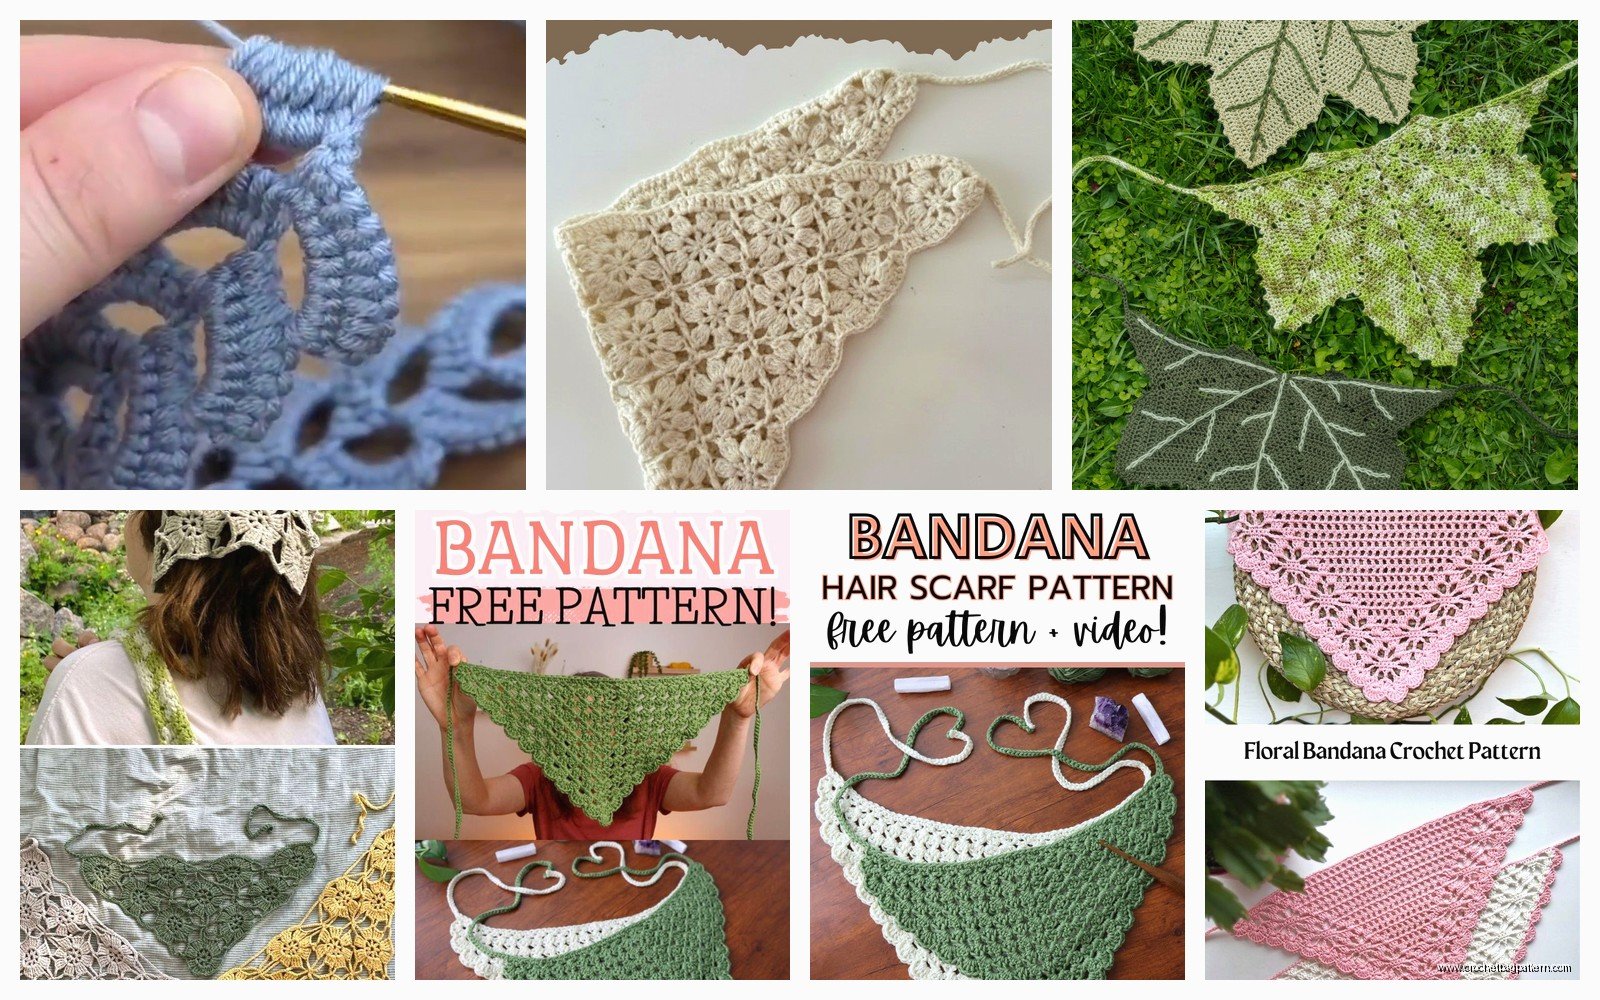
Stitch patterns that aren’t just single crochet
Single crochet is boring even though it works. I’ve also done these with:
Half double crochet: Works up faster, has a nice texture, still pretty dense. Good for headscarves because it’s got some structure. Used this with some Hobby Lobby I Love This Yarn in teal and it came out nice. That yarn’s cheap and kinda squeaky but it holds up okay.
Moss stitch: That alternating sc and chain 1 pattern. Looks textured and interesting but it’s more holey so not great for sun protection. Made one like this for a friend and she uses it as a neck thing with tank tops. It’s got a lacey vibe without being actually lace.
V-stitch: The dc, chain 1, dc in same stitch pattern. This makes it really drapey and soft. Works good for the neckerchief style because it falls nicely. But it uses more yarn because double crochets eat up yarn like crazy.
The thing about using different stitches is you gotta adjust your starting chain and increase pattern. Like with half double crochet you might start with chain 5 or 6 instead of chain 4. And with v-stitch you’re increasing differently because or wait, you’re still increasing on the ends but the middle fills in different because of the… you know what just try it and see what happens. That’s how I figure out most things anyway.
Sizing adjustments for different heads
I made one for my friend who has really thick hair and she needed it bigger. Instead of stopping at like 22 inches I went to almost 26 inches wide. Took forever but she actually wears it so that’s cool.
For kids you can make them smaller obviously. My neighbor’s daughter wanted one and I made it probably 16 inches wide and it fit her fine. She was like 8 years old I think?
The length from the long edge to the point also matters. If you want more coverage on your neck or the back of your head, keep going with more rows even after you hit your width. Like once you’re at 22 inches wide, do another 10-15 rows. It’ll make the triangle longer and pointier and give you more fabric to work with.
What actually annoyed me most
The worst part about making these is that you can’t really see how it’s gonna look until it’s pretty far along. Like with a scarf or a blanket you can see the pattern developing but with a bandana it’s this weird triangle shape while you’re working on it and you can’t really tell if the proportions are right.
I made one that I thought was gonna be perfect and when I finished it and tried it on it was too wide and too short. Just sat on my head like a weird flat hat. Had to add like 20 more rows to the point to make it actually wearable. So annoying because I thought I was done and then I wasn’t.
Also weaving in ends on triangles is weirdly annoying because there’s not a lot of stitches to weave through on those corner points. The ends always want to pop out.
Yarn choices that worked and didn’t work
Cotton yarn is probably best for these because they sit against your skin and cotton breathes. I used Lily Sugar’n Cream for one and it was fine but kinda stiff at first. Got softer after washing though.
Acrylic works and it’s cheaper. The Red Heart Super Saver one I mentioned is still holding up after like two years. It’s been washed a million times and hasn’t fallen apart or anything.
I tried making one with this fancy merino wool blend because I thought it would be soft and nice but it was TOO soft and stretchy. Lost its shape after wearing it once and just looked saggy. Wool also gets hot which defeats the purpose of wearing a bandana in summer.
Bamboo yarn could be good? Haven’t tried it but it’s supposed to be breathable. Might be worth experimenting with.
The folded rectangle method
Oh yeah there’s also this way where you just crochet a rectangle and then fold it in half diagonally to make a triangle. This is actually pretty smart because rectangles are easier to keep track of size-wise.
You’d make a rectangle that’s like… I dunno, maybe 24 inches by 24 inches? Then fold it corner to corner and you’ve got your triangle. You can sew the open edges together if you want or just leave it as a fold.
Haven’t actually done this myself because by the time I learned about it I’d already made like five bandanas the regular triangle way but it seems like it would work. The advantage is you could make it reversible with different colors on each side or whatever.
Adding details or whatever
Some people add fringe to the long edge. You can do that by cutting lengths of yarn and attaching them with a lark’s head knot. Makes it look more boho or festival-y or however you wanna describe that vibe.
Tassels on the corner points are another option instead of chain ties. Make a tassel and attach it to each corner then tie the tassels together. Looks cute but kinda impractical because tassels get tangled.
You could also edge the whole thing with a border. Like single crochet around all three edges to make it neater and more finished-looking. I did this on one and it definitely looked more polished but it added another 30 minutes to the project.
Stripes are easy to add, just change colors every few rows. Did one with alternating rows of white and navy blue using Red Heart Super Saver again and it looked very nautical. Very “I’m going sailing even though I’ve never been on a boat.”
How to actually wear these things
For a headscarf you fold the long edge over like an inch or so to make a band, put that across your forehead, and tie the corners at the back of your neck or up on top of your head. The point hangs down in back.
For a neckerchief you fold it with the point in front and tie the corners behind your neck. Or point in back and tie in front. Whatever looks better with your outfit.
You can also wear it as a top if you’re brave and it’s big enough. Tie it around your chest halter-style. Haven’t personally done this because I don’t have the confidence but I’ve seen people do it and it looks cool.
The ties can go over or under your hair depending on what holds better. Under usually stays on better but over looks nicer if you’ve got your hair down.
Honestly just mess around with different ways of tying and folding it. There’s probably like 15 different ways to wear a triangle scarf and I don’t know most of them but you can figure it out.
Washing and care
These are small enough that they’re easy to wash. I just throw mine in with regular laundry in a mesh bag so they don’t get stretched out. The acrylic ones can go in the dryer but the cotton ones I usually air dry because they can shrink a little.
If you used fancy yarn or multiple colors that might bleed, hand wash it first separately. Learned that the hard way with a red and white one where the red bled into the white and it looked pink and weird.
They don’t really need blocking or anything unless you’re super picky about shape. The triangle shape kinda maintains itself.
Store them folded or rolled up. I keep mine in a drawer with my regular bandanas and grab whichever one matches what I’m wearing. The crochet ones are definitely thicker than store-bought ones so they take up more space but whatever.
If you make one with a loose stitch pattern it might snag on stuff. The moss stitch one I made got caught on my earring once and pulled out a stitch. Had to repair it which was annoying but not hard, just wove some yarn through to close the hole.