
Apr
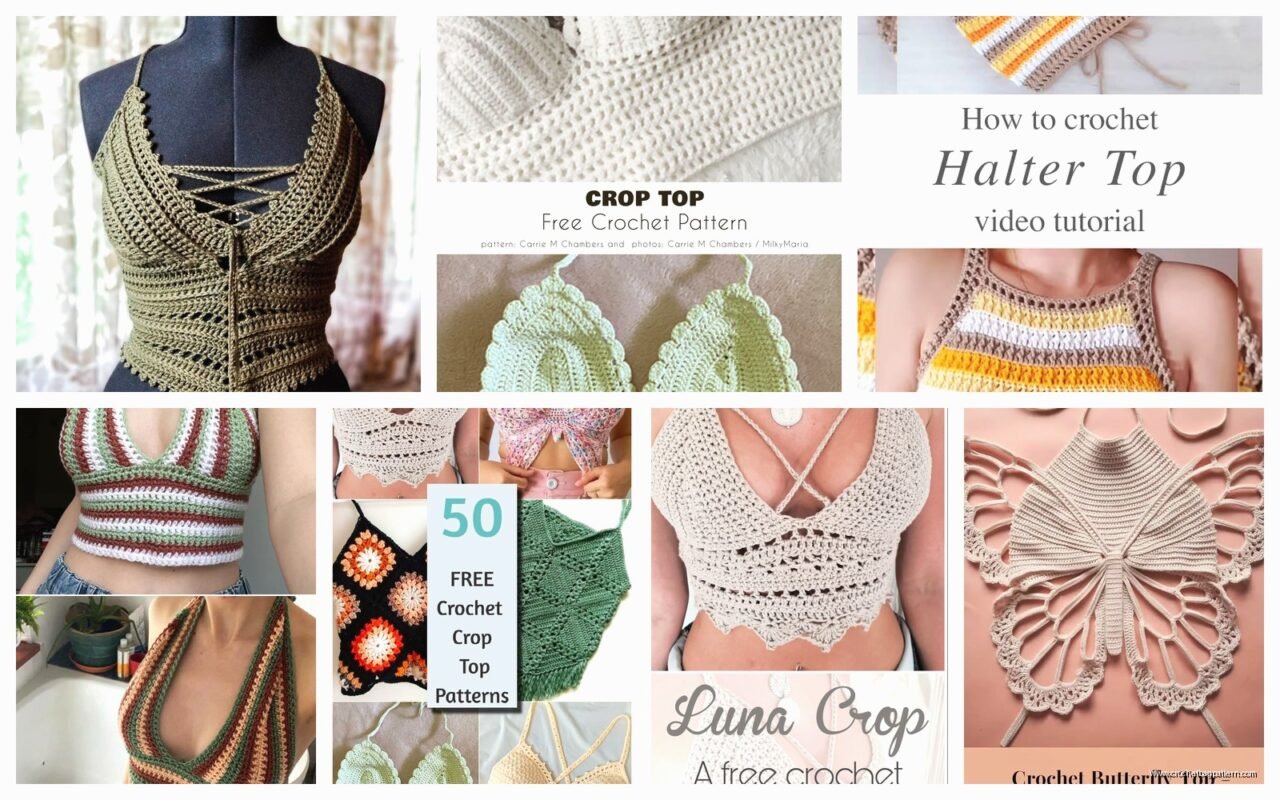
okay so you wanna make a crochet crop top
So last summer, like July 2024, I decided I needed a crop top because literally everything in stores was either polyester garbage or $80 and I was watching Love Island while starting this project which was probably a mistake because I kept losing count. But anyway, crop tops are actually way easier than you’d think if you just break it down into basic shapes.
First thing – gauge matters but also kinda doesn’t? Like, for a crop top you’re not making a structured sweater so if it’s a bit off it’s whatever. But you do need to measure yourself. Bust, underbust, and how long you want it. I made mine about 14 inches long which hits right at my natural waist. Some people like them shorter but then you’re gonna have the riding up situation which is annoying.
Yarn choices that actually worked
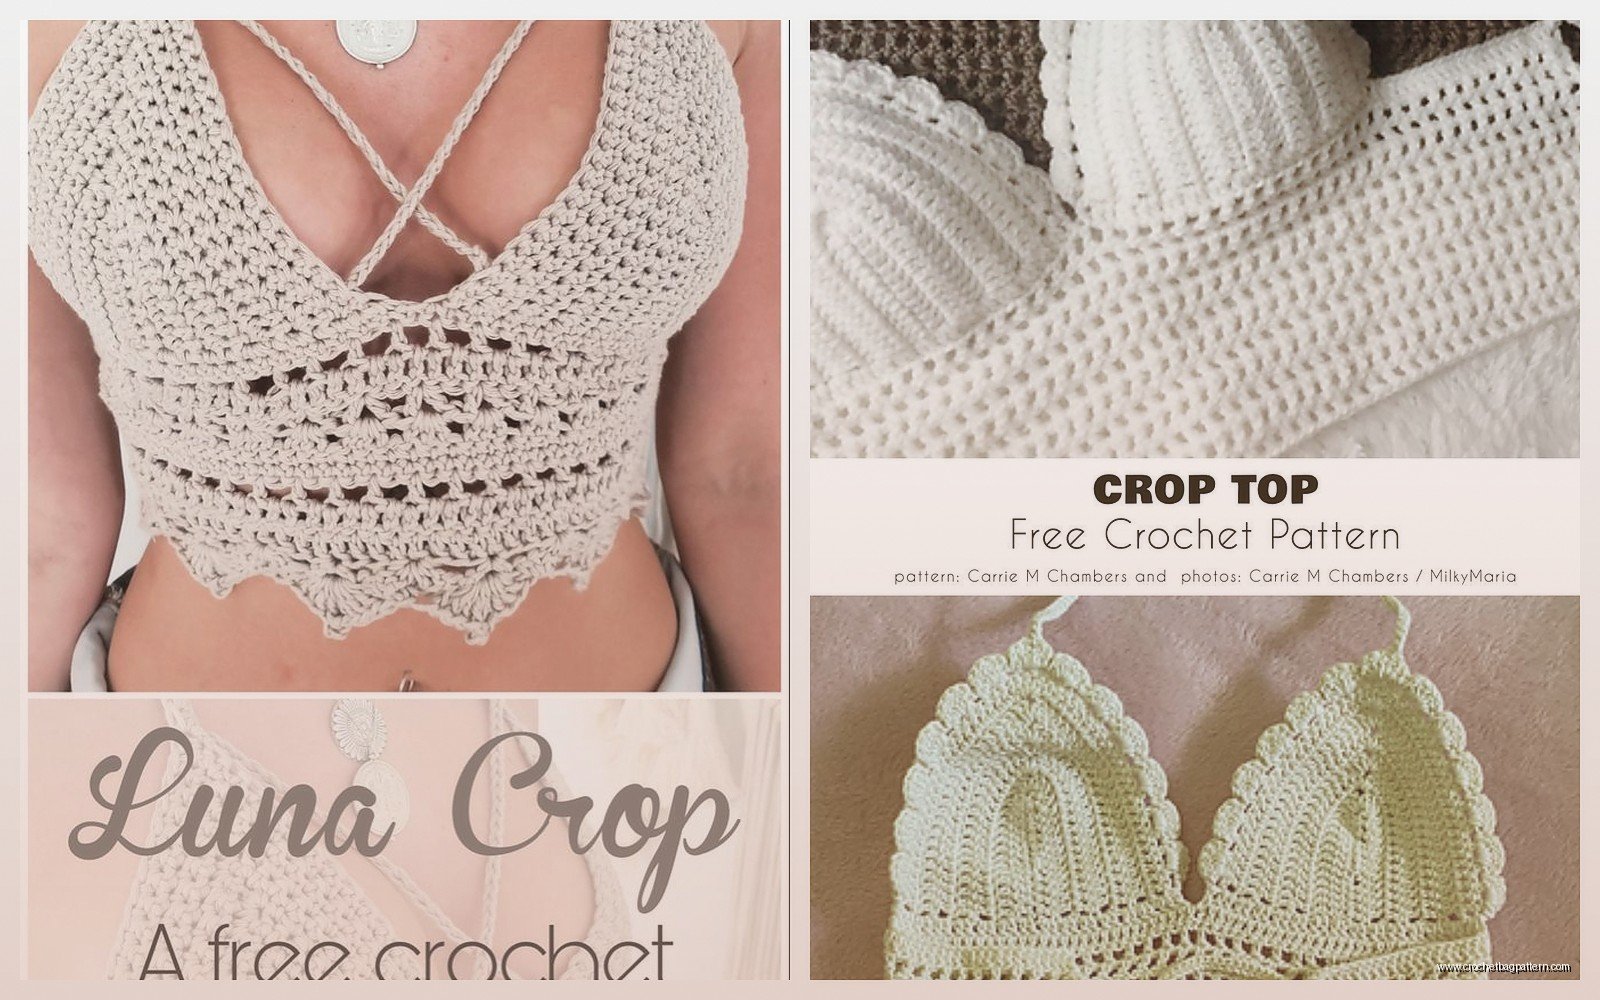
I used Lion Brand 24/7 Cotton for my first one and honestly it was perfect. It’s that DK weight cotton that doesn’t stretch out weird in the heat and it’s machine washable which is like, essential for summer tops. The color selection is decent too. I did mine in this sage green color called Sage.
My friend used Lily Sugar’n Cream but that’s more of a worsted weight and it came out kinda stiff? It softened after washing but the drape wasn’t great. If you want something with more flow, go for a lighter weight. I also tried Hobbii’s Summer Cotton which is a sport weight and that made a really nice drapey top but took forever because smaller yarn means more stitches obviously.
For hooks I used a 4mm (G hook) with the Lion Brand cotton. You want something that gives you a fabric that’s not too holey because nobody needs that much ventilation, but also not super dense because it’s summer and you’re gonna sweat.
the basic construction approach
There’s like three main ways to make these. You can do it in panels (front and back separately then seam), you can do it in the round from the bottom up, or you can do it top-down. I’ve done all three and honestly the bottom-up in the round is easiest for beginners.
Start with a foundation chain that goes around your underbust measurement plus like 2 inches for ease. You don’t want it skin tight. Join it into a round with a slip stitch. Then you’re basically just gonna work in rounds going up until you hit the bust.
The stitch pattern matters less than you think. I did mine in half double crochet because it works up fast and has nice texture. You could do double crochet for more drape, or even a simple mesh stitch if you want it more… I dunno, beachy? My second one I did a shell stitch pattern which looked cute but was way more time consuming.
dealing with the bust area
Okay so this is where it gets slightly complicated but not really. When you get to where your bust starts, you need to either split for armholes or do some increases. I split mine – basically you work flat across the front, chain some stitches for the armhole gap, skip a section, then continue across the back.
For the front, if you want it to actually fit your chest, you gotta do some shaping. I added increases on either side of the center front every other row for like 4-6 rows depending on your cup size. This gives it that slight curve so it’s not just a straight tube that gaps weird at the top.
The thing that annoyed me SO MUCH was figuring out the straps. I made them too thin the first time and they kept sliding off my shoulders. Then I made them too thick and it looked clunky. You want them probably about 1.5 inches wide. I just did simple chains and then worked back and forth in half double crochet to make straps, attached them to the front and back. Some patterns tell you to crochet them directly onto the top but I found it easier to make them separately and sew them on so you can adjust the length.
specific measurements that worked for me
I’m gonna give you my numbers but obviously adjust for your body. My underbust is 32 inches so I made a foundation chain of about 100 stitches (with the Lion Brand cotton and G hook that gave me the right circumference). Worked in rounds of hdc for about 6 inches, then split for armholes.
For the armhole, I skipped 20 stitches on each side. That left me with 30 stitches for the front and 30 for the back. Worked the front flat, adding 2 increases (one on each side) every other row for 4 rows. Then straight for another 3 inches. Did the back the same but without the increases since your back is flatter.
Straps were 25 chains long, worked back in hdc to make them about 1.5 inches wide and 12 inches long. Adjust the length by trying it on before you sew them permanently.
the edges and finishing
Do a border around the top edge and armholes or it’ll look unfinished and probably curl. I did a simple single crochet border, just one round. Some people do a crab stitch border which looks nice but is fiddly. The bottom edge I left as-is since the foundation chain was already clean looking.
Weave in your ends properly because cotton shows everything. I use a yarn needle and go back and forth a few times, then trim close. My cat kept trying to attack the yarn tails while I was weaving them in which added like 20 minutes to the process.
variations I’ve tried
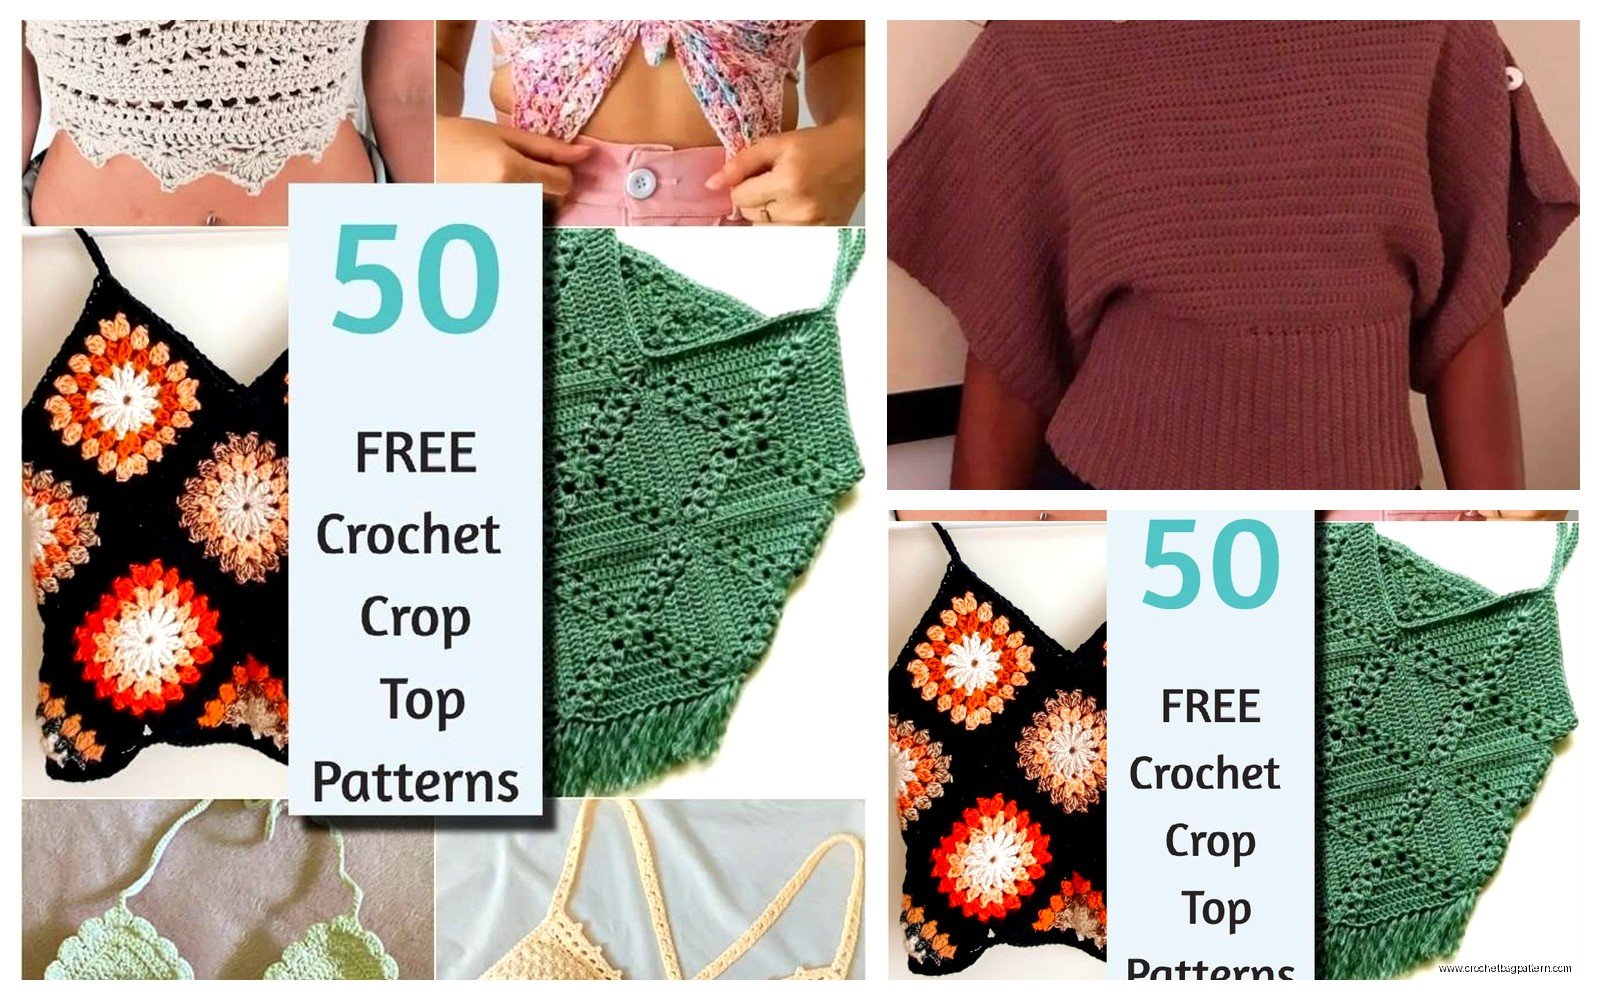
After the basic one worked, I got ambitious. Made one with a mesh panel down the center front which looked cool but was not supportive at all, definitely needed a bralette under it. That one I used Paintbox Yarns Cotton DK in mustard yellow.
Did another one with a tie-front instead of straps going over the shoulders – like halter style ties that go around your neck. That one’s cute but gives you neck pain after wearing it for a few hours, just FYI. The construction is basically the same but instead of straps you make longer ties, probably 20-24 inches each, and attach them to the top corners of the front panel.
I also made one that was more of a bralette style, super cropped, just covering the chest area. That was literally just two triangles with straps and a band. Way faster to make, took maybe 3 hours total. Used Bernat Handicrafter Cotton for that one in hot pink because why not.
what to wear it with
High waisted jeans obviously. Or those linen pants that are everywhere now. I wore mine with a denim skirt and it was cute. You probably want something high-waisted though or you’re gonna have a weird gap of skin that’s not quite a full outfit.
Layer it over a sports bra or bralette if you made it with a looser stitch pattern or if you need more support. The cotton ones I made are thick enough to wear alone but everyone’s different about that.
troubleshooting stuff that went wrong for me
First attempt the armholes were too small and I couldn’t get my arms through comfortably. Had to rip back and skip more stitches. Start with bigger armholes than you think, you can always make them smaller but adding fabric back is annoying.
The length was tricky to get right. I made one that ended up being like 11 inches long and it was too short, looked weird with everything. 13-15 inches seems to be the sweet spot for most people. Try it on as you go, that’s the benefit of working bottom-up.
Tension consistency matters more for tops than like, a blanket or whatever. If your tension varies a lot you’ll get weird puckering or waviness. I had to really focus on keeping it even which was hard while watching TV honestly.
Washing the first time was nerve-wracking but the cotton held up fine. I did a delicate cycle in cold water and laid it flat to dry. It didn’t shrink or stretch out. Some people hand wash but I’m not doing that for a casual summer top.
time investment
The basic one took me probably 8-10 hours total? I’m not a super fast crocheter though. If you can crank through rows quickly maybe 6 hours. The fancy ones with complex stitch patterns took longer, more like 12-15 hours. Still way less time than a full sweater.
I worked on mine over like a week, couple hours each evening. You could definitely finish one in a weekend if you had a whole Saturday free or something.
sizing considerations
The nice thing about making your own is you can customize exactly. If you’re between sizes in store-bought clothes or have specific fit issues, this solves that. I’m petite so most crop tops are too long on me anyway, being able to make it exactly 14 inches was perfect.
For larger bust sizes you’re gonna need more increases in the front panel. Maybe add an extra row or two of increases, or space them differently. I’d recommend making a small swatch of your stitch pattern, measuring it, and doing the math for how many stitches you need for your measurements. Or just wing it and try it on frequently as you work.
The stretch factor – cotton doesn’t have much stretch so make sure you’re accounting for that. If you used acrylic it would stretch more over time but also would be hot and gross for summer. Stick with natural fibers for warm weather stuff.
making adjustments mid-project
Don’t be afraid to rip back if something’s not working. I ripped back the armhole section twice on my first one because it wasn’t sitting right. It’s annoying but better than finishing something you won’t wear.
You can also adjust as you go – if you try it on and the bust area is too loose, just decrease a few stitches evenly across that round. Too tight, add some. That’s the benefit of working bottom-up, you can modify on the fly.
I changed my strap attachment points halfway through because they were too far apart and kept sliding. Just took out the few stitches where I’d sewn them, moved them closer to center, and resewed. Not a big deal.
pattern vs no pattern
I didn’t use a specific pattern for mine, just kind of figured it out based on basic top construction principles. But if you want a pattern, there are tons on Ravelry and Etsy. Look for ones with good reviews that mention fit issues or solutions. Some patterns are written terribly and you’ll be more confused than if you just winged it.
The benefit of a pattern is the designer hopefully worked out the shaping and proportions already. The downside is it might not fit your body exactly. I find it easier to just understand the basic concept and adjust as needed for myself but everyone’s different.
cost breakdown
The Lion Brand cotton is like $7-8 a skein and you need probably 2-3 skeins depending on size and length. So under $25 for materials. Way cheaper than buying a decent crop top, plus you made it yourself which feels cool.
Hook you probably already have or can get for like $3. Yarn needle for finishing, couple bucks if you don’t have one. Stitch markers help but aren’t essential.
So yeah, that’s basically how I approach crochet crop tops. Start simple with a basic tube shape, add some shaping for the bust, attach straps, and you’re done. Don’t overthink it too much or you’ll get stuck in planning mode forever. Just start chaining and see what happens, you can always adjust or start over if it’s really bad.