
Apr
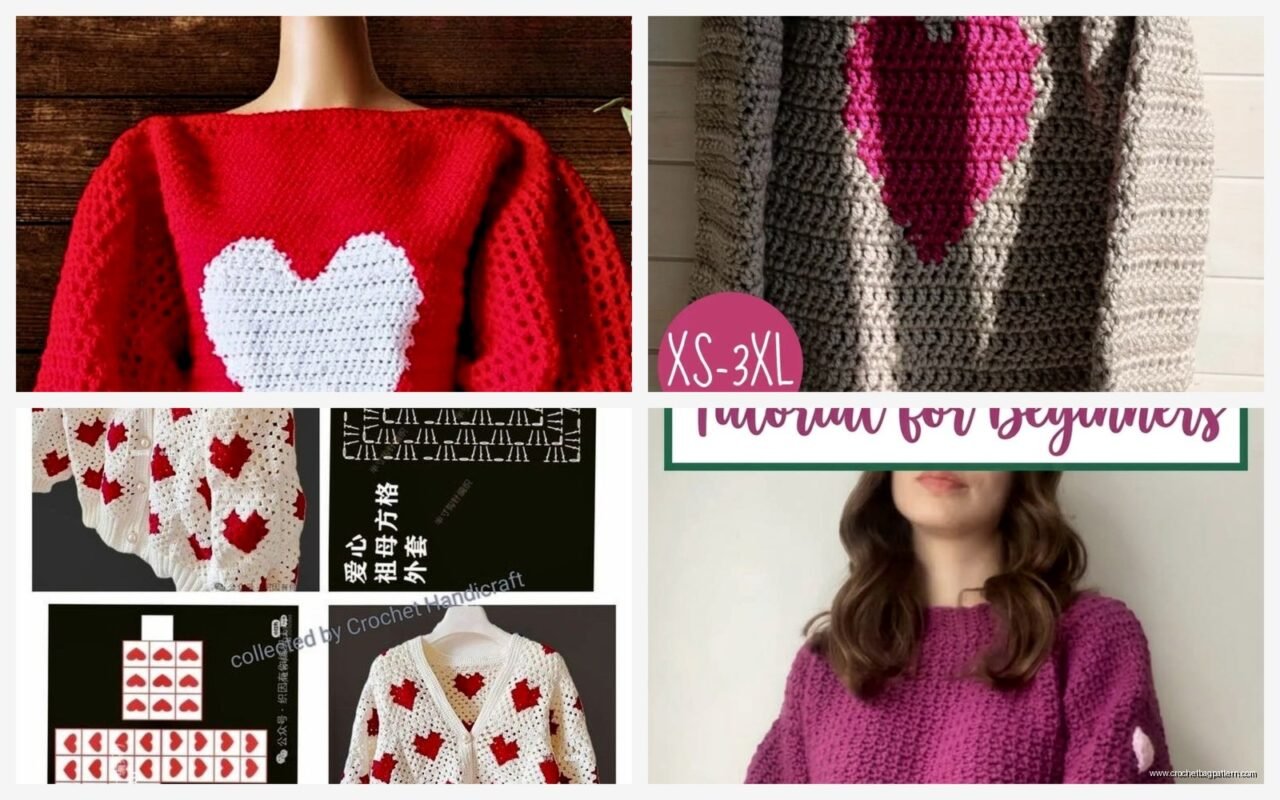
okay so heart sweater patterns
I made one of these in February 2023 right before Valentine‘s Day because my niece kept sending me pictures of those $80 heart sweaters from Urban Outfitters and I was like absolutely not, I can make that. Took me about three weeks working on it while watching The Last of Us episodes which probably wasn’t the vibe for a cutesy heart sweater but whatever.
The thing about heart sweater patterns is they’re actually way easier than they look if you just think of them as a basic pullover with colorwork. You don’t need some fancy complicated pattern. I used Red Heart Super Saver in Soft White for the main color because yeah it’s acrylic and people are gonna judge but it’s like $4 a skein and machine washable which matters when you’re making something for a 19 year old who definitely isn’t hand washing anything.
Getting Your Gauge Right
So first thing – and this annoyed me SO much about the process – you gotta actually do a gauge swatch. I know everyone says to do it but I usually skip it and just wing it, but with a sweater that has a specific design placement you really can’t. I learned this the hard way because my first attempt the hearts ended up way too low, like basically at belly button level instead of chest level where they’re supposed to be.
Make a swatch that’s at least 4 inches by 4 inches. Use whatever hook size gets you a fabric that’s not too stiff but also not too drapey. I ended up with a 5.5mm hook even though the yarn label said 6mm. Count your stitches and rows per inch. Write it down somewhere you won’t lose it because you’ll need those numbers.
Measuring and Planning
Measure around the fullest part of your chest or whoever you’re making it for. Add like 2-4 inches for ease depending on if you want it fitted or slouchy. I did 3 inches of ease. Then measure from shoulder to wherever you want the hem to hit. For me that was about 22 inches for a cropped look.
Here’s where the math comes in and honestly this part is just tedious but necessary. Take your chest measurement plus ease and multiply by your stitches per inch. That’s how many stitches you need around the whole body. I rounded mine to the nearest even number to make it easier.
The Actual Construction
I worked mine bottom up in the round which is just easier for colorwork because you’re always looking at the right side. Cast on your total stitch count and join in the round. Mark your beginning of round.
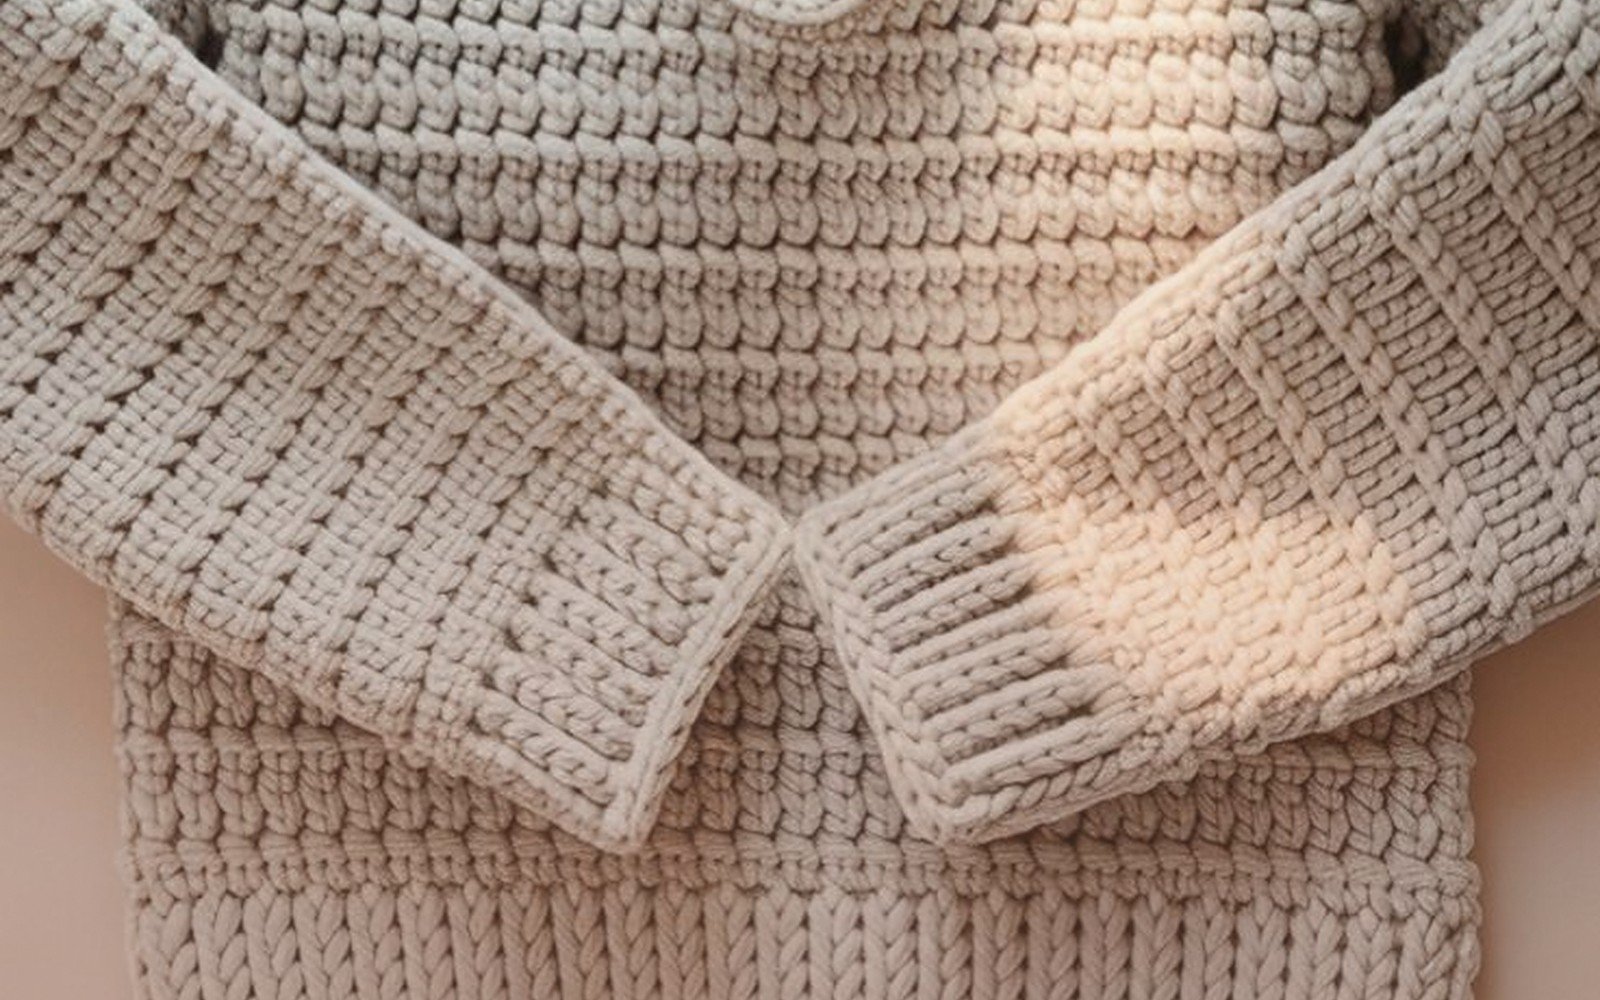
Do ribbing first – I did single crochet in the back loop only for about 2 inches. It’s stretchy enough and looks clean. Then switch to whatever stitch you want for the body. I used half double crochet because it works up faster than single crochet but doesn’t have the holes that double crochet has.
Where to Put the Hearts
This is the part where you gotta plan. The hearts should sit roughly where your actual chest is, maybe slightly higher than you think. I placed mine starting about 8 inches up from the bottom hem. For a standard sweater you probably want two hearts, one on each side of center front.
I freehanded my heart shapes using Caron Simply Soft in Strawberry which is a really nice pink that doesn’t look too bright or too pastel. Each heart was about 4 inches wide and 3.5 inches tall. You can find basic heart shape charts online or just kind of make it up as you go – start with a few stitches, increase on the sides to make it wider, then split it and decrease each side separately for the top curves.
The colorwork technique I used was just carrying the yarn behind when not in use. With only two colors and relatively small motifs it doesn’t create too much bulk. Some people do intarsia with separate balls of yarn for each color section but that seems like more trouble than it’s worth for something this simple.
Splitting for Armholes
Once you get to armhole height – for me that was about 14 inches from the bottom – you stop working in the round. Divide your stitches in half for front and back. Work them flat separately from this point.
I did not add any armhole shaping because the sweater was meant to be boxy and oversized. If you want it more fitted you’d decrease a few stitches at the beginning of the armhole on each side. Maybe like 2-3 stitches on each edge.
Work the front and back until they’re about 7-8 inches from the armhole split, or whatever length gets you to shoulder height. My cat kept trying to lay on the sweater pieces while I was working on this which was annoying because her fur would get stuck in the stitches.
Shoulders and Neck
For the shoulders I just did a simple seam – crocheted them together with slip stitches. You could also do a three-needle bind off type thing or just sew them with a yarn needle.
The neckline is where it gets slightly tricky. I marked off the center front stitches – about 6 inches worth – and left those unworked. Then I worked each shoulder section separately, decreasing one stitch at the neck edge every row for about 3 rows to shape it. On the back I just left a straight edge because it’s easier and you can’t really see it anyway.
After the shoulders were seamed I went back and added a neck trim. Just single crochet around the whole neck opening, then did one more round of reverse single crochet to give it a finished edge. You could do ribbing here too if you want it to look more polished.
Sleeves Are Optional But
I made short sleeves because it was for February and she lives in Texas where it doesn’t actually get that cold. Picked up stitches around the armhole opening – I think I did like 50 stitches around each one but this depends on your size.
Worked in the round going down the arm. Did straight half double crochet for about 4 inches then added a ribbed cuff. If you want long sleeves just keep going until you reach wrist length, and you might want to decrease gradually as you go down so they’re not super wide at the wrists.
Honestly you could also just leave it sleeveless and have a vest situation which would actually be kinda cute too. The heart design works either way.
Yarn Amounts
I used about 5 skeins of the white Red Heart Super Saver and maybe half a skein of the pink Caron Simply Soft. This was for a size medium, roughly 38 inch bust with ease. If you’re making something bigger or with long sleeves you’ll need more obviously.
One thing I’d do differently is maybe use Wool-Ease instead of Super Saver because even though Super Saver is cheap it does have that slightly plasticky feel that some people don’t like. Wool-Ease is still machine washable but feels a bit nicer. It’s like $7 a skein though so depends on your budget.
The Annoying Parts
Besides the gauge swatch thing I mentioned, the most annoying part was definitely weaving in all the ends from the colorwork. Every time you start or stop a color you’ve got ends to deal with. I had probably 20 ends to weave in by the time I was done and it took forever. I did it while watching TV but still, it’s tedious.
Also the hearts can look wonky if you’re not careful with tension. My left heart came out slightly bigger than my right one and I didn’t notice until I was done. It’s not super obvious when someone’s wearing it but I know it’s there and it bugs me.
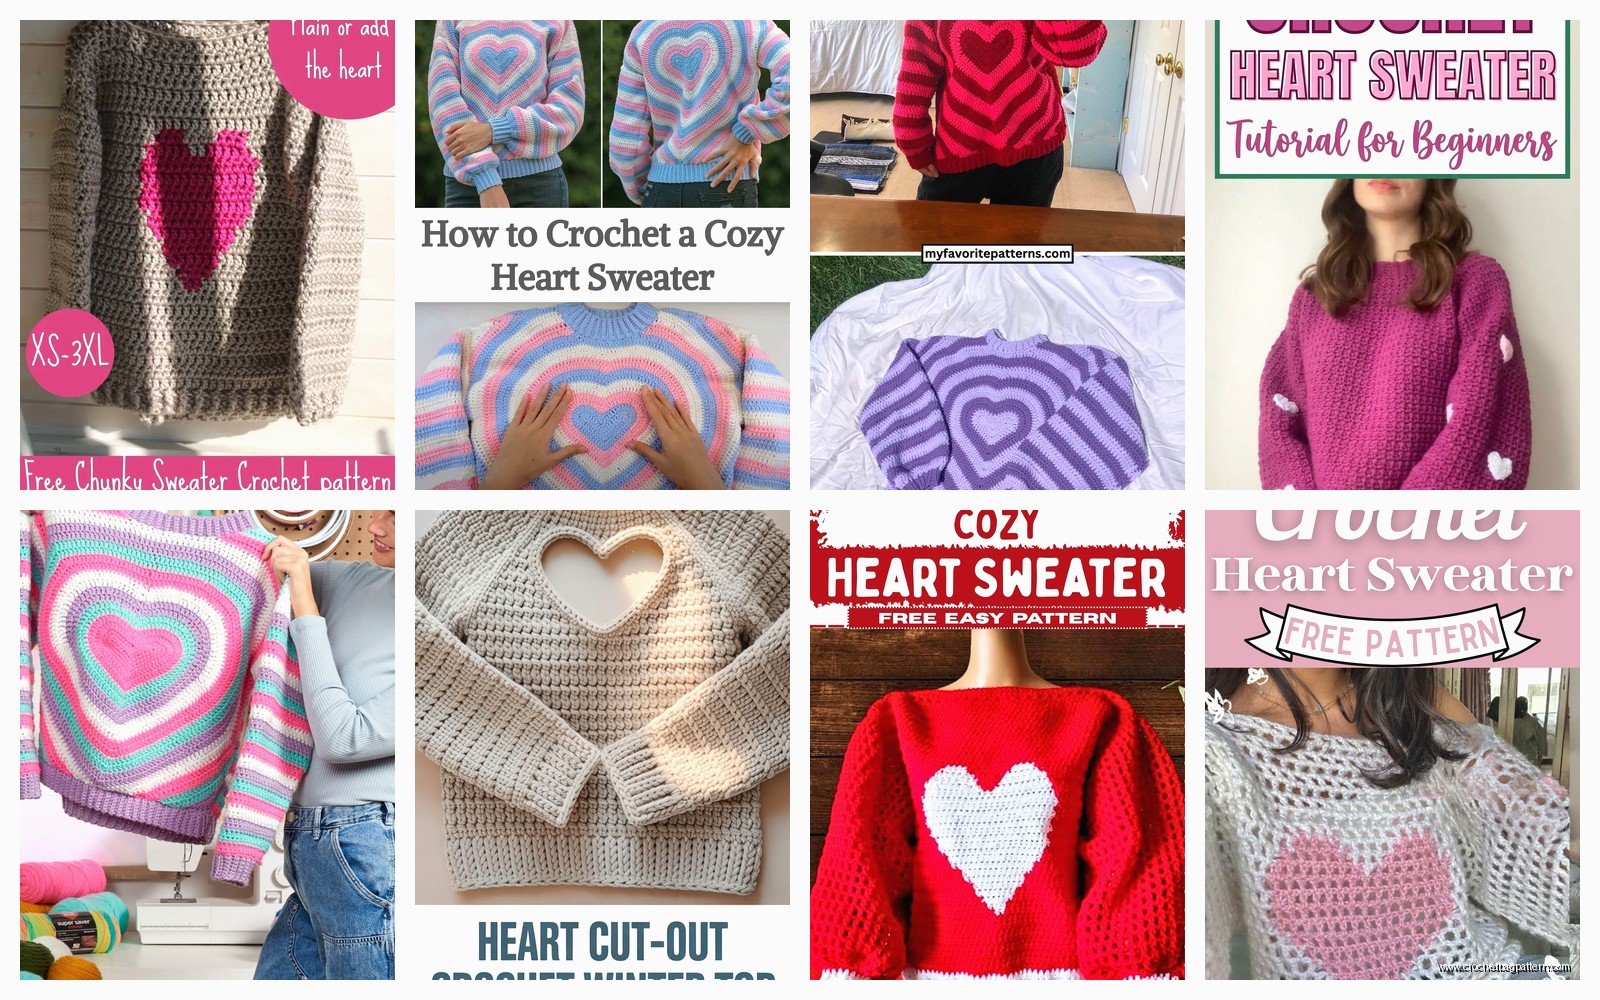
Variations You Could Try
Instead of two separate hearts you could do one big heart in the center. Or multiple small hearts scattered around. I’ve seen people do a heart on one shoulder which looks cute in a subtle way.
You could also do the hearts in a different texture instead of just color – like popcorn stitches or bobbles to make them raised. That would take longer but would be really tactile and interesting.
Color-wise you don’t have to do pink and white. Red and cream would be classic. Or you could do a dark base with light hearts, like charcoal gray with white hearts. I kinda want to make one in forest green with burgundy hearts for a less Valentine’s specific version.
Sizing Notes
The basic formula works for any size you just gotta adjust your stitch counts. Measure, multiply by gauge, round to an even number. The hearts might need to be bigger or smaller proportionally – like on an XL sweater you probably want hearts that are 5 inches wide instead of 4.
For kids sizing the same principles apply but everything’s smaller. I’d probably do simpler hearts with less shaping detail for a kids version because they’re gonna outgrow it in six months anyway.
Finishing Touches
After everything was assembled and ends were woven in I blocked it. Just wet it, squeezed out excess water in a towel, and laid it flat to dry. This helped even out the stitches and made the hearts look cleaner.
Some people add buttons or bows or whatever but I left mine plain. The hearts are the statement, you don’t need more.
My niece actually wore it to class the week after Valentine’s Day and got a bunch of compliments, so I guess the three weeks of work were worth it. She did ask me to make her another one in blue which I’ve been putting off since like August because making the same thing twice is boring but I probably will eventually.
The pattern is flexible enough that once you understand the basic structure you can modify it however you want. That’s what I like about learning to crochet without formal patterns – you figure out the logic of how garments work and then you can just make whatever. Though sometimes I do wish I had better finishing techniques because my seams are definitely not professional looking.
Anyway that’s basically how you make a heart sweater. It’s not complicated, just takes time and some planning for the design placement. And you gotta actually do the gauge swatch which I cannot stress enough even though I hate doing them too.