
Mar
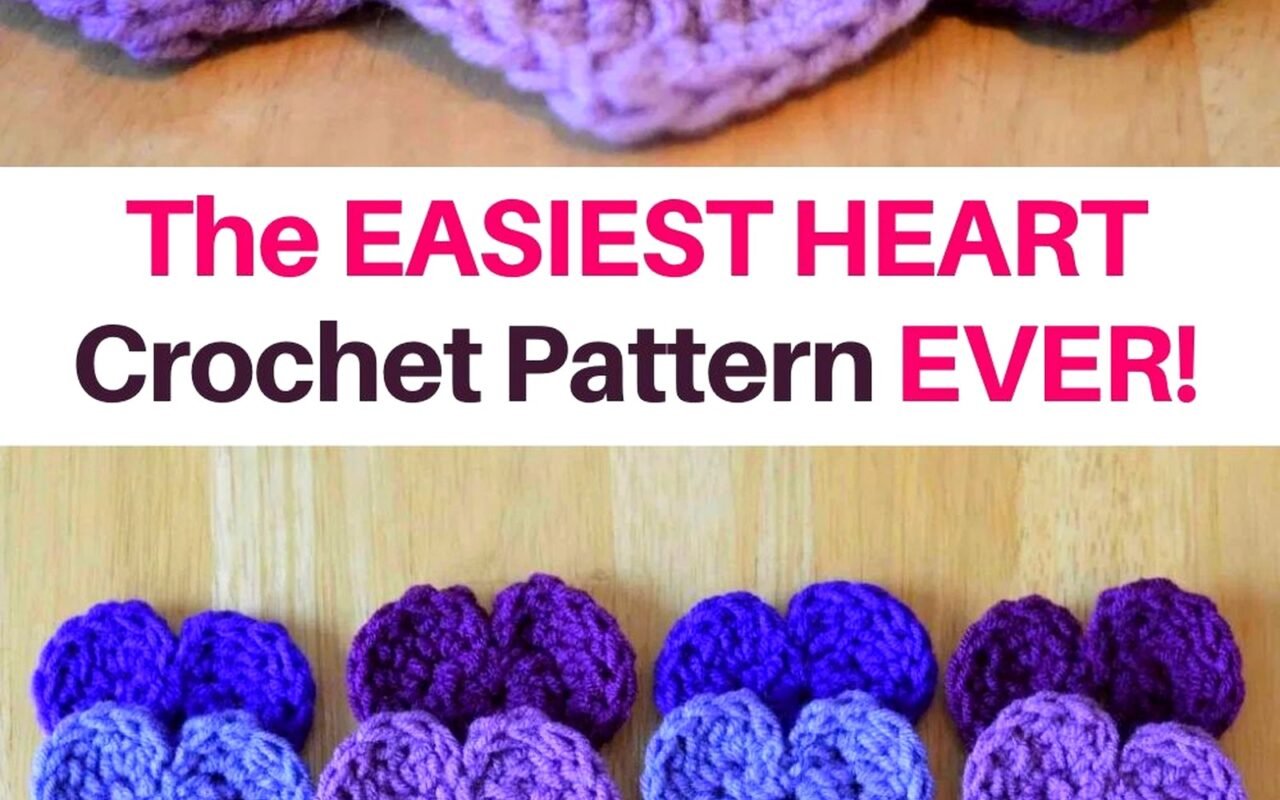
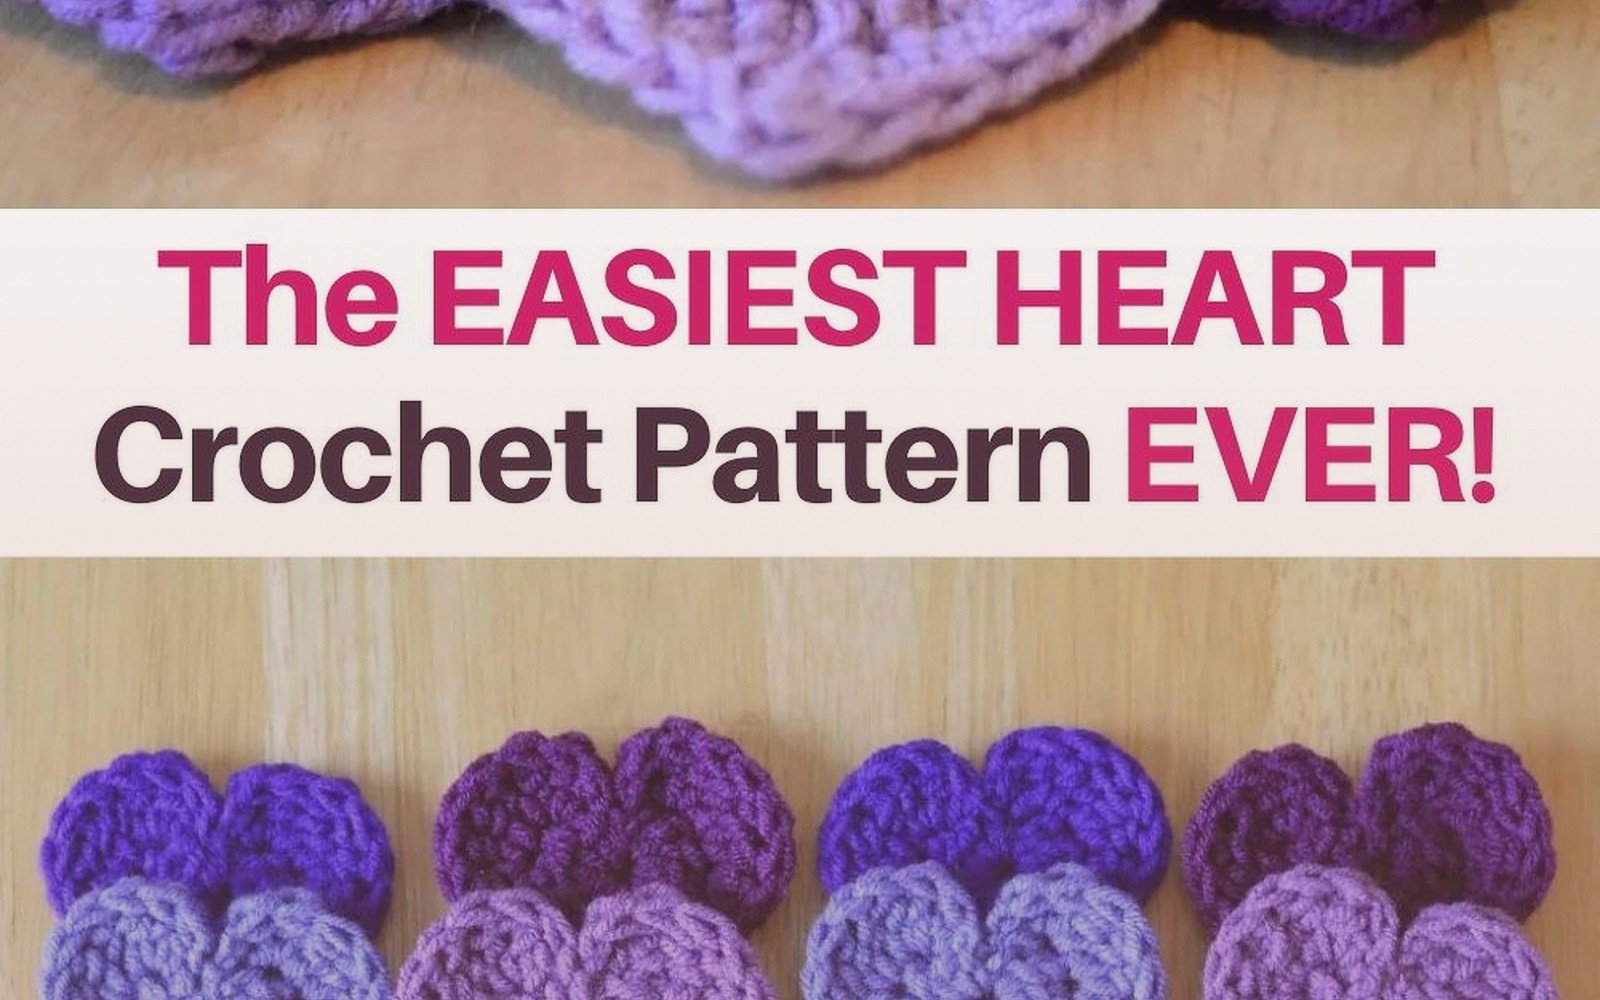
Making These Little Hearts Actually Works
So I made like fifteen of these hearts back in February 2023 because my niece wanted to hand them out at school instead of buying those plasticky valentines and honestly they turned out way better than I expected. The pattern is stupidly simple but you gotta know a few things before you start or you’ll end up with wonky lopsided hearts like my first three attempts.
You need worsted weight yarn. I used Red Heart Super Saver in that bright red color because it was literally $2.97 at Walmart and I had a coupon. Also used some Caron Simply Soft in white for a couple of them. The Red Heart is stiffer which actually works better for these because they hold their shape instead of flopping around. The Caron ones were softer but they kind of… I dunno they didn’t look as crisp? Your call on that.
What Hook Size and Why It Matters
I used a 5mm hook (H hook) for most of them. Some patterns tell you to use a smaller hook to make the stitches tighter so the stuffing doesn’t show through but honestly for these little hearts you’re not even stuffing them so it doesn’t matter that much. If you use a 4mm hook they come out smaller which is cute for earrings or whatever but takes longer because—wait no it doesn’t really take longer, they’re just tinier and more annoying to work with.
The whole thing takes maybe 20 minutes once you get the rhythm down. First one took me like 45 minutes because I kept messing up the increases and had to restart twice which was super annoying while I was trying to watch that baking show on Netflix, the British one with the tent.
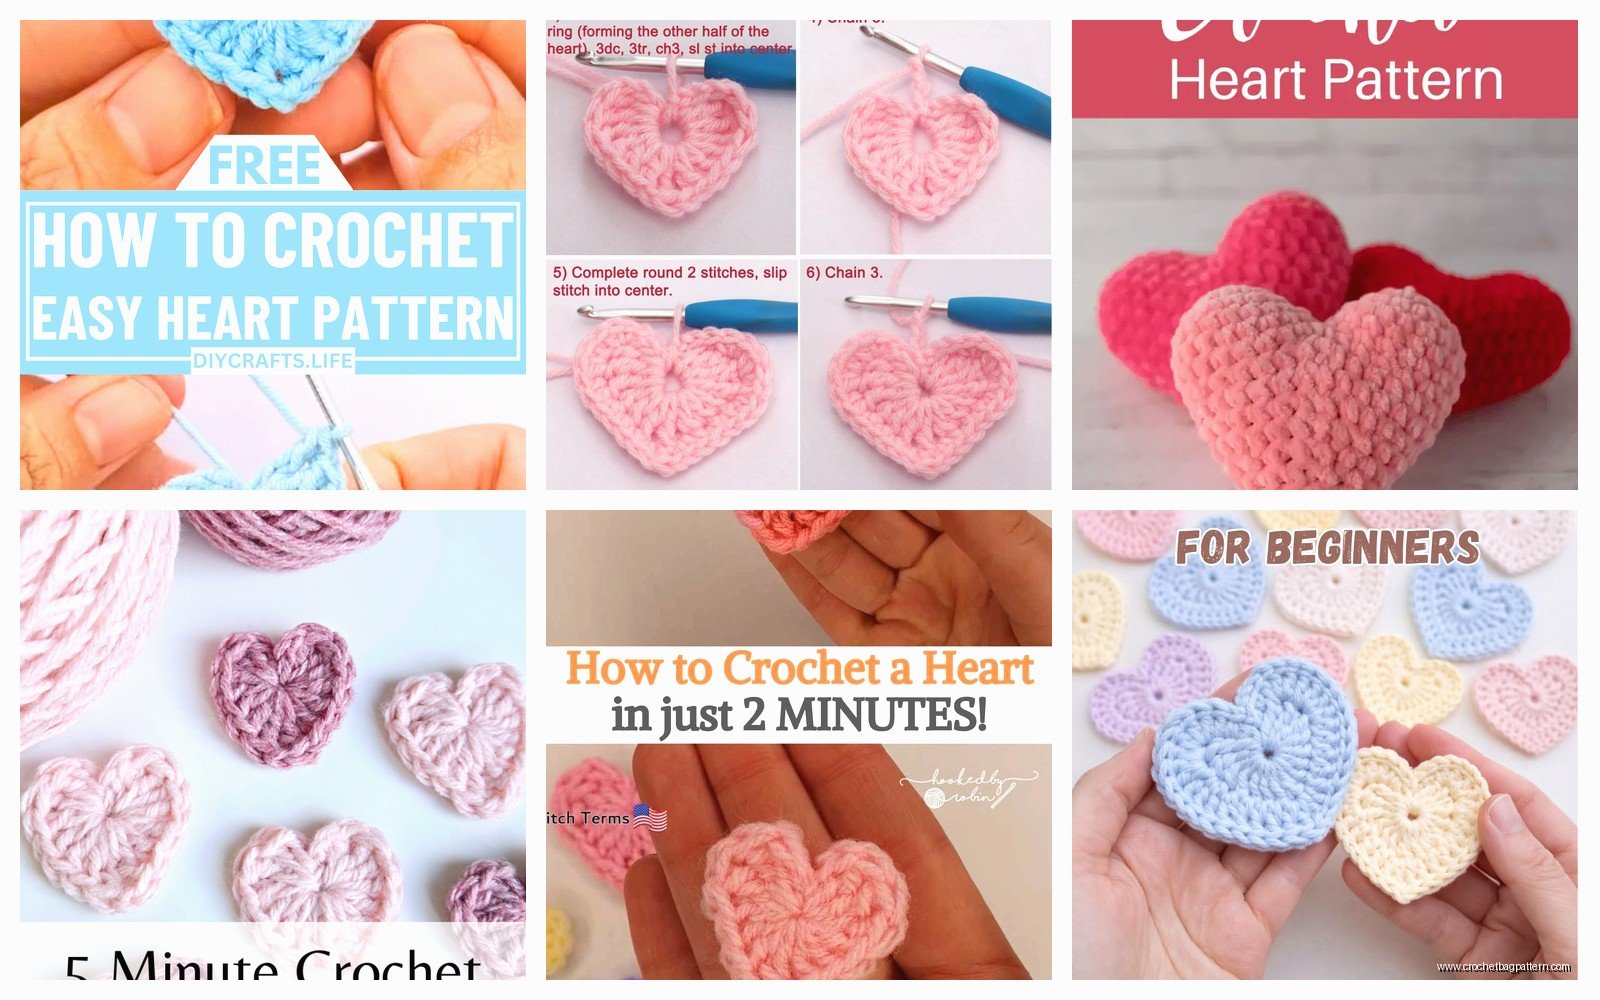
The Actual Pattern Part
Okay so you start with a magic ring. If you don’t know how to do a magic ring just YouTube it real quick because trying to explain it in text is impossible. Make the loop, do 3 chain stitches (this counts as your first double crochet), then do 2 more double crochet into the ring. Pull it tight.
Then you’re gonna chain 2 and do 3 double crochet in the same ring. Chain 2 again. Do another 3 double crochet. Chain 2 one more time and do your last set of 3 double crochet. You should have four little groups of double crochet stitches with chain spaces between them. This forms the top bumpy part of the heart.
Pull the magic ring super tight now. Like really yank it. This is important because if you leave it loose the center looks weird and holey.
The Bottom Point Thing
This is where it gets slightly tricky but not really. You’re gonna join with a slip stitch to the top of your starting chain-3. Then chain 1 and single crochet in the same space. Now you’re working down the side to create the point.
Here’s what annoyed me SO MUCH about this pattern—every version I found online had different instructions for the point. Some said to do decreases, some said to just skip stitches, one said to do half double crochets in a specific pattern that made no sense. I ended up just winging it after the first few and they all turned out fine so apparently it’s not that precise.
What I did: single crochet along the side of the double crochet group (you’re working into the side of those stitches, not the top). Do like 2 or 3 single crochets depending on how long you want the heart. Then when you get to the bottom, do 3 single crochets in the bottom corner space to make it turn. This creates the point.
Keep single crocheting up the other side, same number as you did on the first side. When you get to the top, slip stitch to join and tie off.
Variations That Actually Work
I made some with white edges by switching colors after the initial double crochet round. You just tie off your red (or whatever color) and attach white yarn when you start the single crochet border. Weave in the ends later which is tedious but looks good.
Also made a couple with little hanging loops by chaining like 10 stitches at the top before tying off. My niece hung those on her backpack and they held up pretty well even though she’s rough with her stuff.
One thing I tried that did NOT work was using that really thin crochet thread with a tiny hook thinking I’d make delicate little hearts. Took forever and they were so small you couldn’t even see the heart shape properly. Waste of time. Stick with worsted weight.
Stiffening Them If You Want
Some people use fabric stiffener which you can buy at craft stores. I didn’t bother for most of them but I did try it on like three hearts just to see. You basically soak the heart in the stiffener, squeeze out the excess, shape it how you want it on wax paper, and let it dry overnight. They come out hard and keep their shape really well.
I used Aleene’s Fabric Stiffening Spray on one because I didn’t wanna deal with the liquid stuff. Just sprayed it while my cat was trying to sit on my lap and getting in the way as usual. It worked okay but not as stiff as the liquid version. Good enough for what my niece needed though.
Actual Uses For These Things
Besides the obvious Valentine’s day cards situation, I’ve used them for:
- Gift tags instead of those paper ones—just safety pin them to the gift bag
- Garland by chaining a bunch together with… well, chain stitches or just regular string
- Coasters if you make them big enough with a bigger hook, though they’re kinda thin for hot drinks
- Patches for a denim jacket which looked surprisingly not terrible
- Gave a few to my neighbor who sells stuff at craft fairs and she actually sold them for $3 each apparently
Yarn Amounts and Colors
Each heart uses maybe 10 yards of yarn? I’m totally guessing but it’s not much. I made all fifteen hearts and barely used half a skein of the Red Heart Super Saver. So if you’re buying yarn specifically for this you definitely don’t need more than one skein unless you’re making like fifty of them.
Color-wise the traditional red and pink obviously work. I did a few in purple with the Caron Simply Soft in Iris which is a really pretty light purple. Also made white ones which look kinda boring by themselves but good layered on top of red ones if you make two different sizes.
There’s this variegated Red Heart yarn in red and pink stripes that I almost bought but didn’t because I thought it might look too busy for such a small project. Might be worth trying though if you want something different.
Common Mistakes and Fixes
If your heart looks more like a blob than a heart shape, you probably didn’t pull the magic ring tight enough or you did too many stitches in the double crochet groups. Should be exactly 3 double crochets per group, no more.
If the point at the bottom is too long and droopy, do fewer single crochets on the sides. If it’s too stubby and doesn’t look like a point, add more single crochets or do a couple half double crochets instead to make it longer.
The edges curling up is super common. Blocking helps with this—basically you wet the heart, pin it flat to a foam board or towel in the shape you want, and let it dry. I never bothered with this for the kid’s valentines but if you’re making something you wanna keep looking nice it’s worth doing.
Making Them Into Actual Useful Stuff
I sewed a few onto a canvas tote bag with regular thread and a needle. Just stitched around the edges. Took maybe five minutes per heart and looked handmade in a good way not a sloppy way. Used red thread on the red hearts which was maybe a mistake because you can see the stitches if you look close, but white thread on red hearts looks better.
You can also hot glue them to bobby pins or hair clips. I did this for my niece’s friends and the glue held up fine even though I was worried it would fall off. Just don’t use too much glue or it seeps through the stitches and looks gross.
Oh and I made earrings by sewing jump rings (those little metal circles from the jewelry section) to the top of small hearts and attaching earring hooks. Wore them exactly once because they were honestly too dangly and kept getting caught in my hair but they looked cute.
The Timing Thing
If you’re making these for Valentine’s day don’t wait until February 13th like I almost did. Even though they’re quick, making a bunch of them adds up. Fifteen hearts took me probably four hours total including the mess-ups and the ones I had to redo because the tension was weird.
I worked on them while watching TV over like three evenings. Very mindless once you get the pattern down. Actually kinda meditative in that repetitive way crochet gets where you’re not really thinking about it.
Pattern Notes I Wish Someone Told Me
The chain-2 spaces between the double crochet groups are what create the bumps at the top of the heart. If you do chain-3 they’ll be too separated and look weird. If you do chain-1 they’ll be too squished together. Chain-2 is the magic number apparently.
When you’re doing the single crochet border and working into the sides of the double crochets, your hook goes under the whole stitch not just one loop. I was doing it wrong on the first couple and they looked wonky until I figured that out.
Tension matters more than you’d think for something this small. My first few hearts were super tight because I crochet tight naturally and they came out stiff and small. Had to consciously loosen up my tension which felt weird but the hearts looked better.
Embellishing and Other Ideas
I embroidered little faces on a couple using black embroidery floss which was cute but also kinda creepy? Like the hearts had faces. My niece loved them though so whatever. Just did simple dot eyes and a smile with backstitch.
You could sew buttons in the center or use those flat-back rhinestones with fabric glue. Didn’t try this myself but saw someone do it on Instagram and it looked good. The rhinestones might fall off though if kids are gonna be handling them a lot.
Adding a crocheted border in a contrasting color makes them look fancier. Just attach your new color and single crochet all the way around, doing 3 single crochets in the point at the bottom to keep it sharp. I did this on exactly two hearts before I got bored of weaving in all the extra ends.
Layering two hearts in different sizes and colors looks professional. Make one with a 5mm hook and one with a 4mm hook, sew them together with the small one on top. I did red on bottom and white on top for a couple and they turned out really nice. Would be good for a mother’s day gift or whatever.
Storage and Keeping Them Nice
These things flatten in storage which is fine, they pop back into shape. I kept mine in a plastic container from the dollar store between making them and giving them away. If you’re gonna store them long-term maybe put tissue paper between layers so they don’t get squished but honestly they’re pretty durable.
The Red Heart yarn doesn’t really pill or get fuzzy which is why I keep using it even though yarn snobs hate it. The Caron Simply Soft is softer obviously but it does get a little fuzzy after handling. Not a big deal for gifts but something to know.
Cats will absolutely try to steal these if you leave them lying around. Mine grabbed one off the table and batted it under the couch. Found it like a week later covered in dust bunnies.