
Mar
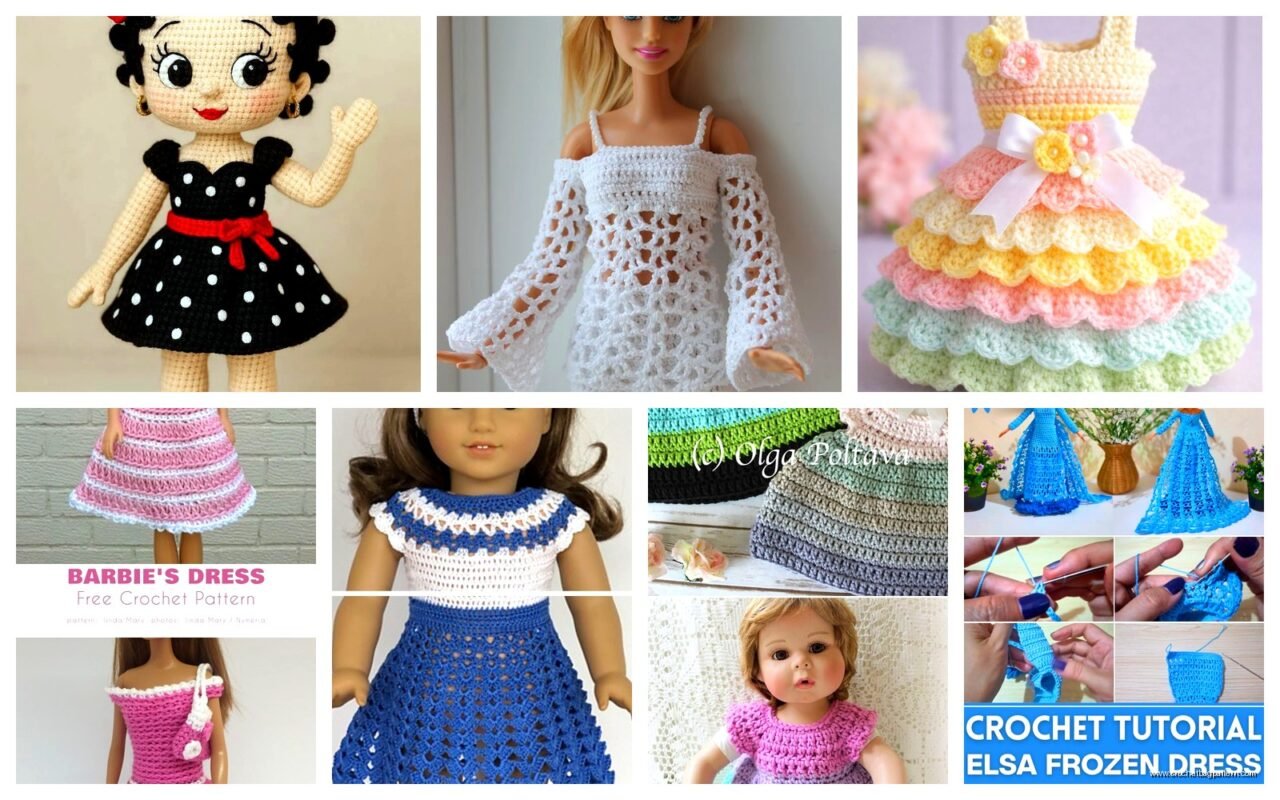
Okay so I made this blue Barbie dress last July when it was like stupidly hot outside and my AC was broken, which honestly made crocheting tiny things kind of annoying because your hands get sweaty but whatever. The thing about doll dresses is they seem like they should be quick projects but they’re actually kinda fiddly in ways regular clothing isn’t.
First thing you gotta know is that Barbie patterns and 18-inch doll patterns are completely different animals. Barbie is like 11.5 inches tall and super skinny with weird proportions. An 18-inch doll like American Girl has way more realistic body measurements so the dress construction is totally different. I’ve done both and honestly the 18-inch ones are easier because you can actually see what you’re doing.
For Barbie stuff I usually use thread weight or super fine yarn. I tried Red Heart Super Saver once because I had it lying around and it looked absolutely ridiculous, like she was wearing a sleeping bag. You want something like Aunt Lydia’s Classic Crochet Thread size 10 or even size 30 if you’re feeling ambitious. I used the size 10 in Medium Blue for that summer dress and a steel hook size 7 which is like 1.65mm I think? The hook sizes for thread are backwards from regular hooks which confused me for like a year.
One thing that really annoyed me was measuring the doll constantly. Like you think you can just follow a pattern but every Barbie is slightly different especially if you’re making clothes for knockoff dolls or vintage ones. I kept having to try the dress on the doll every few rows and my cat kept trying to steal the doll because she thought it was a toy and I had to keep shoving her off the table.
The basic construction for a Barbie dress is usually either worked in rounds from the top down or you make a flat piece and seam it up the back. I prefer the flat piece method because then you can add snaps or velcro and actually get the dress on and off without stretching it out. Barbie’s feet don’t come off so if you make a fitted dress that goes over the hips you literally cannot get it on her body unless there’s an opening.
Starting With the Bodice
So for the bodice you’re basically making a tiny rectangle. Chain like 20-25 stitches depending on how fitted you want it. This is where you need to measure around the doll’s chest. I usually do single crochet for the bodice because it’s tighter and more structured than double crochet. Work back and forth in rows until it’s long enough to wrap around the doll’s torso from armpit to waist.
The armholes are the tricky part. You can either just leave gaps by skipping a section of stitches or you can get fancy and shape them. I usually skip like 4-5 stitches on each side for armholes and then continue working the front and back separately. This creates that tank top shape.
For straps you can either chain them or do a row of slip stitches. I made spaghetti straps for the blue dress by chaining like 25 stitches and slip stitching back down. They were kind of uneven but honestly on something that small nobody’s gonna notice unless they’re looking really close.
The Skirt Part
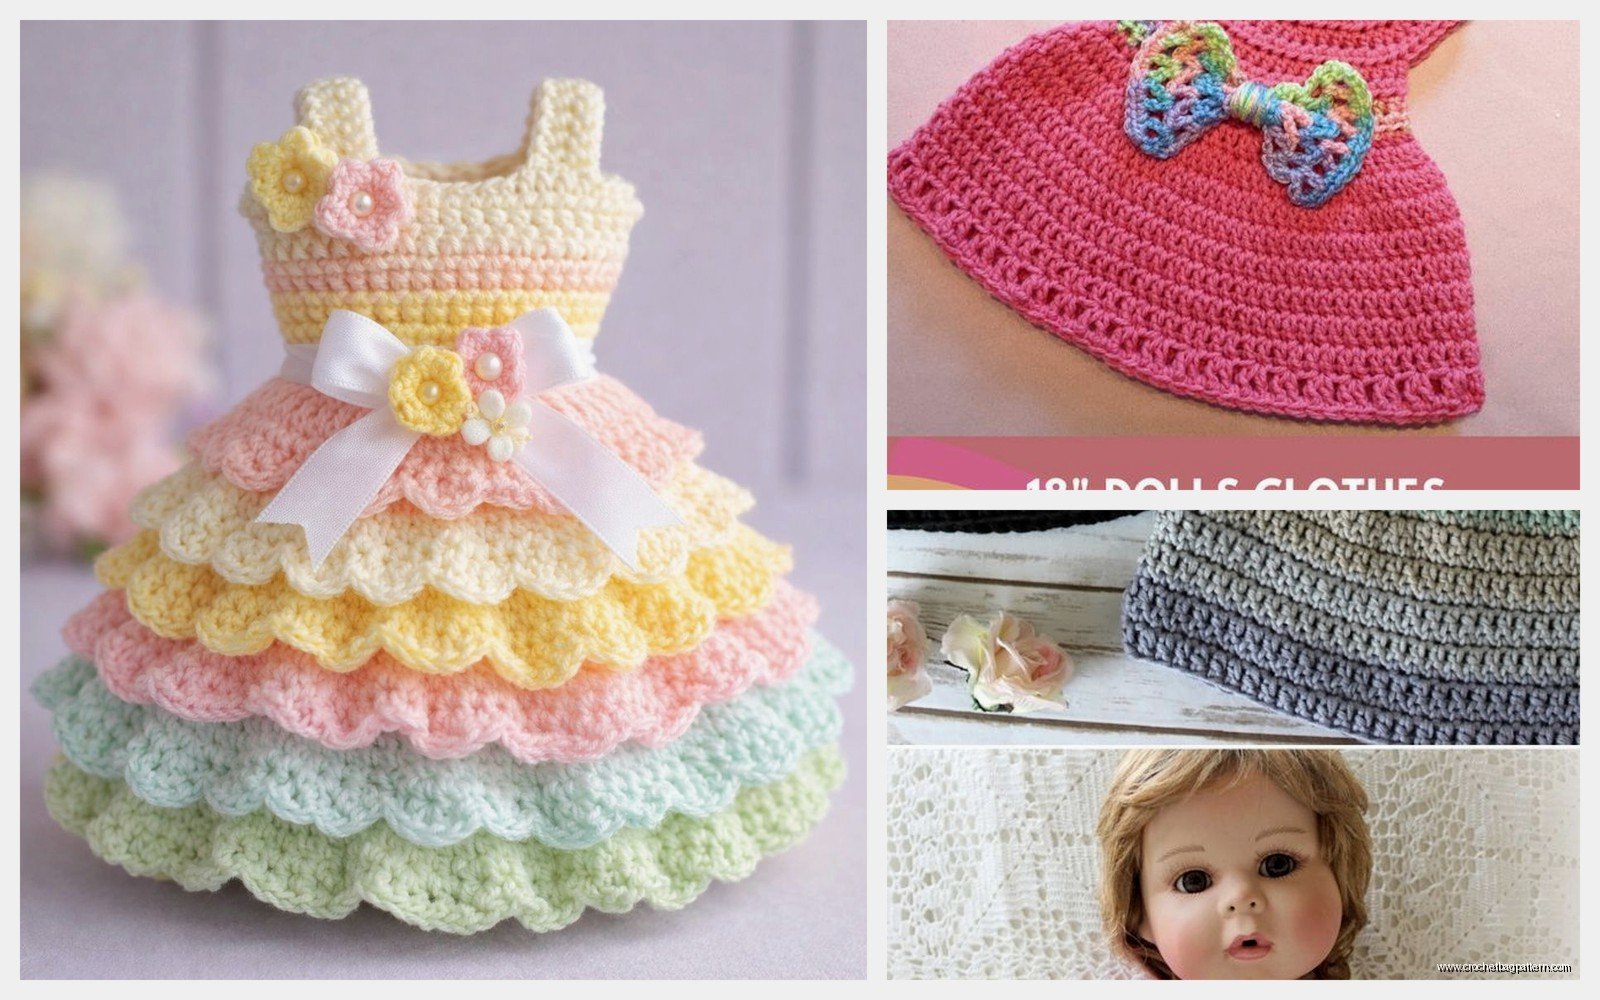
This is where it gets more fun because you can do whatever. For a full skirt you basically increase a ton of stitches in the first row after the bodice. Like if your bodice ended with 20 stitches you might increase to 40 or even 60 stitches for a really full skirt. I did 2 stitches in each stitch across for the blue dress.
Then you just work in rounds or rows depending on your construction method. Single crochet makes a stiffer skirt. Half double crochet has nice drape. Double crochet gets really full and ruffly. I mixed them for the blue dress, doing a few rows of half double crochet then switching to double crochet for more volume at the bottom.
The length is gonna be like 2-3 inches total for a knee length dress on Barbie. Sounds tiny but it actually takes a while because thread is slow to work up. That whole dress probably took me like 4 hours spread over two days while I was watching that baking show, the British one with the tent.
18-Inch Doll Dresses Are Different
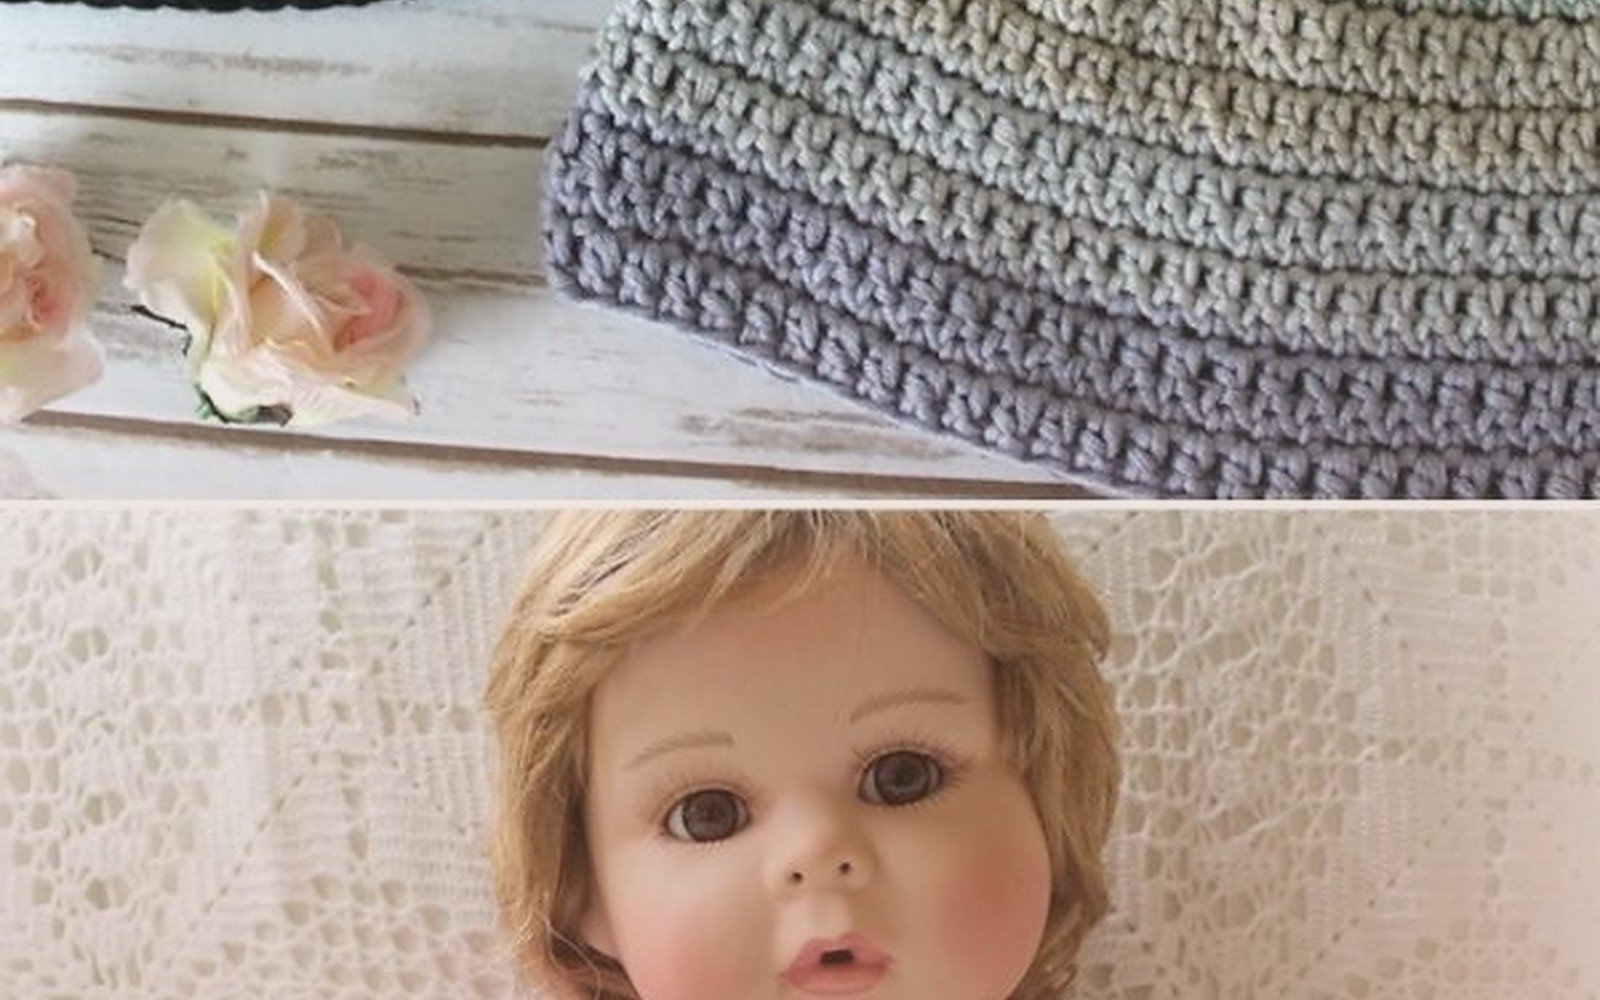
Okay so when I made an 18-inch doll dress back in spring 2022 for my niece’s American Girl doll I used actual yarn. Like worsted weight which felt luxurious after working with thread. I think I used Caron Simply Soft in like a purple color? Or maybe it was Vanna’s Choice. I definitely remember it was acrylic because I wanted something that could get washed.
The scale is so much more forgiving. You can use a 5mm hook and actually see your stitches. The bodice for an 18-inch doll is basically the same concept but bigger. Chain like 40-50 stitches for the chest measurement. These dolls have an actual waist definition so you might want to decrease a few stitches at the waist then increase again for the hips if you’re doing a fitted dress.
I did a simple A-line dress which meant I just kept the same stitch count at the waist and gradually increased as I worked down. Every other row I’d add like 4-6 stitches evenly spaced. The final skirt circumference was probably like 80 stitches or something.
The thing about 18-inch dolls is their arms are thicker so armholes need to be bigger. I’d skip like 8-10 stitches on each side for armholes. And their shoulders are wider so the shoulder straps need to be positioned differently than on Barbie.
Closures and Finishing
This is the part that always takes longer than you think it will. For Barbie I usually use tiny snaps from the sewing section at Walmart. You need like size 2/0 or 3/0 snaps. Sew them on with regular thread, not yarn because yarn is too bulky. I put two or three snaps down the back.
Some people use velcro but I think it looks cheap and it can catch on the doll’s hair. Hook and eye closures work too but they’re fiddly to sew on something so small.
For 18-inch dolls you can use regular small snaps or even buttons with buttonholes. I did three buttons down the back of the purple dress and crocheted little button loops. Chain 4, skip a stitch, slip stitch to create a loop. The buttons were from my random button jar so they didn’t match perfectly but my niece didn’t care.
Weaving in ends on thread weight stuff is honestly the worst part. The ends are so tiny and slippery. I use a yarn needle with a tiny eye and just weave through like 10-15 stitches back and forth. Sometimes I put a tiny dot of clear nail polish on the end to keep it from coming loose but I don’t know if that’s actually necessary or just something I do.
Patterns vs Winging It
I’ve tried following actual published patterns and honestly they’re kind of… I mean some are good but a lot of them assume you know stuff they don’t explain. Like they’ll say “work even until piece measures 2 inches” but they don’t tell you whether to measure stretched or unstretched and with crochet that makes a difference.
The first Barbie dress I ever made was from a pattern I found online for free and it turned out way too big because I didn’t check gauge. Which like, who does gauge swatches for a Barbie dress? But apparently you’re supposed to. The dress fit a Monster High doll better than a Barbie.
Now I mostly just wing it with basic measurements. Measure the doll’s chest, waist, and hips if it’s fitted. Measure from armpit to desired hem length. Then I just make a rectangle for the bodice and increase for the skirt. You can always try it on as you go and adjust.
Stitch Patterns That Work Well
Simple stuff looks better at this scale honestly. I tried doing a shell stitch skirt once and it just looked lumpy. Single crochet, half double crochet, and double crochet are your friends. V-stitches are nice for a lacey look without getting too complicated.
Granny squares can work if you make them small enough. I made a Barbie skirt out of tiny granny squares using thread and a 1.5mm hook and it took forever but looked pretty cool. Each square was like half an inch across.
Bobble stitches and popcorn stitches don’t really work at small scale. They just look weird and bumpy.
Color Changes and Details
Adding a contrasting color trim is easy and makes the dress look more finished. I usually do a round of single crochet in a different color around the neckline and hem. For the blue Barbie dress I added white trim which made it look more nautical or whatever.
You can also do stripes but carrying yarn up the side gets bulky on small items. I usually just cut the yarn and weave in ends for each stripe which is annoying but looks better.
Embroidery can add cute details. I’ve done lazy daisy flowers on 18-inch doll dresses using embroidery floss. On Barbie stuff embroidery is almost too small to see unless you use just one strand of floss.
Common Problems I’ve Had
The neckline being too tight or too loose. This happens all the time because it’s hard to gauge how stretchy it needs to be. If it’s too tight the dress won’t go over the doll’s head. Too loose and it falls off the shoulders. I usually make it slightly too big and then do a round of slip stitches around the edge to tighten it up if needed.
The waist riding up or down. This is more an issue with 18-inch dolls because they actually have body shaping. If your decreases at the waist aren’t positioned right the dress will twist or bunch. I’ve had to rip out and redo the waist section multiple times to get it sitting right.
Uneven hem. When you’re working in rounds it’s easy to accidentally add or skip a stitch and then the hem gets wonky. I count stitches obsessively now after making a Barbie skirt that was like half an inch longer on one side.
Thread splitting. Oh my god this drove me crazy when I first started using thread. You gotta make sure your hook doesn’t split the thread as you work. A smooth steel hook helps. The Boye hooks with the inline heads seem to split less than the tapered ones but maybe that’s just me.
Yarn Recommendations
For Barbie thread stuff: Aunt Lydia’s Classic Crochet Thread is the standard. It comes in a million colors and it’s cheap. J&P Coats is similar. DMC Cebelia is nicer quality but more expensive and harder to find.
For 18-inch dolls: Literally any worsted weight acrylic works fine. Caron Simply Soft has good color selection and it’s soft. Red Heart Super Saver is cheaper and more durable if the dress is gonna get played with a lot. I’ve also used I Love This Yarn from Hobby Lobby and it worked fine.
Cotton yarn is nice for summer dresses because it has good drape. Lily Sugar’n Cream works for 18-inch dolls. For Barbie you’d want cotton thread like Omega or something.
How Long Does It Actually Take
A simple Barbie dress takes me like 3-5 hours depending on detail level. The blue one from last summer was maybe 4 hours total. A fancy one with lots of detail or multiple colors could take longer.
An 18-inch doll dress is faster even though it’s bigger because you’re using bigger yarn and hooks. A basic dress might take 2-3 hours. A fancy one with sleeves and trim and stuff maybe 5-6 hours.
This is all assuming you’re not a super fast crocheter. I’m pretty average speed and I get distracted easily so someone more focused could probably do it faster.
Sleeves Are Optional But Annoying
I’ve made dresses with sleeves a few times and they’re always more work than they seem like they should be. For Barbie the sleeves are so tiny you’re basically making a tube that’s like 1 inch long and half an inch wide. You have to work in tiny rounds or make a flat piece and seam it.
For 18-inch dolls sleeves are more reasonable. You can do them in rounds starting from the armhole. Chain around the armhole opening, join, and work downward in rounds. Decrease gradually toward the wrist if you want fitted sleeves.
Puff sleeves are cute and actually easier than fitted sleeves. Just work a few short rounds at the shoulder with lots of stitches then gather them somehow… I usually just weave elastic thread through or use a running stitch with regular thread to cinch them.
Short sleeves are less annoying than long sleeves obviously. Cap sleeves are basically just a few rows attached to the armhole and they add a nice detail without much extra work.
Honestly though I usually just make sleeveless dresses because I’m lazy and they’re easier to get on and off the doll. You can always add a crocheted cardigan or shrug later if you want the layered look.