
Mar
Making a Brimmed Crochet Hat That Actually Works
So the first one I made was back in spring 2022 and honestly I was just tired of buying sun hats that fell apart after one season. Started with a basic cap shape because I figured if you can make a beanie you can make something with a brim, right? Wrong, but we’ll get to that.
The main thing about brimmed hats is you’re basically making two parts – the crown (the part that sits on your head) and the brim (the part that sticks out). The crown is just like any other hat. Increase rounds until you hit the diameter you need, then work straight until it’s deep enough. The brim is where it gets weird because you need it to be stiff enough to actually shade your face but not so stiff that it looks like a frisbee.
Starting With the Crown
I always use a magic ring to start. Make your circle, then do increase rounds – usually you increase 6 or 8 stitches per round depending on whether you started with 6 or 8 in your magic ring. Keep going until the flat circle measures about 7-8 inches across for an adult. That’s roughly where your head circumference will be comfortable. Then you just stop increasing and work even rounds going up.
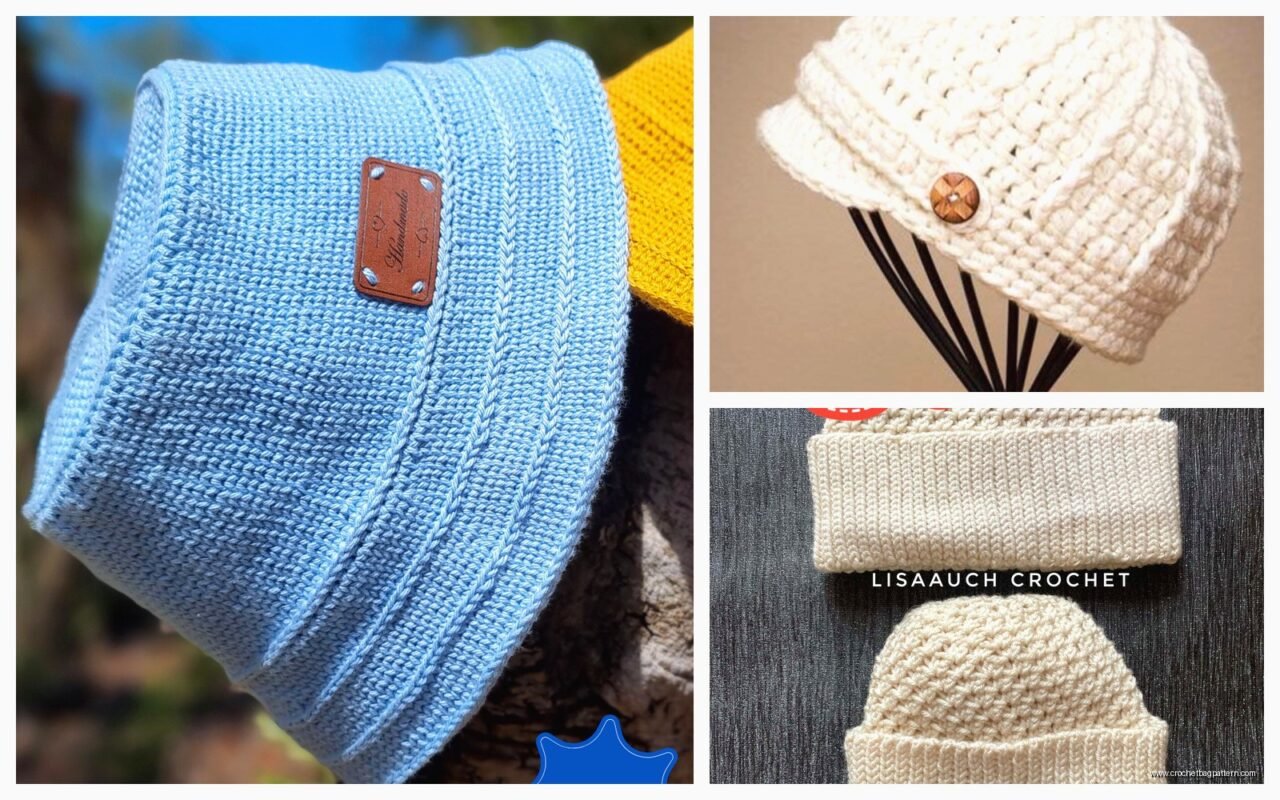
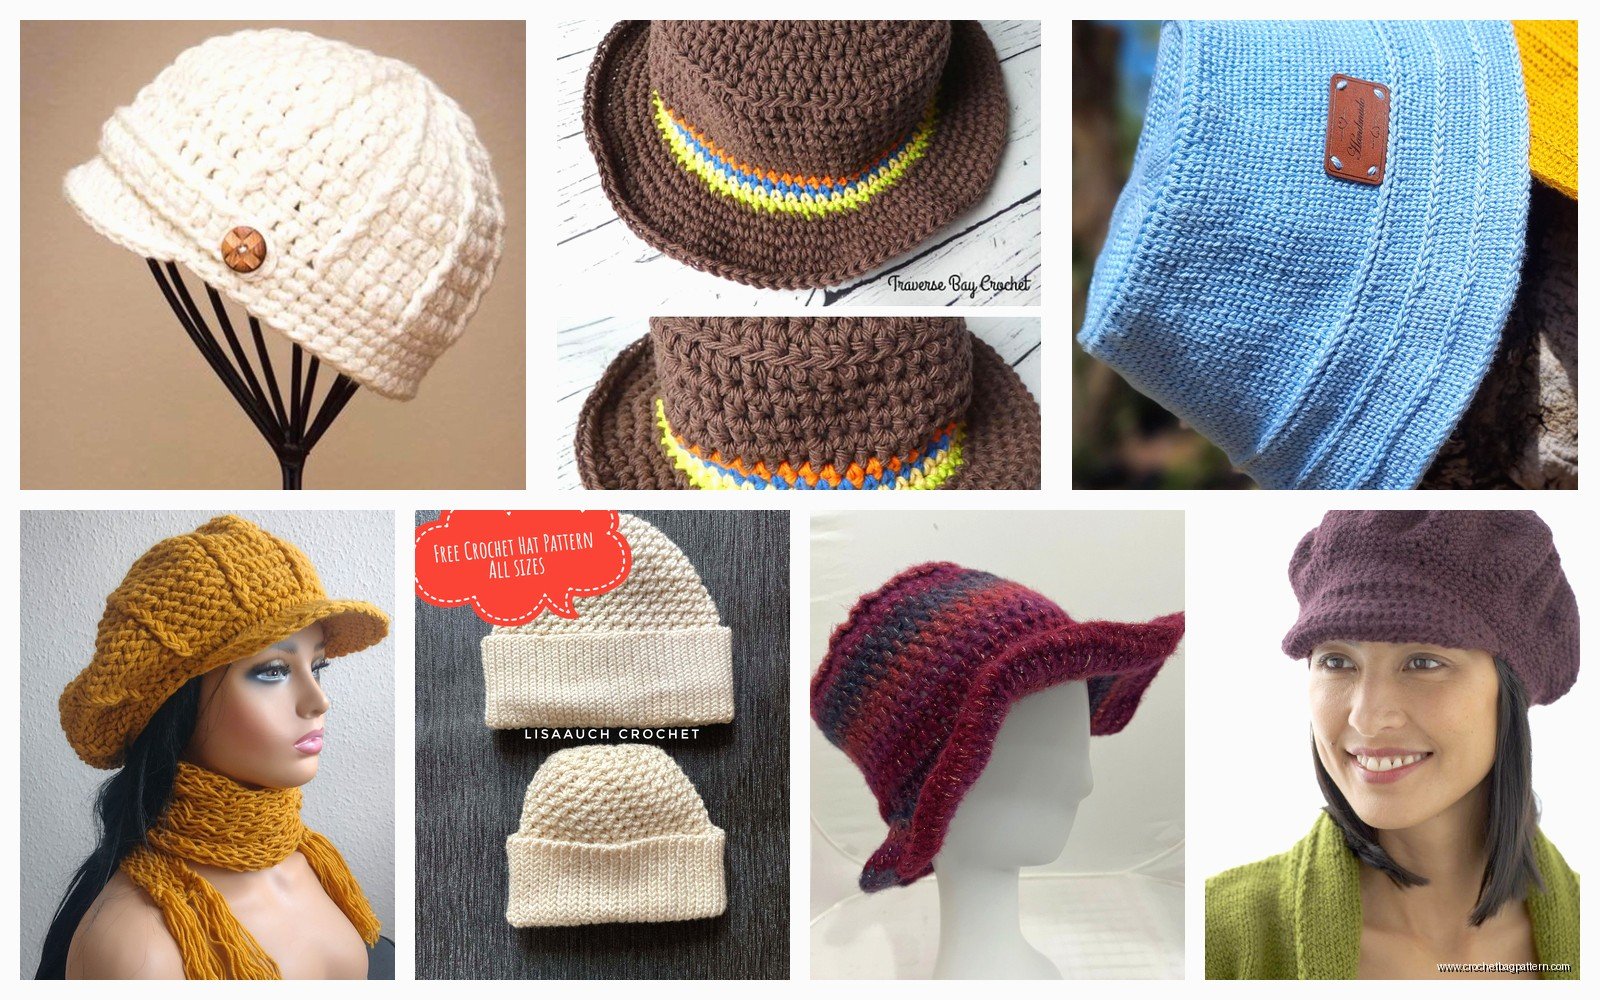
For that first sun hat I used Red Heart Super Saver in that cream color, can’t remember the exact name but it was like Aran or something. Worked fine, was maybe a bit heavy for summer but it held its shape really well. The acrylic doesn’t breathe great though so if you’re somewhere humid you might want cotton.
Work the straight part of the crown for about 6-7 inches. Try it on as you go because everyone’s head is different and also depending on whether you want it slouchy or fitted you’ll need more or less depth.
The Brim Part That Made Me Want to Quit
Okay so here’s what annoyed me – the brim flops. Like, you make this nice flat circle extension and it just droops down and looks sad. I made that whole first hat and the brim just folded over itself and I was so mad. Turns out you need to actually think about structure.
There’s a few ways to do it. The easiest is to just crochet tighter on the brim rounds. Use a smaller hook than you used for the crown. I dropped from a J hook to an H hook for the brim and that helped a lot. You can also double up your yarn for the brim – just carry two strands together. Makes it way stiffer.
To attach the brim, you’re basically just continuing from the bottom edge of your crown. So when you finish the last round of the straight part, don’t fasten off. Just start increasing again. But here’s the thing – you gotta increase more aggressively than you did for the crown circle. I usually increase every other stitch for the first brim round, then every third stitch for the next round, then maybe a few more rounds with increases every 4th or 5th stitch depending on how wide you want it.
For a sun hat you want like 3-4 inches of brim. For a baseball cap style you want maybe 2 inches sticking out in front only.
Baseball Cap Style Brim
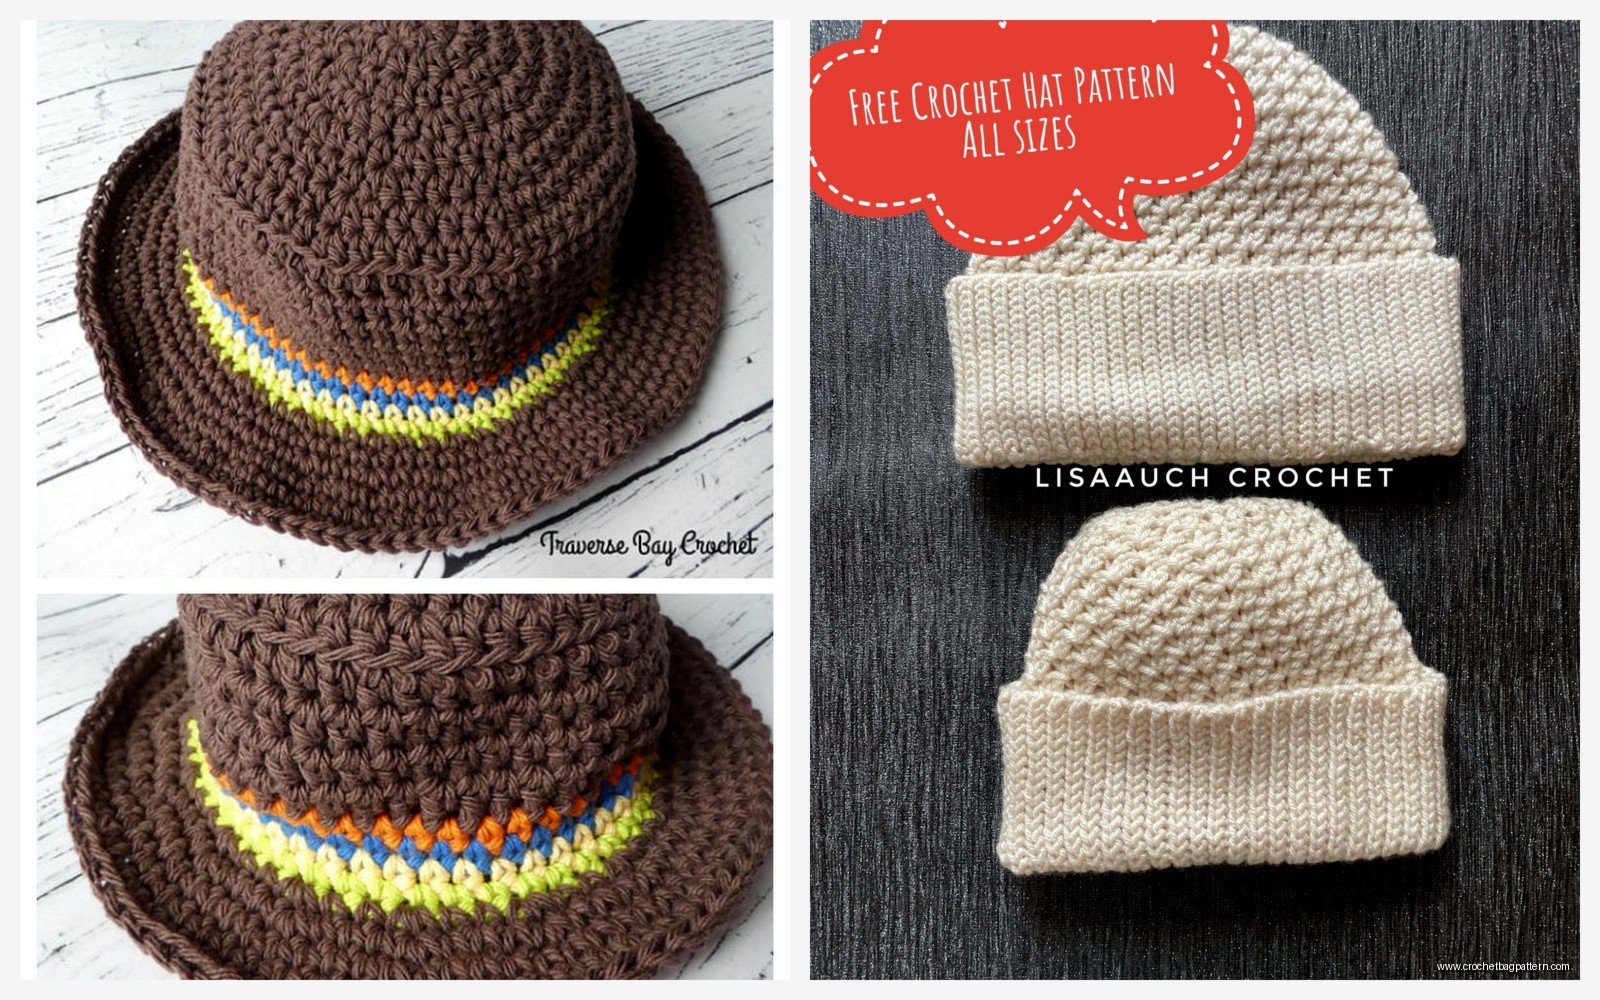
I made one of these in summer 2024 actually, was watching that show The Bear while I worked on it and kept getting distracted. The baseball cap style is different because you don’t work the brim all the way around. You only add it to the front portion.
Make your crown the same way. When you get to where you want the brim, you’re gonna work back and forth in rows instead of continuous rounds. Mark where you want the brim to start and stop – usually about 1/3 of the way around the hat on each side of center front. Then turn your work and go back and forth, increasing at the beginning and end of each row to make that fan shape.
I used Lily Sugar’n Cream for that one, the cotton worked really well for summer and it was stiff enough without being uncomfortable. The color was denim I think? Some kind of blue.
For the bill structure you really need something in there. I tried wire first but it poked through after a few weeks. Then I found out you can buy plastic boning or even just cut up a plastic milk jug into strips. Crochet a little pocket along the edge of the brim and slide the plastic in there. Makes it hold shape way better.
Stitch Options
Single crochet is the most basic and works fine. Makes a tight fabric that’s good for structure. Half double crochet works up faster and has a little more drape, which is nice for sun hats where you kinda want the brim to have some movement. Double crochet is gonna be too loose and floppy unless you’re using really thick yarn or doubling up.
I tried a sun hat in all half double crochet once and it was okay but the brim still flopped more than I wanted. Mixed it up the next time – single crochet for the crown, half double crochet for the first inch of brim, then back to single crochet for the last couple inches of brim. That actually worked pretty well because the transition gave it some… I don’t know, dimension?
There’s also textured stitches you can use. V-stitch makes a nice lacey pattern that’s good for breathability. Just do (dc, chain 1, dc) in the same stitch, then skip a stitch and repeat. Looks fancy but doesn’t add much structure so you still need to think about keeping that brim stiff.
Sizing Issues
Measure your head before you start or measure someone else’s head if you’re making it as a gift. Average adult is like 22-23 inches around but people vary a lot. Kids are obviously smaller – my friend’s 5 year old needed about 19 inches.
The flat circle at the beginning should measure about 1 inch less in diameter than your head circumference divided by 3.14. So if your head is 22 inches around, divide by 3.14 and you get about 7 inches. Math isn’t really my thing but this formula works.
If the hat is too tight when you try it on, you can add a round or two to the crown diameter before you start the straight sides. If it’s too loose, you can skip a round or work with a smaller hook.
Yarn Choices That Actually Matter
Cotton is best for summer hats obviously. Lily Sugar’n Cream like I mentioned, or Bernat Handicrafter Cotton, or I’ve used Knit Picks Dishie which is super cheap and works fine. The texture is a little rougher but for a sun hat you’re not wearing against your skin really so whatever.
Acrylic is fine for caps you’re wearing in cooler weather. Red Heart, Caron Simply Soft, that kind of thing. Caron is softer but doesn’t hold shape as well. Red Heart is scratchy but that hat is gonna look the same after 50 washes.
I tried wool blend once thinking it would be nice for a winter cap with a small brim and it was fine but honestly not worth the extra money. My cat kept trying to sleep on it while I was working on it which was annoying.
Avoid anything too fuzzy or with a halo. Tried a sun hat in some kind of bamboo blend that had this soft fuzz and every stitch was a struggle to see where to put my hook. Ended up frogging the whole thing.
Construction Tips
Use stitch markers. I know everyone says this but seriously, mark your rounds. The brim especially gets confusing because you’re increasing irregularly and it’s easy to lose track.
Weave in ends as you go or at least leave long tails that you can deal with later. I made a whole sun hat once and had like 8 ends to weave in at the finish because I kept joining new yarn badly and it took forever.
If you want a adjustable fit you can add a drawstring. Before you start the straight sides of the crown, work a round of (sc, ch 2, skip 1) all the way around. That makes little holes. Then thread a ribbon or a crocheted chain through later and you can cinch it.
For the baseball cap style, you can add a strap in back with a button or snap closure instead of making it fitted. Just make the crown a little looser and leave a gap in the back, then crochet two straps that overlap and fasten.
Making the Brim Actually Stay Flat
Okay so going back to this because it’s the most important part and the thing that messed me up for ages. Blocking helps a lot. When you finish the hat, wet it completely, shape the brim how you want it, and let it dry flat. Pin it down if you need to.
Starch. Actual fabric starch spray. Spray the brim, shape it, let it dry. Makes a huge difference especially with cotton yarn. The first time I did this I used way too much and the brim was crunchy but you figure out the right amount pretty quick.
Wire or plastic like I mentioned earlier. You can also use floral wire which is easier to work with than craft wire because it’s coated. Make a circle the size of your brim edge, twist it closed, and either crochet around it in the last round or stitch it into a pocket you make.
Some people use interfacing. Like the stuff you use for sewing projects. Cut it to the shape of your brim, sandwich it between two crocheted brim pieces. This means you’re basically making the brim twice which is annoying but it works really well for keeping shape.
Pattern Modifications
Once you get the basic construction down you can mess with it. Add a hatband in a contrast color – just surface crochet or stitch on a ribbon where the crown meets the brim. Looks more finished.
Make the crown taller for a floppy sun hat look. Like instead of 6 inches work it for 8-9 inches. Then the top slouches over and it’s got that beachy vibe.
Add flowers or other decorations. I’m not really into that stuff but you could crochet a little flower and stitch it on the side.
Use stripes. Change colors every few rounds on the crown. Just carry the unused color up the inside or cut and rejoin, whatever you prefer.
Common Problems
If your crown is cupping inward instead of lying flat, you didn’t increase enough in the beginning rounds. If it’s ruffling, you increased too much. This is just basic circle math but it’s easy to mess up when you’re not following a specific pattern.
If the brim tilts up on one side, your tension is probably uneven or you increased more on one side than the other. Try to keep track of exactly where you’re putting increases and space them evenly.
If the whole hat is too stiff and uncomfortable, you might be crocheting too tight or using yarn that’s too thick for your hook size. Go up a hook size on the crown at least so it has some give.
If it’s too floppy everywhere, opposite problem. Smaller hook or thicker yarn.
Actual Approximate Pattern
This isn’t exact because everyone crochets different but here’s roughly what I do for an adult sun hat:
Magic ring, 8 sc into ring. Round 2: increase in each stitch (16). Round 3: (sc, inc) repeat (24). Round 4: (2 sc, inc) repeat (32). Keep going with this pattern, adding one more sc between increases each round, until you have about 64-72 stitches and the circle measures 7-8 inches.
Then work even (no increases) for about 6 inches or until the hat reaches from your crown to just above your ears.
Switch to smaller hook if you want. Brim round 1: (sc, inc) all around. Round 2: (2 sc, inc) all around. Round 3: (3 sc, inc) all around. Round 4-6: (4 sc, inc) all around, or just work even if it’s wide enough.
For a baseball cap, work the crown the same. Then work back and forth in rows across the front third of the hat, increasing 1 stitch at each end of every row for about 8-10 rows or until the bill is as long as you want.
None of this is precise and you’re gonna need to adjust based on your tension and your yarn and your hook size and honestly just how the thing looks as you’re making it. I never make the same hat exactly the same way twice.