
Mar
okay so mini crochet bags
I made my first actual small crochet bag in spring 2022 when I needed something for my phone and keys at this outdoor concert and honestly didn’t want to bring my whole purse. I just grabbed some cotton yarn I had sitting around and winged it. The pattern wasn’t really a pattern just more like… make a rectangle and fold it in half basically.
The thing about small bags is they’re actually way more useful than you’d think? Like yeah they’re cute but also you can actually finish one in like 2-3 hours if you’re using bulky yarn and a bigger hook. Which is kinda the whole point because who wants to spend three weeks on something that holds your chapstick.
What You’re Actually Making
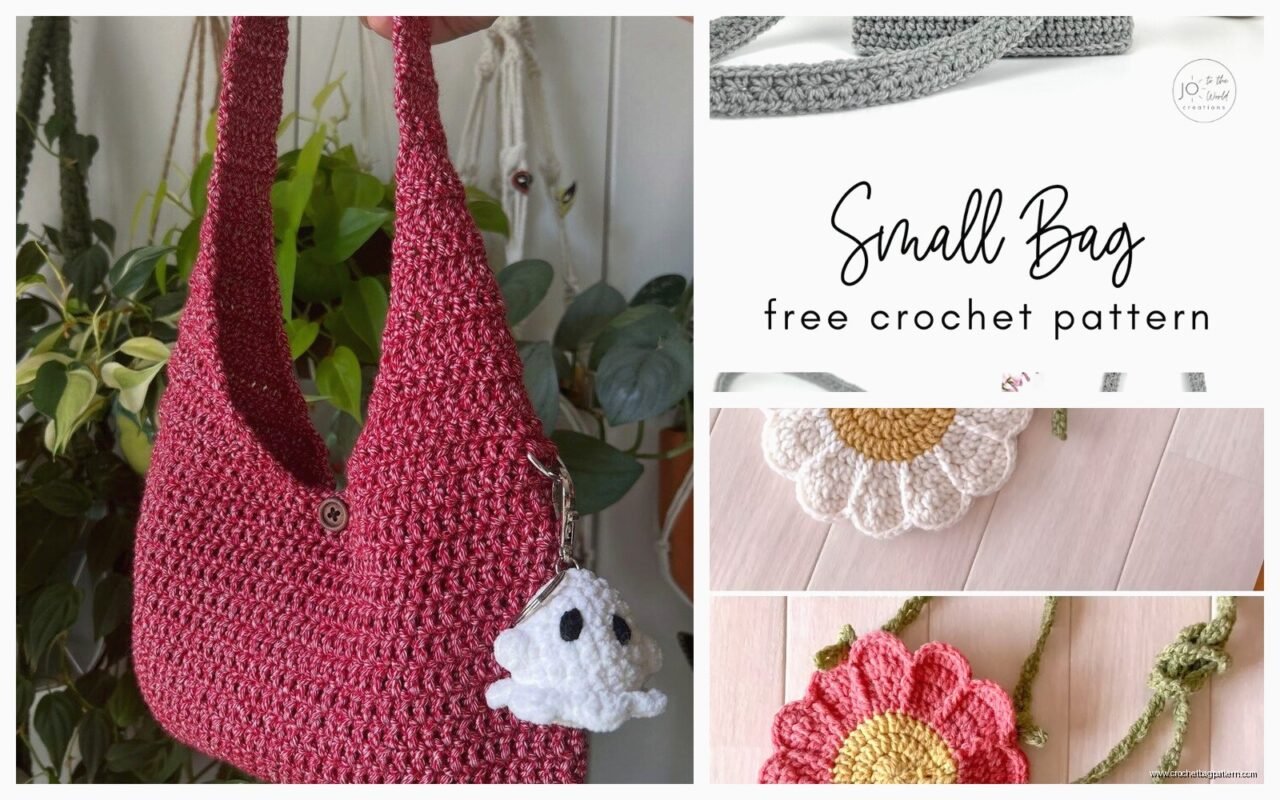
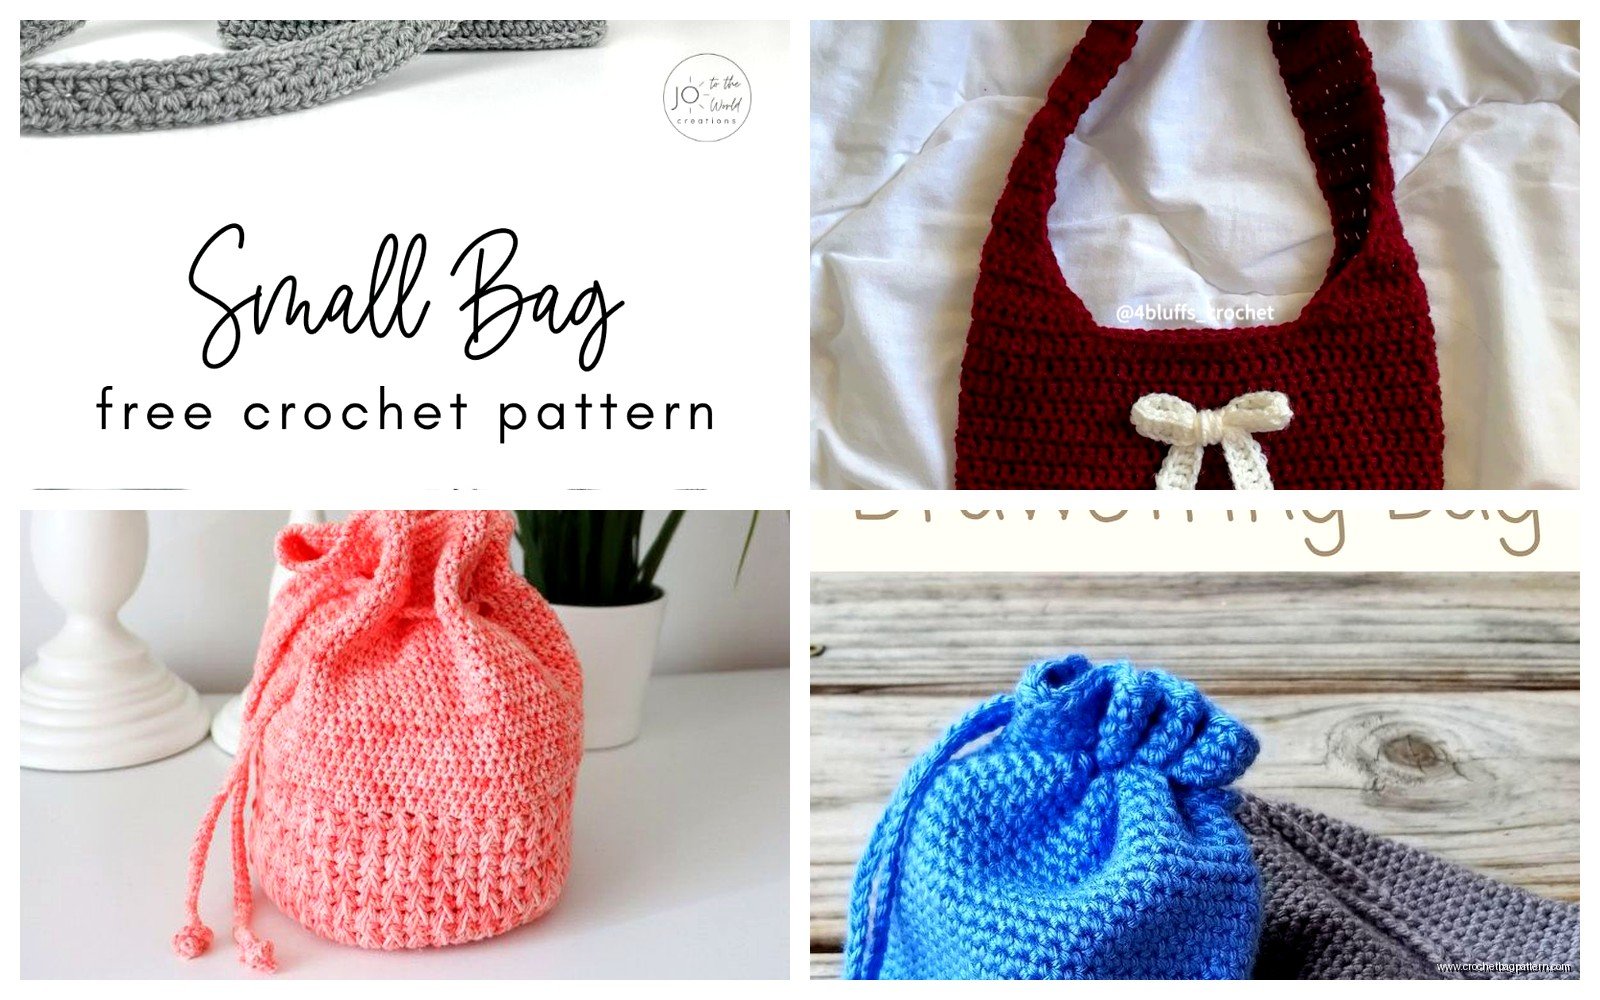
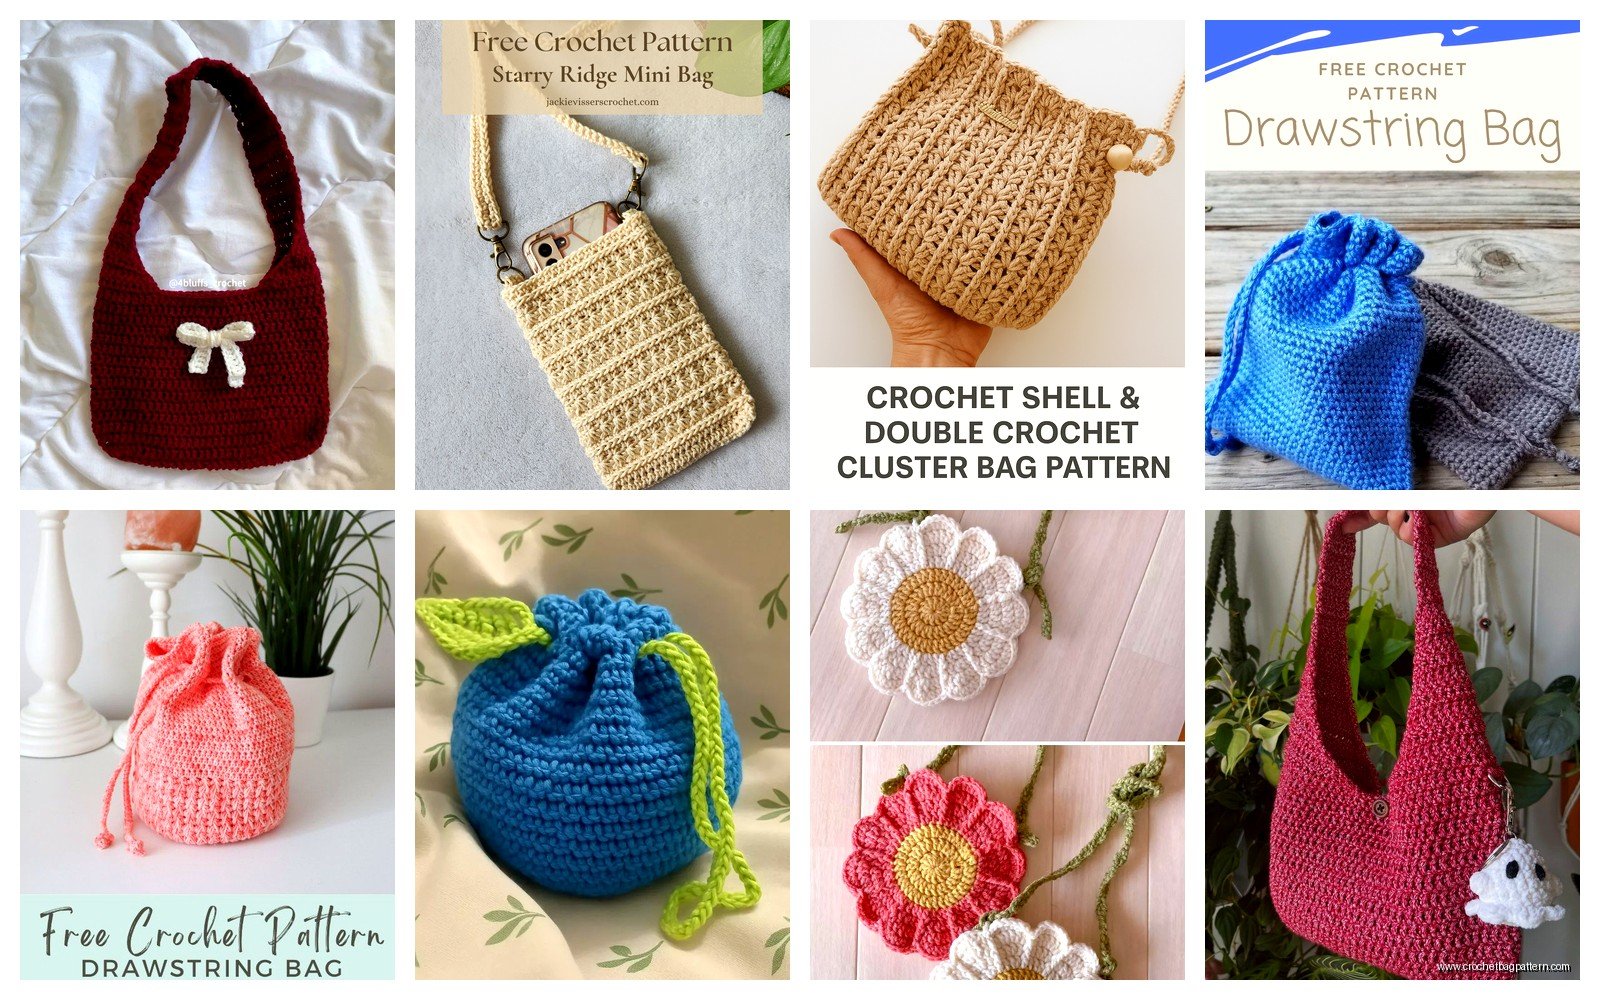
So there’s basically a few types of mini bags you can do. There’s the flat envelope style which is literally just a rectangle you fold up. There’s the drawstring pouch which is what I made that first time. And then there’s the structured ones with a base and sides which honestly are more annoying but look more like actual purses.
For the drawstring one I used Lion Brand 24/7 Cotton in that grey color I think it was called silver? The cotton holds up way better than acrylic for bags because acrylic stretches out and then your bag looks sad and saggy after like two weeks. Trust me I learned this the hard way with a phone case I made that became a phone sleeping bag.
Starting With The Simple Drawstring
You’re gonna chain however wide you want the bag. I did like 25 chains with a 5mm hook which made it about 5 inches wide. Then you just work in rounds going up. Single crochet is your friend here because it makes a tighter fabric that doesn’t have gaps where your stuff falls out.
The annoying thing about working in rounds for bags is you have to decide if you’re doing a spiral or joined rounds. Joined rounds look neater but you get that little seam line. Spiral is invisible but you can lose track of where your round starts and then suddenly you’re like wait did I do 15 or 16 rows? I usually just stick a stitch marker in there and move it up every round.
Work up about 6-7 inches for a phone-sized bag. For the drawstring part you need to make holes somehow. What I do is chain 2, skip 2 stitches, single crochet in the next stitch. Repeat that around for one whole round. Then do one more regular round of single crochet above that. The chain-2 spaces are where your drawstring goes through.
The Actual Drawstring Part
You need to make a cord and honestly there’s like five ways to do this. You can chain a long chain which is fast but kinda wimpy. You can do a slip stitch cord which is sturdier. Or you can just braid yarn together which is what I usually do because I’m lazy and it’s faster than crocheting another thing.
Cut three long pieces of yarn like maybe 60 inches each. Tie them together at one end and braid them. Weave it through those holes you made. I safety pin one end to my couch cushion while I’m braiding because otherwise it just slides around everywhere and my cat thinks it’s a toy and attacks it.
Structured Mini Bag With A Base
This is the one I made summer 2024 when I was trying to avoid thinking about other stuff and needed a project that required actual concentration. You start with the base which is usually an oval or rectangle.
For a rectangle base: chain 12 or whatever length you want. Single crochet in the second chain from hook and across. Chain 1, turn. Single crochet across. Keep going until you have a rectangle that’s like 3 inches by 5 inches or whatever size you want the bottom of your bag to be.
Then here’s where it gets different – you work around the edges of that rectangle going UP instead of making it bigger around. So you’re building walls basically. Single crochet around the entire perimeter of the rectangle but don’t increase anywhere. Just one stitch in each stitch from the base.
The thing that annoyed me SO MUCH about this method is the corners. You have to figure out how many stitches to put in each corner so it doesn’t pucker weird or get all wavy. I usually do 2 stitches in each corner stitch but sometimes that’s too much and sometimes it’s not enough and honestly it depends on your tension and yarn and I never know until I’m already three rounds in.
Yarn Choices That Actually Matter
Cotton is best like I said. Lily Sugar’n Cream is cheap and works fine. It’s kinda rough on your hands if you’re crocheting for a long time but the bag holds its shape. I’ve used Hobbii Rainbow Cotton which is softer and comes in better colors but it’s more expensive.
You can use acrylic if that’s what you have but go for the stiffer kind not the soft baby yarn type. Red Heart Super Saver actually works okay for bags even though everyone talks trash about it. It’s stiff enough that the bag doesn’t collapse.
T-shirt yarn is trendy for bags and I tried it once but didn’t love it? It makes really big chunky bags fast but they’re kinda… I don’t know they look very obviously handmade in that craft fair way. Which is fine if that’s your vibe but I wanted something that looked more like a regular small purse.
Adding Straps and Handles
For a crossbody strap you need something long and sturdy. I usually crochet a long chain and then single crochet back along the chain to make it thicker. You need like 40-50 inches for a crossbody depending on how tall you are and how you want it to hang.
Attach it by sewing it to the sides of the bag with regular needle and thread not yarn because yarn splits and breaks easier. Sew it in like three different spots on each side so it’s really secure because the last thing you want is your strap ripping off when you’re out somewhere.
For short handles like a little handbag style you can do the same thing but shorter obviously. Maybe 8-10 inches each. Or you can get fancy and use cord or ribbon or even chain from the hardware store. I saw someone use ball chain once which looked cool but seems like it would be annoying and jangly.
Closures Are The Worst Part Honestly
Okay so you made your bag and now you need it to actually close or everything falls out. Drawstrings are easiest which is why I do those most. Buttons are cute but you have to make a buttonhole which means planning ahead and I never remember to do that until the bag is done.
For a button closure you need a loop. When you’re crocheting the flap that folds over you just chain like 8 or 10 in the middle of a row then skip those stitches and continue. That makes a loop. Then sew a button on the front of the bag where the loop reaches. Test it first before you sew the button because I’ve definitely sewn buttons in the wrong spot and had to pick them off and redo it.
Magnetic snaps from the craft store work but you have to install them while you’re making the bag kind of? Or reinforce the fabric first? I tried to add one after the bag was finished and it just ripped through the crocheted fabric because the holes are too big. You need to sew a patch of regular fabric on the inside first then attach the snap through that.
Zippers are a whole thing and honestly I’ve only done it twice because you have to hand sew the zipper to the crochet and it takes forever and my stitches always look messy. But it does make the bag look professional if you can deal with the tedious sewing part.
Patterns I’ve Actually Used
Most of my small bags aren’t from patterns because the basic shapes are pretty straightforward once you make one. But when I first started I used a pattern from some blog I can’t remember the name of… it was like “modern crochet something” and had a free pattern for a phone pouch that was two rectangles sewn together on three sides.
There’s also tons on Ravelry if you search mini bag or small purse. Some are free some cost like three dollars. I bought one once for a structured bag with a wooden frame handle and the pattern was fine but didn’t explain how to attach the frame very well so I had to figure that out myself.
The envelope clutch style is really just: make a rectangle about 8 inches by 10 inches, fold up the bottom third, sew the sides, fold down the top third as a flap. Add a button. Done. You don’t really need a written pattern for that you can just do it.
Sizing For Different Uses
Phone bag needs to be about 4-5 inches wide and 6-7 inches tall depending on your phone. Add an inch to whatever your phone measurements are so it’s not skin tight.
Coin purse can be tiny like 3×3 inches. These are good for using up leftover yarn and they make okay gifts if you know someone who actually uses coins anymore which I mostly don’t but whatever.
Glasses case is usually 4 inches wide and 7 inches tall. Make sure you measure your actual glasses first because sunglasses are bigger than reading glasses usually.
For like a small evening bag that holds your phone, keys, lipstick you probably want 6 inches wide and 8 inches tall. That’s big enough to be useful but small enough that it’s still actually a mini bag.
Decoration Without Going Overboard
You can add stuff to make it cuter but like… don’t go too crazy or it starts looking like a craft project instead of something you’d actually carry. A simple flower or button is fine. Tassels on the drawstring are cute and easy.
I made one with little beads worked into the stitches which looked pretty but was SO annoying to actually crochet because you have to thread all the beads onto the yarn first before you start. And if you don’t thread enough you have to cut the yarn and add more beads and it’s a whole thing. Looked cool though.
Color blocking is easier than patterns for adding visual interest. Just change colors every few rows or do stripes. I made a striped one while watching that show The Bear and had to keep rewinding because I’d lose track of what was happening on the show.
Lining Your Bag
Okay so this is optional but it makes the bag way more functional. Cut fabric slightly bigger than your bag dimensions. Sew it into a pouch shape with your sewing machine or by hand if you hate yourself. Turn it inside out so the seams are hidden. Stick it inside your crochet bag and hand sew it to the top edge.
The lining stops small stuff from falling through the crochet holes and also makes the bag stiffer and more structured. I use whatever fabric I have around usually cotton quilting fabric. You can get fat quarters at craft stores for like two dollars.
I skip lining on drawstring bags usually because they’re already pretty tight stitches if you use single crochet. But for anything with a more open stitch pattern you’re gonna want a lining or you’ll lose your chapstick in the grocery store parking lot through a hole in your bag.
Tension Issues
Your tension matters more for bags than for like scarves or whatever because if your stitches are loose the bag stretches and looks sloppy. If they’re too tight your hands will hurt and the fabric will be stiff and weird.
I crochet pretty tight naturally which actually works out for bags. If you’re a loose crocheter maybe go down a hook size. The fabric should be firm but not so stiff that it doesn’t have any drape at all. It should hold its shape when you set it down empty.
Test your tension by making a small swatch first if you’re worried about it. Which I never do because I’m impatient but it’s probably good advice anyway. Just crochet like a 3×3 inch square and see if you can see through it when you hold it up to the light. If there’s big gaps between stitches your tension is too loose for a bag.
And that’s basically it? You make a shape, add a way to carry it and a way to close it, maybe line it if you’re feeling ambitious. Small bags are good starter projects because they’re fast and useful and if you mess up it’s not a huge loss of time or yarn. I’ve probably made like eight or nine of them at this point and given most away because how many tiny bags does one person need really.