
Mar
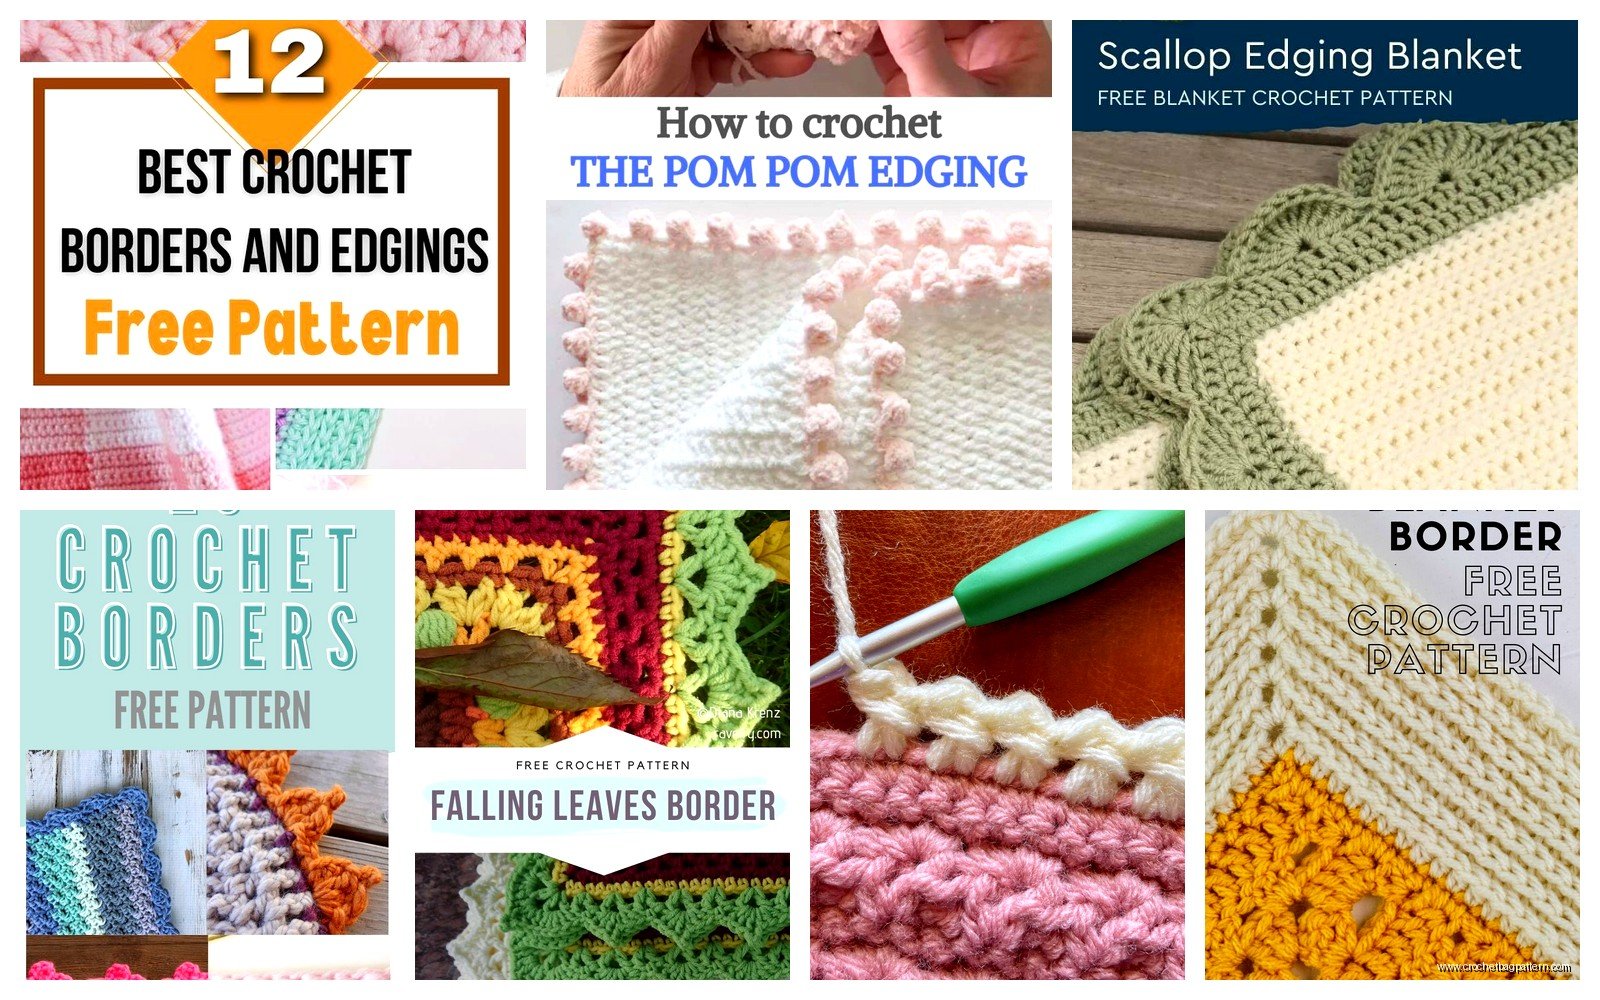
okay so edging is basically how you finish a blanket so it doesnt look sad
I made this granny square blanket back in spring 2022 and just left it without any border for like three months because I thought it was done but then my sister came over and was like “are you gonna finish that” and I realized it looked kind of unfinished and floppy around the edges. That’s when I actually started paying attention to edging patterns.
The thing about blanket borders is they’re not just decorative even though everyone acts like they are. They actually stabilize the whole piece and keep it from stretching out weird when you wash it. I learned that the hard way with a baby blanket I made that turned into a trapezoid after one wash cycle because I skipped the edging entirely.
Basic Single Crochet Border
This is where you gotta start if you’ve never done edging before. It’s literally just single crochet stitches all the way around the perimeter of your blanket. The tricky part is the corners though and nobody really explains this well.
So you work your single crochets along one side, and when you hit a corner you need to put 3 single crochets into that same corner stitch. This creates the turn. If you only do 2 it’ll curl under, if you do 4 it’ll ruffle up. Three is the magic number for most blankets but sometimes with really thick yarn you might need to adjust.
I used Red Heart Super Saver for that spring 2022 blanket because it was cheap and I had a ton left over from another project. The color was “Soft White” which is not actually white it’s more like cream but whatever. For edging I usually grab whatever yarn I used for the main blanket but you can do contrasting colors if you want that look.
Shell Stitch Border
This one’s prettier than basic single crochet and not actually that much harder. You’re basically making little fan shapes all the way around. The pattern goes like: skip 2 stitches, then work 5 double crochets into the next stitch, skip 2 stitches, single crochet into the next stitch. Repeat that forever until you’re back where you started.
The annoying thing about shell borders is counting. You have to make sure your stitch count is divisible by whatever your repeat is or you’ll get to the end and have like 3 stitches left over and the pattern won’t complete properly. I spent forty minutes last summer ripping out a shell border because I didn’t count first and my blanket had 127 stitches on one side which doesn’t divide evenly into the 6-stitch repeat I was using.
For corners with shell stitch you usually work a single crochet-chain 2-single crochet into the corner space. Or sometimes people do a small shell in the corner. Honestly it depends on the specific pattern you’re following but the main thing is the corner needs something extra or it won’t turn properly.
Picot Edge
Picots are those little bumpy points that make everything look more finished. My cat absolutely hates when I make picot edges because the yarn gets everywhere and she tries to attack it while I’m working, which happened during the entirety of a blanket I made in summer 2024 while watching that show The Bear which was stressful enough without a cat involved.
The basic picot is: single crochet, chain 3, slip stitch back into the same stitch where you made the single crochet. That creates one little point. Then you do a couple regular single crochets before making another picot. Like maybe 2 or 3 single crochets between each picot depending on how dense you want them.
You can also do bigger picots with chain 4 or chain 5 but those start looking kinda spiky. I stick with chain 3 usually. Some people do chain 2 for mini picots which looks delicate but takes forever because you need more of them to fill the space.
Crab Stitch Border
This is also called reverse single crochet and it’s exactly what it sounds like – you work single crochet backwards. Instead of moving left to right (or right to left if you’re left handed) you go the opposite direction.
It creates this twisted rope look that’s really sturdy. I use crab stitch on blankets that are gonna get a lot of use like the one I made for my nephew who drags his blankets everywhere including outside apparently. The crab stitch holds up better than regular single crochet because of how the stitches twist.
To do it you insert your hook into the next stitch to the right (going backwards), yarn over and pull through, then yarn over and pull through both loops like a normal single crochet. It feels super awkward at first and your tension is gonna be weird for the first few stitches but then you get into a rhythm. Kind of.
The thing that annoyed me about crab stitch is how much it twists the yarn. You have to stop every few stitches and let your yarn untwist itself or it turns into this tangled mess. I learned to just accept that crab stitch means stopping frequently to fix the yarn situation.
Scalloped Edge
Scallops are basically bigger shells. The pattern I use most is: single crochet, skip 3 stitches, work 7 double crochets into next stitch, skip 3 stitches, single crochet. That makes one scallop.
You can adjust the number of double crochets to make bigger or smaller scallops. Some patterns use 5 dc for small scallops, some go up to 9 for really dramatic ones. I made a blanket with 9-dc scallops once using Caron Simply Soft in “Plum Wine” and it was very extra looking but in a good way.
Corners with scalloped edges are weird because you can’t really put a scallop directly in the corner or it sticks out funny. What I do is work a single crochet in the corner stitch with a chain 2 on each side of it, then continue the scallop pattern. It’s not perfect but it works.
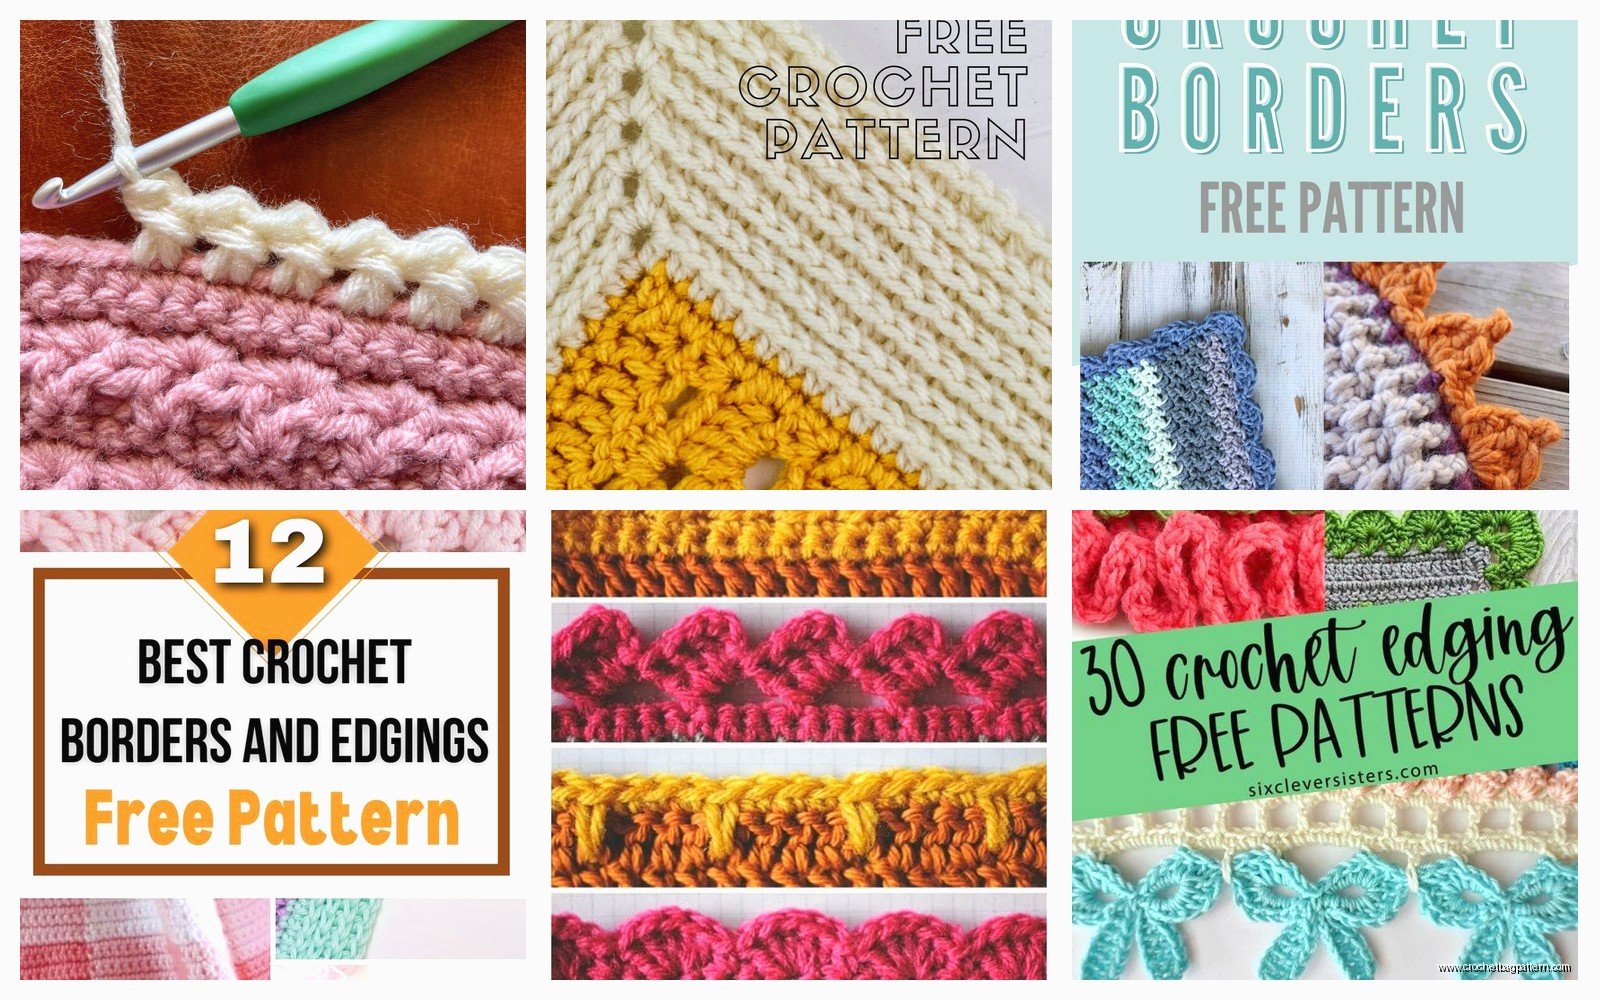
Bobble Border
Bobbles add texture and they’re satisfying to make because you can see them pop out as you work. A basic bobble is 5 incomplete double crochets all worked into the same stitch, then you yarn over and pull through all the loops at once.
For a bobble border I usually do: single crochet in first stitch, bobble in next stitch, single crochet in next stitch, repeat. Or sometimes you space them out more with 2 or 3 single crochets between each bobble.
The yarn you use makes a big difference with bobbles. They show up better with smooth yarn like I Love This Yarn from Hobby Lobby (the “Olive” color is really nice). With fuzzy yarn like Red Heart Hygge the bobbles kind of disappear into the fuzz and you can’t see them as well which defeats the purpose.
Adding Multiple Border Rounds
You don’t have to stop at one round of edging. A lot of times I’ll do 2 or 3 different borders stacked on top of each other. Like start with a round of single crochet to stabilize everything, then add a round of shells, then finish with picots.
When you’re adding multiple rounds you need to think about whether the stitch counts will work together. If your first round creates a certain number of stitches, your second round pattern needs to divide evenly into that or you’ll have the same problem I mentioned earlier with leftover stitches that don’t fit the pattern.
I made a blanket in summer 2024 with four border rounds and honestly it was overkill but I was going through some stuff and just kept adding borders because I didn’t want to be done with the project yet. It had single crochet, then v-stitch, then shell stitch, then picots. Looked good though.
Color Changes in Borders
Switching colors mid-border or between border rounds can look really cool but you gotta plan where to put the color changes. I usually change colors at a corner so the join is less visible.
To change colors you work up until the last yarn over of the final stitch in the old color, then use the new color for that last yarn over. This makes a cleaner transition than if you just start the new stitch with new color.
For striped borders you can carry the unused color along the edge but this only works if your border stitches are tall enough to hide the carried yarn. With single crochet borders the carried yarn shows through so you’re better off cutting and rejoining.
Dealing With Uneven Edges
If your blanket is made of granny squares or motifs that you joined together, the edges are probably not perfectly straight and that’s gonna affect your border. You might need to add extra stitches in some spots and skip stitches in other spots to even things out.
What I do is work one round of single crochet first, adding increases where the edge pulls in and skipping stitches where it waves out. This creates an even foundation for whatever fancy border I want to add on top.
It’s not an exact science though you kind of have to eyeball it. Make a few stitches, then look at the edge and see if it’s laying flat or if it’s ruffling or pulling. Adjust as you go.
Yarn Weight Considerations
The weight of yarn you use for edging should usually match what you used for the blanket but not always. Sometimes I’ll use a thinner yarn for delicate edging like picots because it shows the detail better.
If you’re using different weight yarn for the border you might need to change hook sizes. Like if your blanket is worsted weight and you want to add a border in sport weight, you’d probably go down a hook size or two for the border so the stitches are proportional.
I experimented with this on a blanket where I used Bernat Blanket yarn (the really chunky stuff) for the main part and then switched to Red Heart Super Saver for a shell border. Had to use a smaller hook for the border or the shells were huge and floppy. Actually looked pretty good with the contrast in textures.
Blocking Your Border
After you finish the edging you should probably block the whole blanket to make everything lay flat and even out the stitches. I say “should probably” because I don’t always do it especially for blankets that are just gonna get thrown on a couch.
For blocking you pin the blanket to blocking mats or just pin it to your carpet if you don’t have mats, spray it with water, and let it dry. This sets the stitches and makes fancy borders like shells and scallops look more defined.
Acrylic yarn doesn’t block as dramatically as wool but it still helps. I blocked that Caron Simply Soft scalloped blanket I mentioned and the scallops laid much flatter and more even after blocking.
When Edging Goes Wrong
Sometimes you finish a border and it just looks bad. Maybe it ruffles, maybe it pulls in, maybe the pattern doesn’t work with your blanket shape. It happens.
I made a rectangular blanket once and tried to add a corner-to-corner scalloped border and it was a disaster because rectangular blankets have different length sides and the scallop pattern didn’t account for that. Had to rip out the whole thing and start over with a simpler border that didn’t require the sides to be equal length.
Don’t be afraid to rip out a border if it’s not working. It’s frustrating but better than keeping something that looks wrong. I’ve ripped out borders multiple times on the same blanket before finding one that worked.
The other thing that can go wrong is running out of yarn halfway through a border which happened to me on that spring 2022 blanket I mentioned at the beginning. Had to order more Red Heart Super Saver and wait for shipping and the dye lot was slightly different so one section of the border is like half a shade darker but you can only tell if you’re really looking for it so whatever I guess.