
Mar
Getting Started With Your Temperature Blanket
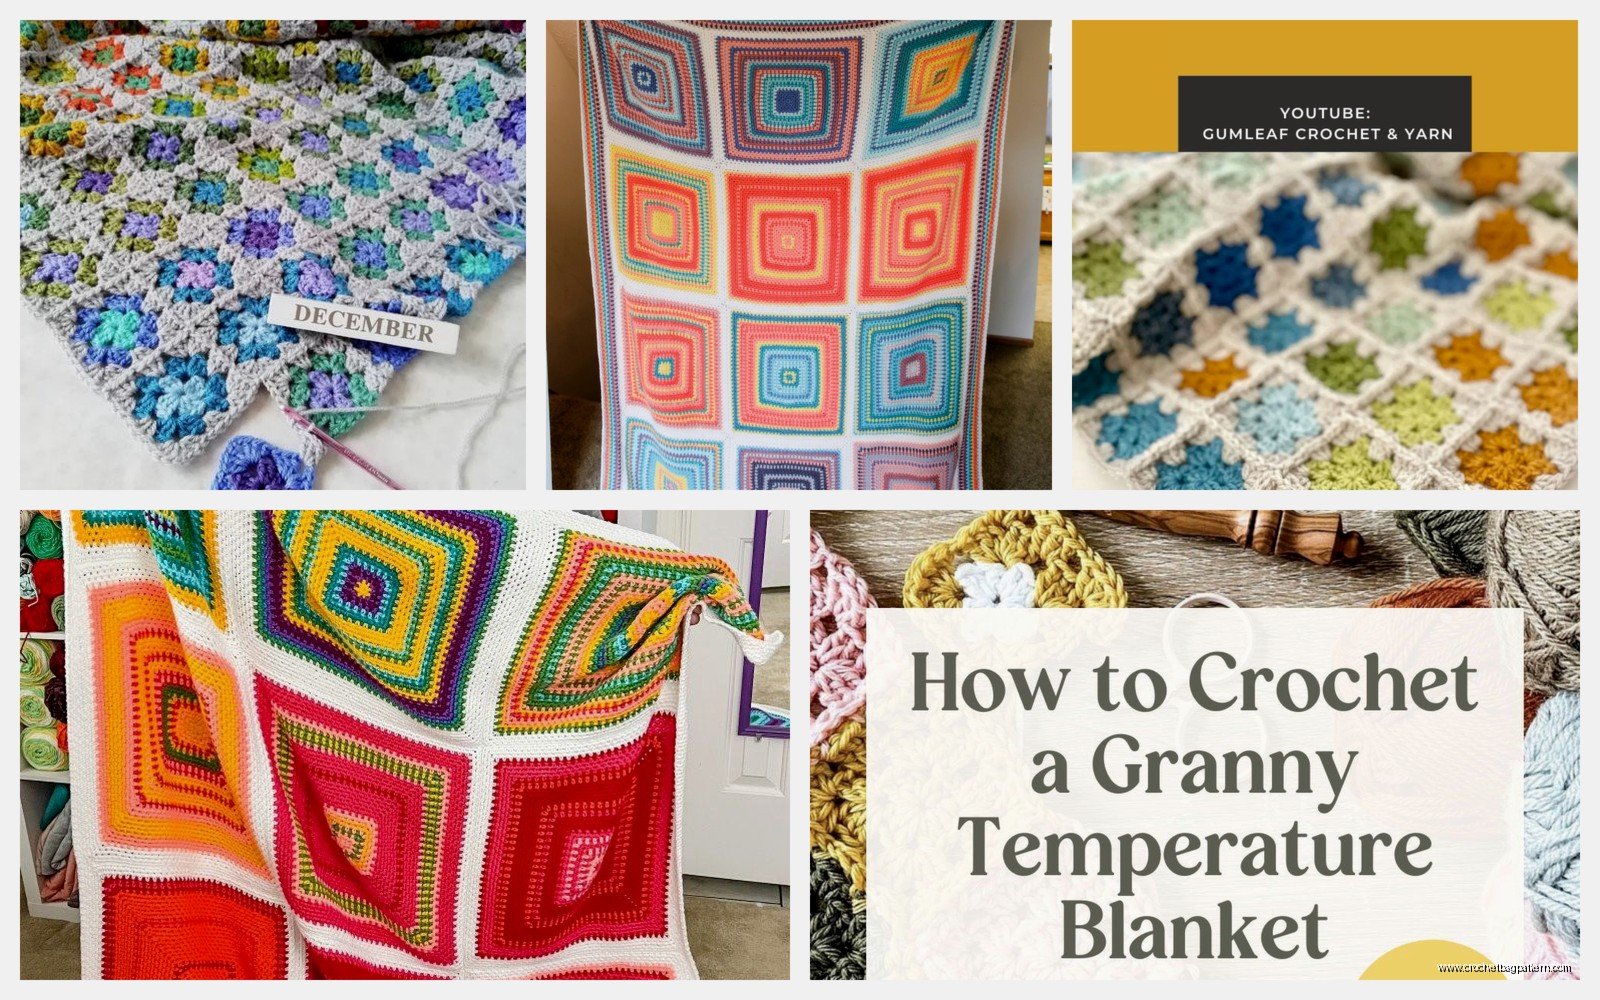
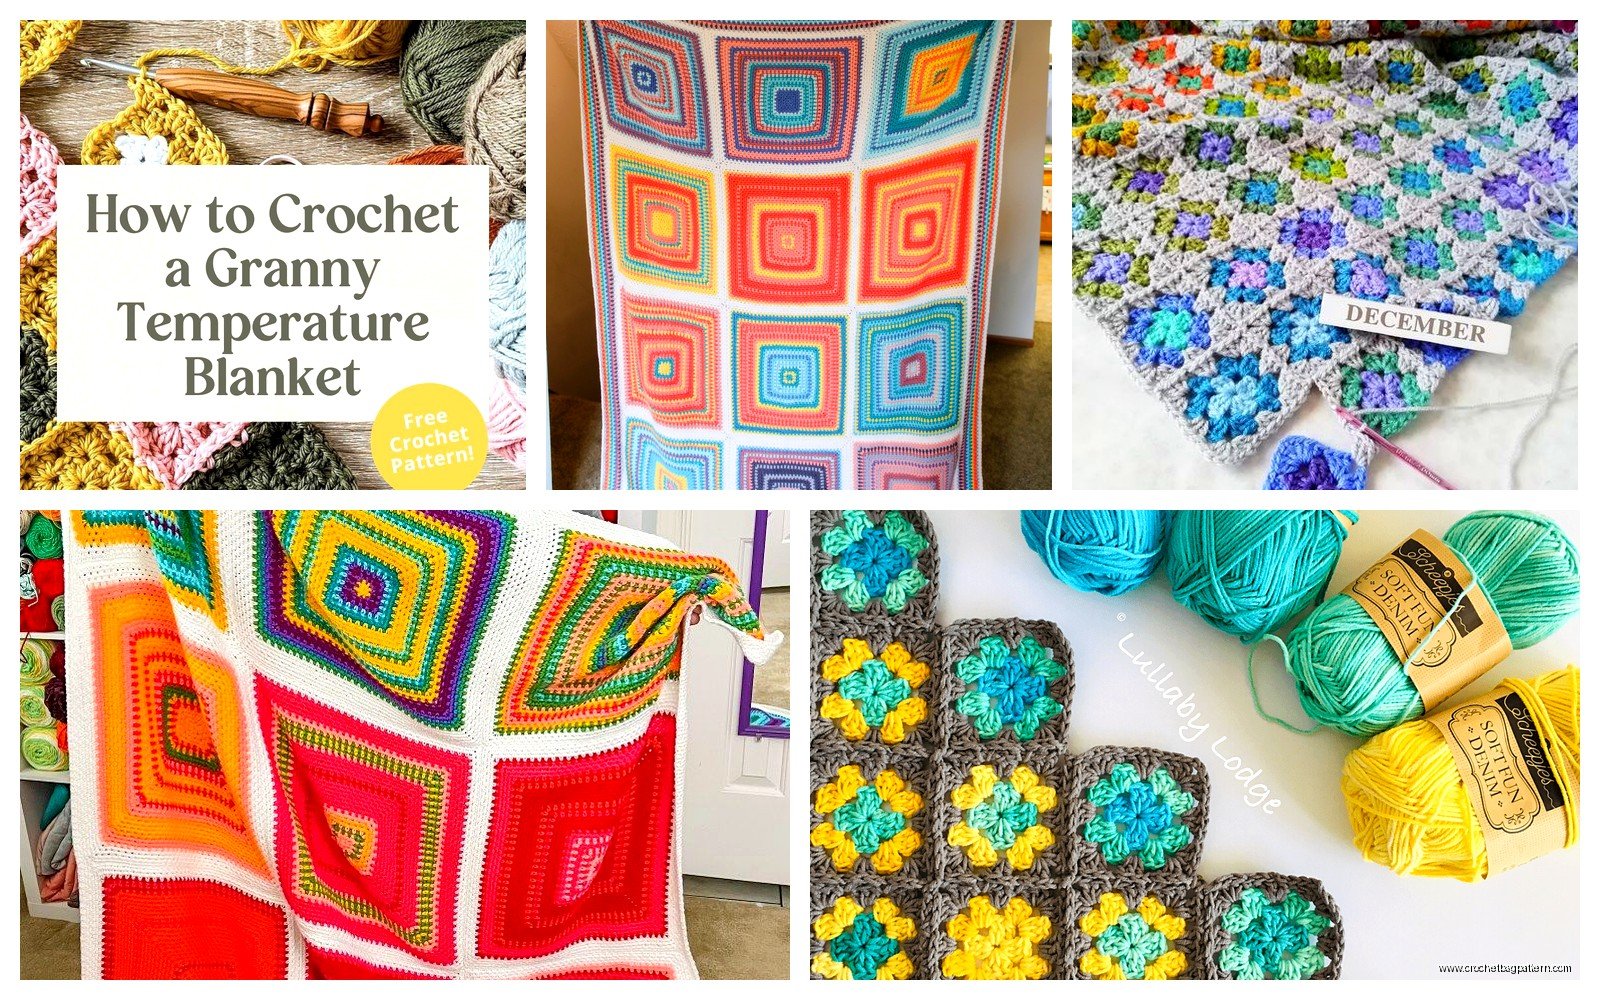
So basically you pick a year and you crochet one granny square every single day based on what the temperature is outside. I made mine starting January 2023 because I was stuck at home a lot that winter and needed something to do with my hands while binge-watching The Last of Us. Each temperature range gets assigned a color and then by the end of the year you have this whole blanket that’s like a weather diary but in yarn form.
First thing you gotta do is figure out your color scheme. I used 8 different colors because where I live the temperature swings pretty wildly from like 15°F in winter to 95°F in summer. You need to look at your area’s typical temperature range for the whole year before you start or you’ll end up with colors you never use. I made that mistake initially and bought this gorgeous deep purple thinking we’d have more cold days but we only hit that range like four times.
Picking Your Temperature Ranges
Here’s what I did for my ranges:
- Below 20°F – dark blue
- 20-32°F – light blue
- 33-45°F – teal
- 46-58°F – green
- 59-71°F – yellow
- 72-84°F – orange
- 85-95°F – coral
- Above 95°F – red
You can make your ranges whatever size you want honestly. Some people do 5-degree increments but that sounds like way too many colors to keep track of and also where would you even store that much yarn.
Yarn Choices Because That Actually Matters
I used Red Heart Super Saver for most of mine because it’s cheap and I wasn’t about to spend a fortune on a project that needs like 8-10 skeins total. The color selection is pretty good too. I got the “Turqua” for my teal, “Bright Yellow” for the yellow, and “Pumpkin” for the orange. For the blues I think I used Caron Simply Soft in “Ocean” and “Soft Blue” because they were on sale at Michael’s and honestly they worked up nicer than the Red Heart but whatever, it’s all mixed together now anyway.
Some people get really precious about using only natural fibers or fancy yarn but look, you’re making 365 squares. That’s gonna take probably 2500-3000 yards of yarn total depending on your square size. Use acrylic. It’s washable and it holds up.
The one thing that really annoyed me about this whole process was keeping track of which day I was on. I started out all organized with a little notebook where I’d write the date and temperature but by March I kept forgetting to write it down and then I’d have to go back and look up historical weather data online which was just annoying. Weather.com has a history feature but it only goes back so far and sometimes I’d miss a few days and then have to figure out… anyway I eventually just set a phone reminder but still managed to forget sometimes.
The Actual Granny Square Pattern
I’m assuming you know how to make a basic granny square but if not it’s literally just: chain 4, join into a ring, chain 3, then do 2 double crochet in the ring, chain 2, then repeat that whole cluster three more times so you have four corners. Each round after that you’re just doing 3 double crochet clusters in each space with chain 2 in the corners.
For the temperature blanket I made 4-round squares. That gave me squares that were about 4.5 inches across with a size H hook. You could do smaller or bigger but remember you need 365 of them so think about how big you actually want this blanket to be.
365 squares at 4.5 inches each… you’re not gonna lay them out in a single row obviously. I did mine in a 21×17 grid with 8 squares left over that I just used for like, I don’t even know, I think they’re in a drawer somewhere. Some people do 19×19 which leaves you with 4 extra. Just plan it out before you start joining them.
Staying Consistent Throughout The Year
The hardest part isn’t the actual crocheting, it’s remembering to do it every single day. I did pretty well January through April, then May got busy at work and I’d end up making like 5 squares on Sunday to catch up. By August I had a system where I’d make the square the next morning and check the previous day’s high temperature.
You’re supposed to check the high temperature for each day. Some people use the low temperature or the average but the high temp gives you more color variation I think. Though in summer you’re gonna have a LOT of the same hot-weather colors all grouped together. My July and August section is basically all orange and coral with occasional red days which looks kinda boring honestly but that’s just how weather works.
I kept all my yarn in one of those plastic drawer organizers from Target. Each color got its own section and I kept a size H hook in there too so everything was in one place. My cat kept trying to sleep in the drawer though which was—anyway that’s not really relevant but it happened a lot.
What To Do When You Mess Up Or Miss Days
You’re gonna miss days. I missed probably 15 days total throughout the year, mostly in small chunks like a weekend here or there. When that happened I just looked up what the temperature was for those days and made the squares whenever. Nobody’s checking your work. This isn’t a test.
If you make a square in the wrong color just either redo it or don’t. I had one square that was supposed to be yellow but I made it orange because I wasn’t paying attention and I just left it. It’s in there somewhere. Adds character or whatever.
Joining All The Squares Together
This is the part that almost made me quit. You have 365 squares and they all need to be connected and it takes SO much longer than you think it will. I started joining mine in December while I was still making the last few squares because I knew it would take forever.
I used the join-as-you-go method where you connect each square to the previous ones as you finish the last round. There’s lots of tutorials for this online. Basically in your last round when you hit a corner that needs to connect to another square, you do your chain 2 but you slip stitch into the other square’s corner space in the middle of those 2 chains. It sounds complicated but once you do it a few times it makes sense.
Some people whipstitch all their squares together at the end or use the zipper method or whatever but join-as-you-go is faster even though you have to think about the layout as you work.
Actually I take that back, I didn’t use join-as-you-go for all of them. I got about 100 squares in and realized I wanted to arrange them in calendar order, not random order, so I had to lay them all out first. Then I just whipstitched them together with matching yarn colors. Took me probably 20 hours total of just joining. My hands hurt for days after.
Layout Options
You can arrange your squares in actual calendar order like January 1st top left, January 2nd next to it, and so on. That’s what I did. It makes it so you can look at the blanket and see the progression of seasons which is kind of the whole point.
Other people do it where each row is a month, so 12 rows of 30-31 squares each. That works too but your blanket will be a weird shape.
Some people get creative and do spiral patterns or whatever but honestly that sounds like more planning than I wanted to deal with. Calendar order, left to right, top to bottom. Done.
Border Situation
After everything was joined I did a simple border around the whole thing. Just single crochet all the way around in one of the neutral colors. I used the dark blue because I had extra. Did three rounds of single crochet to make it sturdy.
You don’t have to do a border but the edges will look kinda messy without one. Up to you.
Time Investment Reality Check
Each square took me about 15-20 minutes. Some people are faster. That’s roughly 90-120 hours of actual crocheting for all 365 squares. Then joining took another 20 hours. Then the border was maybe 3 hours. So you’re looking at 110-140 hours total for the entire project.
Spread over a year that’s totally doable but it’s also a significant time commitment. There were definitely days where I just didn’t feel like doing it and had to force myself to make the square while watching TV or whatever.
Things I Would Do Differently
I would’ve picked better color transitions. My green and yellow don’t really go together that well and they end up next to each other a lot in spring. I should’ve done more of an ombre situation with colors that blend better.
Also I wish I’d made bigger squares. The 4-round squares work but a blanket made of 5 or 6-round squares would feel more substantial and you wouldn’t need as many squares total. Though I guess that defeats the purpose of one square per day.
I would’ve set up a better tracking system from day one. Like a printed calendar where I could just write the temp and check off each day. Going back to find historical weather data was tedious.
Oh and I should’ve weighed my yarn before starting to make sure I bought enough of each color. I ran out of yellow in October and had to go buy another skein but they didn’t have the exact same dye lot so there’s a slight color difference in some of the yellow squares. You can only tell if you’re looking for it but it bugs me.
Cost Breakdown Roughly
I spent about $45 on yarn total. That’s buying most skeins at regular price with a few on sale. If you use coupons and watch for sales you could probably do it for $30-35. Each skein of Red Heart Super Saver is usually around $4-5 and you’ll need 1-2 skeins per color depending on your temperature distribution.
Hook costs whatever, I already had mine. You also need a yarn needle for weaving in ends which is like $2.
So under $50 for the whole project which isn’t bad for a year-long craft that results in a full-size blanket.
The Weaving In Ends Nightmare
Every single square has at minimum 2 ends to weave in, one from starting and one from finishing. That’s 730 ends. I did not weave them in as I went because I’m apparently bad at making good choices. I saved them all for the end and spent an entire weekend in January 2024 just weaving in ends while watching the Royal Rumble. It was miserable.
Weave in your ends as you go. Do not be like me. Just do it.
Some people don’t weave in ends and just tie them off but that looks sloppy and they’ll come undone eventually when you wash it.
Weather Data Sources
I used Weather Underground mostly because it has detailed historical data and it’s free. You can search by your city and date and it’ll show you the high and low temps for that day. Weather.com works too. Some people use their local news station’s website.
You need to pick ONE source and stick with it all year because different sources sometimes report slightly different temperatures and you want consistency. I used the weather station closest to my actual house which you can select on Weather Underground.
If you’re traveling during the year you have to decide if you’re using the temp from where you are or where you live. I went on vacation in June and just kept using my home city’s temps because that’s what the blanket represents, the weather where I live for that year.
Variation Ideas If You Wanna Get Weird With It
Some people do rainfall instead of temperature. Like different colors for sunny, cloudy, rainy, snowy, etc. That could be cool but seems harder to track consistently.
You could do two colors per square, one for the high temp and one for the low temp. Make each square with two rounds of one color and two rounds of another. I thought about doing this but it seemed overly complicated.
There’s also people who do temperature scarves instead of blankets, where you crochet or knit a few rows each day in the temperature color. That would be finished faster but you don’t get the same grid visual effect.
Baby blankets using just three months of data instead of a full year. Good for like, making one during pregnancy for the baby’s first season or whatever. Not my thing but I’ve seen people do it.
Display and Use
My finished blanket is like 7 feet by 6 feet roughly, big enough to use on a couch or bed. It’s pretty heavy because acrylic yarn has some weight to it when there’s that much of it. I keep mine folded over the back of my couch mostly because it’s kind of a conversation piece when people come over.
It’s definitely usable as an actual blanket though. I’ve washed it twice in cold water on gentle cycle and it held up fine. Dried it on low heat. The colors didn’t bleed or fade.
Motivation Tips I Guess
The novelty wears off pretty fast. By February you’re just making squares in whatever color and it feels repetitive. I stayed motivated by keeping the project visible—I had a basket next to the couch with all my yarn and works-in-progress so I’d see it every day and remember to do it.
Some people post daily photos on Instagram or join Facebook groups for temperature blankets where everyone shares progress. That wasn’t my style but maybe it works for you if you need external accountability.