
Mar
Getting Your Supplies Together
So you wanna make a crochet turkey for Thanksgiving and honestly it’s way easier than those fancy patterns make it look. I made my first one back in spring 2022 when I was avoiding literally everything else in my life and just needed something to do with my hands while rewatching The Office for the millionth time.
First thing you need is yarn and I’m gonna be real with you the brand actually matters a bit here. I used Red Heart Super Saver in Cafe for the body because it was cheap and I had it around but also because that brown is actually perfect for a turkey body. For the feathers I grabbed whatever fall colors I could find – I think I used Loops & Threads Impeccable in Autumn, Harvest, and Soft Yellow? Something like that. The orange for the beak and feet was definitely Red Heart though, probably their Pumpkin color.
You’re gonna need a 3.5mm or 4mm hook depending on how tight you crochet. I use 3.5mm because I crochet pretty loose and if you go bigger the stuffing shows through which looks terrible. Get some polyfil stuffing too, the cheap stuff from Walmart works fine. Also safety eyes if you want them but honestly I just embroidered eyes with black yarn because I was too lazy to order the plastic ones and wait.
The Body Part Which Is Actually Just a Ball
The body is literally just a sphere. Like you’re making a ball. If you’ve ever made any amigurumi before you know the basic formula – magic ring, increase rounds, straight rounds, decrease rounds. But let me break it down.
Start with a magic ring and 6 single crochets into it. Pull it tight. Then you do the standard increase pattern:
- Round 1: 6 sc in magic ring
- Round 2: inc in each stitch (12)
- Round 3: sc, inc around (18)
- Round 4: sc in 2, inc around (24)
- Round 5: sc in 3, inc around (30)
- Round 6: sc in 4, inc around (36)
Keep going like this until you get to about 48 or 54 stitches depending on how big you want your turkey. Mine was 48 because I wanted it kinda small and cute, not like a massive turkey situation.
Then you just work even rounds without any increases for maybe 10-12 rounds. This creates the middle fat part of the body. The thing that annoyed me SO MUCH about this was keeping count of my rounds because I’d get distracted and lose track and have to count all the stitches to figure out where I was. Just use a stitch marker or a piece of different colored yarn to mark your rounds, seriously.
After the straight rounds you decrease the same way you increased but in reverse. So sc in 4, dec around, then sc in 3, dec around, etc. When you get to about round where you have maybe 18 stitches left, stuff it firmly with the polyfil. Don’t under-stuff it or it looks sad and deflated. Keep decreasing until you can close it up completely.
The Head Is Smaller But Same Idea
The head is just a smaller version of the body. I did mine with increases up to 30 stitches, then maybe 5 or 6 even rounds, then decreased back down. You want it proportional to the body but smaller obviously because it’s a head.
Before you close up the head completely, add the eyes. If you’re using safety eyes put them in now before stuffing. I embroidered mine with black yarn after the fact which was actually harder than I thought because trying to get them even was… anyway. Make them kinda on the sides of the head because turkeys have side-eye energy.
Stuff the head and close it up. You’ll attach it to the body later so leave a long tail for sewing.
The Waddle Thing and Beak
Okay the waddle (that red thing that hangs down) is actually super easy but looks impressive. I used Red Heart in Cherry Red I think? Just chain 8 or 10, then single crochet back down the chain but skip the first chain. So you sc in the second chain from hook and continue down. This makes it curl naturally which is exactly what you want.
For the beak I used orange yarn and just made a small cone shape. Magic ring with 4 sc, then one round of 8 sc (so inc in each), then 2 or 3 rounds even. Don’t stuff it too much or it looks weird and bulky. Just a tiny bit of stuffing to give it shape or honestly you can skip stuffing it entirely.
Sew the beak onto the front middle of the head and sew the waddle so it drapes down from where the beak meets the head. It should hang down over the front of the body once you attach the head.
Tail Feathers Are Where It Gets Fun
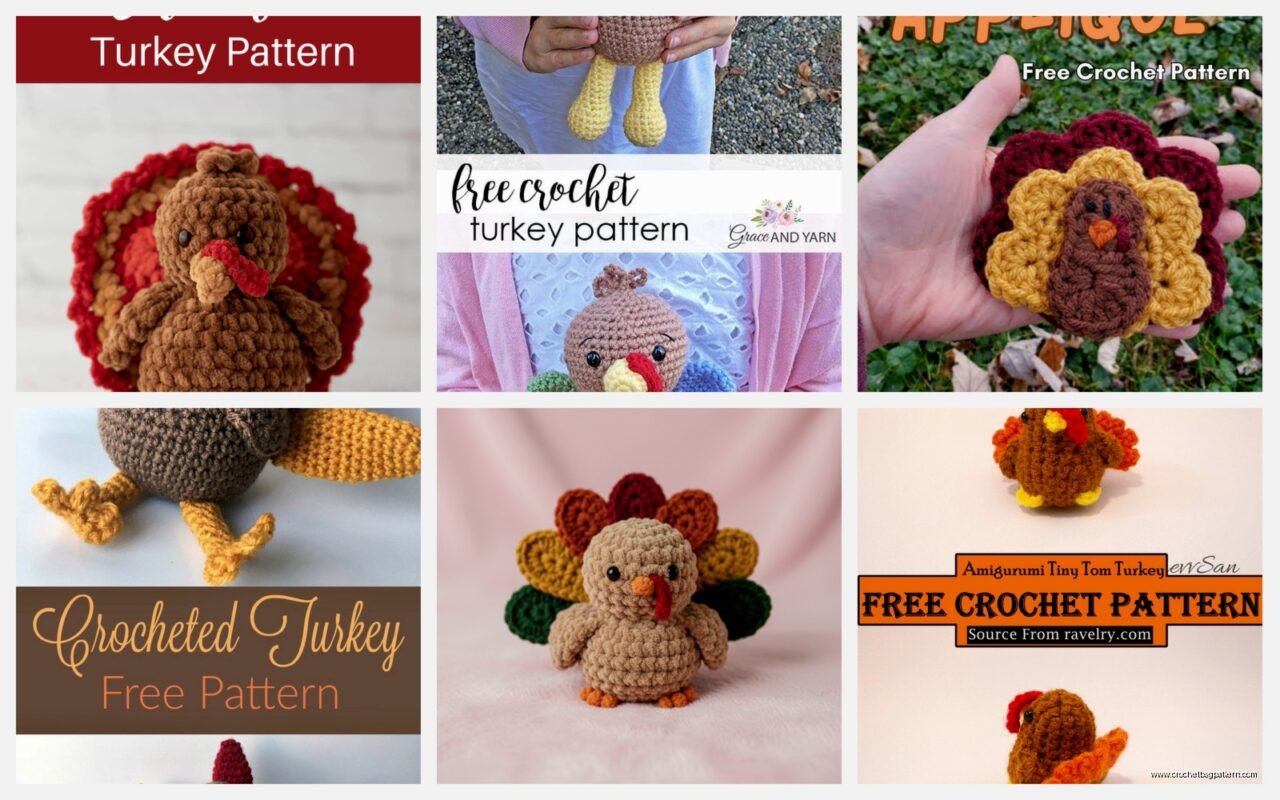
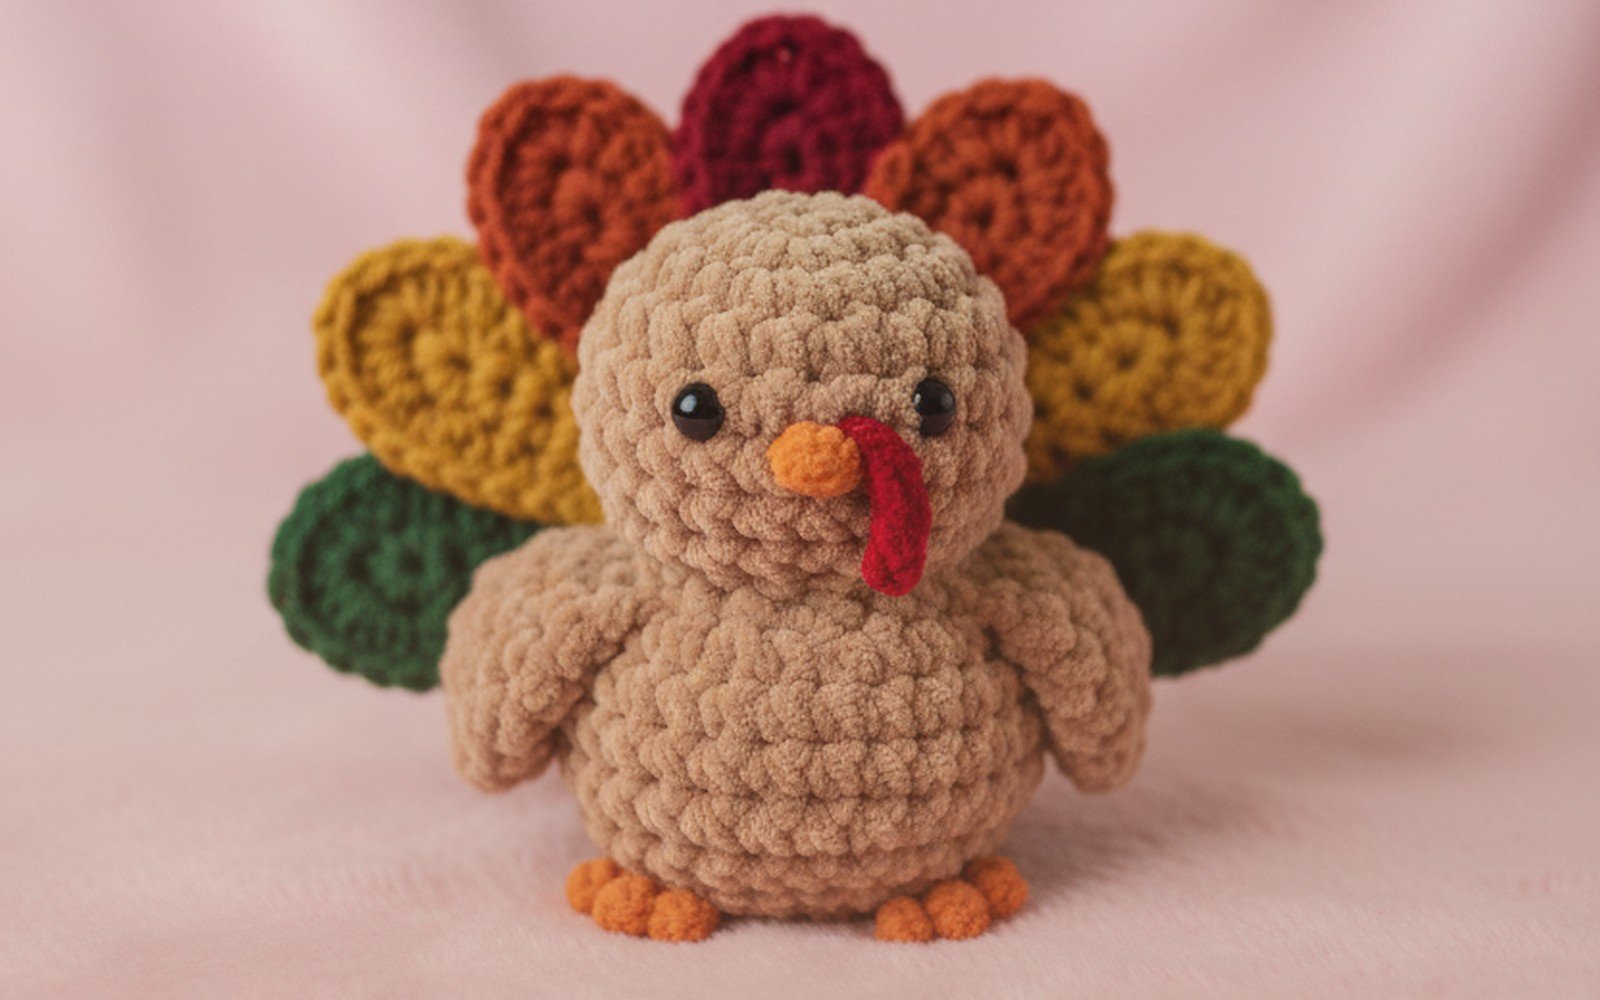
This is the part that makes it actually look like a turkey and not just a brown blob with a beak. You need to make several feather shapes in different colors. I made 7 feathers total – two in each fall color (brown, orange, yellow) and one extra red one in the middle because why not.
For each feather you’re gonna create an oval leaf shape basically. Chain 8, then in the second chain from hook: sc, hdc, dc, dc, hdc, sc, and then do 3 sc in the last chain to work back up the other side. Continue up the other side with sc, hdc, dc, dc, hdc, sc, then slip stitch to join. Leave a long tail for sewing.
You can make them different sizes by changing the number of starting chains. I made the middle ones a bit taller with 10 chains instead of 8. The variation actually looks more natural and interesting.
My cat kept trying to steal the feathers while I was making them which was adorable but also annoying because I had to keep counting and starting over when she’d knock them off the couch.
Wings Are Optional But Recommended
The wings are similar to small feather shapes but you want them rounder. I did chain 6, then worked back with sc, hdc, dc, hdc, sc, then 3 sc in the last chain, and back up the other side matching stitches. These go on the sides of the body.
Honestly you could skip the wings if you’re tired of making pieces because the turkey will still look like a turkey without them, but they do add a nice touch and make it look more complete.
Feet Because Turkeys Don’t Float
The feet are probably the fiddliest part and if you hate them you could skip them and just have your turkey be sitting down. But if you want feet here’s what I did.
With orange yarn, chain 4. In the second chain from hook, sc 3. That’s one toe. Chain 3, attach to the base with a slip stitch. Chain 4 again, sc 3 starting in second chain from hook. That’s toe two. Chain 3, slip stitch to base. Do this one more time for three toes total.
Then chain about 4-5 for the leg part and slip stitch down the chain to create a little leg. Make two of these obviously unless you want a one-legged turkey which would be weird but you do you.
The feet don’t really support the turkey to stand up on their own because amigurumi isn’t that rigid, so your turkey will kind of sit/lean. If you really want it to stand you’d need to add wire to the legs which I absolutely did not have the patience for when I made mine in summer 2024 for my sister’s Thanksgiving table decor.
Assembly Is Where It Comes Together
Okay so now you have a body, head, waddle, beak, feathers, wings, and feet all made separately. Time to attach everything and honestly this is where you can really mess up if you don’t think about placement first.
First attach the head to the body. I put mine slightly forward on the body, not centered on top, because that looks more natural. Sew it on securely with the yarn tail using a whip stitch or mattress stitch or whatever sewing method you know. Make sure it’s on there good because you don’t want the head falling off.
Next do the tail feathers. Arrange them in a fan shape on the back of the body. I overlapped them slightly and arranged the colors so they looked balanced – like I didn’t put both orange ones next to each other. Sew them onto the back of the body at the bottom edge so they fan up and out. This might take some adjusting to get them looking right. Don’t sew them flat against the body or they won’t look like tail feathers, you want them to have dimension and stand out.
Attach the wings to the sides of the body about where you’d expect wings to be, maybe a third of the way down from where the neck meets the body. They should point slightly downward like the turkey’s wings are relaxed.
Finally attach the feet to the bottom of the body. I positioned them toward the front so the turkey would balance better when sitting. Sew them on securely but again, they’re decorative more than functional.
The Details That Make It Look Less Homemade
After everything’s attached you can add some details if you want. I took some brown yarn and did a few long stitches on the body to suggest feather texture but that’s totally optional. You could also add some white highlights to the eyes by making a tiny stitch with white yarn.
Some people add wire to the tail feathers so they can pose them but I used Impeccable yarn which is acrylic and holds its shape pretty well without wire. If you used a softer yarn like Caron Simply Soft your feathers might be a bit droopy.
One thing I wish I’d done differently was make the body slightly more oval than round – like elongated vertically – because turkeys aren’t perfectly round, they’re kind of egg-shaped. But honestly it still looked like a turkey so whatever.
Yarn Weights and Substitutions
I used worsted weight (size 4) yarn for everything which is pretty standard for amigurumi. You could use DK weight (size 3) if you want a smaller turkey but then you’d need a smaller hook too, probably 3mm or 3.25mm.
For the brown body you could use literally any brown yarn. I mentioned Cafe from Red Heart but I’ve also seen people use Taupe or Walnut or even a medium brown. The Loops & Threads Impeccable line from Michaels is actually really nice for this because it’s cheap, comes in tons of colors, and has a nice smooth finish that looks good for amigurumi. The texture isn’t splitty like some Red Heart colors can be.
If you’re gonna use Bernat or Lion Brand those work fine too. Honestly the brand matters less than the fiber content – you want acrylic or acrylic blend for this, not cotton, because cotton doesn’t have the same give and your turkey will feel stiff and dense. Wool would be weird for a decorative turkey that’s gonna sit on a shelf for a month.
Time Investment Reality Check
So here’s the thing nobody tells you – this isn’t a quick project even though the individual pieces are small. The body took me maybe an hour. The head was 30 minutes. Each feather was like 10 minutes but times seven that’s over an hour just for feathers. The feet took forever because they’re annoying and I had to redo one of them twice because it looked wrong.
All together if you sit down and crochet straight through you’re looking at maybe 4-5 hours? But realistically you’ll probably work on it over a few days or a week. I made mine while binge-watching TV so I wasn’t paying super close attention to time but it definitely wasn’t a same-day start-and-finish project for me.
The assembly alone took me probably 45 minutes because I kept repositioning the feathers to get them looking right. Some people probably do it faster but I’m a perfectionist about placement apparently.
Common Mistakes and How to Fix Them
The biggest mistake I see people make is under-stuffing the body and head. You really need to stuff these firmly or they look deflated and sad. Like really shove that polyfil in there. It should feel quite firm when you squeeze it.
Another thing is making the head too big or too small relative to the body. You want the head to be noticeably smaller than the body but not comically tiny. If you made the body with increases to 48 stitches, make the head go up to about 30 stitches max.
People also mess up the tail feather placement a lot. They either sew them too far up on the back so they’re coming out of the turkey’s back weirdly, or they don’t fan them out enough. The feathers should be at the bottom back of the body and should spread out in a nice fan shape. Take a picture of your work as you go and you’ll see if something looks off.
If you’re having trouble with the magic ring – which I know some people hate – you can just chain 2 and do 6 sc in the first chain instead. It’s not quite as neat but it works.
Variations You Could Try
Once you make a basic turkey you can customize it however you want. I’ve seen people make turkeys with pilgrim hats, or with little scarves, or holding a tiny pumpkin. You could make a white turkey instead of brown which is actually a real turkey variety. Or make a super colorful cartoon version with bright pink and purple feathers if you hate traditional colors.