
Feb
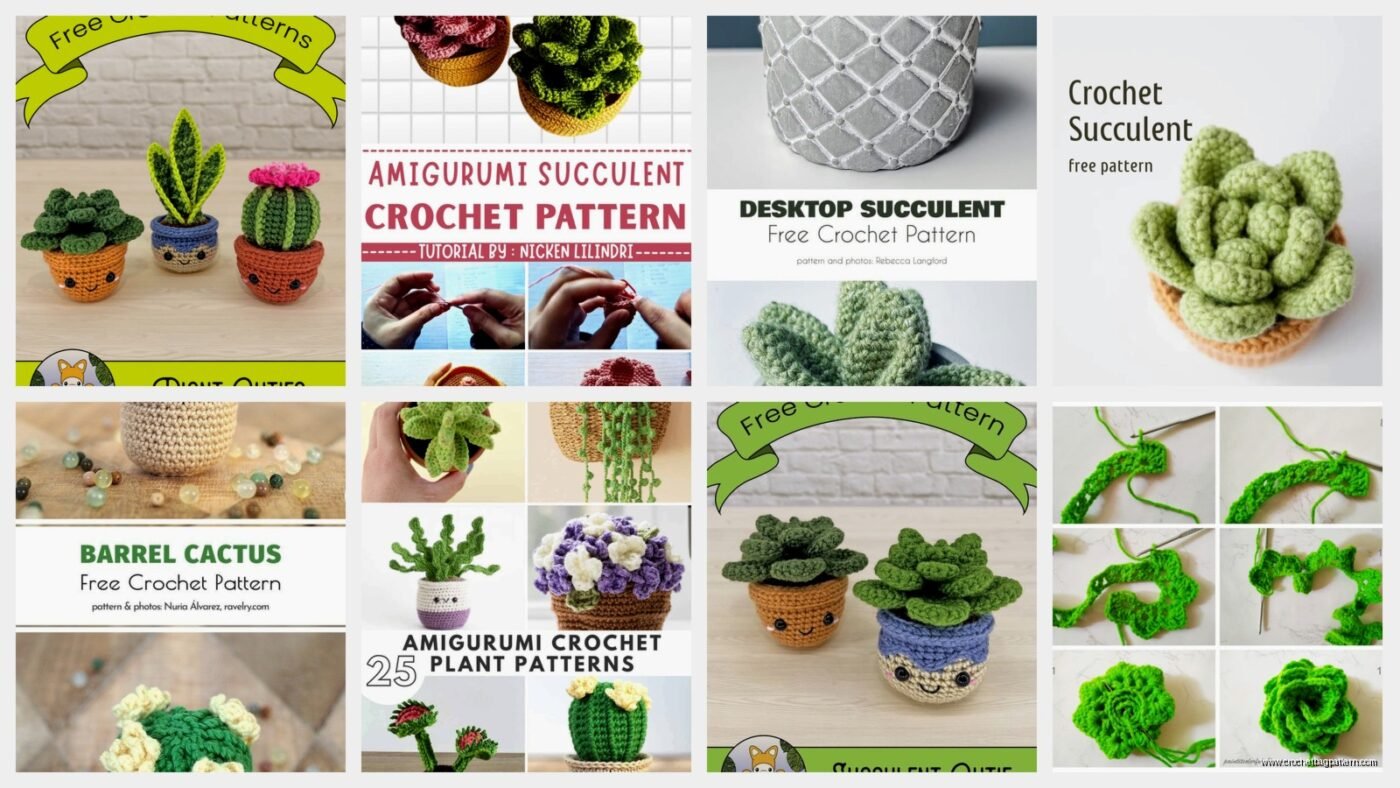
The Time I Actually Made These Little Succulent Things
So back in March 2023 I was watching my friend’s apartment while she was away and got super bored one weekend and decided to finally try making those crochet succulents I kept seeing everywhere. I had this random stash of Red Heart Super Saver in like four different greens because honestly who doesn’t accumulate weird yarn colors, and I figured if it looked terrible at least I’d only wasted a Saturday afternoon.
The thing is, you don’t really need a fancy pattern for these. Most succulent shapes are basically just variations on circles and spirals, which is probably why they became so popular for beginners. But here’s what actually worked for me after I messed up the first two attempts.
Basic Supplies You Actually Need
I used a 4mm hook with that Red Heart Super Saver I mentioned – specifically the colors “Spring Green” and “Medium Thyme” which sounds fancy but it’s literally just green. You could use any worsted weight yarn though. Some people get all precious about using cotton yarn like Lily Sugar’n Cream because it holds shape better, and yeah they’re probably right, but I wasn’t gonna make a special trip to the craft store.
You need a way to stuff them too. I used polyfil but honestly you could use yarn scraps or even rice if you want them to have weight. And small terracotta pots obviously, unless you’re making them to stick in a wreath or something which I did later but that’s a whole other thing.
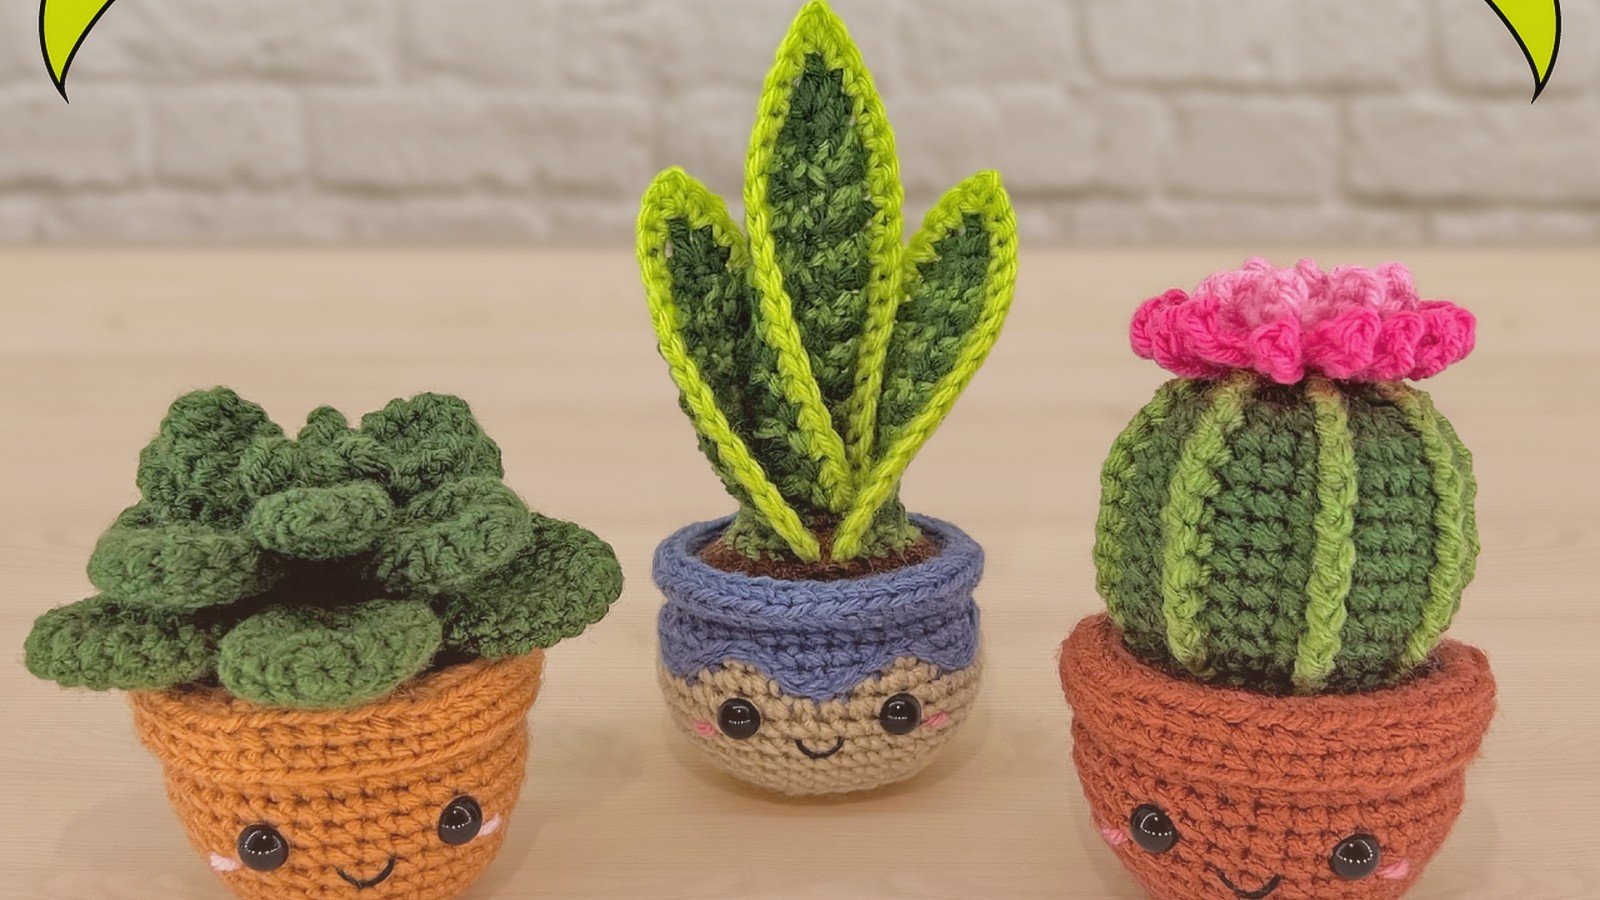
The Rosette Style Succulent
This is the easiest one and it’s what most people think of when they picture an echeveria or whatever. You’re basically making a flat spiral with petals.
Start with a magic ring and do 6 single crochets into it. Don’t pull it tight yet. Then you’re gonna do increases in a spiral – so like 2 sc in each stitch around for the second round. Third round you do *1 sc, 2 sc in next stitch* repeated around. Keep going with that pattern but here’s where it gets different from a regular circle.
After about 4 or 5 rounds, you start making the petal shapes instead of regular increases. Chain 3, slip stitch back into the same stitch. That makes one little pointy petal. Skip a stitch, single crochet in the next one, then make another petal. The annoying thing about this – and this drove me absolutely crazy – is that the petals don’t naturally want to lay flat and curl outward like real succulent leaves do. They just kinda stick up weird.
What fixed it for me was actually going back with a tapestry needle and tacking down the tips of each petal to the layer below it. Just a quick stitch through both layers. Nobody tells you to do this in tutorials but it’s the only way I got them to look right and not like some sad fabric flower from a middle school craft fair.

The Chunky Aloe-ish One
This one’s more three-dimensional. You make individual leaves and then attach them all to a base. Each leaf is basically a narrow oval shape.
Chain like 8-10 stitches depending on how long you want the leaves. Single crochet back down the chain starting in the second chain from hook. When you get to the end, don’t turn – just keep going around the other side of your foundation chain. So you’re working in a spiral around this long narrow shape. Do 2-3 rounds total.
The trick is to only stuff them about halfway. If you stuff them too much they look fat and weird instead of like succulent leaves. Make like 8-12 of these leaves in varying sizes – some with 8 chains, some with 10 or 12.
For the base, crochet a small circle (magic ring with 6 sc, then increase rounds until it’s about 2 inches across). While you’re working the last round of the base, you just stick the leaves in between stitches and crochet around them to attach them. Start with the shortest leaves in the center and work outward with the longer ones. My cat kept trying to steal the leaves while I was doing this part which was… not helpful.
Variations I Figured Out Later
Once you get the basic concept you can honestly just make up shapes. I made one that was supposed to be like a string-of-pearls plant by crocheting a long chain and then making tiny balls along it. Each ball is just 6 sc in a magic ring, stuff it with a tiny bit of polyfil, then cinch it closed. Attach each ball to the chain as you go.
There’s also the spiky one that looks kinda like a barrel cactus. That’s literally just crocheting a tube (single crochet in continuous rounds) and stuffing it firmly. The “spikes” are just surface stitches – you thread your yarn through from bottom to top on the outside of the tube every few stitches. Pull it kinda tight so it creates those vertical ridges.
The Thing Nobody Mentions About Color
Real succulents aren’t just one solid green. They’ve got lighter tips, darker bases, sometimes pinkish or purplish edges. I tried using variegated yarn (Lion Brand Mandala in “Sprite” which has green and cream) and it actually looked pretty decent without any extra effort. But if you’re using solid colors, you might wanna work in some lighter colored stitches toward the tips of petals or whatever.
I also experimented with holding two strands of slightly different greens together while crocheting. It creates this subtle color variation that looks more realistic than solid yarn. Used Caron Simply Soft in “Sage” with Red Heart in that Spring Green I mentioned before – worked them both at the same time with the same hook. Makes the finished piece a bit stiffer which actually helps with structure.
Attaching Them to Pots
So you’ve made your succulent, now what. I hot glued them into those mini terracotta pots you can get at craft stores. Put some floral foam or even just crumpled paper in the bottom of the pot first so your succulent sits at the right height. Then I covered the foam with actual aquarium gravel because I had it left over from… I don’t even remember why I had aquarium gravel, I don’t have fish. But it looks like the top dressing people put on real succulent soil.
Some people use brown yarn to crochet fake dirt but that seems like overkill to me. The gravel or some moss or even just leaving it as-is works fine.
What Actually Goes Wrong
The main issue I had was making them all too loose and floppy. Tension matters more with these than with like, a scarf or whatever where it doesn’t really matter if it’s a bit loose. You want these tight enough to hold their shape. I actually went down a hook size for my second batch – used a 3.5mm instead of 4mm with the same yarn – and they turned out way better.
Also your magic rings need to be TIGHT. I had one succulent where the center hole was too big and you could see the stuffing through it. Had to go back and stitch it closed from the back which was annoying.
Making Them Look Less Craft-Store-Basic
The dust. Real succulents have this powdery coating sometimes. I tried dusting mine with eyeshadow (literally just a light shimmer eyeshadow in a pale green) using a makeup brush and it actually added something. Sounds weird but it works.
You can also add “roots” by leaving long tails when you finish and then combing them out with a pet brush so they get all stringy and root-looking. Most people tuck these into the gravel but having a few visible makes it look more like you just pulled it from a garden or something.
Different Pattern Approaches I Tried
I found a pattern online once that had you make succulents entirely in the round with constant shaping increases and decreases and it was SO MUCH MORE COMPLICATED than it needed to be. That’s when I realized most of these patterns are just people overcomplicating simple shapes to make their pattern seem more valuable or expert or whatever.
The flat petal approach I described earlier works for probably 80% of succulent varieties if you just adjust the petal size and quantity. Short fat petals clustered tight = echeveria. Longer thinner petals spread out = different variety. You don’t need a separate pattern for each type.
Oh and I made one using that like weird loopy stitch – I think it’s called loop stitch? Where you pull up long loops on the front side of your work. Did that in a spiral and it looked kind of like a super fuzzy succulent or maybe a cactus. Wasn’t sure what I was going for but it looked cool in its own weird way.
Scale Issues
My first ones were tiny, like 2 inches across. Then I made some that were like 6 inches. The big ones need a LOT more stuffing and also they’re harder to make look proportional. The petals need to be bigger but not TOO much bigger otherwise it looks cartoonish. I’d say stick with small to medium sizes – 2 to 4 inches is the sweet spot where they actually look succulent-like and not like generic fabric flowers.
Using thinner yarn and a smaller hook (like sport weight with a 3mm hook) lets you make really delicate tiny ones. I made a whole arrangement of miniatures using Aunt Lydia’s crochet thread and a steel hook once when I was watching that show Severance and needed something to do with my hands. Those took forever though and I’m not sure the extra detail was worth it honestly.
Actually Using Them For Stuff
They make decent gifts I guess. I gave some to my mom and she put them on her desk at work. They’re good for people who kill real plants but still want something green around. I’ve seen people attach pins to the back and wear them as brooches which is… a choice.
I made a bunch in fall colors (used burnt orange and rust colored yarn) and hot glued them to a grapevine wreath. That actually turned out pretty nice for seasonal decor. Way less cleanup than real fall leaves.
Someone told me you can make them into refrigerator magnets by gluing strong magnets to the back. Haven’t tried that yet but it’s on my list of things to maybe do eventually if I remember.
The Yarn Situation
Like I said I mostly used Red Heart Super Saver because I had it. Also used some Caron Simply Soft in various greens. The Simply Soft is definitely softer and has a nicer sheen to it but it’s also more expensive and I’m not convinced it makes that much difference for something that’s just gonna sit in a pot. Bernat Softee Baby in “Fern” is really nice for a dusty sage green color if you want something less bright.
Avoid anything too fuzzy or furry. I tried making one with this chenille yarn and it just looked like a blob. The stitches need to be visible to create the texture and definition. Smooth worsted weight or DK weight yarn is ideal.