
Feb
When I Actually Made This Thing
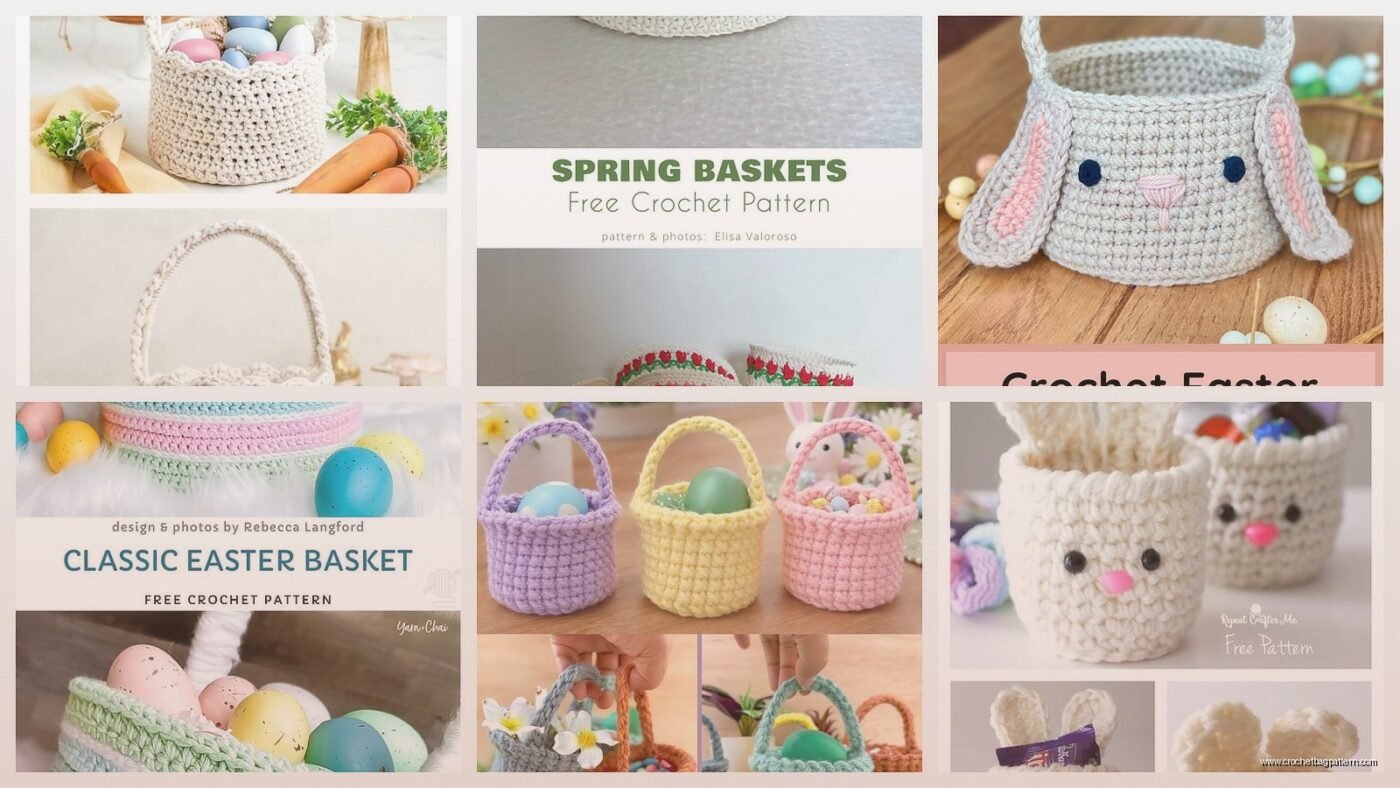
So I made my first Easter basket in spring 2023 because my niece was coming over and I figured why spend $20 on a plastic basket at Target when I could spend three days making one myself. The logic didn’t really add up but whatever. I was using some Red Heart Super Saver in that pale yellow color—I think it’s called Pale Yellow or maybe Soft Yellow? They have like forty shades of yellow and I can never remember which is which.
What You’re Gonna Need
Okay so here’s the basic stuff. You need worsted weight yarn, probably 200-300 yards depending on how big you want it. I used a 5mm hook (H hook) but honestly you could use a 5.5mm if that’s what you have. The whole point is to make a sturdy fabric so the basket doesn’t flop over when you put eggs in it.
For the base I just did a magic ring, then 6 single crochets in the ring. Next round you increase every stitch so you get 12. Then you do the typical circle increase pattern—increase every other stitch, then every third stitch, and so on. I made mine about 6 inches across but you can go bigger if you want.
The Base Pattern Thing
- Round 1: 6 sc in magic ring
- Round 2: inc in each stitch (12)
- Round 3: *sc, inc* repeat (18)
- Round 4: *sc 2, inc* repeat (24)
- Round 5: *sc 3, inc* repeat (30)
- Round 6: *sc 4, inc* repeat (36)
Keep going like that until you hit the size you want. I think I went to maybe 48 or 54 stitches? My cat kept batting at the yarn ball while I was counting so I definitely lost track at some point and had to recount like three times.
The Sides Are Where It Gets Real
Here’s the thing that annoyed me SO much about this process—when you transition from the flat base to the sides, you have to work in the back loops only for one round to create that ridge. But if you don’t do it, the basket looks weird and doesn’t stand up right. I kept forgetting which loop was the back loop because I wasn’t paying attention and kept having to rip out stitches.
After that ridge round, you just work even in single crochet for like 4-5 inches. No increases, no decreases. Just round and round and round. I was watching The Great British Baking Show while doing this part and honestly it’s so mindless you could do it in your sleep.
Making It Not Boring
You can switch colors every few rounds if you want stripes. I did three rounds of yellow, two rounds of white, three rounds of yellow. Gave it a little something. Lily Sugar’n Cream has good spring colors if you wanna use cotton instead of acrylic—the cotton gives it more structure actually but it’s harder on your hands to work with.
Or you could do a shell stitch on the last round of the sides. That’s like *skip 2 stitches, 5 dc in next stitch, skip 2 stitches, sc in next stitch* and repeat. Makes a scalloped edge which looks fancier than it actually is.
The Handle Situation
Okay so handles are kinda tricky because you need them to be sturdy enough to actually carry stuff but also attached well so they don’t rip off. What I did was chain like 40 stitches (you might need more or less depending on how tall you made your basket), then skip about a third of the way around the basket rim and attach with a slip stitch.
Then I worked back along the chain doing single crochet in each chain stitch. But here’s the thing—you gotta do at least 2-3 rows of single crochet along that handle or it’s gonna be all flimsy and… actually I think you could do half double crochet too if you want it thicker faster.
Some people do two handles on opposite sides but I think that’s weird for an Easter basket. It’s not a purse. One handle arching over the top is the way to go.
Reinforcing So It Doesn’t Suck
If you really want the basket to hold its shape, you can use a smaller hook and work tighter stitches. Or do an extra round of slip stitches around the base edge where it meets the sides. Or—and this is what I should have done but didn’t think of until after—you can stiffen it with fabric stiffener or a mixture of white glue and water. Just brush it on and let it dry on a mold or bowl so it keeps the shape.
I’ve also heard people put cardboard in the base between two crocheted circles but that seems like a lot of extra work.
Yarn Choices That Actually Matter
Red Heart Super Saver works fine and it’s cheap. Comes in a billion colors. It’s acrylic so it’s easy to wash if a kid spills juice on it or whatever. Caron Simply Soft is a little nicer feeling if you care about that.
If you want something more natural looking, try Wool-Ease or Vanna’s Choice. They have good pastel colors for spring. I used some Lion Brand Hometown once in a sage green color and it looked really nice, less Easter-y and more just general spring decoration.
Cotton yarn like Sugar’n Cream or I Love This Cotton from Hobby Lobby will make the sturdiest basket but like I said, it’s rougher to work with. Your hands will hurt after a while. But it doesn’t stretch out of shape as much as acrylic does over time.
Decoration Ideas If You Want
You can crochet little flowers and sew them on. Basic 5-petal flowers are just chain 2, *dc 3 in second chain from hook, slip stitch in same chain* five times. Takes like two minutes per flower.
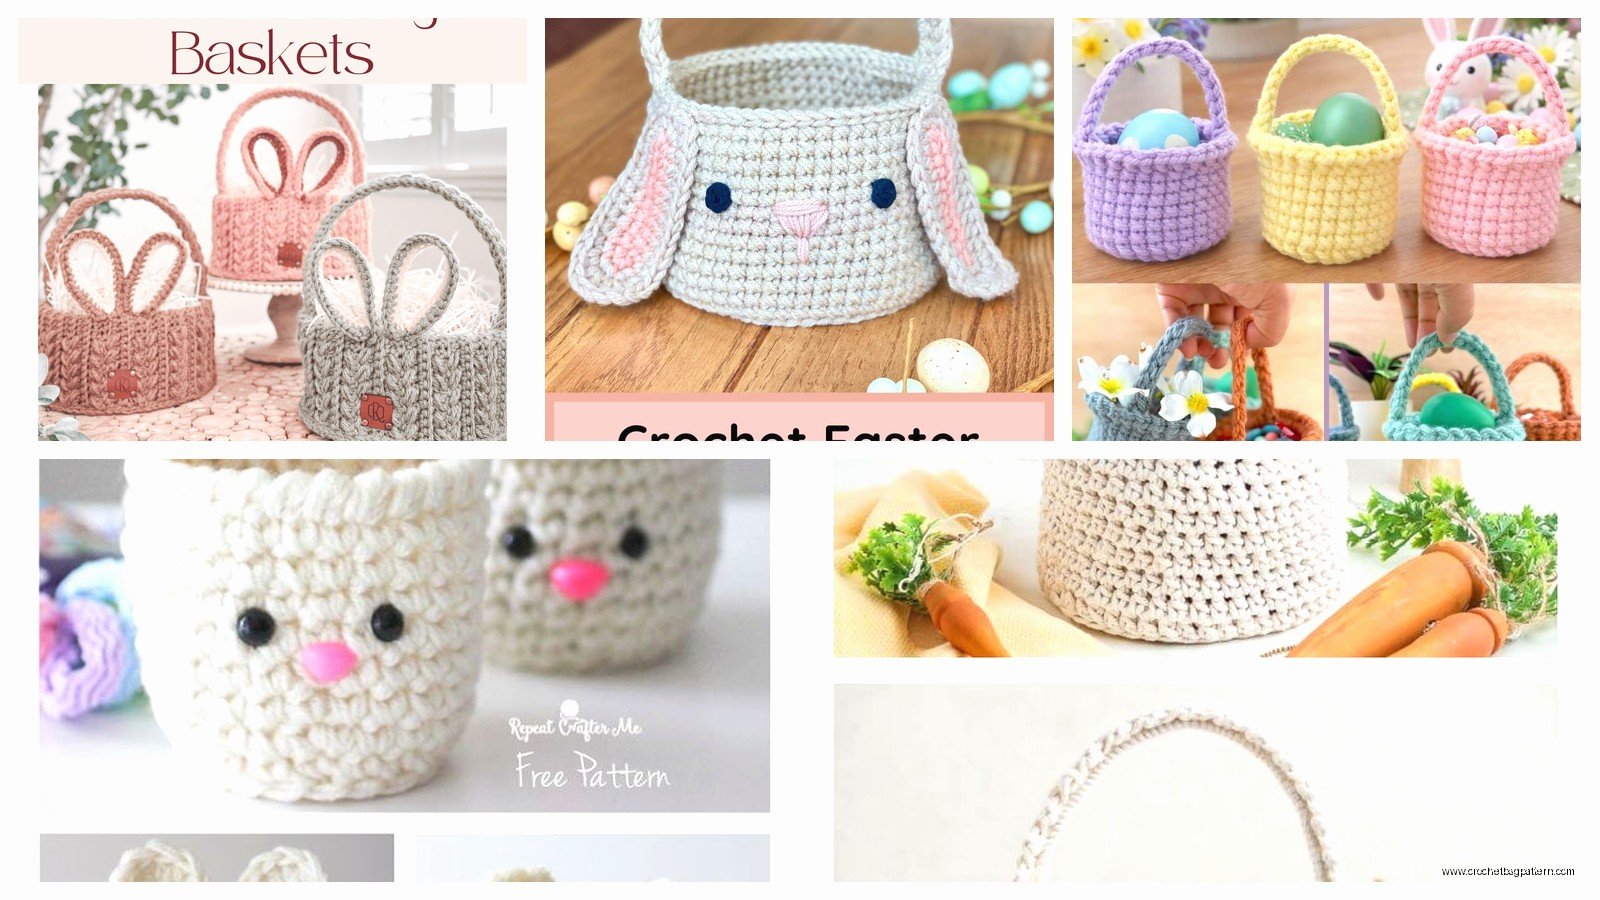
Or add a ribbon bow on the handle. Or embroider a bunny face on the side if you’re into that kind of thing (I’m not really but my niece loved it so).

Some people line their baskets with fabric which looks professional but requires sewing skills I don’t have. I just put Easter grass in mine to cover up any wonky stitches at the bottom.
Size Variations You Could Do
Mini baskets are cute for party favors. Just make the base like 3 inches across and the sides 2 inches tall. Use a smaller hook and thinner yarn—sport weight or DK weight with a 4mm hook.
Big baskets for adults (because adults want Easter candy too) need a base that’s maybe 8-9 inches and sides that are 6 inches tall. Use two strands of worsted weight held together or bulky yarn with a 6mm hook so it doesn’t take forever.
You could also make it oval instead of round by starting with a chain foundation instead of a magic ring, then working increases around both ends. Makes it look more like a traditional basket shape.
Things I Wish I’d Known Before
The basket will stretch out a bit once you put weight in it. Make the sides tighter than you think you need to.
Mark your rounds with a stitch marker or you’ll lose track of where you started. I used a bobby pin because I could never find my actual markers.
If the base isn’t laying flat and has wavy edges, you increased too much. If it’s cupping up, you didn’t increase enough. You can kinda fudge it by adding or skipping increases in the next round.
Weaving in ends on a basket is annoying because there’s nowhere to hide them. Tie them really well and trim close or they’ll poke through to the inside.
Time Investment Reality Check
A basic basket takes me maybe 3-4 hours if I’m not distracted. Add another hour if you’re doing stripes or decoration. The handle probably adds 30 minutes because you gotta make sure it’s centered and even on both sides.
If you’re a beginner it might take longer but honestly this is a pretty forgiving project. Nobody’s gonna inspect your stitch count or care if it’s perfectly symmetrical.