
Feb
Making Dog Hats When You Have No Idea What You’re Doing
So I made my first dog hat in spring 2022 because my neighbor kept posting these photos of her corgi in cute outfits and I was like, I can do that. Spoiler: it’s way harder than it looks when you don’t follow actual patterns but whatever, it worked eventually.
The basic idea is you’re making a tube that sits on the dog’s head with holes for the ears. Sounds simple right? But then you gotta figure out how big your specific dog’s head is and that’s where everything gets weird.
Measuring Your Dog’s Head Without Losing Your Mind
You need three measurements basically. The circumference around their head right behind the ears, the distance from between their eyes to where their skull curves down in back, and the distance between their ears. Your dog will hate this process. Mine kept trying to eat the measuring tape and I was watching that baking show on Netflix at the same time so it took like forty minutes.
Write these numbers down somewhere you won’t lose them. I used a sticky note and then my cat knocked it off the counter so I had to measure again the next day.
Yarn That Actually Works
I used Red Heart Super Saver for my first one because that’s what I had lying around. It’s acrylic and kind of scratchy honestly but it’s cheap and comes in a million colors. The dog doesn’t care if it’s scratchy. For the second hat I made in summer 2024 I used Lion Brand Wool-Ease because I was at Michaels and it was on sale. That one turned out softer but also my dog chewed a hole in it within three days so honestly the cheaper stuff might be better for practice.
Don’t use anything too fuzzy or with a weird texture. You want smooth yarn that you can actually see your stitches in. I tried using some bouclé type yarn once and it was a nightmare, couldn’t tell where to put my hook.
Starting the Hat Base
You’re gonna start with a magic ring. If you don’t know how to do a magic ring just make a regular chain circle, it doesn’t matter that much for a dog hat. Do like 8-10 single crochets in the ring depending on how big your dog is. Small dogs start with 8, bigger dogs maybe 10.
Then you increase every round until you get to the circumference measurement you wrote down. So round 2 would be increase in every stitch (16 stitches), round 3 would be increase, single crochet, repeat around (24 stitches). You know the drill. Keep going until the circle is as wide as your dog’s head measurement.
The annoying part here is you have to keep checking if it fits and my dog would NOT sit still. She kept thinking we were playing a game every time I tried to put the partial hat on her head.
Making It Actually Hat-Shaped
Once your circle is the right size, stop increasing and just crochet in rounds without adding stitches. This creates the sides of the hat. You want it to be deep enough to actually stay on but not so deep it covers their eyes or… wait, some of those hats DO cover the eyes for like sun protection but that’s a different thing.
For a basic beanie style, crochet straight for about 2-3 inches depending on dog size. Small dogs need less depth, obviously.
The Ear Holes Are Where It Gets Stupid
This is the part that annoyed me SO MUCH because there’s no good way to do it perfectly the first time. You have to basically guess where the ear holes should go, and if you guess wrong the whole thing looks ridiculous.
What I do is put the hat on the dog (good luck with that) and use stitch markers or safety pins to mark where the ears are. Then take it off and that’s where you’ll make the holes.
To actually make the hole, when you get to that spot in your round, chain like 6-8 stitches to skip over where the ear will go, skip the same number of stitches in the previous round, and continue crocheting. Next round you crochet into those chain stitches normally. It creates an oval-ish hole.
The holes are probably gonna be too small the first time. Mine were. I had to cut them bigger with scissors and then single crochet around the edge of the hole to clean it up. Not ideal but it worked.
Finishing and Making It Stay On
After the ear holes, crochet a few more rounds to finish the bottom edge. Some people add a ribbed edge by doing back loop only stitches but honestly I just do regular single crochet because I’m lazy.
The big question is how do you make it stay on the dog’s head. Small dogs with bigger ears (like chihuahuas) can usually keep the hat on just from the ear holes. Bigger dogs or dogs with small ears need ties.
I add ties by attaching yarn at the bottom edge near where the ears are and braiding three strands together. Make them long enough to tie under the chin. Your dog will hate the ties. My dog tries to pull them off immediately. But it’s the only way the hat stays on for photos.
Different Styles You Can Try
The basic beanie is just straight sides but you can do other shapes too. For a slouchy beanie, keep increasing slightly as you work the sides so it gets wider and floppier. For a pointed hat (like a gnome style), decrease as you go up so it comes to a point at the top.
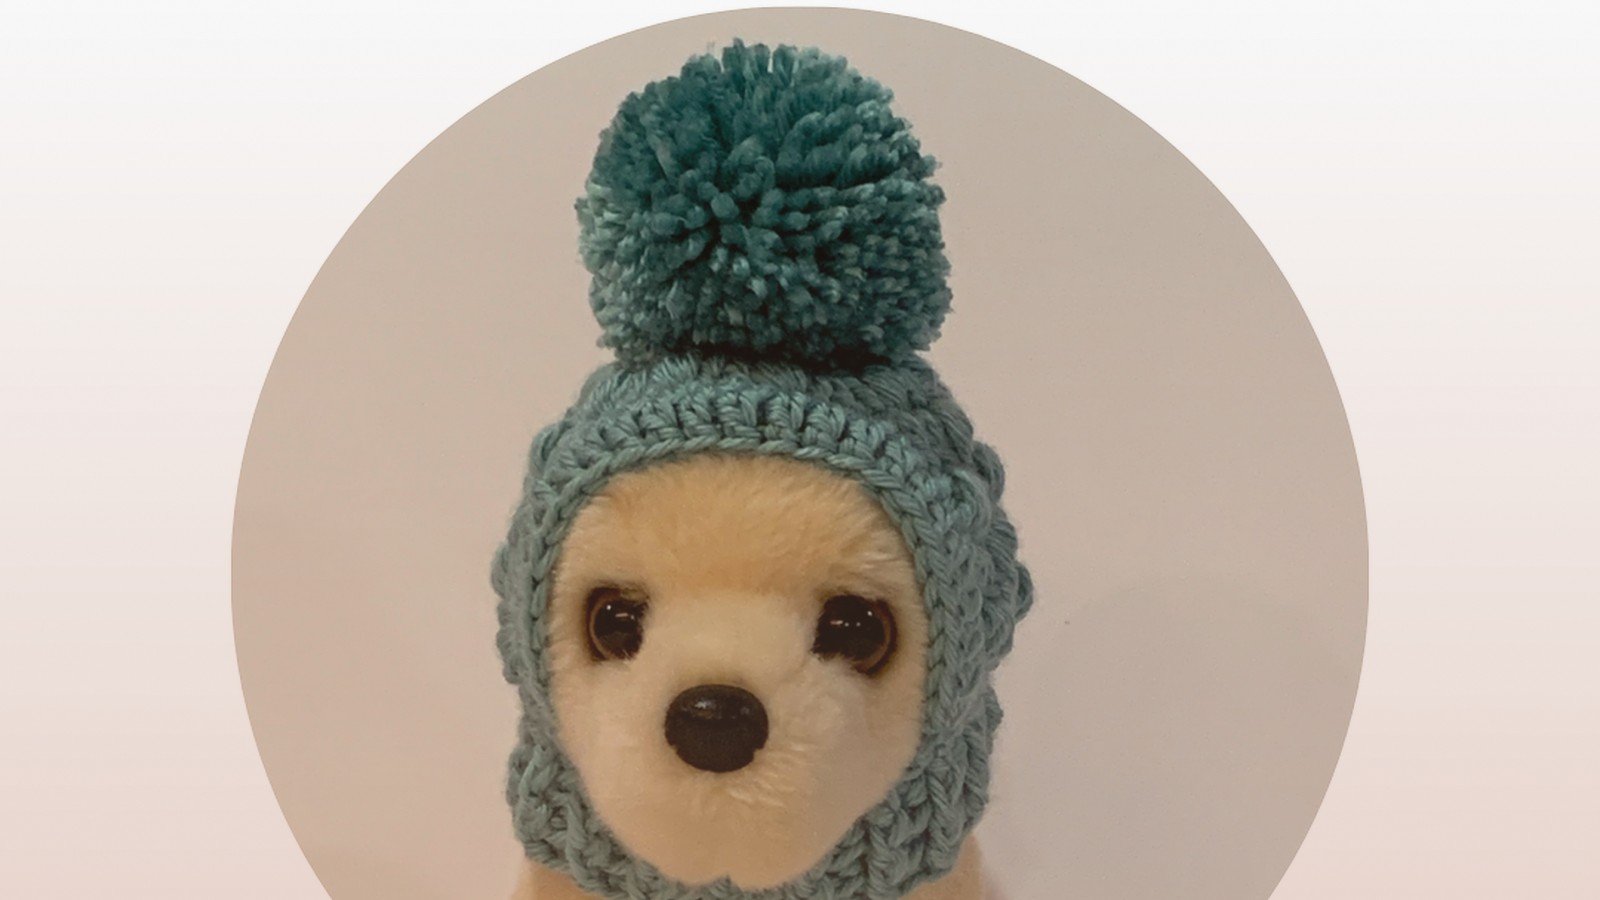
You can add pom poms on top by wrapping yarn around your fingers a bunch of times, tying it in the middle, cutting the loops, and fluffing it out. Attach it to the top of the hat. Looks cute in photos, your dog will try to eat it.
Sizing for Different Dog Breeds
Small dogs like yorkies or small terriers usually need a starting circle about 3-4 inches across. Medium dogs like beagles or cocker spaniels need like 5-6 inches. Big dogs need 7+ inches but honestly I’ve never made one for a big dog because they look kind of silly in hats when they’re huge.
The ear hole spacing is different for every breed too. Dogs with ears close together (like pugs) need the holes closer. Dogs with ears far apart (like corgis or german shepherds) need them wider. There’s no formula for this you just have to eyeball it.
What Usually Goes Wrong
The hat slides backwards off their head. This means your ear holes are too far back. Make the next one with holes placed more forward.
The hat is too tight and squishes their ears down. Make a bigger starting circle next time.
The hat is too loose and falls over their eyes. Either make it smaller or add a chin strap.
Your dog refuses to wear it at all. Yeah that’s gonna happen. Mine tolerates it for about 30 seconds max. Long enough for a photo.
Adding Decorations
You can sew on felt shapes, add buttons (make sure they’re secure so the dog doesn’t eat them), or crochet flowers to attach. I made one with little crocheted hearts on the side using Bernat Softee Baby yarn in pink. Looked adorable for the three minutes she wore it.
Some people add elastic bands inside to help it grip but I’ve never tried that. Seems like it would be uncomfortable.
Washing These Things
Throw it in the washing machine in a lingerie bag if it’s acrylic. Wool needs hand washing but again, it’s a dog hat, it’s gonna get dirty and destroyed pretty fast anyway. I wouldn’t stress too much about using delicate fancy yarn for this project.
The summer 2024 hat I made got covered in mud within a week and I just tossed it in with my regular laundry. Came out fine.