
Feb
Starting With the Absolute Basics Because Trust Me You Need This
So I remember sitting on my couch in March 2023 trying to make my first actual hat and I was watching some ridiculous reality show I can’t even remember the name of now, and I kept having to rewind because I’d miss entire dramatic moments while counting stitches. The thing nobody tells you about crochet hats is that they’re actually way easier than scarves for beginners because you can see progress faster and there’s like, an actual shape happening.
Why Hats Are Actually Better Than Starting With a Scarf
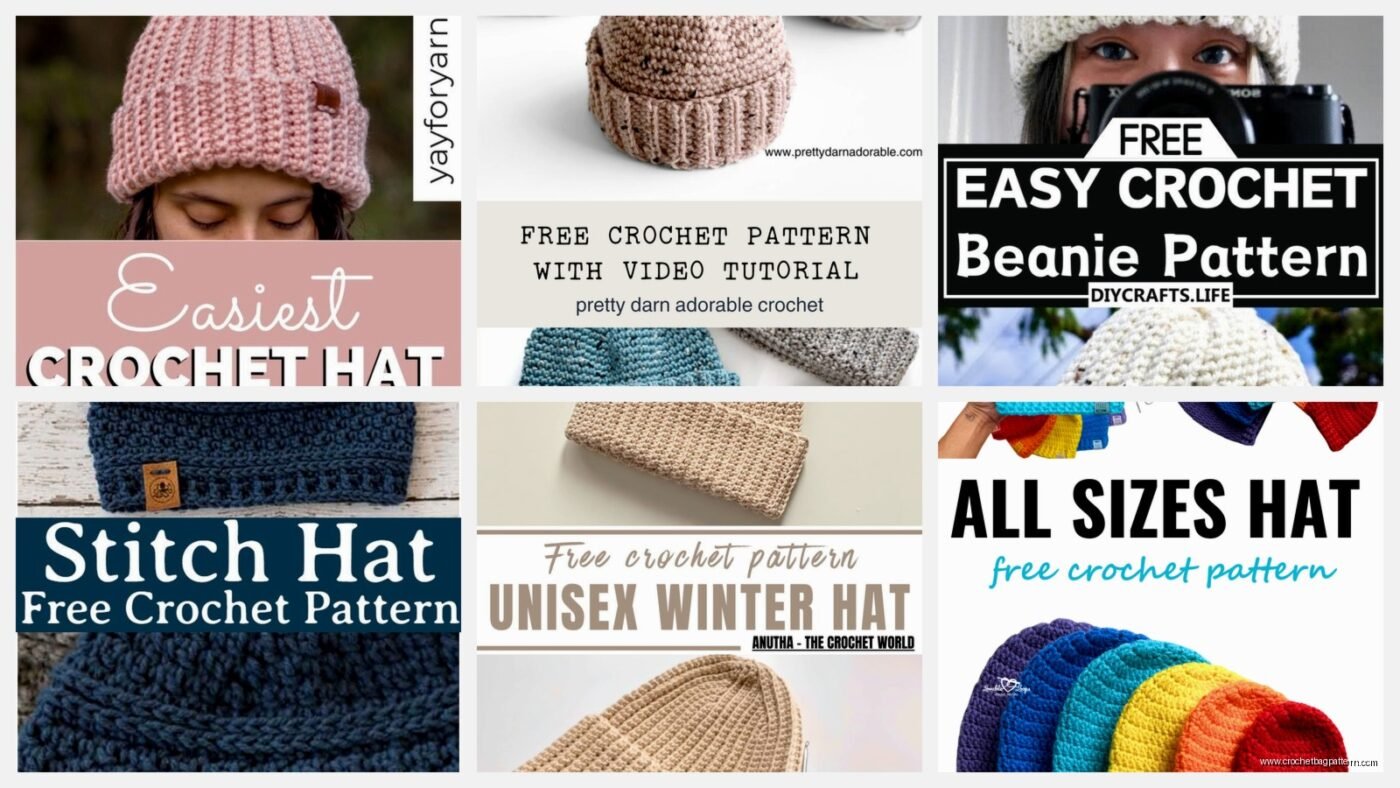
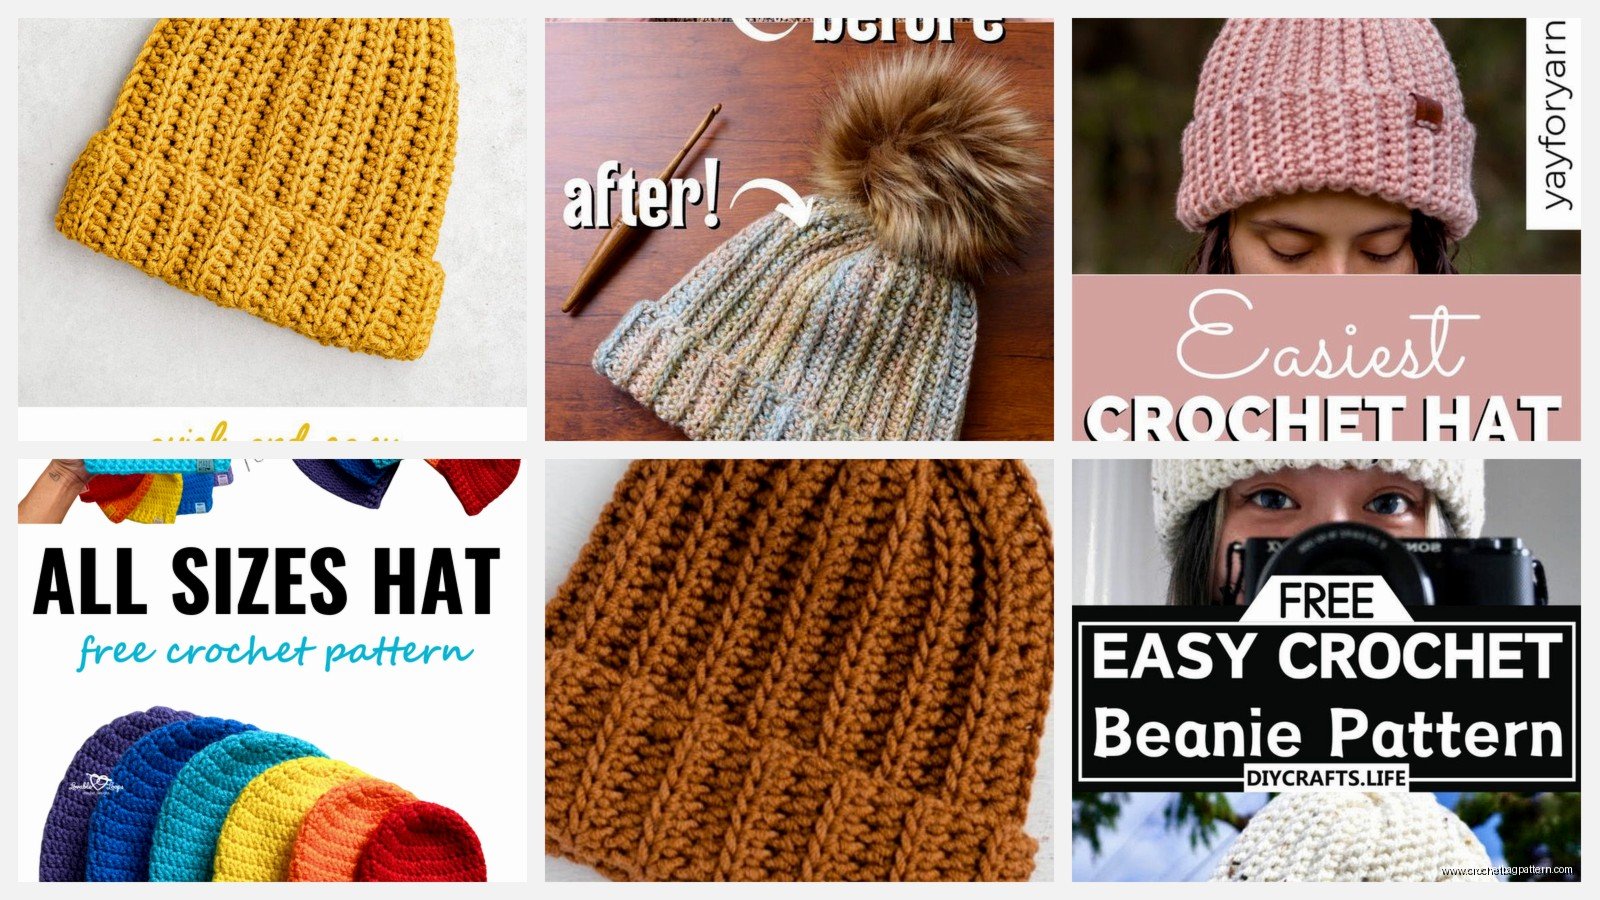
Everyone says start with a scarf but honestly that’s boring and takes forever. A basic beanie takes maybe 3-4 hours if you’re slow like I was at first, and you actually end up with something you’ll wear. I used Red Heart Super Saver for my first one because it was cheap and I wasn’t gonna invest in fancy yarn when I didn’t even know if I’d finish the thing.
The magic circle is your friend here. I know it looks weird in videos but once you get it, you’ll use it for everything. Basically you’re making a loop that you can tighten up so there’s no hole in the top of your hat. My first attempt had this giant hole situation because I just chained and joined like I’d seen someone do once, and it looked ridiculous.
The Simple Beanie Pattern I Wish Someone Had Just Told Me About
You’re gonna start with that magic circle and do like 12 double crochets into it. Pull it tight. Then you just keep increasing in rounds until you have a flat circle that measures about 4-5 inches across. The increasing pattern is pretty simple but it annoyed the hell out of me at first because I kept losing track of where rounds started and—oh yeah, use a stitch marker, just like a bobby pin or piece of yarn in a different color works fine.
For a adult sized hat you want:
- Round 1: 12 double crochet in magic ring
- Round 2: 2 dc in each stitch (24 total)
- Round 3: *1 dc, 2 dc in next stitch* repeat (36 total)
- Round 4: *2 dc, 2 dc in next stitch* repeat (48 total)
- Round 5: *3 dc, 2 dc in next stitch* repeat (60 total)
- Round 6: *4 dc, 2 dc in next stitch* repeat (72 total)
That should give you a circle that’s about the right size. Then you just stop increasing and crochet straight rounds (72 dc in each round) until the hat is as long as you want it. I usually do like 15-20 more rounds depending on if you want it slouchy or fitted.
Yarn Choices That Won’t Make You Want to Quit
Red Heart Super Saver is acrylic and kind of squeaky to work with honestly, but it’s like $3-4 and comes in every color. Lion Brand Wool-Ease is nicer if you want to spend a bit more, it’s a blend so it’s softer but still affordable. I made a hat for my sister in summer 2024 using some Caron Simply Soft and that stuff is actually really nice to work with, doesn’t split as much.
The splitting thing is what annoyed me SO MUCH when I started. You’re going along fine and then your hook catches part of the yarn instead of going through the whole stitch and you have to back up and fix it. Cheaper yarn splits more. But also when you’re learning you’re probably gonna make mistakes anyway so don’t spend $20 on fancy merino or whatever.
Use a 5mm or 5.5mm hook (H or I size in US terms) with worsted weight yarn. Medium weight. The label will say 4 on it usually. If you use a bigger hook with the same yarn you’ll get a looser more slouchy hat, smaller hook makes it tighter.
The Part Where Everything Looks Wrong But It’s Actually Fine
Your first hat is gonna look weird. The tension will be off, some stitches will be tighter than others, whatever. I made one in like November 2022 that was lopsided because I was accidentally adding stitches in some rounds and not others, and my tension got looser as I went because my hands relaxed or something.
The good news is hats are forgiving because they stretch. That lopsided hat still fit fine and I wore it all winter. My cat kept trying to sit on it though which was annoying.
Variations Once You Get the Basic Shape Down
After you make one basic beanie you can mess around with it pretty easily. Ribbed brim is just switching to single crochet or half double crochet for the last few rounds, or you can do it in the back loops only which makes those horizontal ridges.
Messy bun hats are the same pattern but you just leave a hole in the top instead of closing the magic circle all the way. I made one of these in spring 2023 and honestly it’s not that practical unless you actually wear your hair in a bun all the time, but everyone was making them.
Stripes are easy, you just switch colors every few rounds. The tricky part is dealing with all the yarn ends you have to weave in after, which is the worst part of any project honestly. I usually weave them in as I go now because otherwise I end up with a finished hat and like 12 loose ends and I just don’t wanna deal with it.
Counting Stitches Without Losing Your Mind
So this was the thing that almost made me quit the first time. You’re supposed to count to make sure you have the right number of stitches in each round, but when you’re doing 72 stitches per round and you lose count at like 45, you gotta start over. Use the stitch marker to mark every 10 or 20 stitches maybe? Or just… don’t worry about it too much honestly.
If you’re off by a couple stitches it’s probably fine. If your hat starts looking wavy or ruffled you’re adding too many stitches. If it’s curling up and getting tight you’re not doing enough. You can usually tell by looking at it whether it’s working.
Working in Rounds vs Rows
Most basic hat patterns work in continuous rounds which means you just keep spiraling around without joining or chaining. This is faster but harder to keep track of where you are. Some patterns have you slip stitch to join at the end of each round and chain to start the next one, which is easier to count but you end up with a visible seam line.
I prefer continuous rounds now but when I started I definitely needed to join each round so I could actually tell what I was doing. There’s no wrong way, just different approaches.
The invisible join technique is something I learned way later, where you finish the last stitch in a specific way so the seam doesn’t show as much, but that’s probably more than you need for a first hat.
What To Do When You Mess Up
You’re gonna mess up. I probably frogged (ripped out) my first hat three times before I got past the crown. The crown is the flat circle part at the top, by the way, I didn’t know the terminology at first and kept seeing patterns mention it like I should know what that means.
When you catch a mistake you have three choices: rip it out and redo it, try to fix it by adding or skipping stitches in the next round, or just keep going and pretend you don’t see it. I’ve done all three. Sometimes I look at a hat I made and can see exactly where I screwed up but nobody else ever notices.
If you need to rip out stitches, just take your hook out and pull the working yarn. It’ll unravel. Try not to pull too hard or you’ll end up with a tangled mess. Wind it back into a ball as you go or you’ll regret it later when you’re trying to work with kinked crimped yarn.
Finishing the Hat
When your hat is as long as you want it, you just cut the yarn leaving like a 6 inch tail, pull it through the last loop, and weave in the end with a yarn needle. Weaving in ends is just threading the needle and going back through some stitches on the inside so the tail is secured and won’t come loose.
Some people do a final round of slip stitches around the brim to make it cleaner but I usually skip this because I’m lazy and it looks fine without it.
If your hat is too loose or too big, you can try felting it if it’s wool, but that’s a whole other thing. With acrylic you’re kind of stuck with what you made unless you want to add a ribbed band or something to tighten it up.
Patterns vs Just Winging It
I never really followed written patterns much, I’d watch like half a YouTube video and then just do whatever seemed right. Most basic beanies follow the same structure anyway—make a flat circle, then stop increasing and go straight. Once you understand that concept you don’t really need a pattern.
But if you’re someone who likes having exact instructions, there are tons of free patterns on Ravelry and various blogs. Just search “easy beginner crochet beanie” and you’ll find hundreds. Look for ones labeled “beginner” or “easy” that use basic stitches like single crochet or double crochet, nothing fancy.
The abbreviations in patterns are confusing at first. SC means single crochet, DC is double crochet, CH is chain, ST is stitch. There are charts online with all the abbreviations if you need them.
How Long Will This Actually Take
My first hat took me probably 6 hours total because I kept messing up and checking videos and recounting stitches. Now I can make a basic beanie in like 2-3 hours while watching TV or whatever. If you’re crocheting really loose and fast maybe even quicker.
Don’t expect to finish it in one sitting unless you’ve got nothing else going on. I usually work on stuff over a few days, couple rounds here and there. The nice thing about hats is they’re small enough that you can actually see progress each time you pick it up, unlike an afghan or something that takes months.
Other Easy Hat Styles for After Your First Beanie
Once you’ve made a basic beanie you can try an earflap hat, which is the same pattern but you add flaps. You just crochet the basic hat, then count to find where you want the earflaps positioned and attach yarn there and work back and forth in rows going down. Add braids if you want, those are just chains with the yarn held double or triple.
Newsboy caps are a bit trickier because of the brim but still doable as a second or third project. The brim is just worked flat and attached to the main hat part.
Bucket hats were having a moment recently and those are actually pretty simple, similar construction to a beanie but wider and shallower. You make a bigger flat circle and then don’t go as tall on the sides, then add a brim by increasing a bunch in the last few rounds.
I tried making a bucket hat in July 2024 using some cotton yarn, I think it was Lily Sugar’n Cream, and cotton is really different to work with than acrylic. It’s stiffer and doesn’t stretch as much, which is actually good for bucket hats because you want them to hold their shape. But it’s also harder on your hands if you crochet for a long time.
Stuff Nobody Mentions But You’ll Figure Out
Your hands will get tired. Take breaks. I got like a repetitive strain thing in my wrist once from crocheting for 5 hours straight trying to finish a hat and it hurt for days.
The yarn will squeak if it’s acrylic, especially cheap acrylic. You get used to it.
Gauge matters but also doesn’t matter? Like, if you’re making a hat for yourself you can just try it on as you go and see if it fits. If you’re making it as a gift you should probably measure or at least know the person’s head size. Average adult is about 21-23 inches around.
Different yarns work up differently even if they’re the same weight. That Caron Simply Soft I mentioned makes a drapier softer hat than Red Heart Super Saver which is stiffer and warmer but less comfortable.
Wool is warm but itchy for some people. Acrylic is cheap and easy to wash but not as warm. Cotton is good for summer hats but heavy. Blends are usually a good middle ground.