
Feb
The Basic Pattern I Keep Coming Back To
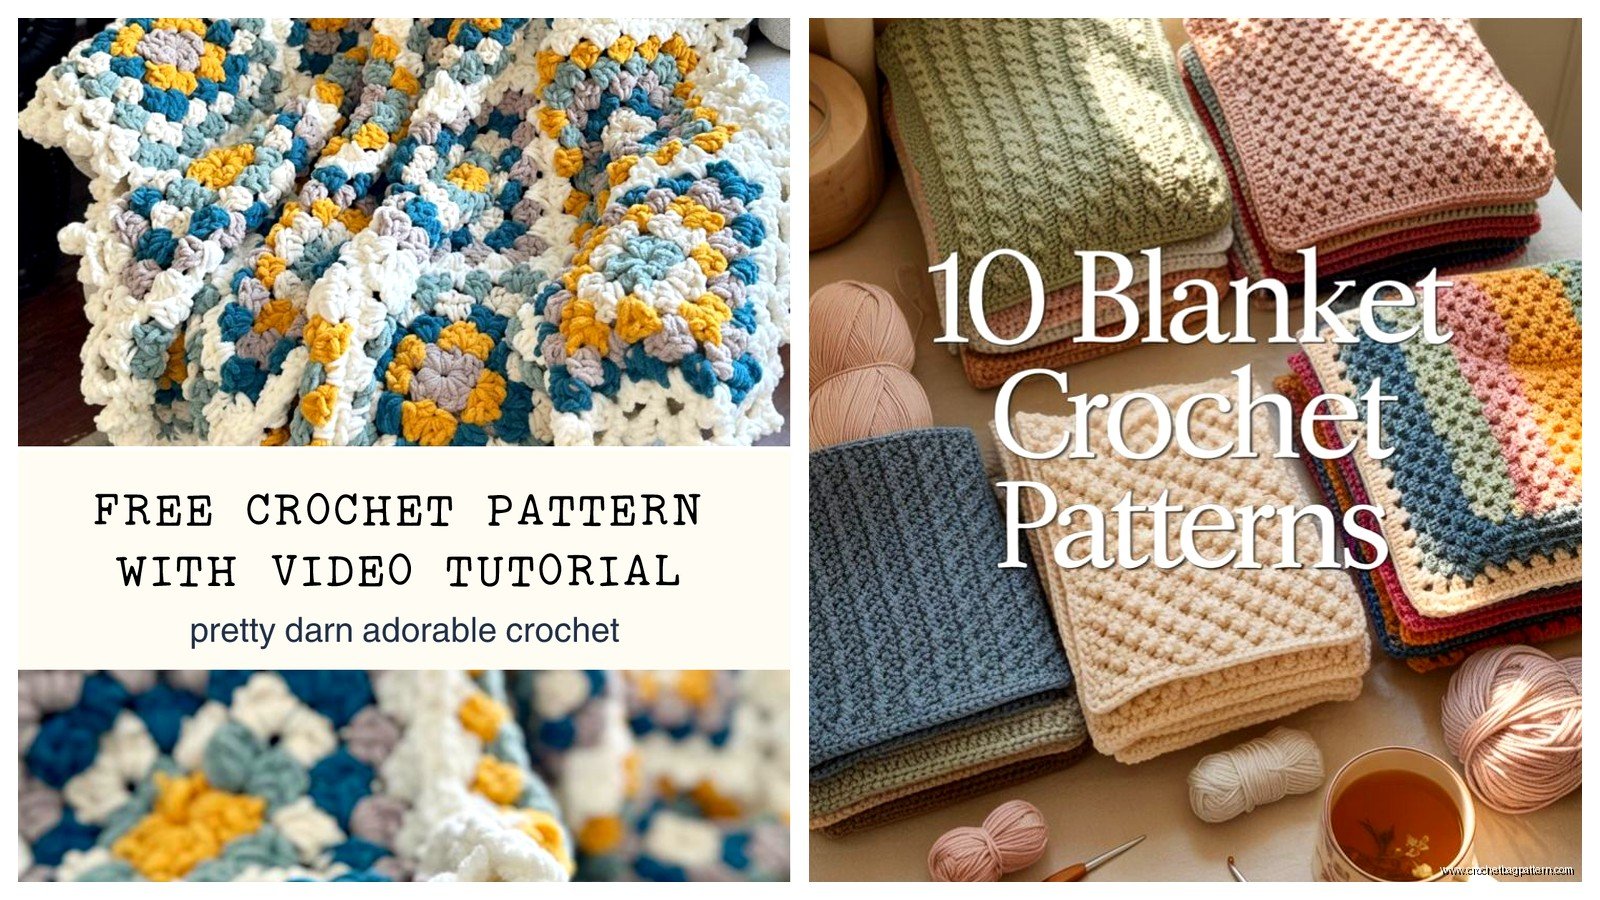
So I made this massive throw blanket in spring 2022 when I was basically living on my couch binge-watching The Great British Bake Off, and honestly it was the only thing keeping me sane. I used Lion Brand Wool-Ease Thick & Quick because I wanted something that would actually work up fast and not take me six months. The pattern itself is stupidly simple – you’re gonna chain however wide you want the blanket, then just do rows of double crochet back and forth until your arms fall off or it’s long enough.
For a throw that actually covers you properly, I chained 120 stitches with a 9mm hook. That gave me something around 50 inches wide. The annoying thing about this whole process was that my tension kept changing because I’d crochet while watching TV and when something exciting happened my stitches would get tighter, so parts of the blanket are weirdly different widths and it drove me crazy but whatever, nobody notices but me.
Yarn Choices That Actually Matter
I’ve tried a bunch of different yarns for these blankets and here’s what I actually remember:
- Lion Brand Wool-Ease Thick & Quick – works up fast but splits sometimes if your hook catches it wrong
- Bernat Blanket yarn – SO soft but also really shows every mistake you make
- Caron Simply Soft (the regular weight, not chunky) – takes forever but holds up really well in the wash
- Red Heart Super Saver – everyone says it’s scratchy but honestly after you wash it a few times it’s fine and it’s like $3 a skein
The Bernat Blanket yarn is what I used for a smaller lap blanket in summer 2024 and my cat immediately claimed it as his own so I barely even got to use it. That one I made in this seafoam green color and just did single crochet the whole way through because I was trying to make something more dense.
The Actual Steps Without All The Fancy Pattern Language
Start with a slip knot on your hook. Chain until you get the width you want – I usually do like 100-150 chains depending on the yarn thickness. Don’t make your foundation chain too tight or you’re gonna hate yourself later when the edges curl up weird.
Row 1: Skip the first 3 chains (this counts as your first double crochet), then double crochet in each chain across. When you get to the end, chain 3 and turn your work.
Row 2 and every row after that: Double crochet in each stitch across, chain 3 at the end, turn. Repeat until the blanket is as long as you want or until you run out of yarn or patience, whichever comes first.
That’s literally it. The whole pattern. People make it sound so complicated with their PDFs and stitch diagrams but really you’re just making rows of the same stitch over and over.
Variations If You Get Bored
The all-double-crochet thing gets mind-numbing after awhile, so sometimes I switch it up. You can do stripes by changing colors every few rows – just drop the old color and pick up the new one at the beginning of a row. Don’t cut the yarn if you’re gonna use that color again, just carry it up the side.
Another thing that looks more complicated than it is: do 2 rows of double crochet, then 2 rows of single crochet, and keep alternating. It makes this texture thing that people always ask about like you did something special.
Or you can do a granny stripe pattern which is basically – chain in multiples of 3, then do groups of 3 double crochets with chain spaces between them. It works up even faster but has holes so it’s more decorative than actually warm.
The Math Part Nobody Wants To Deal With
Figuring out how much yarn you need is annoying. Most throw blankets that are actually useful size (like 50×60 inches) take somewhere between 1200-2000 yards of worsted weight yarn. If you’re using chunky or bulky yarn, you need less yardage but the skeins are more expensive so it kinda evens out.
I usually buy an extra skein or two beyond what I think I need because nothing is worse than getting 3/4 done and running out, then not being able to find the same dye lot. That happened to me once with this burgundy color and I had to finish the last 10 rows in a slightly different shade and you can totally tell if you look at it in sunlight.
What Hook Size To Use
The yarn label tells you what hook to use but honestly I usually go up a size or two from what it recommends. Blankets should be drapey and soft, not stiff. So if the label says use a H hook (5mm), I’ll use a J (6mm) or even a K (6.5mm).
With the really chunky yarns like Wool-Ease Thick & Quick, I use a 9mm or 10mm hook. Your hands will get tired with bigger hooks though – I had to take breaks every 30 minutes or my fingers would cramp up.
Borders and Finishing
You don’t technically need a border but the edges look kinda… unfinished without one. The easiest border is just single crochet around the entire blanket. When you get to corners, do 3 single crochets in the same stitch so it lays flat.
Some people get really fancy with shell borders or picot edges but that seems like a lot of effort for something that’s gonna get covered in dog hair anyway. I did try a shell border once on a baby blanket and it looked nice but took almost as long as making several rows of the actual blanket.
Weaving in ends is the worst part of the whole thing. I usually have like 10-20 yarn tails to deal with depending on how many color changes I did, and I always put it off for days because it’s so tedious. Use a yarn needle and weave them through the back of stitches for a few inches then trim. Don’t just tie knots and cut them short or they’ll eventually work their way out.
Common Problems I’ve Run Into
Your stitch count will probably drift if you’re not paying attention. I’ll start with 120 stitches and somehow end up with 118 or 123 by row 30. It happens. You can either frog it back (undo your work) and fix it, or just increase or decrease at the end of a row to get back to the right number. Nobody’s counting your stitches except you.
If your edges are wavy or ruffled, your foundation chain was too loose or you’re adding stitches without realizing it. If the edges are pulling in and tight, your foundation chain was too tight.
The blanket twisting or not laying flat usually means your tension is inconsistent – some rows are tight and some are loose. This one’s hard to fix honestly, you kinda just gotta pay more attention while you’re working or… accept that your blanket has character.
Washing Your Finished Blanket
Throw it in the washing machine on gentle with cold water. I use regular detergent, nothing special. Most acrylic yarns can go in the dryer on low but I usually just lay them flat to dry or hang them over a chair because the dryer makes them get staticky.
If you used wool or a wool blend (like that Wool-Ease), you gotta be more careful – cold water only and definitely don’t put it in the dryer or it’ll shrink into a doll-sized blanket. Ask me how I know.
How Long It Actually Takes
People always ask this and it depends so much on how much free time you have and how fast you work. That spring 2022 blanket took me maybe 3 weeks working on it a few hours every evening. The smaller one from last summer I finished in like 5 days because I was off work and had nothing else to do.
If you’re just learning or you’re using thin yarn with small hooks, plan on at least a month. With chunky yarn and big hooks you could feasibly finish in a weekend if you really pushed yourself, but your hands would hate you.
The actual crochet part goes faster than you think – it’s the starting and stopping, weaving in ends, adding borders, fixing mistakes… that’s where the time goes. Also I definitely spent more time watching TV and petting the cat than actually crocheting but that’s beside the point.