
Feb
Getting Started With The Actual Blanket
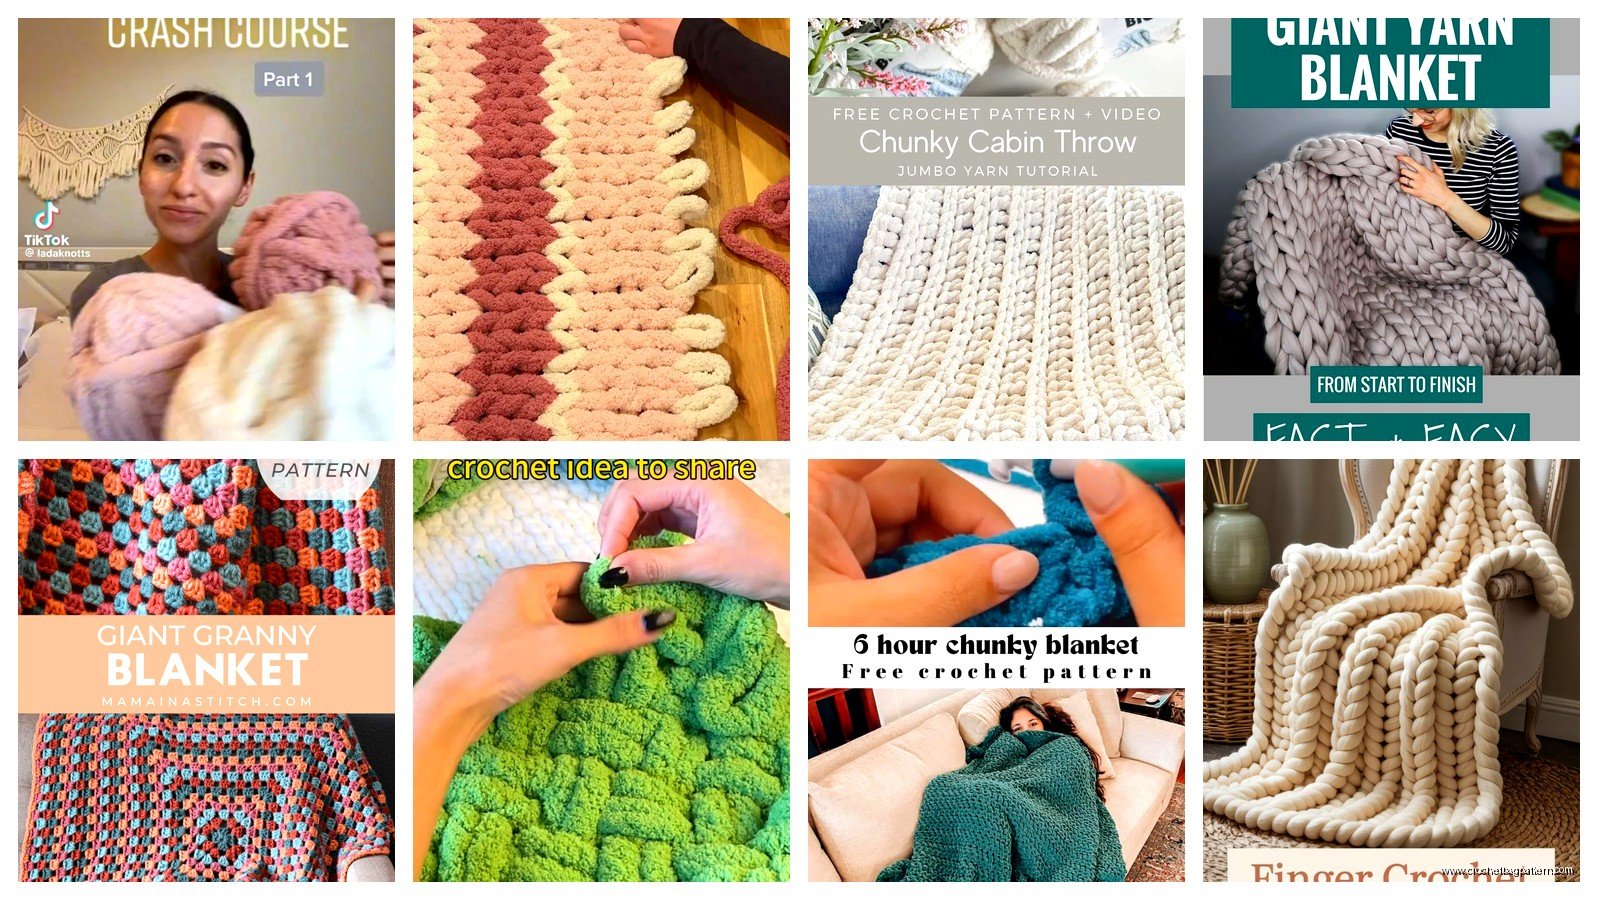
So I made my first giant crochet blanket in January 2023 when my apartment heat was broken for like two weeks and I was just sitting there bundled up watching old episodes of The Office for the millionth time. I figured if I’m gonna freeze I might as well make something warm out of it.
The main thing you need to know is that jumbo yarn is not like regular yarn at all. I’m talking about the really thick stuff – like the chenille type that’s about as wide as your thumb or wider. Bernat Blanket yarn is probably what you’ve seen everywhere, that’s the most common one. I used their “Vintage White” color but honestly it looked more like sad cream after a few weeks.
What Size Hook You Actually Need
Don’t even bother with a regular crochet hook. You need at least a 15mm hook, but I’d say go for 19mm or 25mm if you’re using the super bulky stuff. I have a Clover Takumi hook in 15mm and it was too small for what I wanted to do, so I ended up buying some random wooden one off Amazon that was 25mm. Your hands are gonna get tired either way but the bigger hook moves faster through the project.
Some people use their arms instead of hooks for these blankets – that’s arm knitting or arm crocheting – but I never got into that because it seemed like you’d have to finish in one sitting and also my cat would definitely attack my arms thinking we’re playing.
How Much Yarn To Buy
This is where everyone messes up including me. For a decent throw blanket size like 40×50 inches you need about 6-8 skeins of Bernat Blanket yarn. Each skein is like 220 yards I think? But honestly I always buy more because I’d rather have extra than run out and then the dye lot is different.
For my first one I bought 6 skeins thinking that would be enough and then had to order 2 more mid-project. The dye lot WAS different and you could totally tell. One section looked darker than the rest and it bugged me forever until I just gave the whole thing to my sister.
Other Yarn Brands That Work
- Lion Brand Hometown USA – this one is acrylic and really thick, works up fast
- Wool-Ease Thick & Quick – not as jumbo but still chunky enough
- Cascade Magnum – if you want actual wool and have money to spend
- Big Twist Mega – this is from Joann fabrics and it’s cheaper but kinda squeaky
The Actual Pattern Part
You don’t really need a complicated pattern for these blankets. The yarn is so thick that simple stitches look good enough. I just did a basic single crochet for my whole first blanket and it turned out fine.
Here’s what I did: Chain like 50 or 60 stitches depending on how wide you want it. The chain is gonna be stiff and weird with jumbo yarn, not all nice and even like with regular yarn. Just accept that.
Then single crochet back across the chain. Every row is just single crochet, turn, single crochet back. You keep going until it’s as long as you want. That’s it. That’s the whole pattern.
If You Want Texture
Half double crochet makes it work up even faster and gives you a little more drape. Double crochet is gonna make holes that are probably too big unless you’re into that look.
The pattern I wish I’d tried first is alternating single crochet and half double crochet in the same row. You do one single crochet, then one half double crochet, and keep alternating. It makes this nice bumpy texture that actually looks intentional.
The Thing That Really Annoyed Me
My hands cramped up SO bad. Like after 30 minutes I had to stop and shake out my hands. The hook is huge and heavy, the yarn is thick and hard to pull through, and you’re basically doing this repetitive motion with your whole arm not just your fingers. I had to take breaks every half hour or my hand would freeze up in this claw shape.
Some people say you get used to it but I made three of these blankets and it never got easier on my hands. I just accepted that it was gonna hurt and planned for it.
How Long It Takes
Everyone says these work up fast and I mean… compared to a regular yarn blanket yeah I guess. But it still took me like 8-10 hours total for a throw size. I did it over maybe four days, couple hours each time.
If you’re doing arm knitting it’s way faster, like 2-3 hours, but again you gotta finish it in one go or the stitches fall off your arms which seems stressful.
Joining Yarn When You Run Out
With this thick yarn you can’t really do the normal method where you just start the new yarn and weave in ends later. The ends are too bulky and obvious. What worked for me was tying a tight knot and then really working that knot into the stitch so it kind of disappears into the thickness of the yarn. Not perfect but better than having these giant tails sticking out.
Or you can try to felt the ends together if you’re using wool, but I never got that to work right with the chunky stuff.
Different Pattern Ideas
Once you’re bored of just straight rows, you can try these:
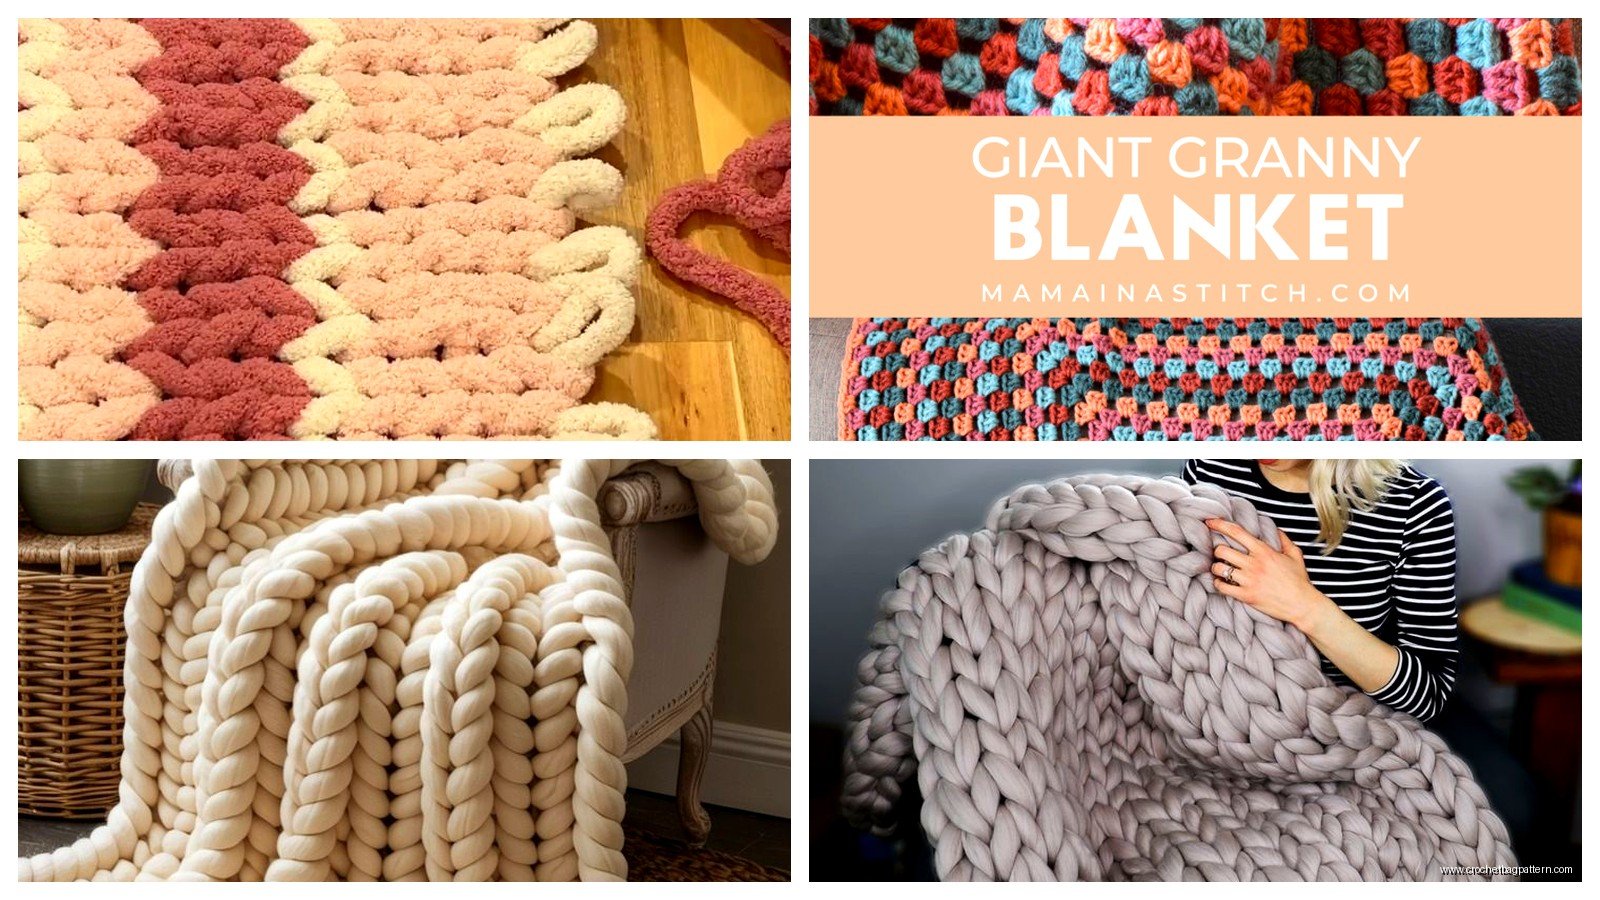
- Granny squares but giant – use the jumbo yarn and make each square huge, then connect them
- Chevron pattern – this is just increases and decreases to make zigzags, works okay with thick yarn
- Basketweave stitch – front post and back post stitches alternating, gives you that woven look
- Corner to corner (C2C) – you start from one corner and work diagonally, this actually looks really cool with jumbo yarn
The C2C Method
This is probably my favorite for chunky blankets because the diagonal thing makes it look more interesting than just rows. You start with chain 6, then do clusters of double crochet in a specific way that builds outward from the corner. There’s videos that explain it better than I can type it out, but basically each “block” is chain 3 and then 3 double crochets.
You keep adding blocks until the blanket is as wide as you want, then you start decreasing by not adding new blocks and just working across what’s already there. The decreasing part always confused me at first but you figure it out.
Washing These Things
The chenille yarns like Bernat Blanket get really stretched out and weird if you wash them wrong. I learned this the hard way. You gotta use cold water and lay flat to dry, no dryer ever. Even then it might get a little wonky.
The acrylic ones are more forgiving but they still pill like crazy after a few washes. Those little fabric shavers help but it’s annoying to maintain.
What I’d Do Different
I’d probably use a lighter weight yarn honestly. The jumbo stuff is fun for like five minutes and then it’s just heavy and hard to work with. There’s a middle ground with like bulky weight yarn on a 10mm or 12mm hook that still works up fast but doesn’t kill your hands as much.
Also I’d measure my chain more carefully at the start. I kept ending up with blankets that were wider than I wanted because I just guessed at the chain length. Lay out your starting chain and actually measure it before you commit to doing 50 rows or whatever.
Cost Reality Check
These blankets are expensive. Each skein of Bernat Blanket is like $8-12 depending where you buy it, and you need at least 6-8 skeins. That’s $50-100 in yarn for one blanket. The ones you see selling on Etsy for $200+ make more sense when you factor in the materials plus the hand cramping labor.
If you want cheaper, wait for sales at Michaels or Joann. They do 50% off Bernat pretty regularly. Or use a coupon on each skein if you’re patient enough to make multiple trips.
Fixing Mistakes
When you mess up with jumbo yarn it’s SO obvious. But also it’s kind of a pain to rip back because the yarn is thick and gets stretched when you pull it out. Sometimes I’d just leave small mistakes because redoing it seemed worse than just living with one weird stitch.
If you dropped a stitch or something major though, you gotta fix it. Use a stitch marker or just a piece of regular yarn to mark where the problem is so you don’t lose track while you’re ripping back.
Edge Finishing
I never did a fancy border on mine because the yarn is already so chunky that adding more just seemed like overkill. But if you want to, a simple single crochet border around all four sides makes it look more finished. Go around the whole thing once, doing 3 single crochets in each corner so it lays flat.
Some people do a contrasting color for the border which… I don’t know, seems like it might look good or might look like a kindergarten craft project depending on the colors you pick.