
Feb
What You Actually Need
So I made my first real headband in winter 2023 when I was basically living in my apartment with the heat barely working and needed something to keep my ears warm without messing up my hair for work. Used Red Heart Super Saver in that grey color—I think it was called Grey Heather? The skein was like $3 at Walmart and I still have most of it left because these things don’t take much yarn at all.
You need a hook size H/8 (5mm) or I/9 (5.5mm). I used the I because that’s what I had in my cup on the coffee table. You also need scissors and maybe a yarn needle for weaving in ends but honestly I just tie knots sometimes because I’m lazy.
For yarn weight you want something worsted or maybe bulky if you want it really thick and warm. The thin stuff makes headbands that feel kinda sad and wimpy.
Measuring Your Actual Head
This is gonna sound obvious but you need to measure around your head where the headband sits. Not around your whole head like a headache, but across your forehead and around the back. Mine was about 20 inches but I have a smaller head apparently because my sister tried it on and said it was too tight.
The annoying thing about headbands is they stretch out. Like really stretch out. So you actually want to make it about 2 inches shorter than your measurement or it’ll be sliding around after you wear it a few times. Nobody tells you this in patterns and I made like three before figuring it out.
Starting the Chain
Chain like 10-12 stitches. This becomes the width of your headband so if you want it wider do more chains, skinnier do less. I did 10 and it covered my ears without looking like earmuffs.
The chain doesn’t need to be perfect. Mine never are and it doesn’t matter once you get going with the rows.
First Row
Starting in the second chain from your hook, do a single crochet in each chain across. So if you chained 10, you should have 9 single crochets. The first chain doesn’t count, it’s just there to give you height or whatever the reason is.
Chain 1 and turn your work around.
Every Other Row Is The Same
This is the part that makes headbands actually easy for beginners—you literally just repeat the same row over and over until it’s long enough. Single crochet in each stitch across. Chain 1, turn. Single crochet in each stitch across. Chain 1, turn.
I did this while watching Love Is Blind season whatever was on then, and my cat kept sitting on the working yarn so I’d pull it and she’d attack it. Took me like two evenings of TV to finish but I wasn’t rushing.
The thing that annoyed me SO MUCH was keeping the edges straight. Like you’re supposed to work into every stitch including the first and last ones, but I kept accidentally skipping the last stitch of rows and my headband started getting narrower on one side. You gotta really look for that last stitch because it hides under the chain-1 from the previous row.
How Long To Make It
Keep going until your rectangle measures about 18 inches if your head was 20 inches. Or whatever is 2 inches less than your measurement. Lay it flat and use a tape measure. Don’t stretch it while measuring or you’ll mess up.
I actually made mine 17 inches because I was worried about the stretching thing after my first attempt turned into a scarf basically.
Connecting The Ends
When you’re done with rows, cut your yarn leaving like 8-10 inches of tail. Thread it through a yarn needle if you have one.
Fold your rectangle so the two short ends meet. You’re gonna whip stitch them together or you can single crochet them together if you want. I usually single crochet because I’m already holding a hook so why get a needle involved.
To single crochet the ends together: put the two ends together with the “right sides” facing each other (the side that looks better, though with single crochet both sides look basically the same honestly). Push your hook through both layers at once and do single crochets all the way across the edge. This makes a seam.
Turn it right-side out and you’ve got a headband loop.
Different Stitches If You Want
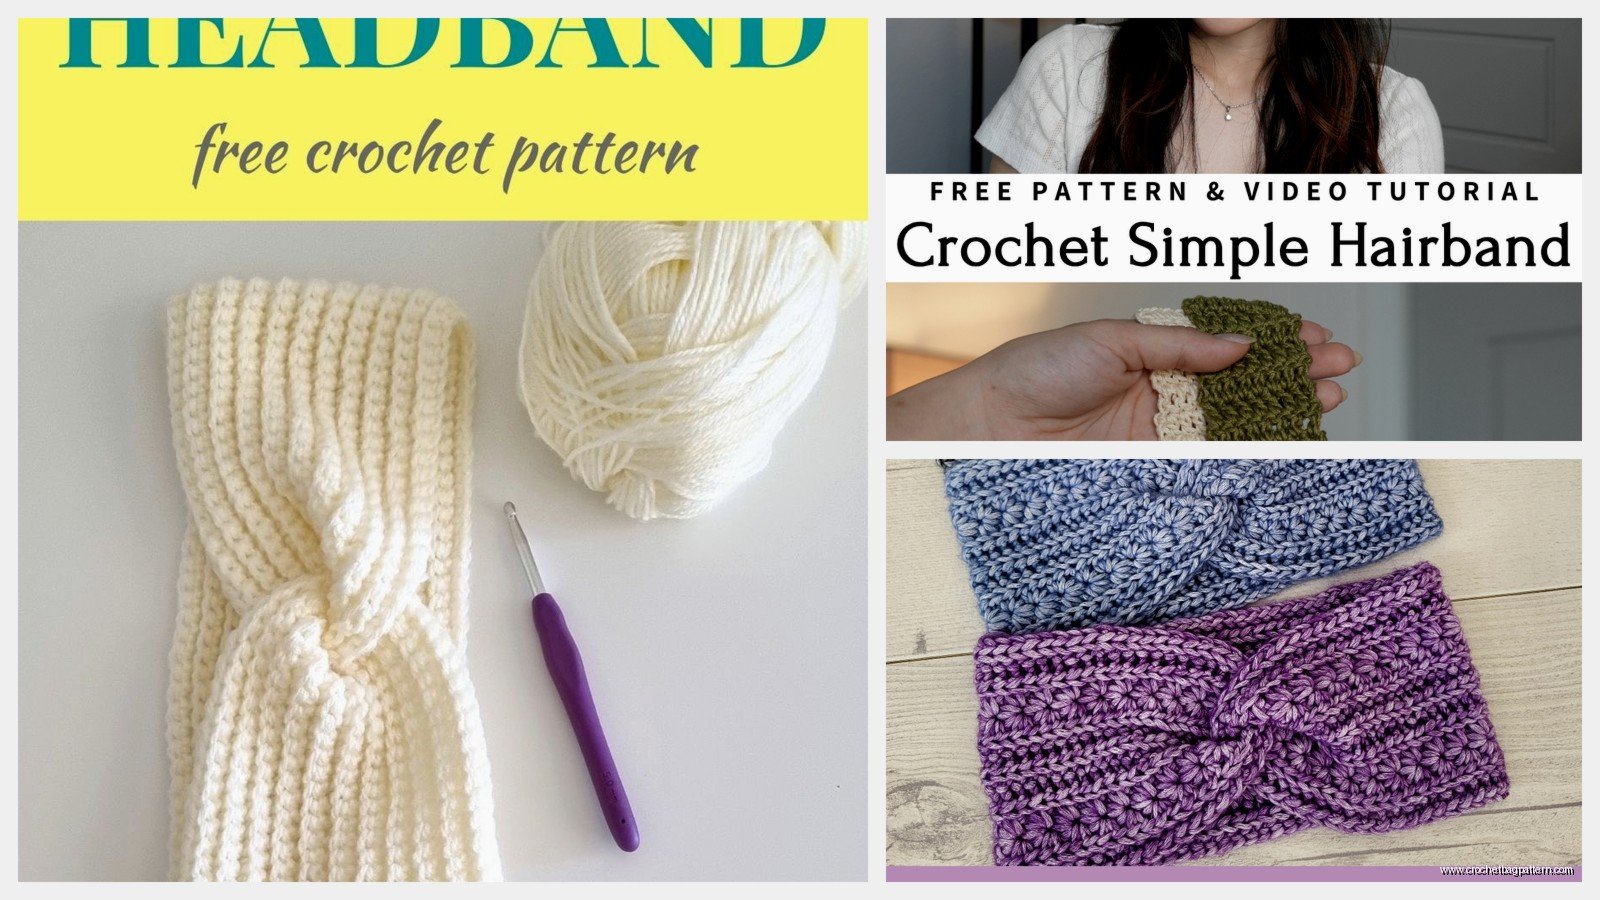
You don’t have to do single crochet. Half double crochet works fine and makes it less dense and a little stretchy. It also works up faster because the stitches are taller so you need fewer rows.
I tried one in half double crochet using Lion Brand Wool-Ease in like a burgundy color and it was softer but also stretched out way more. So if you do half double crochet make it even shorter than the 2 inches less rule. Maybe 3 inches less? I’m not sure, I just winged it on the second one.
Some people do ribbing by working in the back loops only which makes those vertical lines like on the cuffs of sweatshirts. It looks more professional but takes the same amount of time and I can’t tell the difference when it’s on my head so.
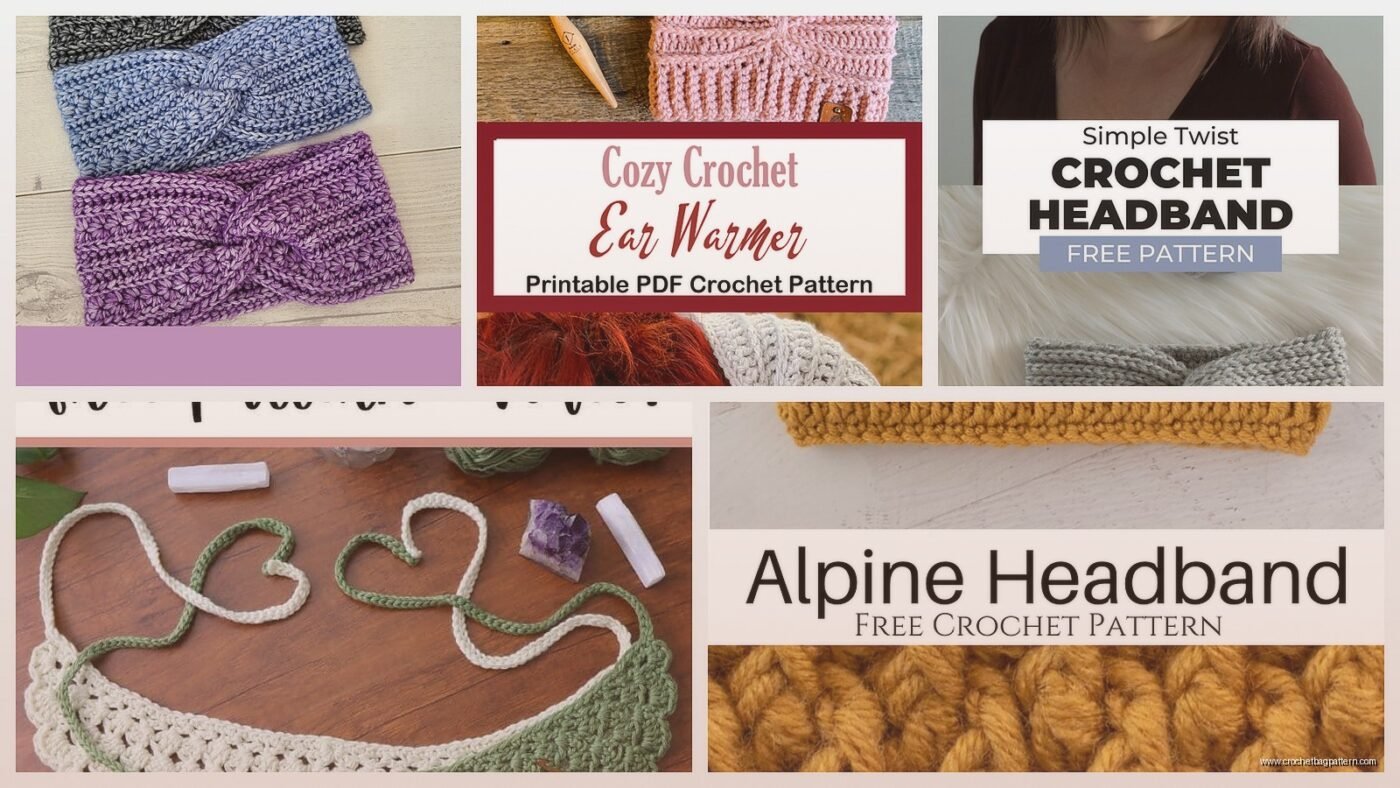
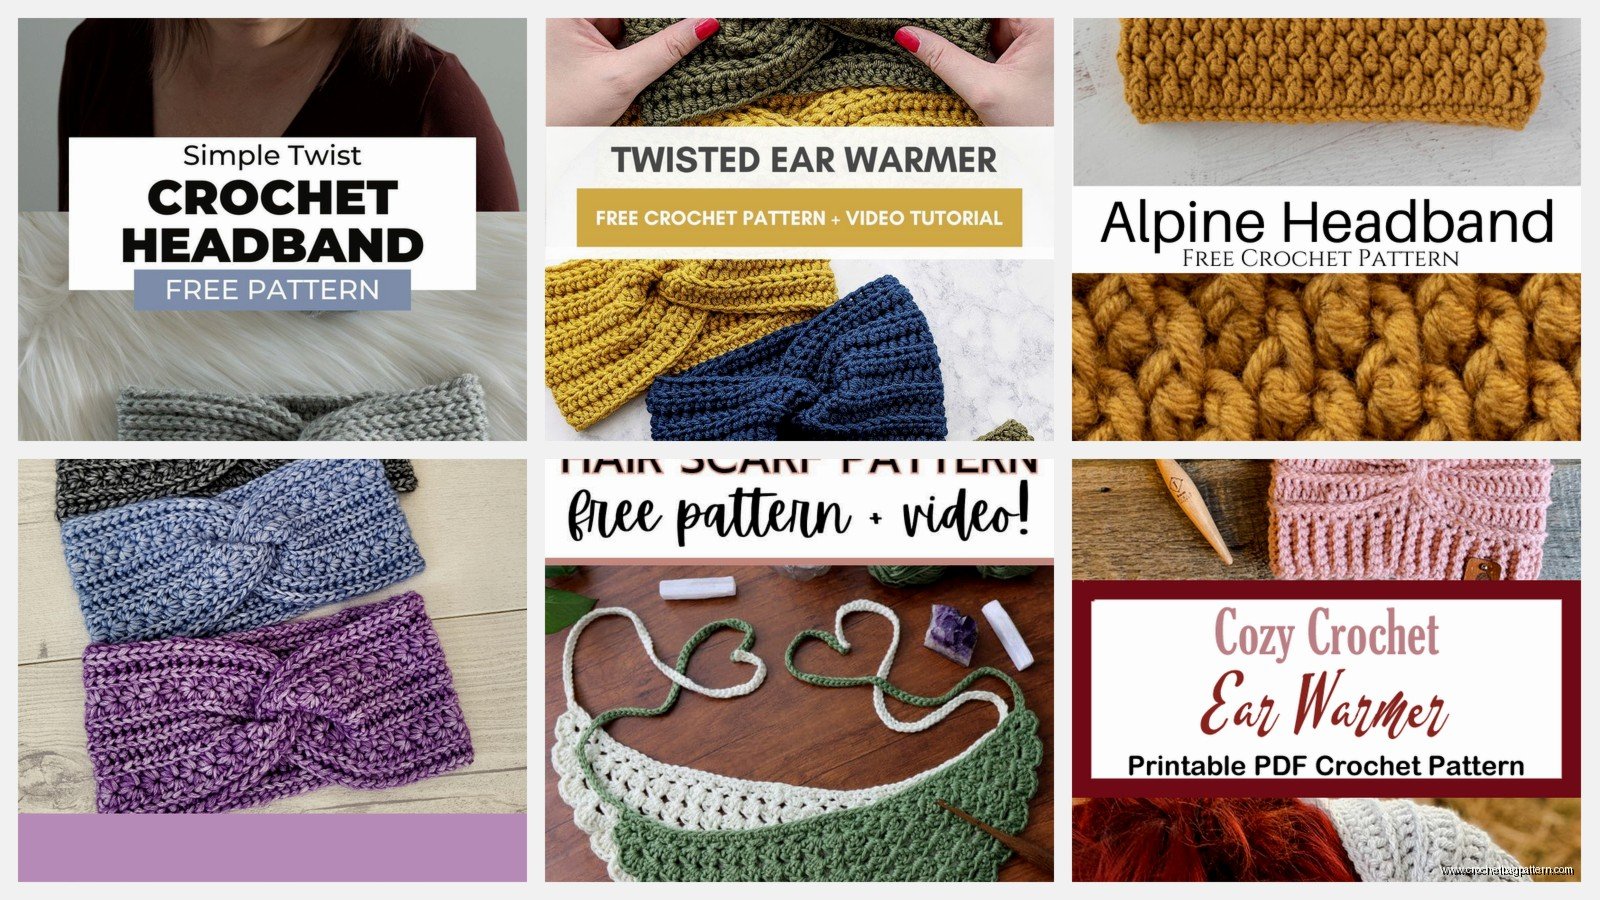
Making It Twist Style
If you want one of those headbands with a twist in the front, you do the same rectangle but before you sew the ends together, you twist it once. Like make an infinity symbol shape, then connect the ends. The twist ends up wherever you put the seam basically.
I made one of these for my sister’s birthday using Bernat Softee Chunky in grey (I was really into grey that year I guess) and the twist looked good but she said it felt bulky on her forehead. Some people love them though.
Width and Yarn Stuff
If you use really bulky yarn like Wool-Ease Thick and Quick or Lion Brand Hometown USA, you can chain less stitches and it works up super fast. I made one in probably 45 minutes with Thick and Quick on a K hook. But it was really thick and warm, like almost too warm for indoors.
The width thing is personal preference but I find 2-3 inches covers ears without looking costumey. If you make it too wide it starts looking like an ear warmer or like you’re about to go skiing, which might be what you want actually.
Edges Curling
Sometimes the long edges curl in and it looks bad. This happens more with half double crochet than single crochet. You can block it by getting it damp and pinning it flat to dry but who has time for that with a headband.
I just… if it curls I usually just live with it or I’ll do a row of slip stitches along the long edges which makes them lay flatter. Not always though because slip stitches are boring.
Colors and Changing Yarn
You can do stripes by changing colors every few rows. Just drop the old color and start the new one when you do your chain-1 to turn. I made a white and navy one that looked kinda nautical but I used Caron Simply Soft and it was too slippery, kept sliding back off my head.
Acrylic is honestly the best for headbands because it’s cheap and durable and doesn’t get weird if it gets wet from snow. Cotton feels nice but doesn’t have stretch. Wool is warm but itchy and expensive and you gotta worry about moths or whatever.
Embellishments I Guess
You can sew buttons or flowers or whatever on the side if you want it to look fancier. I don’t usually bother because I wear mine under my hood anyway when it’s actually cold enough to need it. But I did hot glue a fabric flower from Michael’s on one for my niece and she wore it for like a week straight so.
Some people crochet little flowers or bows separately and sew those on. There’s probably tutorials for that but I haven’t tried it yet because my flowers always look drunk.
That’s basically it. Make a rectangle, connect the ends, wear it. The first one might be wonky but they’re small enough that you can finish one and immediately start another one better.