
Feb
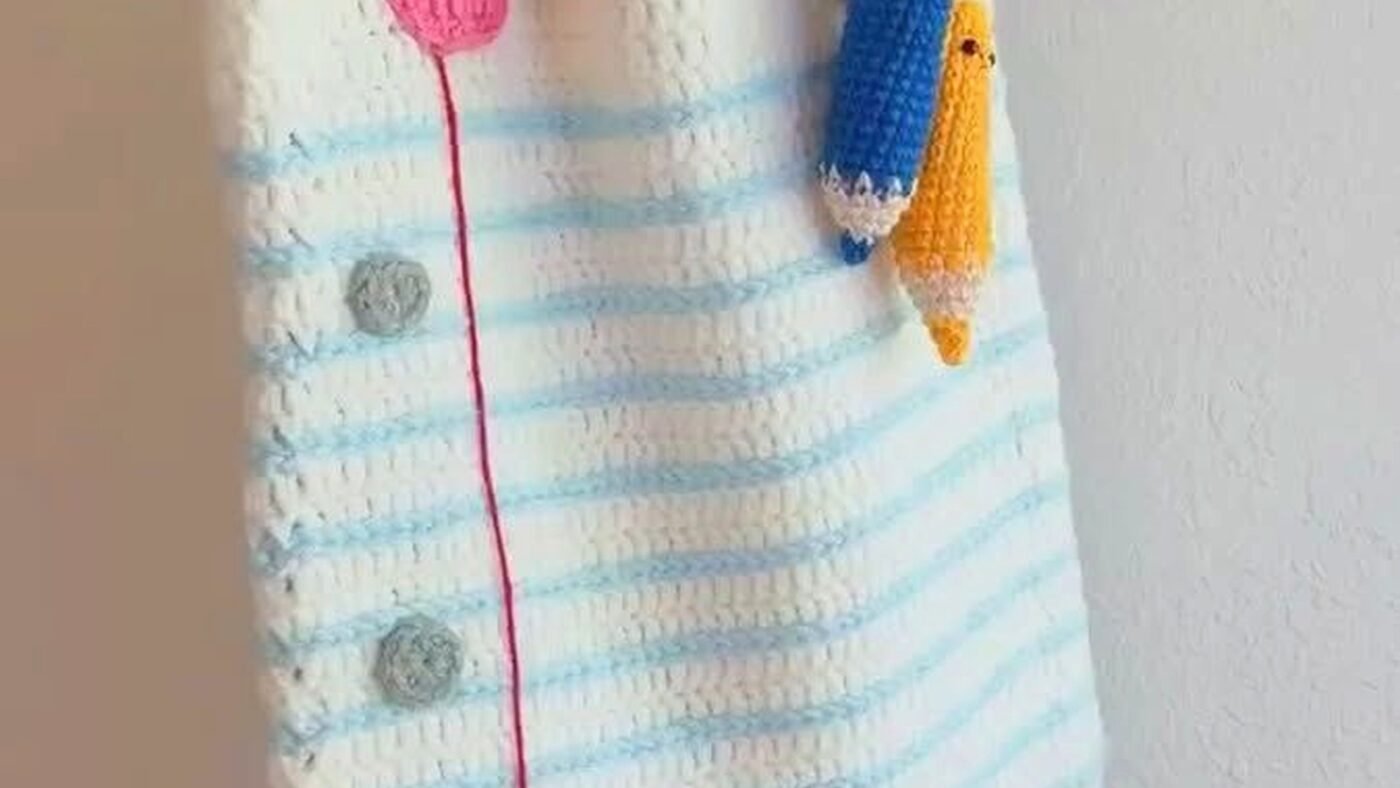
The Basic Drawstring Bag That Actually Works
So I made my first project bag in January 2023 when I was stuck inside for like two weeks with covid and honestly it saved me from going insane. I’d been throwing my yarn into old grocery bags and it was just getting tangled and stupid. The drawstring style is where you wanna start because you can’t really mess it up.
I used Red Heart Super Saver in that grey heather color because I had a ton left over from an afghan. You’re basically making a rectangle that you fold in half and seam up the sides. Chain about 40 stitches—depends how wide you want it but 40 gave me something about 12 inches across. Then just do single crochet rows until you have a piece that’s maybe 20 inches long.
The annoying part is creating the channel for the drawstring and I’m not gonna lie, I ripped this out three times before I figured it out. About 2 inches from the top, you need to do a row of chain spaces. So single crochet 2, chain 2, skip 2 stitches, and repeat across. This makes little holes for your cord to go through. Then do a couple more rows of regular single crochet above that.
Seaming Without Losing Your Mind
Fold your rectangle with wrong sides together—or right sides if you want the seam hidden, whatever. I always do wrong sides because I actually like seeing the seam on the outside, it looks more handmade or something. Use slip stitch to seam up both sides but stop when you get to that row with the chain spaces. Those need to stay open obviously.
For the drawstring I just made a really long chain, like 80 stitches or more, and then slip stitched back down it. You could also use ribbon or cord from the craft store. Lion Brand makes these cotton cords that work pretty well if you don’t wanna crochet one. Thread it through the channel with a safety pin—my cat knocked my yarn needle off the table so I had to improvise and honestly the safety pin was easier anyway.
The Mesh Bag for When You Need to See Everything
This one’s better if you’re traveling or taking your project somewhere because you can see exactly what’s inside without digging around. I use Lily Sugar’n Cream for these because cotton holds its shape better than acrylic and also you can actually wash it without worrying.
Start with a magic circle and chain 3 (counts as first double crochet). Do 11 more double crochets in the ring. Pull it tight. That gives you 12 stitches total. For round 2, chain 3, double crochet in same stitch, then 2 double crochet in each stitch around. You’re increasing to make the flat circle bottom.
Keep increasing every round—there’s a pattern to it but I always just eyeball it to keep things flat. When your circle is about 6 inches across, stop increasing and just work even. But here’s where the mesh part comes in—instead of regular double crochet, you’re gonna do chain 1, skip 1 stitch, double crochet in next stitch, all the way around.
Continue that mesh pattern (dc, chain 1, skip 1) for about 10 inches or however tall you want the bag. The chain spaces create the open mesh so you can see through it. I was watching that show Beef while making one of these and I kept losing count because it got intense but honestly with mesh you can’t really tell if you mess up a stitch here or there.
Adding Handles That Won’t Snap
When you get to the top, single crochet one round to make it sturdy. Then for handles, chain like 25, skip about 6 stitches, and single crochet into the 7th stitch. Single crochet around until you’re on the opposite side, then make another chain 25 handle the same way.
On the next round, you’re gonna single crochet around including working stitches into the chain handles. Do at least 2 or 3 rounds on those handles because one round is gonna stretch out and break eventually—I learned this the hard way when my handle snapped in the parking lot at Joann’s and my yarn went everywhere.
The Box Style Bag with an Actual Bottom
This style sits up on its own which is nice if you’re working on a big project and need something sturdy. I made one with Caron Simply Soft in like a dark teal color and it’s still my favorite.
Make a rectangle for the bottom—mine was about 8 inches by 12 inches. Then instead of folding it, you’re working around the entire perimeter to build up the sides. Single crochet around all four edges of the rectangle, working 3 stitches in each corner so it lays flat when you turn the corners.
Keep spiral-ing up without joining rounds. Mark your first stitch with a piece of scrap yarn so you don’t lose track. The corners will naturally build up into a box shape as you go. Work until the sides are about 10 inches tall or whatever depth you need.
The thing that annoyed me about this one is that the corners can get a little wonky if you’re not consistent with where you put those extra corner stitches. Sometimes I’d accidentally put 2 stitches instead of 3 or I’d skip it entirely and then one corner would be tighter than the others. You just gotta pay attention which is hard when you’re in the zone.
Making It Actually Useful
Whatever style you make, think about adding a pocket on the inside for your scissors and stitch markers and stuff. Just crochet a small rectangle, like 4 inches by 5 inches, and whip stitch it to the inside of the bag on three sides. Leave the top open. Super simple but makes a huge difference.
I also started adding a button loop closure to some of mine because drawstrings can come loose in a tote bag. Just chain like 10 stitches, attach it to one handle, and sew a button on the other handle. Then you can loop it closed.

Yarn Weight Matters More Than You Think
Don’t use really thin yarn for project bags unless you wanna be crocheting forever. Worsted weight or bulkier works up fast and gives you a sturdy bag. I tried making one with some fingering weight Patons Kroy Socks yarn I had leftover and it took me like a week and the bag was kind of floppy and sad.
Cotton is honestly the best choice because it’s durable and washable but acrylic works fine too. Wool is gonna felt if you wash it which might actually be cool for a felted bag now that I think about it—you could make it oversized and then felt it down to the right size but I haven’t tried that yet.
Troubleshooting the Weird Stuff
If your bag is leaning or twisting as you work up the sides, you’re probably pulling your stitches tighter on one side. Try to keep even tension or just accept that handmade stuff is a little wonky sometimes. Nobody’s gonna measure your bag with calipers.
When the opening is too small and you can’t actually fit your project through it—yeah I did this—you can either rip back and make the base bigger, or just use it for smaller projects. I have one failed bag that’s too small for normal use but it’s perfect for holding sock yarn.
If you’re getting holes where you don’t want them (except in the mesh bag obviously), you’re probably skipping stitches accidentally. Count your stitches every few rows at the beginning until you get a feel for it.
Stiffening the bottom with cardboard or plastic canvas helps if you’re using a softer yarn. Just cut a piece to fit and drop it in the bottom before you start using the bag. You can take it out if you need to wash the bag.